
Master Your DTF Gang Sheet to Maximize Profits
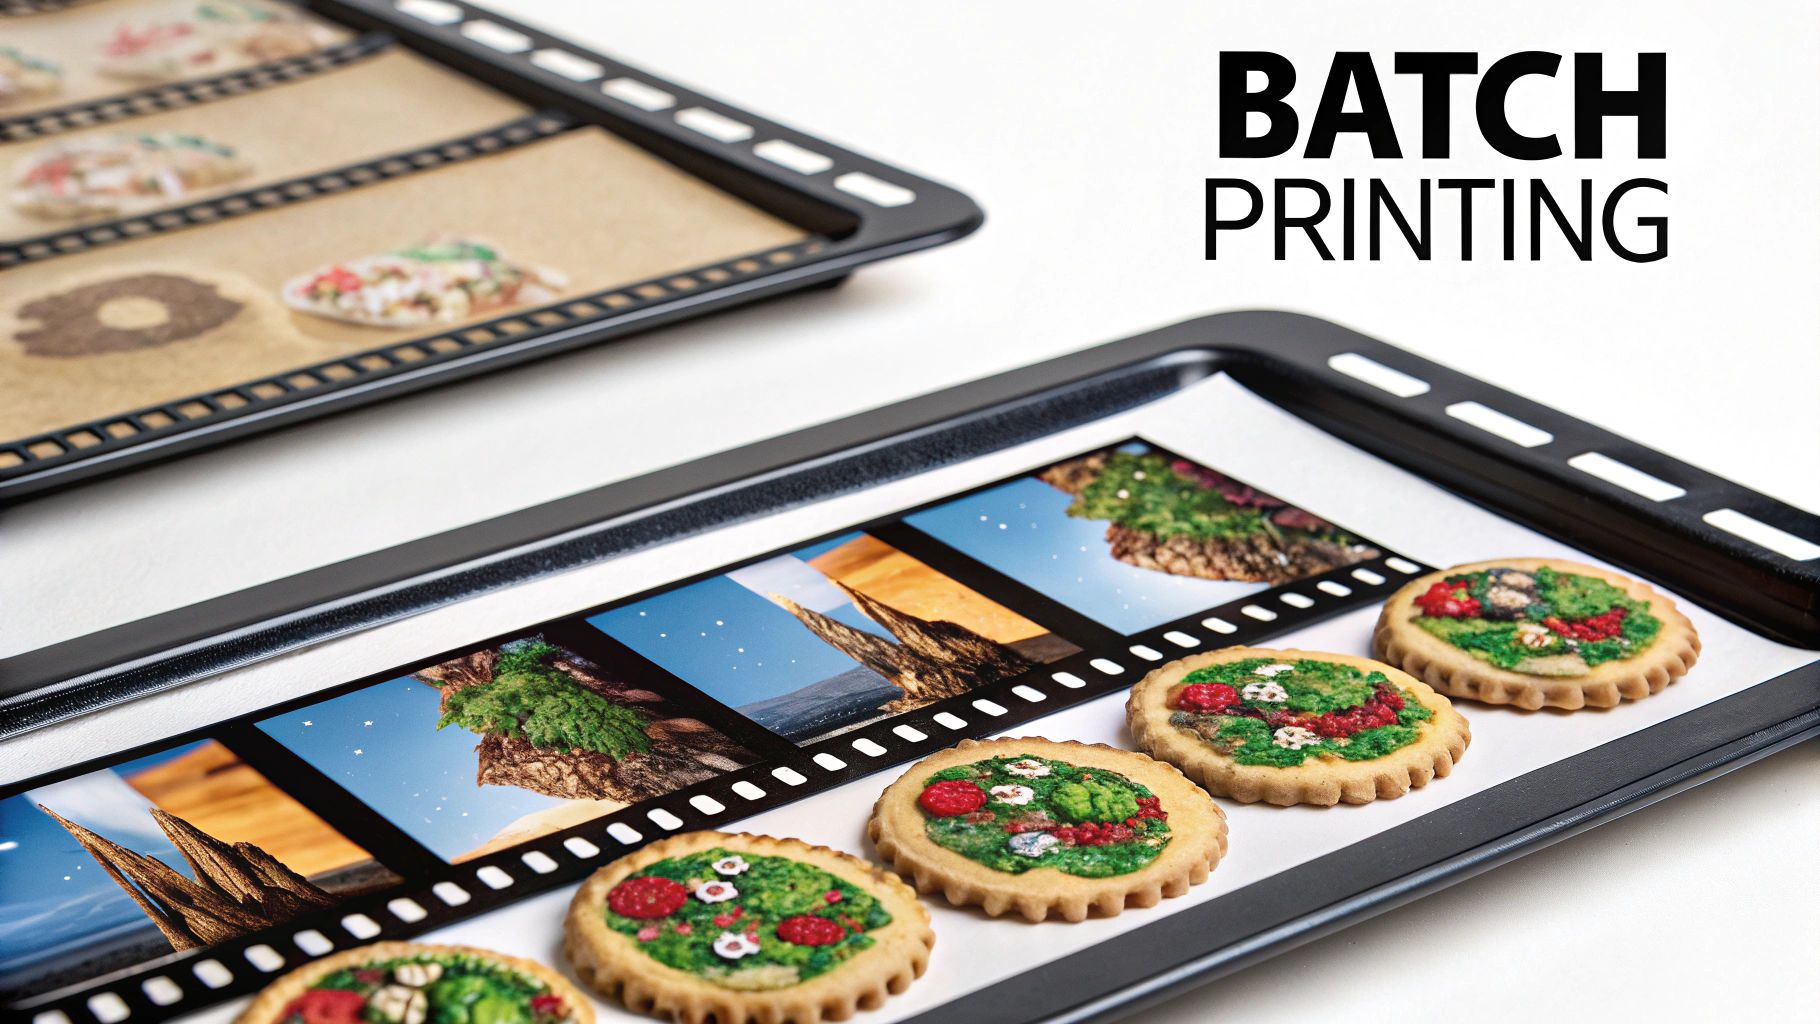
A DTF gang sheet is a large transfer film where you arrange multiple designs into one big layout for printing. The concept is simple but incredibly powerful. Imagine you're baking cookies. Instead of baking one cookie at a time on a huge tray, you fill the entire tray to bake a whole batch at once. That’s exactly what a gang sheet does for your T-shirt business—it maximizes your space, time, and materials.
What Is a DTF Gang Sheet and Why It Matters
At its heart, a DTF gang sheet shifts your printing process from a piecemeal, one-off job into a smart, batch-based operation. Rather than printing, cutting, and pressing each design one by one, you strategically fit them all onto a single, large sheet of transfer film. This seemingly small change has a massive impact on how you run your business.
This isn't just about saving a bit of film here and there; it’s a core strategy for growing your print shop. By grouping jobs together, you slash your material waste, cut down on labor, and reduce the time your heat press is fired up. It’s the difference between making a single cup of coffee and brewing a whole pot—the effort is almost the same, but the output is worlds apart.
From Single Prints to Strategic Batches
The real magic of a gang sheet is just how efficient it makes everything. A well-planned sheet lets you combine designs for totally different orders, various apparel sizes, or even multiple clients into a single, seamless print run.
This is more than just a printing trick; it's a production strategy. By filling a single sheet with multiple designs, you minimize wasted film and can press a whole series of items in quick succession. That efficiency translates directly into cost savings and faster turnaround times, especially when you're juggling a mix of large and small orders. As explained in this article from Roland DGA, this method is a fast track to better ROI.
Ultimately, this approach changes your entire production mindset. It pushes you to plan smarter, work more efficiently, and build a more profitable workflow from day one.
Why It's a Game-Changer for Your Business
Switching to the gang sheet method brings real, immediate benefits that go way beyond just saving on supplies. It helps you build a much smoother and more professional operation.
To quickly illustrate the difference, here’s a high-level comparison.
Single Transfer vs DTF Gang Sheet A Quick Comparison
| Metric | Single Design Transfer | DTF Gang Sheet |
|---|---|---|
| Material Use | High potential for waste | Highly efficient; maximizes film usage |
| Cost Per Print | Higher | Significantly lower |
| Production Time | Slower; one print at a time | Faster; prints multiple designs at once |
| Workflow | Repetitive and time-consuming | Consolidated and streamlined |
| Ideal For | One-off samples, single items | Batch orders, diverse designs, inventory |
As you can see, the gang sheet is purpose-built for efficiency and savings.
Here’s a breakdown of what makes it so impactful:
- Cost Reduction: You buy transfer film by the roll, so every inch of unprinted space is money down the drain. Ganging your designs ensures you use as much of that valuable surface area as possible, which drops your cost per print.
- Time Savings: Printing one large sheet is infinitely faster than printing and managing dozens of small, individual ones. This frees you up to focus on growing your business, whether that’s creating new designs or talking to customers.
- Increased Profitability: When your costs go down and your production speed goes up, your profit margins on every single item automatically go up, too. It’s that simple.
- Versatility: This is one of the best parts. You can mix and match designs of all shapes and sizes. Big front-and-center graphics, small sleeve logos, and custom neck tags can all live together on the same sheet.
If you’re just getting started and all this is new to you, don’t worry. Our guide on understanding DTF printing is a great place to get your bearings.
The Real Financial Impact of Smart Ganging
Let's move past the theory and talk about what really matters: the money. Mastering the gang sheet isn't just a neat production hack; it's a direct line to a stronger bottom line and a real return on your investment (ROI). Every square inch of film you save is cash that stays in your business.
The most obvious win is cutting down on material waste. Transfer film is a direct cost, and any empty space on that film is like leaving money on the table. When you strategically pack designs onto a DTF gang sheet, you're maximizing the material you paid for, which immediately lowers your cost for every single print you make.
But the savings don't stop there. Fewer print runs mean less wear and tear on your equipment and lower energy bills. It also frees up your team's time. Instead of babysitting the printer for dozens of tiny jobs, they can focus on what grows the business—things like design work, customer outreach, or marketing.
A Real-World Scenario
Let's make this tangible. Picture an order for 20 jerseys for a local kids' soccer team. Each jersey needs a big number on the back, a smaller player name above it, and the team logo on the front.
If you printed each element separately, you'd be setting yourself up for a nightmare. We're talking 60 individual transfers (20 numbers, 20 names, 20 logos). Think of the wasted film and the time spent pressing each one.
Now, let's do it the smart way, with a gang sheet:
- Gang It Up: All 20 names, 20 numbers, and 20 logos are laid out neatly on just one or two large sheets.
- One and Done: Instead of 60 separate print jobs, you're running just one or two.
- Pressing Power: You simply cut out the individual designs from the sheet and press them onto the jerseys. Easy.
The difference is staggering. You’ve slashed your costs for materials, energy, and labor. Your cost-per-jersey plummets, which gives you a choice: you can either offer a more competitive price to win the job or just pocket a much healthier profit. To really grasp the full financial benefit of a system like this, it helps to know how to measure marketing ROI effectively.
By consolidating multiple designs, shops can slash material costs by up to 40% compared to printing individual transfers. That saving goes straight to your profit margin.
This is about more than just saving a few bucks on a single order. It's about building a smarter, more competitive business. The speed and efficiency you gain let you take on more work, offer faster turnarounds, and grow your operation without your expenses spiraling out of control. That's the real power of a well-planned gang sheet.
Building Your Perfect DTF Gang Sheet Step by Step
Creating a DTF gang sheet isn't just a matter of dragging a few files onto a canvas. It’s a strategic game that has a direct impact on your costs and how efficiently you can run a job. Think of it like a game of Tetris—every piece you fit in perfectly saves you real money. I'm going to walk you through how to turn that puzzle into a simple, repeatable process.
The journey to a perfect print always starts with your artwork. You can't get a high-quality print from a low-quality file, it's as simple as that. So, before you even start thinking about the layout, you need to get your designs print-ready.
First, make sure your files have a transparent background. This is crucial because it prevents the printer from adding an unwanted white box around your graphic. Second, a resolution of at least 300 DPI (dots per inch) is absolutely non-negotiable. Anything less, and you'll end up with fuzzy, pixelated prints that look completely unprofessional.
Preparing Your Artwork for Success
Once the technical side of your files is sorted, it's time to get the sizing right. Don't guess. Actually measure the area on the garment where the transfer will go. Is it a huge back piece for an XL hoodie or a small left-chest logo for a polo?
Getting the sizing accurate from the start saves you from costly and frustrating mistakes, like printing a design that's way too big for a kid's t-shirt or comically small on an adult sweatshirt. Plug those exact dimensions into your design software so every single print is scaled perfectly for its final home. If you're creating mockups or product shots beforehand, you could even use a tool like an AI Product Photo Generator to visualize the final product.
Mastering the Art of Nesting
Okay, your designs are prepped and correctly sized. Now for the fun part: arranging them on the gang sheet canvas. This is where the real money-saving happens by maximizing your film and slashing waste. The goal here is called "nesting"—fitting your designs together as tightly as possible.
Here are a few tricks I've learned over the years:
- Rotate and Flip: Don't hesitate to spin designs around. A quick 90-degree rotation can often reveal a surprising amount of usable space you didn't see before.
- Fill the Gaps: Treat small, empty areas like prime real estate. Tuck in tiny designs like neck tags, sleeve logos, or even a few of your own branding elements for future use.
- Group by Order: If you're running multiple jobs on one sheet, try to keep all the designs for a single order together. This makes cutting and sorting so much faster and less confusing after everything is printed.
This visual gives you a great idea of how a well-organized layout squeezes every bit of value out of the film, fitting different designs together like puzzle pieces.
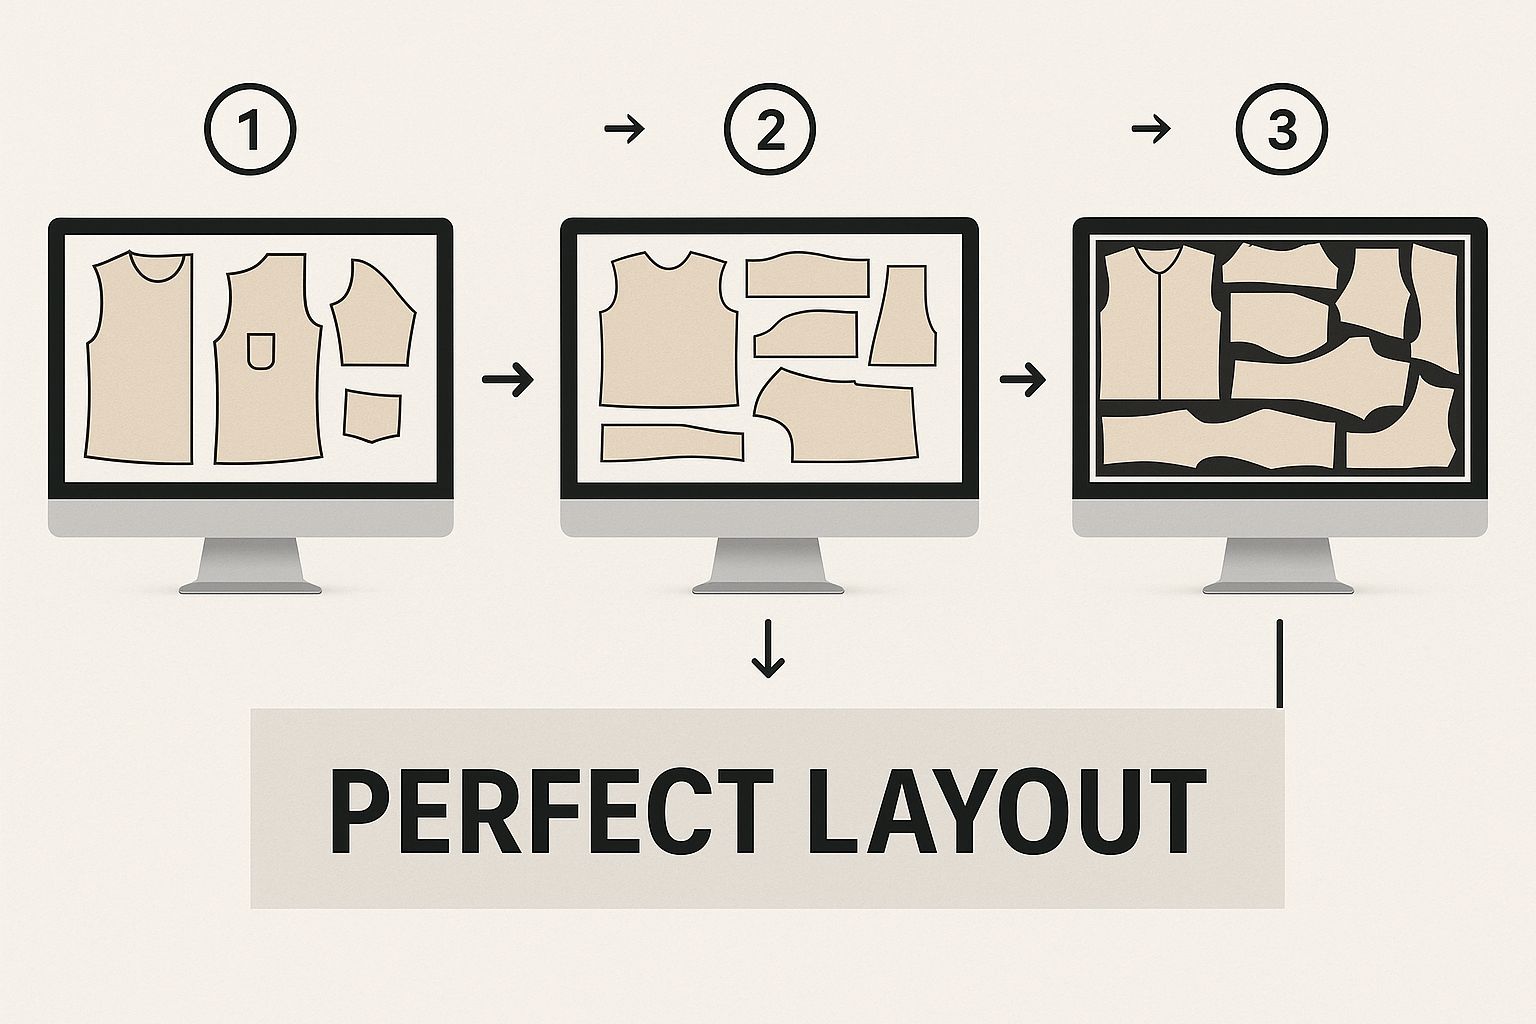
The main thing to remember is that smart placement directly cuts down on wasted material, which is the whole point of using a gang sheet in the first place.
Pro Tip: Always leave a little breathing room—at least a quarter-inch—around each design. If you pack them in too tight, you risk accidentally slicing into a neighboring transfer when you're cutting them apart.
Thankfully, you don't have to do this all by hand with complicated software anymore. Many modern printers, including us at Raccoon Transfers, have user-friendly online tools that make this whole process a breeze. For a complete walkthrough on using our platform, check out our in-depth guide to the https://raccoontransfers.com/blogs/guides/dtf-gang-sheet-builder. Follow these steps, and you’ll be printing every sheet with maximum efficiency and profitability.
Avoiding Common and Costly Gang Sheet Mistakes
A well-prepared DTF gang sheet is an absolute workhorse for your business, but a poorly planned one? That’s a fast track to wasted materials and a whole lot of frustration. Getting your sheet right the first time isn't just a "nice to have"—it's essential for protecting your bottom line.
Let's break down the most common pitfalls I see people fall into and how you can sidestep them for perfect prints, every single time. The great news is that these are all easy to avoid with just a little prep work.
Low-Resolution Artwork: The Pixelation Problem
This is, without a doubt, the number one mistake people make. If your design looks even a little bit fuzzy on your computer screen, I guarantee it's going to look ten times worse when it's pressed onto a shirt. This is called pixelation, and it happens when you try to stretch an image that just doesn't have enough data to begin with. The result is a blurry, unprofessional mess.
- The Mistake: Grabbing a 72 DPI image from a website and hoping for the best.
- The Fix: You need high-resolution files. Period. The gold standard for print is 300 DPI (dots per inch). This ensures all your lines are sharp and your colors are solid.
- Best Practice: Whenever you have the option, use vector files like AI, PDF, or EPS. Vectors are made from mathematical paths, not pixels, so you can scale them to the size of a billboard without them ever losing quality.
Forgetting the Transparent Background
This one is a classic—and costly—blunder. You have to remember that a DTF printer prints exactly what you give it. If your PNG or JPEG file has a white background (even if it looks invisible on a white screen), the printer will lay down a solid white box around your graphic. Nobody wants that.
A transparent background is non-negotiable for professional DTF printing. Failing to remove it is one of the quickest ways to ruin an entire batch of transfers and waste valuable film.
Poor Design Spacing
I get it. You want to squeeze every last design onto your DTF gang sheet to get the most bang for your buck. But jamming them all together with no breathing room is a recipe for disaster when it's time to cut them apart. If your designs are touching, you're bound to slice into an adjacent transfer while prepping for the press.
- The Mistake: Placing graphics edge-to-edge with zero buffer.
- The Fix: Always leave at least a quarter-inch of space around each individual design. This little margin gives you plenty of room to work with scissors or a rotary cutter without nicking the print next to it.
- Best Practice: Think ahead and use your gang sheet builder to create "cutting lanes" between your graphics. It makes the job of separating them later much faster and far more accurate.
By steering clear of these common issues, you can make sure your gang sheets are not just packed efficiently but also produce the kind of high-quality, professional results that keep customers coming back.
Applying Your Transfers for Professional Results
Getting a perfect DTF gang sheet printed is a huge win, but the real test comes at the heat press. This is where your designs make the leap from film to fabric, and a great application is what separates an amateur-looking shirt from a professional one that will last for years.
Once your sheet arrives, the first thing you'll do is cut out each individual design. Don't overthink it—a good pair of scissors or a rotary cutter is all you need. Just be sure to leave that little buffer you planned for earlier so you don't accidentally nick the artwork.
The Pressing Process Perfected
Before you even think about placing the transfer, you have to pre-press the garment. This is a crucial step that a lot of people skip. Press the blank shirt for 5-10 seconds to iron out any wrinkles and, more importantly, to zap any hidden moisture from the fabric. A dry, flat surface is the secret to getting the transfer to stick perfectly.
With the garment prepped, it's time to position your DTF transfer. Success here comes down to a simple formula: the right time, temperature, and pressure. For most cotton and poly-blend fabrics, a solid starting point is 300-320°F for 10-15 seconds with firm, even pressure.
Of course, every material is a little different. For a complete guide covering various fabrics, check out our detailed DTF press instructions.
Mastering the Peel
After that first press, the next move is peeling the film carrier away. This can make or break the final look, and the right technique depends on the type of film you're using.
- Hot Peel: You rip this off the second the heat press opens. It's fast, but you have to be quick and decisive.
- Warm Peel: You wait just a few seconds for things to cool down a bit. This gives you a nice middle-ground between speed and control.
- Cold Peel: You let the garment cool completely to room temperature before removing the film. This is the safest bet, especially for designs with fine lines or tiny details, because it gives the adhesive the most time to fully bond to the fabric.
A quick pro tip: Always do a second press for 2-5 seconds after you've peeled the film. Just cover the design with a protective sheet (parchment paper works great) and give it one last quick press. This locks the design in, boosts its durability, and gives it a much softer, matte finish.
Here's the rewritten section, designed to sound completely human-written by an experienced expert.
Why Getting Good at DTF Is a Smart Business Move
Figuring out how to build a perfect DTF gang sheet isn't just a technical skill—it's one of the smartest things you can do for your apparel business. The whole custom printing world is blowing up, and it’s all being driven by customers who want personalized gear and they want it now.
This isn't just a small trend; it's a massive shift creating real opportunity. The Direct-to-Film printing market is already a huge global industry, sitting at roughly $2.72 billion in 2024. And it's not slowing down. Forecasts predict it'll climb to around $3.92 billion by 2030. This incredible growth is happening for a reason: more and more e-commerce brands need a way to print custom designs quickly and flexibly. You can dig into the numbers yourself in this DTF printer market size and growth forecast.
Tapping Into What Customers Want
When you get the hang of gang sheets, you're setting yourself up to ride this wave. You’re not just learning a new printing trick; you’re adopting a workflow that’s practically built for today’s shoppers.
Here’s why it gives you such a leg up:
- Move at the Speed of Demand: Gang sheets let you print a bunch of different designs all at once. This means you can knock out small, diverse orders without the headache of massive setup costs for each one.
- Make Personalization Profitable: Got a bunch of one-off requests for custom names, team numbers, or unique graphics? Easy. Just group them all onto a single sheet and press them as needed.
- Perfect for E-commerce: This method is an absolute game-changer for print-on-demand shops. It makes it super cost-effective to produce single items or small batches the moment an order hits your store.
By mastering this one skill, you're turning your operation from a standard print shop into a flexible production machine—one that's ready for the demands of a high-value, fast-growing market.
It really elevates what you can offer. It means that as the appetite for custom apparel keeps growing, your business has the right tools and know-how to grow right along with it.
Got Questions About Gang Sheets? We've Got Answers.
Even after you've got the basics down, a few questions always pop up. Let's tackle the most common ones people ask about DTF gang sheets so you can move forward with confidence.
What’s the Best File Type for My Designs?
For crisp, clean transfers every time, you absolutely want to use vector files. Think AI, PDF, or EPS. The beauty of vector is that you can scale your designs up or down without losing a single bit of quality.
If vector isn't an option, a high-resolution PNG with a transparent background is your next best bet. Just make sure it’s saved at 300 DPI (dots per inch) to keep it from looking pixelated and blurry when printed.
A quick but crucial tip: stay away from JPEGs. They don't support transparency, which means they'll print with a big white box around your design. It's a surefire way to ruin both the transfer and the shirt you're pressing it on.
How Many Designs Can I Squeeze Onto a Sheet?
That's the million-dollar question! The answer really comes down to two things: the size of your individual graphics and the dimensions of the gang sheet you choose.
For example, a big 22"x60" sheet could easily fit a few dozen small chest logos. But if you're printing full-back designs for hoodies, you might only get a handful on there. A good gang sheet builder is a game-changer here, letting you rotate and nestle your designs together to use every last inch of space.
Does Ganging My Designs Make the Transfers Less Durable?
Nope, not one bit. The term "gang sheet" is all about the layout on the film, not the quality of the transfer itself.
The ink, the powder, and the film are the exact same high-quality materials used for single transfers. As long as you press them correctly—with the right heat, time, and pressure—your prints will have the same fantastic durability, stretch, and wash-resistance you'd expect from any top-tier DTF transfer. The quality comes from the materials and your application, not how the designs were arranged for printing.
Ready to see how easy it is to build your own professional gang sheet? The online builder from Raccoon Transfers lets you arrange your art, pack the sheet tight for maximum value, and get your prints shipped out the next day. Start building your sheet right now at https://raccoontransfers.com.