
Ultimate DTF Gang Sheets Guide for Custom Printing
Think of DTF gang sheets as your secret weapon for efficiency. Instead of printing one design at a time, you're filling a single, large film sheet with multiple designs. This lets you print dozens of items in one go, slashing your setup time and material waste. The result? Faster production and more consistent quality.
Understanding DTF Gang Sheets
At its core, a DTF gang sheet is a collection of different graphics all arranged on one sheet of transfer film. Once printed, it's ready for the heat press, allowing you to move seamlessly from one garment to the next. You completely sidestep the tedious process of loading a new, small transfer for every single item, saving precious minutes on every job and keeping your press running hot.
This approach brings some serious advantages:
- Faster Production: Printing multiple designs in a single press cycle is a game-changer for batch orders.
- Lower Per-Print Costs: Setup fees and material costs get spread thin across dozens of images, not just one.
- Less Material Waste: Smartly arranging—or "nesting"—your designs on the sheet maximizes every square inch of film.
Why DTF Gang Sheets Stand Out
When you compare them to printing single-design films, gang sheets are built for volume without compromising on quality. You still get that vibrant, consistent ink coverage and razor-sharp detail on every single print, but you're producing at a much faster clip.
Modern DTF printers have this down to a science. They use automated placement to lock in each graphic's exact position on the film. By tightly nesting even the most irregularly shaped designs, you can dramatically cut down on empty space and film waste.
Real Shop Success Stories
This isn't just theory; shops are seeing real results. A family-run screen printing business in Ohio, for instance, managed to double their daily throughput just by making the switch to gang sheets. Out in California, an on-demand t-shirt service cut their setup time by 30% during their busiest season.
“Gang sheets turned our slow mornings into smooth batch runs, unlocking consistent quality under pressure.”
The numbers back this up, too. The global Direct-to-Film printing market hit $3.8 billion and is projected to climb past $8.5 billion by 2030. A huge driver of that growth is the efficiency gained from techniques like gang sheets that cut waste and boost output. Read the full research on DTF gang sheet efficiency.
The benefits of using DTF gang sheets are clear, impacting everything from your production speed to your bottom line.
DTF Gang Sheets Benefits Overview
The table below breaks down how these advantages translate into real-world impact for your shop.
| Benefit | Description | Impact |
|---|---|---|
| Faster Run Times | Batch presses run without reloading film per job | Ohio shop doubled throughput |
| Lower Per-Print Costs | Spreads setup and film costs across more prints | 30% cost drop in mid-volume runs |
| Reduced Material Waste | Maximizes film usage with tight nesting | Up to 22% less scrap in sample use case |
By maximizing film space and minimizing press downtime, you can significantly improve your shop's profitability and workflow.
One of the best parts is that you can save your gang sheet templates right in the Raccoon Transfers builder. Once you nail a layout, you can recall it for repeat orders, turning a once-tedious planning process into a few simple clicks.
If you're looking to dive deeper into file specs, layouts, and the entire printing workflow, check out our comprehensive beginner guide to DTF printing.
Planning Your Gang Sheet Layout
This is where the magic really happens. A well-planned gang sheet is the difference between a profitable print run and a pile of wasted film. Think of it like a game of Tetris—the goal is to fit everything perfectly to maximize your yield and cut down on waste.
Getting your layout right from the start saves you time and money. These decisions directly protect your profit margins and help you deliver consistently awesome prints for every job.
Grid Alignment Strategy
If you're dealing with a big order of the same design or a bunch of uniformly sized graphics, the grid alignment strategy is your best friend. It’s all about creating neat, predictable rows and columns that make printing and cutting a breeze.
- Imagine you have a 12×18 inch sheet. You could set up a grid of 10 columns by 6 rows for a specific design.
- Always leave a small buffer—about 0.2 inches—between each graphic. This is your safety net to prevent inks from bleeding into each other.
- Keep all your designs oriented the same way. This simple step helps avoid printer misfeeds and frustrating reprints.
Color Block Grouping
Here’s a pro tip for saving time on press: group your designs by their dominant colors. When you put all the artwork with similar color palettes together, the printer doesn't have to stop as often for nozzle cleans or ink changes.
This is especially handy when you have a bunch of different designs that share a common color. Just sort your art by the main hue—say, all the cyan-heavy pieces—and place them in their own section on the sheet. A little gap of about a quarter-inch between color blocks will give you a clean separation for cutting later.
Nesting Designs for Waste Reduction
Nesting is the ultimate space-saving technique. It’s all about tucking smaller designs into the empty, awkward spaces around your larger graphics. I once saw a print shop in New York cut their film usage by a whopping 22% on a big charity run just by getting creative with nesting their logos.
The trick is to place your big, main designs first. Then, look for all the nooks and crannies where you can fit smaller icons, sleeve logos, or neck tags. Don't be afraid to rotate designs in 90° increments to make them fit just right. Every square inch you save is money back in your pocket.
This little map shows how these strategies all work together to get you faster prints, cheaper runs, and a whole lot less waste.
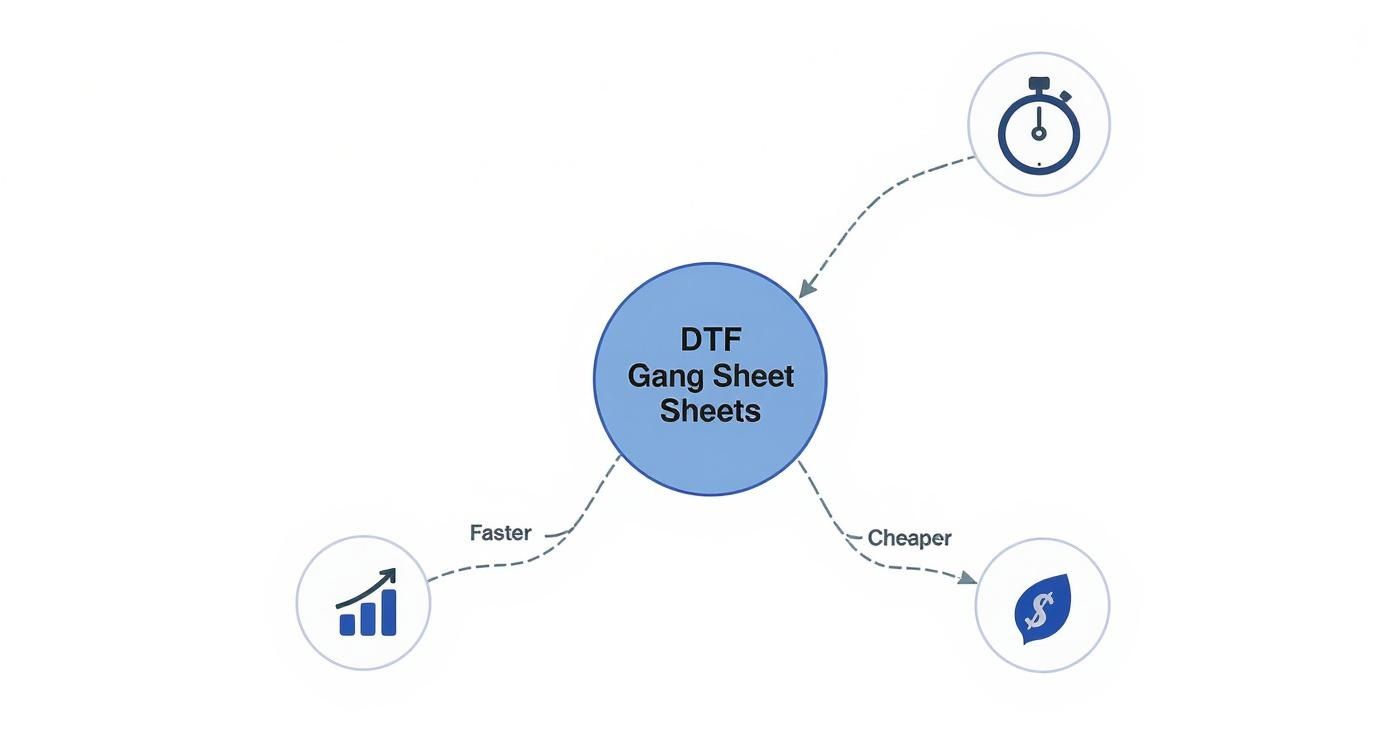
As the infographic shows, putting a little thought into your layout pays off big time in speed, cost, and even your environmental footprint. In fact, some large-scale printing operations have reported a 30% boost in daily output just by adopting smart gang sheet layouts.
Key Takeaway: Don’t just focus on the big picture. Tiny adjustments to your margins and rotation can be the difference between a smooth print job and a costly jam.
And remember, getting the size of your graphics right is just as important as how you lay them out. If you need a refresher, check out our Graphic Size for T-Shirt Guide.
Choosing the Best Layout for the Job
So, which method should you use? The truth is, there’s no single "best" way. The right layout always depends on the specific job you're running.
I’ve put together a quick comparison to help you decide which strategy fits your needs.
Layout Strategy Comparison
| Layout Strategy | Ideal Use Case | Time Savings |
|---|---|---|
| Grid Alignment | High-volume batch orders, uniform designs | High |
| Color Block Grouping | Multiple designs with shared primary colors | Medium |
| Nesting Designs | One-off custom jobs, rush orders with mixed designs | Low (upfront), but high material savings |
Ultimately, batch sales do best with a simple grid. Custom proofs are easier to manage with color blocking. And those last-minute rush jobs? That’s where nesting really shines, letting you squeeze every last design onto the film. A little planning goes a long way toward boosting your efficiency and profitability.
Getting Your Files and Design Specs Dialed In
Okay, so you’ve got your layout planned. Now comes the part that makes or breaks your final print quality: prepping the actual artwork files. Getting your design specs right is the secret to making sure your transfers come out looking sharp, vibrant, and exactly how you pictured them.
Think of it this way: the quality of your source file is directly tied to the quality of your finished transfer. The old saying "garbage in, garbage out" is especially true in printing. A low-resolution, poorly formatted file will give you a blurry, pixelated mess, no matter how fancy the printer is.
Choosing the Right File Format
For DTF printing, not all file formats are created equal. You want something that will give you perfectly crisp edges, and for that, vector formats are usually your best bet.
- Adobe Illustrator (.ai): This is the gold standard for a reason. AI files are vector-based, meaning you can scale them up or down infinitely without losing an ounce of quality. Perfect for logos and designs with a lot of text.
- Encapsulated PostScript (.eps): Another solid vector choice. EPS files play nicely with most systems and hold their sharpness at any size.
- Photoshop Document (.psd): If your design is a photo or has really complex color gradients, a high-resolution PSD is the way to go. Just try to keep your layers intact in case any last-minute tweaks are needed.
When you're dealing with massive gang sheets, those file sizes can get pretty big. It's worth learning a few tricks for optimizing file sizes without losing quality to avoid frustrating upload errors and keep things moving.
Resolution and Color: The Non-Negotiables
File format is just one piece of the puzzle. The resolution and color settings you use are just as critical for getting the clarity and color accuracy you expect.
One of the most common slip-ups I see is artwork submitted below 300 DPI (dots per inch). Anything less than that, and you're heading straight for a fuzzy, unprofessional-looking transfer. Do yourself a favor and double-check your canvas settings in your design software before you even start.
Pro Tip: Always, always design in a CMYK (Cyan, Magenta, Yellow, Black) color profile. Your computer screen shows you colors in RGB, but printers work in CMYK. Designing in CMYK from the start gives you a much more accurate preview of how the colors will look when printed, preventing nasty surprises.
Trust me, there's nothing worse than designing a t-shirt with a brilliant, vibrant red logo, only to have it come off the press looking dull and muted. Setting your color profile to CMYK avoids that specific brand of heartbreak.
Don't Forget Bleeds and Safety Margins
Last but not least, let's talk about the edges of your design. Adding a little buffer—a bleed and a safety margin—is a pro move that ensures a clean, perfectly cut transfer every time.
- Bleed: This is a small extra border, typically around 0.125 inches, that extends beyond the final cut line of your design. It's a safety net. If the cutter shifts even a tiny bit, the bleed ensures you don't get a weird, unprinted white sliver along the edge of your transfer.
- Safety Margin: This is the opposite—an internal buffer zone, also about 0.125 inches, inside the cut line. You want to keep all your important stuff, like text and logos, comfortably within this area so nothing gets accidentally chopped off.
Most design programs have a "preflight" check feature. Run it. This final once-over can catch things like low-res images, missing fonts, or incorrect color profiles before you send the file off, saving you a ton of time and the cost of a reprint.
Using Raccoon Transfers Builder
Once your artwork is ready and your layout plan is nailed down, it’s time to jump into the Raccoon Transfers gang-sheet builder. You’ll upload your designs, arrange them on a digital film preview, and finalize everything in just a few clicks. It really strips away the technical guesswork.
Getting Started With Your First Sheet
Picking the right sheet size is key. Raccoon Transfers offers popular dimensions like 8.5×11 inches for small runs or 12×18 inches when you’ve got more designs to fit. Don’t default to the biggest option—choose the size that leaves the least amount of wasted film.
Next up, upload your artwork files. The builder plays nice with various formats, but for crisp, clean prints stick with a high-resolution PNG (transparent background) or vector files such as AI or EPS. You can drag in multiple files at once, which is a real time-saver when you’re juggling a bunch of graphics.
Here’s what the interface looks like:

You’ll see a clean canvas where you can drag, drop, rotate, and resize each element until it’s just right.
Arranging And Optimizing Your Layout
This step lets your prep work shine. On the canvas that matches your chosen sheet size, grab your uploaded designs from the sidebar and position them exactly where you want.
You can:
- Resize by dragging a corner—dimensions update live.
- Rotate in 90° increments to tuck pieces into tight spots.
- Duplicate with one click when you need multiple copies without re-uploading.
Insider Tip: Aim for a 0.1 to 0.2-inch gap between designs. That tiny space speeds up the cutting process and prevents overlaps.
If you often reorder the same layouts, save yours as a template. Future runs go from template to checkout in seconds. For the full breakdown of every feature, explore our detailed guide on the DTF gang sheet builder.
Finalizing Your Order Details
When your layout looks perfect, it’s time to configure print settings. Choose how many sheets you need and watch volume discounts kick in—ordering five sheets usually brings the cost per sheet way down compared to ordering one.
Next, confirm your ink and adhesive options. Standard presets cover most fabrics, but here’s a pro trick: bump the curing temperature by 5°C to boost adhesion on tricky polyester blends.
With those settings locked in, add your dtf gang sheets to the cart—and you’re all set.
Beyond the Build: Ordering Smart and Perfecting the Press
Hitting "submit" on your gang sheet order is just crossing the starting line. The real magic happens next, and this is where experienced printers separate themselves from the crowd. Little habits in how you order and handle your transfers can make a huge difference in your final product and your bottom line.
Think about timing your orders. Instead of firing off a small order every time a customer emails, try batching them. We offer free shipping on orders over $79.90, and bundling your jobs for the week is a simple way to hit that threshold. That small workflow tweak can easily save you hundreds in shipping fees over a year.
First Look: Inspecting and Storing Your Sheets
When that roll of transfers arrives, don't just toss it on a shelf. Take a minute to unroll the film and hold it up to a light. What you're looking for is consistency—a uniform dot pattern and even coverage of the adhesive powder. If you spot any weird haze or patchy textures, it’s a sign of a potential issue you want to catch now, not after you've already pressed it onto a hoodie.
How you store your sheets is just as important. DTF film doesn't like humidity or big temperature swings, which can make it curl or weaken the adhesive.
- Store them flat. Never, ever fold them. A shallow drawer or an artist's portfolio case is perfect for keeping them pristine.
- Keep them dry. Find a cool, dry spot away from direct sunlight. Even a simple plastic sleeve can go a long way in protecting them from moisture.
- Let them acclimate. Before you press, let the transfers sit out in your shop for a few hours. This allows them to adjust to the room's environment, which leads to a much more reliable application.
I know a print shop in the Midwest that saw their on-time delivery rate jump by over 30%. The only thing they changed? They got serious about a strict inspection and storage process. It cut down on last-minute reprints and gave them the confidence to take on bigger, more profitable jobs.
The Peel: Nailing the Final Finish
After the heat press opens, you have one final, critical step: peeling the film. Whether you peel it hot, warm, or cold will completely change the look and feel of the finished design. There's no single right answer here—it all comes down to the garment you're working with.
- Hot Peel: This is when you rip the film off the second the press opens. It’s quick and leaves a soft, almost matte finish that feels great on standard cotton t-shirts.
- Warm Peel: Let it sit for just a few seconds before peeling. This gives you a nice middle ground—the softness of a hot peel with some of the crispness of a cold peel.
- Cold Peel: You'll need to let the garment cool completely before touching the film. This technique gives you the sharpest, most vibrant prints with a slightly glossier finish. It's my go-to for performance wear or graphics with a ton of fine detail.
The best way to get a feel for this is to experiment on some scrap fabric. Mastering the different peel methods for your dtf gang sheets is what turns a good print into a flawless one. It’s this level of control and quality that's driving the industry's growth, with the North America Direct To Film printing market projected to grow at a CAGR of 5.5%. These best practices are exactly why shops can scale their output so effectively.
Wrapping It Up and Where to Go from Here
So there you have it—the complete journey of creating and using a DTF gang sheet, from wrestling with your layout to that perfect, clean peel. Getting this right is more than just a technical exercise; it's genuinely one of the best ways to make your custom printing business more efficient and profitable. All those little details, like how you nest your designs to cut down on waste or picking the right peel for the job, really add up over time.
Think of every sheet you print as a learning opportunity. Look at your used film. Was there a big empty spot you could have squeezed something into? Could you have grouped all the one-color jobs together to make pressing day go smoother? This kind of constant self-correction is what really separates the pros from the beginners.
Your Game Plan for Nailing It Every Time
To make sure this all sticks, here are a few things you can start doing right away. These aren't complicated, but they reinforce all the good habits we've talked about and will help you get more confident with every single order.
- Do the Math: After a print run, figure out your actual cost per transfer. It’s eye-opening to see exactly how a smarter layout puts more money back in your pocket.
- Experiment with Adhesives: Don't get stuck on one type. If you're tackling tricky fabrics like polyester or spandex blends, a small test with a different powder could save you from ruining a huge order.
- Play "Layout Tetris": Seriously, make it a game. Challenge yourself to beat your last sheet's efficiency. Can you find a home for one more little sleeve logo or neck tag in those tiny gaps?
The shops that kill it aren't just pressing shirts; they're masters of efficiency. When you get serious about tracking your material usage and constantly refining your gang sheet layouts, you're turning leftover film into pure profit. It’s not unheard of to boost your bottom line by 20% or more just by being smart about it.
This is just the beginning, of course. The printing world is huge and full of people sharing what they know. Get active in forums, check out free template libraries, and just keep learning. Every sheet you print is another chance to get better, faster, and more profitable.
Got Questions? We've Got Answers
Even when you feel like you've got the hang of it, questions about DTF gang sheets always seem to surface. Getting the right answers can be the difference between a smooth print run and a costly headache. Let's tackle some of the most common questions we hear from printers.
Do DTF Gang Sheets Work With Any Heat Press?
Pretty much, yes. You don’t need some fancy, top-of-the-line machine. What really matters is whether your heat press can hold its own with two things: consistent temperature and even pressure.
As long as your press can reliably maintain a temperature between 160–170°C (320–340°F), you’re in good shape. If you notice issues or are working with thicker materials, you might just need to add another 5 to 10 seconds to your press time. My advice? Always press a small test transfer on some scrap fabric first to nail down your settings before starting a big job.
What’s the Smallest Order I Can Place?
This varies a lot depending on who you're ordering from. One of the best things about working with Raccoon Transfers is that there’s no real minimum. You can order just a single sheet if you want, which is a lifesaver for one-off custom jobs or testing out a new design idea.
But here’s a pro tip: the real value comes from bundling. Once you start ordering 5 to 10 sheets at a time, you’ll see those volume discounts kick in. This dramatically lowers your cost per transfer and pads your profit margins, especially on larger runs.
Can I Save and Reuse the Leftover Bits of a Gang Sheet?
You can, but it takes some forethought. If you have a whole, intact design left on a piece of film, you can absolutely trim it out and save it for later. The problem is that most of the time, the leftover scraps are just awkward, unusable gaps between the designs you’ve already pressed.
The smarter move is to plan your layout to eliminate waste from the get-go. By nesting your designs tightly and filling every nook and cranny of your dtf gang sheets, you squeeze every last drop of value out of the film. That’s how you make sure nothing goes to waste.
Ready to put this all into practice? The Raccoon Transfers gang sheet builder is designed to make the whole process—from upload to order—incredibly straightforward.