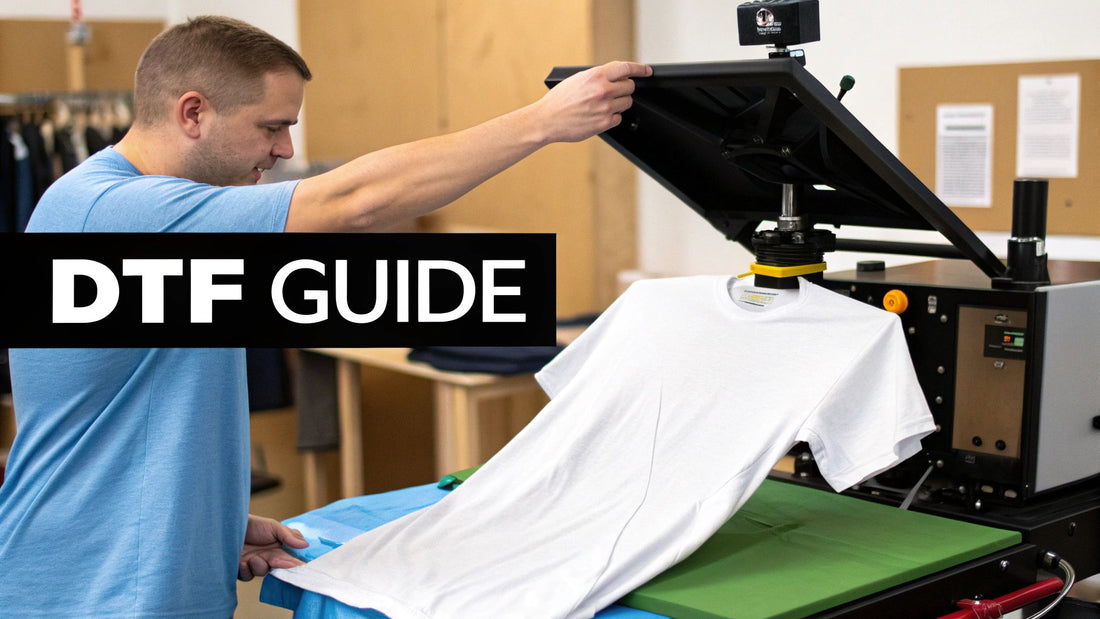
DTF Guide for Gildan Heavy Cotton T Shirts
If you've been in the custom apparel game for any length of time, you've probably come across the Gildan Heavy Cotton T-Shirt. Specifically, the Gildan 5000 model. It's an absolute staple, and for good reason. When it comes to Direct-to-Film (DTF) printing, this shirt is a workhorse, striking that perfect balance of affordability, durability, and a print-friendly 100% cotton fabric. It's the kind of reliable canvas that works just as well for someone just starting out as it does for a seasoned pro churning out big orders.
Why Gildan Heavy Cotton Is a DTF Favorite
Picking the right blank t-shirt for a DTF project is about more than just finding the cheapest option. While the Gildan Heavy Cotton is definitely easy on the wallet, its real strength is how well its construction plays with the DTF process. Think of it as a strategic choice—one that helps you avoid common printing headaches and keeps your customers happy.
The magic is in the material. The Gildan 5000 is made from 100% preshrunk cotton, which gives you a stable, smooth surface to work with. Some synthetic blends can be a bit slick, making it tough for the DTF adhesive to get a good grip. But the natural fibers in this shirt are perfect for the adhesive powder, creating a solid bond that prevents your designs from cracking or peeling after a few trips through the laundry.
Built for Printing Success
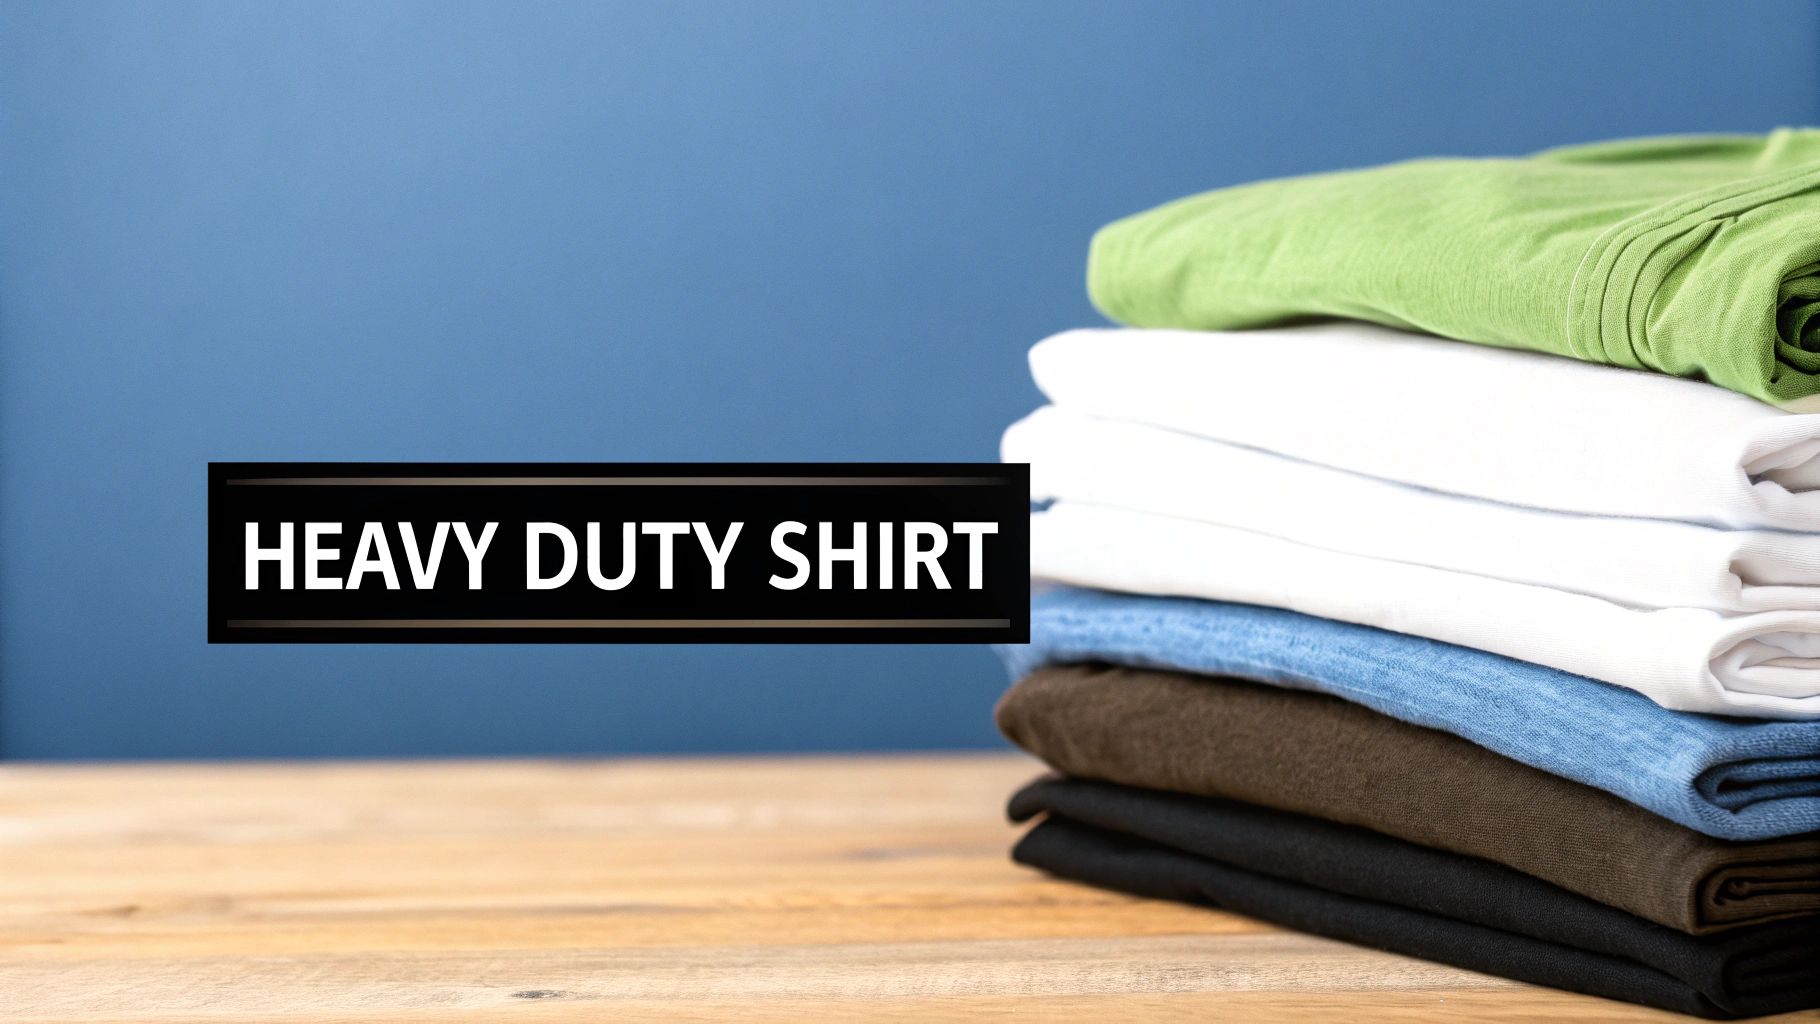
This shirt didn't become an industry standard by accident. Its solid construction, with double-needle stitching on the sleeves and bottom hem, gives customers confidence that they're buying a quality garment built to last. For anyone running a print-on-demand shop, that reputation is gold. It means fewer returns and happier customers.
For a deeper dive into all its features, you can check out our complete Gildan Heavy Cotton t-shirt overview.
Pro Tip: Don't underestimate the "preshrunk" feature. It’s a huge plus. This ensures the t-shirt’s fit stays true and prevents your beautiful DTF design from getting warped or distorted after the first wash—a common frustration with cheaper, lower-quality cotton blanks.
The Ideal Canvas for Bulk Orders
When you're running a big order, consistency is everything. You need every single shirt to look, feel, and press the same. Gildan's manufacturing is known for its incredible uniformity from one shirt to the next, which is critical for maintaining quality control.
This reliability, paired with its awesome price point, makes the Gildan Heavy Cotton T-Shirt the go-to for just about everything, from a one-off hobby project to a massive commercial print run.
To see how it stacks up against other popular choices, here’s a quick comparison.
Gildan 5000 vs. Other Popular Blanks for DTF
This table breaks down why the Gildan 5000 is such a strong contender in the world of DTF printing compared to other fan-favorites.
| Feature | Gildan Heavy Cotton (5000) | Bella + Canvas 3001 | Next Level 3600 |
|---|---|---|---|
| Fabric Composition | 100% Cotton | 100% Airlume Combed Ringspun Cotton | 100% Combed Ringspun Cotton |
| Feel | Sturdy, classic tee feel | Ultra-soft, lightweight | Soft, fitted feel |
| Best For DTF | Excellent adhesive grip, vibrant colors | Good, but softness can be tricky | Good, but thinner material |
| Price Point | $$ (Very Affordable) | $$$ (Premium) | $$$ (Mid-to-Premium) |
| Durability | High, holds up to many washes | Good, but can be delicate | Good, but can stretch over time |
While premium brands like Bella + Canvas and Next Level offer a softer feel, the Gildan 5000 often wins out for DTF printers due to its ideal fabric texture, unbeatable price, and sheer durability.
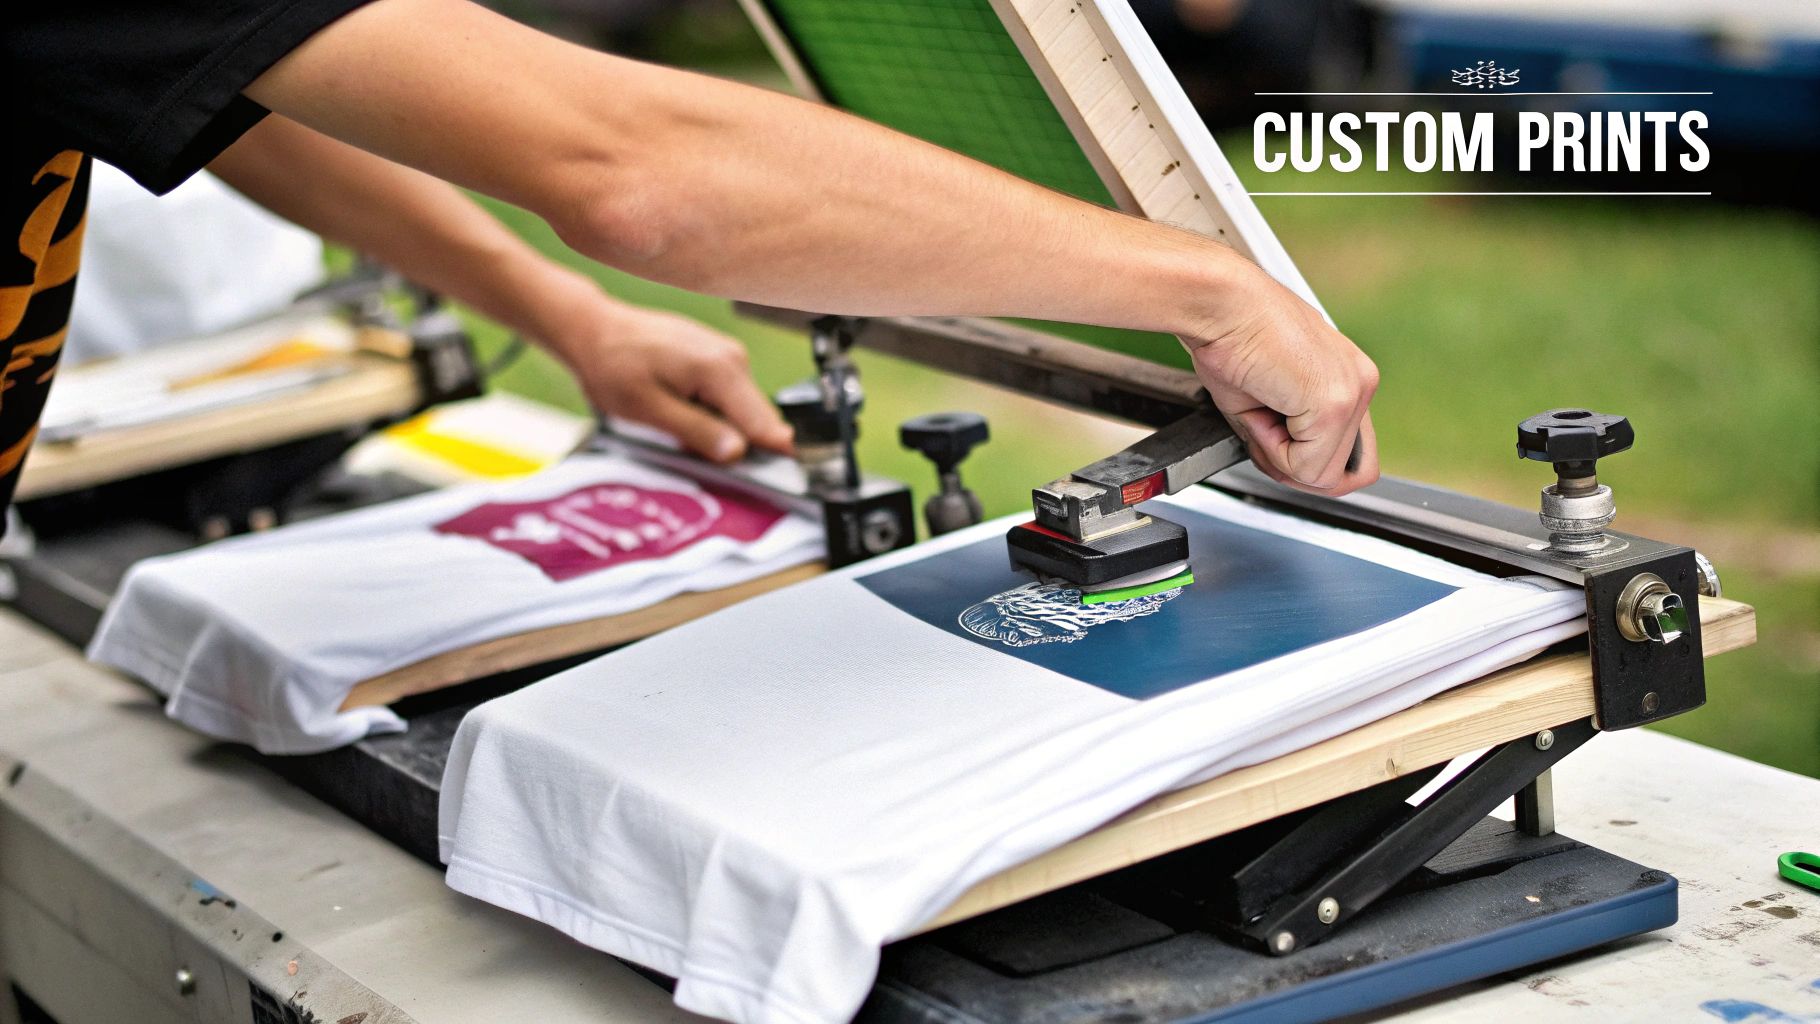
Setting Up Your DTF Workspace & Toolkit
Getting a professional-looking print on a Gildan Heavy Cotton T Shirt doesn't start when you fire up the heat press. Honestly, your success is really decided before that—it all comes down to a well-prepped workspace and having the right tools on hand. A great setup isn't about the most expensive gear; it’s about having the right gear and arranging it for a smooth, repeatable process.
A messy or disorganized area is just asking for trouble. A single stray fiber, a misplaced tool, or an uneven surface can wreck what should have been a perfect print. If you want a truly efficient DTF operation, it's worth checking out some ideas for efficient workspace organization to keep everything clean and within reach.
Let's Talk Heat Presses
Your heat press is the heart of the whole operation. While a standard clamshell model can get the job done, I’ve found that a swing-away press really shines when you're working with thicker garments like the Gildan Heavy Cotton.
The reason is simple: swing-away presses bring the heat straight down, applying pressure perfectly evenly across the entire surface. This direct vertical force is key for embedding the DTF adhesive deep into those dense cotton fibers. With a clamshell, the hinge design can sometimes mean slightly less pressure at the back, which can occasionally cause adhesion problems on a beefy shirt like this.
Your Go-To Tool Kit
Aside from the press, there are a few simple tools that are absolutely non-negotiable if you want flawless results every single time. Think of these as your personal quality control crew.
Here’s what you absolutely need in your toolkit:
- A Good Lint Roller: This is your first line of defense, seriously. One tiny fiber or speck of dust trapped under a transfer will create a glaring imperfection in the final print. Be thorough with your lint rolling, especially on dark shirts where it’s harder to spot debris.
- Heat-Resistant Tape: DTF transfers have a sneaky way of shifting when you lower the heat press. A couple of small pieces of this tape will lock your design down, guaranteeing perfect alignment from the first shirt to the last.
- Teflon Sheet or Parchment Paper: This is a must-have for two big reasons. It stops any ink from getting onto your heat platen during the first press, and it protects the transfer from direct heat during the final cure, giving it that smooth, matte finish we're all after.
If you find yourself doing a lot of prints or tricky placements, a laser alignment system is a fantastic investment. It projects crosshairs right onto the shirt, taking all the guesswork out of centering logos or chest graphics. It's a small upgrade that saves a ton of time and prevents costly mistakes.
At the end of the day, a clean, dedicated space is king. Dust and pet hair are the sworn enemies of a perfect DTF transfer. Wiping down your surfaces and keeping your blank Gildan Heavy Cotton T Shirt stock covered goes a long way. This little bit of prep work makes a huge difference in the quality of your final product.
Prepping Your Gildan Shirts for a Perfect Press
Getting a professional-looking finish isn't just about the press itself. Honestly, the prep work is where you separate the amateurs from the pros. If you want a transfer that looks and feels incredible on a Gildan Heavy Cotton t shirt, you have to start with a perfectly clean and prepped canvas.
It’s tempting to skip these steps when you're in a hurry, but trust me, it’s a mistake you’ll regret. Taking a minute or two here makes all the difference in how well that DTF adhesive grips the cotton fibers and how long your design will last.
The Lint Rolling Ritual
First thing's first: grab your lint roller. You need to be almost obsessive about this. Roll the entire area where your design will go, and don't just do it once. Go over it from top to bottom, then side to side.
Why? Because even a tiny, nearly invisible piece of dust, lint, or stray hair can get trapped under the transfer. When that happens, it creates a microscopic gap where the adhesive can’t touch the shirt. That tiny gap becomes a permanent flaw in your print. It's especially noticeable on dark shirts, where a stray light-colored fiber you missed will suddenly appear, sealed forever into your design.
Real-World Scenario: Picture this: you're pressing a crisp white logo onto a black Gildan 5000. The press is done, you peel the film, and step back to admire your work... only to see a tiny black speck right in the middle of a letter. That's probably a single black fiber you didn't catch with the roller. It’s frustrating, and it’s completely avoidable.
Why You Can’t Skip the Pre-Press
After the lint is gone, your next move is the pre-press. It's simple but absolutely essential. Just lay the shirt on your heat press and press it for 5-10 seconds at the temperature you'll be using for the transfer.
This quick press does two crucial things:
- It forces out hidden moisture. Cotton is a natural sponge for humidity in the air. Even if a shirt feels bone dry, it's holding onto water. Heating it turns that moisture to steam and gets it out of the fabric so it doesn't interfere with the DTF adhesive.
- It creates a perfectly flat surface. The pre-press smooths out all the wrinkles and creases, giving you a completely even canvas. This ensures your transfer lays down flat and the pressure is distributed evenly.
Think of it as priming a wall before you paint. Skipping this step means you risk trapping steam during the main press, which can lead to bubbling, uneven adhesion, or even total failure of the transfer. With the blank apparel market valued at around USD 14.59 billion in 2023, mastering these professional techniques is what helps your work stand out.
Perfecting Your Heat Press and Curing Process
This is where the magic happens. The heat press is more than just a tool for sticking a design on a shirt; it’s where you fuse ink and fabric into a single, durable piece. For a workhorse like the Gildan Heavy Cotton t shirt, you need a specific two-press method to get that professional, soft-hand feel that lasts.
Your starting point is the temperature. I always dial in my heat press somewhere between 300-320°F (149-160°C). This is the sweet spot—hot enough to properly activate the DTF adhesive but not so hot that you risk scorching the cotton. Keep in mind that every press has its own quirks, so doing a quick test on a scrap piece of fabric is never a bad idea.
The First Press to Lock It In
Alright, let's get pressing. Lay your prepped shirt flat on the press, place your DTF transfer right where you want it, and lay a protective sheet (parchment paper or a Teflon sheet works great) over the top.
Now, press it with firm, even pressure for about 10-15 seconds. The goal here isn't to fully cure everything just yet. Think of this as the initial tack-down, getting the adhesive to grab onto the Gildan's cotton fibers.
Uneven pressure is the quickest way to ruin a transfer, especially on a thicker shirt like the Gildan 5000. If you want to dive deeper into the nitty-gritty of settings, our complete guide on heat press settings for DTF transfers breaks it all down for you.
Mastering the Cold Peel
Once that first press is done, take a deep breath. This part requires patience. You absolutely have to perform a cold peel, which means letting the shirt and the transfer cool down completely. I mean completely—cool to the touch.
Crucial Tip: Don't rush this. Seriously. Peeling the film while it's still warm is a recipe for disaster. It'll pull up parts of your design and you'll have to start over. I usually walk away and start prepping the next shirt to keep myself from getting impatient.
Once it's cool, find a corner of the film and peel it back slowly, keeping it at a low angle to the shirt. If you've nailed the temperature and pressure, it should release cleanly, leaving your vibrant design behind.
The Second Press for Durability and Feel
The design is on the shirt, but we're not done. This second press is what separates the pros from the amateurs. It fully cures the ink, melts it into the fabric for amazing durability, and gets rid of that plastic-y shine for a clean, matte finish.
Place your protective sheet back over the exposed design. This time, you'll press for just 5-7 seconds at the same temperature and pressure. That's it. This quick final step sets the ink for good, making sure it can handle the washing machine without cracking or fading. It’s what makes the design feel like it's part of the shirt, not just sitting on top of it.
To help your customers (or yourself!) keep that print looking fantastic, proper aftercare is a must. This infographic lays out the simple washing instructions for any DTF-printed Gildan Heavy Cotton shirt.
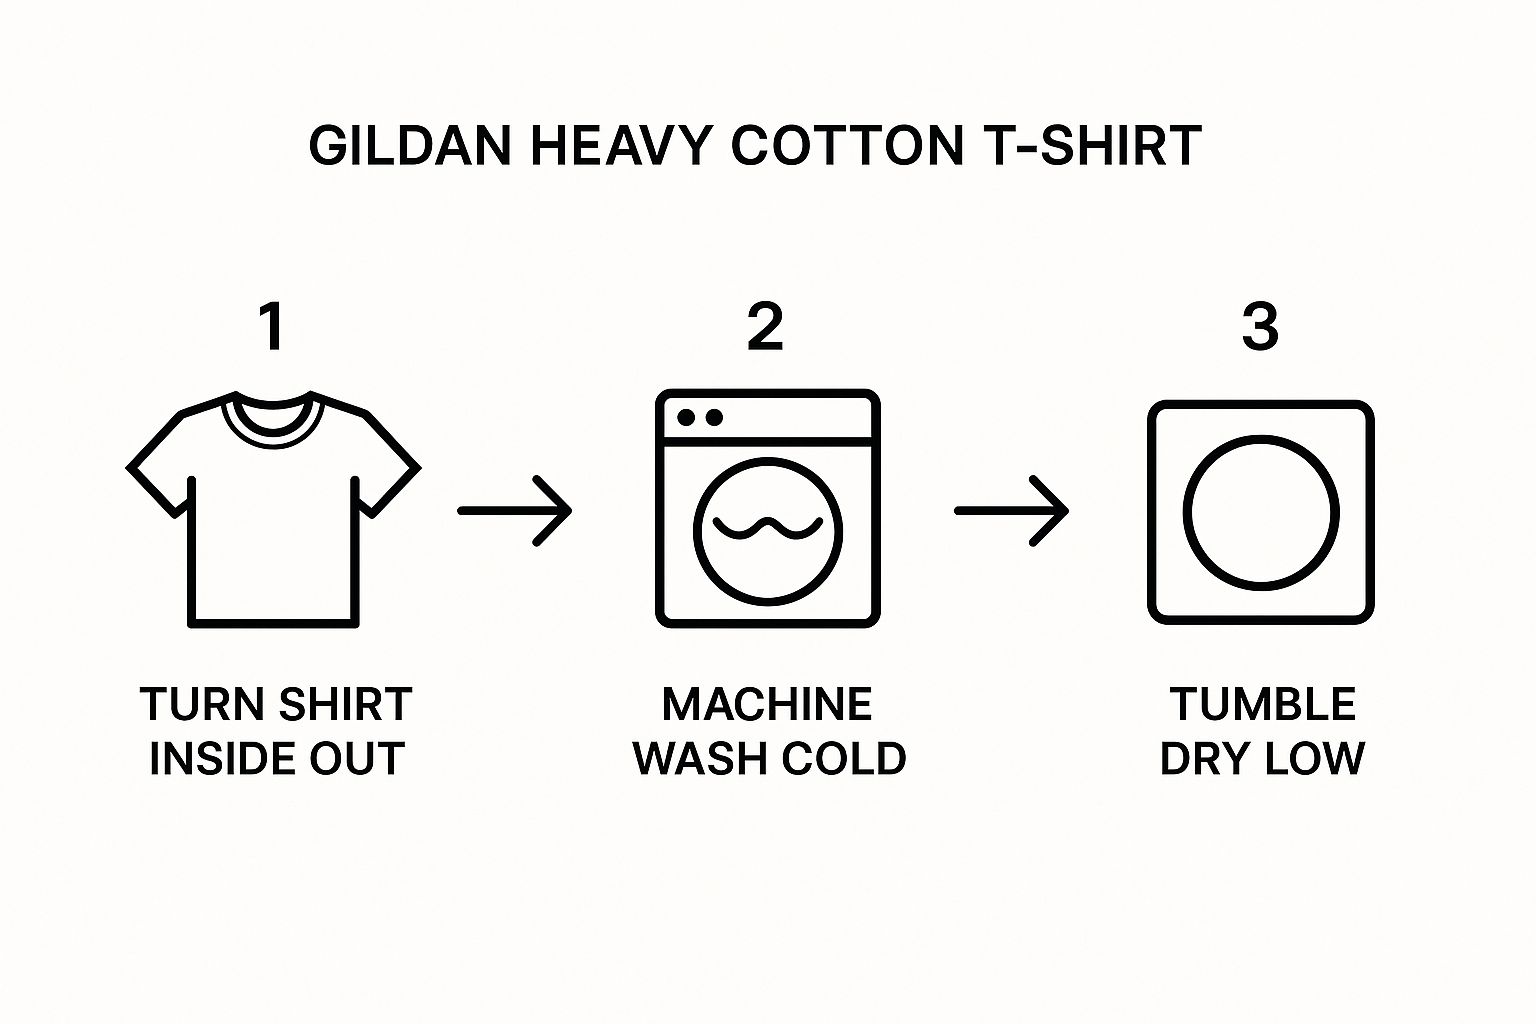
These instructions—turn inside out, wash cold, tumble dry low—are non-negotiable if you want to get the most life out of both the shirt and your print.
Working Through Common DTF Printing Problems
Even when you do everything right, sometimes a print just doesn't turn out. It happens to everyone. The key is learning how to read the "mistake" to figure out what went wrong. Trust me, learning from others' experiences is a whole lot cheaper and less frustrating than making all the mistakes yourself.
Let's walk through the most common hiccups you'll face when pressing DTF transfers onto a Gildan Heavy Cotton t shirt and how to fix them.
Don't let a bad print get you down. Each one is a lesson that helps you dial in your process. Once you know what to look for, you'll be fixing issues like a pro and getting consistently great results.
What to Do When Your Design Looks Faded or Peels
This is probably the number one problem people run into. You peel back the film, and the design looks washed out, or the edges start lifting right away. Nine times out of ten, the problem started before you even placed the transfer.
The biggest culprit? Moisture. If you skip the pre-press, you're trapping moisture in the cotton fibers. When that heat hits, it turns to steam and literally pushes the transfer's adhesive away from the shirt.
Uneven pressure is another common issue, especially with clamshell-style presses. If the pressure isn't perfectly even across the entire platen, parts of your design simply won't stick properly. This is a real concern with the thicker fabric of a Gildan Heavy Cotton.
- The Fix: Never, ever skip the pre-press. Give the shirt a good 5-10 seconds under the heat to drive out any moisture. Make sure your press is set to a solid medium-to-firm pressure and that the shirt is lying totally flat, with no seams, collars, or wrinkles getting in the way.
How to Avoid That Yellowish "Scorched" Box
Ever press a gorgeous design on a white shirt, only to be left with a faint, yellowish rectangle around it? That’s scorching. It’s what happens when the fabric gets just a little too hot for a little too long. Cotton is tough, but it’s not invincible.
Key Insight: Scorching is all about balancing heat and time. Your goal is to find the sweet spot—the lowest temperature and shortest time that will still properly cure the DTF adhesive. A few degrees or a couple of seconds can be the difference between a perfect print and a ruined shirt.
To fix this, start by checking the recommended temperature for your specific transfers and begin at the lowest setting. Always use a protective layer like a Teflon sheet or a piece of parchment paper. This not only shields the fabric from the hot platen but also helps distribute the heat more evenly. If you’re still seeing a hint of yellow, try knocking a second or two off your press time.
Getting Rid of That Stiff, Plastic Feel
A quality DTF print should feel soft and flexible, almost like it’s part of the fabric itself. If your final design feels like a thick, stiff sticker, it means the ink didn't fully cure into the shirt fibers. This is almost always because the second press was skipped.
That first press is just to get the design onto the shirt. The second press is what works the magic, giving it that professional, soft-hand feel.
- The Second Press Solution: After you've done the cold peel, lay your protective sheet back over the design. Press it again for 5-7 seconds. This quick blast of heat finishes the curing process, melts the ink into the fabric, kills the glossy finish, and makes the design feel like it belongs there.
This final step is absolutely critical for achieving top-tier results on a Gildan Heavy Cotton t shirt. There's a reason Gildan holds an estimated 80% market share in North America's heavy cotton category; they provide a reliable, quality canvas. You can learn more about the factors driving Gildan's market leadership and see why doing justice to their shirts with a proper curing process is so important for your final product.
Common Questions About DTF and Gildan Shirts
When you're dialing in your process for DTF printing on a Gildan Heavy Cotton t shirt, a few questions always seem to pop up. Getting the right answers can save you a ton of time, wasted materials, and headaches.
We get these questions all the time, so I've put together some straightforward advice to help you troubleshoot and get back to making great-looking apparel.
Can I Just Use a Household Iron for DTF Transfers?
I get why people ask this, especially for a one-off project. But for any serious work, using a household iron for DTF transfers is a recipe for disaster. It comes down to two things a heat press does perfectly that an iron can't: consistent temperature and even pressure.
An iron just can't deliver the uniform pressure needed to bond the DTF adhesive deep into the thick fibers of a Gildan Heavy Cotton tee. You end up with hot spots and weak points, which pretty much guarantees the transfer will look patchy and start peeling after the first wash. If you want professional, durable results that last, a real heat press isn't just a suggestion—it's essential.
Why Is My White Ink Turning Yellow After I Press It?
This is a classic and frustrating problem. You peel back the film, and your crisp white design has a yellowish or dingy tint. This is usually caused by dye migration, and it’s most common on Gildan shirts that have some polyester in them, like the heather and safety colors.
What's happening is the intense heat is causing the dye in the fabric to turn into a gas (a process called sublimation), which then stains your white DTF ink.
Here’s how to fight it:
- Lower the Heat: Drop your press temperature to the lower end of the scale, somewhere around 280-300°F.
- Shorten the Press Time: Shave a few seconds off your press time. Less time under heat means less time for the dye to migrate.
- Start with Quality Transfers: Good DTF transfers are made with a dye-blocking layer specifically to prevent this.
A quick pro tip: Always test your settings on a scrap piece of fabric first, especially when you're working with a new shirt color. A 10-second test can save an entire garment from the scrap pile.
If you want to get a better handle on the whole process, from the film to the final product, check out our in-depth guide on what DTF printing is and how it works.
What Are the Right Washing Instructions for a Printed Gildan Shirt?
How the shirt is cared for afterward is just as important as how it's printed. The Gildan shirt itself is a workhorse, and you want your print to last just as long. Giving your customers these simple care instructions will keep the design looking great wash after wash.
The best practice is to turn the shirt inside out before washing, which protects the design from rubbing against other clothes. Wash it in cold water on a gentle cycle with a mild detergent. Crucially, tell them to avoid bleach and fabric softeners, as both can break down the DTF ink and adhesive over time. For drying, hanging it up is best, but tumbling dry on the lowest heat setting works too.
Does the Shirt Color Change My Heat Press Settings?
It absolutely does. Darker colors, especially black, absorb and hold onto heat way more than light colors like white or natural. You’ll probably find that you can get a perfect press on a black Gildan Heavy Cotton t shirt with a slightly lower temperature or a shorter press time compared to a white one.
And as I mentioned before, any color with a polyester blend—like the popular heather grays and safety greens—needs a much lower temperature to stop dye migration. Think of every shirt color as its own variable. Getting in the habit of doing a quick test press for each new color is what separates the pros from the amateurs.
Ready to create stunning, durable designs on the industry's favorite tee? At Raccoon Transfers, we provide premium, easy-to-apply DTF transfers that bring your vision to life on any Gildan Heavy Cotton T-Shirt. Start your order today and experience the difference quality makes.