
A Practical Guide to Heat Press Shirt Printing with DTF Transfers
Ready to turn those blank tees into retail-quality custom apparel? You’ve come to the right place. Heat press shirt printing using Direct-to-Film (DTF) transfers is one of the best ways for creators to produce vibrant, durable, full-color designs without the messy setup of screen printing. It’s a fantastic method for small businesses, Etsy shop owners, and anyone serious about creating custom gear.
Your Blueprint for Flawless Custom Shirts
This isn't just another basic tutorial. This is your complete roadmap, packed with the kind of real-world advice that helps you move from hobbyist to pro. We're going to get into the details—the stuff that actually matters—so you can confidently produce top-notch shirts from your own workshop or spare room.
And it’s a great time to be in this space. The demand for unique apparel is booming. The custom t-shirt printing market was valued at an impressive $8.93 billion in 2025 and is on track to hit $9.88 billion in 2026. That’s a compound annual growth rate of 10.7%, which shows just how much people want custom, personalized products. You can dive into the custom t-shirt printing market projections to see the data for yourself.
What This Guide Covers
We're cutting through the noise to give you a practical, step-by-step plan. The goal is to get you creating professional products consistently and efficiently, from day one.
Here’s a sneak peek at what we'll cover:
- Choosing Your Gear: We'll look at different heat presses so you can find the right one for your budget and workflow.
- Prepping Your Artwork: Learn how to set up your design files correctly. A great press starts with a great file.
- The Application Process: I'll walk you through the step-by-step process of applying DTF transfers, highlighting the little details that make a huge difference.
- Fixing Common Problems: We'll troubleshoot issues like scorching, peeling, and uneven presses that can frustrate newcomers.
My goal here is simple: to give you a clear, straightforward blueprint that helps you sidestep the common mistakes. By the end of this guide, you’ll know exactly how to use quality DTF transfers, like the ones from Raccoon Transfers, to take your projects to the next level.
Choosing Your Heat Press and Essential Supplies
Before you can press that first shirt, you need to get your toolkit in order. Think of this as building the foundation for your entire heat press shirt printing operation. Picking the right press and supplies from the get-go will save you a world of frustration, time, and money later on.
Your heat press is the heart and soul of your setup. It’s a real investment, and it’s one worth making. The market for these machines is expected to grow at a 5.90% compound annual growth rate through 2030, which tells you this isn't just a passing trend—it's a solid business to be in. If you're curious about where the industry is heading, you can check out some great insights on the growth of the heat transfer market.
Understanding the Main Types of Heat Presses
You'll quickly find that not all heat presses are built the same. The three big players are clamshell, swing-away, and draw presses. Each has its own personality and is suited for different workspaces and workflows.
Let's break them down.
- Clamshell Press: This is the go-to for most beginners or anyone tight on space. It opens and closes just like a clamshell, making it super compact and quick to use. It’s the perfect fit for a small home office or a craft corner where you're trying to make every inch count.
- Swing-Away Press: Just like it sounds, the top platen swings completely out of the way. This gives you a wide-open, unobstructed view of your shirt, which makes lining up transfers a breeze. It does need more elbow room to operate, but it practically eliminates the risk of accidentally burning your knuckles on the hot platen.
- Draw Press: This one is a smart hybrid. The bottom platen slides out toward you like a drawer. You get the easy, safe access of a swing-away but in a much tighter footprint. It’s a fantastic professional-grade option that balances the best of both worlds.
The choice really boils down to your personal balance of speed versus space. Clamshells are workhorses for high-volume jobs, while swing-away presses give you more precision and safety for those tricky placements. For a much deeper dive, take a look at our guide on selecting the best heat press machine for shirts.
Gathering Your Essential Printing Accessories
Okay, you’ve got the press. Now for the supporting cast. A few key accessories are absolutely non-negotiable if you want clean, professional results. These are the unsung heroes that prevent rookie mistakes like scorch marks and crooked designs.
Think of these as your insurance policy for a perfect press every single time:
- Teflon Sheets or Protective Cover Sheets: You'll place one of these reusable sheets between the hot platen and your transfer. It shields the garment from direct heat, preventing that dreaded scorching, especially on sensitive fabrics like polyester. It also keeps your platen clean from any ink residue.
- Heat-Resistant Tape: This stuff is magic. It’s designed to hold your DTF transfers exactly where you want them on the shirt. It can take the heat without melting or leaving behind a sticky mess, ensuring your design stays put.
- Pressing Pillows: These are foam-filled, Teflon-coated pillows that you slide inside a shirt. They're a must-have when you're pressing over anything uneven like seams, zippers, or collars. The pillow lifts the print area, guaranteeing you get solid, even pressure across the whole transfer.
Pro Tip: Don't even think about using household items as substitutes here. I've seen it tried, and it's always a disaster. Regular tape will melt into a gooey mess, and a folded-up towel just doesn't provide the firm, consistent surface you get from a real pressing pillow. Spend a few extra bucks on the right accessories—it protects your much bigger investment in blank shirts and transfers.
Streamlining with Pre-Made Gang Sheets
Finally, let's talk about your most important supply: the transfers themselves. Using pre-made DTF gang sheets from a service like Raccoon Transfers is an absolute game-changer for your workflow. Instead of messing with printing and prepping transfers one by one, you get a sheet packed with your designs, all ready to be cut out and pressed.
This approach saves an incredible amount of time and significantly lowers your cost-per-shirt, which means more money in your pocket from day one.
Mastering the DTF Transfer Application Process
This is where all your prep work really pays off. The actual application is the heart of heat press shirt printing, and getting it right is what turns a cool idea into a fantastic, durable product. It’s all a careful dance between heat, time, and pressure, and mastering the steps is what separates the pros from the amateurs.
The great news? With quality DTF transfers, the process is surprisingly straightforward and incredibly consistent. Let's walk through each crucial moment, from prepping the garment to that final, satisfying peel. Think of this as your pre-flight checklist for a perfect press, every single time.
The flow is simple, but each piece of equipment plays a vital role.

As you can see, every tool is there for a reason—to protect the garment and ensure that transfer bonds perfectly. Using the right supplies isn't just a suggestion; it's essential for a flawless finish.
Garment Prep: The Non-Negotiable First Step
Before you even think about laying down your transfer, you have to prep the shirt. This might feel like a minor detail, but it’s probably the most important step for ensuring your print lasts. Fabrics, especially cotton and its blends, are like sponges for moisture in the air.
If you press a transfer onto a shirt that's even slightly damp, the heat turns that hidden moisture into steam. That steam gets trapped and creates a barrier, stopping the DTF adhesive from grabbing onto the fabric fibers for good. The result? A print that looks okay at first but is doomed to crack or peel after the first wash.
Luckily, the fix is incredibly simple: a quick pre-press.
- Just lay your blank shirt on the heat press.
- Close it for 5-10 seconds at your target temperature.
- When you open it up, you’ll probably see a little puff of steam. That’s all the moisture you just forced out.
This one simple action also knocks out any wrinkles, giving you a perfectly flat, ready surface for your design. Seriously, don't skip this. It's the best insurance policy you have against a failed print.
Aligning Your Transfer for a Professional Look
Okay, your shirt is prepped and ready to go. Now it's time for placement. Nothing screams "homemade" faster than a crooked or off-center design. Taking a minute to get the alignment perfect is what gives you that professional, retail-ready look.
A great trick is to fold the shirt in half vertically and give it a quick press to create a faint centerline as a guide. You can find the center of your transfer by gently folding it in half (don't crease it!) and making a tiny pinch at the top and bottom.
For consistent results, an acrylic t-shirt alignment tool or even a simple ruler is your best friend. A good rule of thumb for a standard front chest graphic is to place the top of the design about 3-4 inches (or a four-finger width) down from the collar.
A Practical Tip: Once you nail the placement for a specific design and shirt size, snap a quick photo with your phone. This creates a visual library you can reference for future orders, ensuring every single shirt in a batch looks identical. Consistency is king.
The Big Three: Temperature, Time, and Pressure
With your transfer taped down (heat-resistant tape is a lifesaver), you’re ready for the main event. The success of your heat press shirt printing now comes down to three things: temperature, time, and pressure. Nailing this combo is everything.
While our Raccoon Transfers are very forgiving, different fabrics do require small tweaks. We've got a comprehensive guide in our detailed DTF pressing instructions, but the chart below is an excellent starting point for the most common materials you'll be working with.
Recommended Heat Press Settings for DTF Transfers
Use this as your starting point for achieving the perfect press on various fabrics. Always test a sample first.
| Fabric Type | Temperature (°F / °C) | Press Time (Seconds) | Pressure Level | Peel Method |
|---|---|---|---|---|
| 100% Cotton | 300-320°F / 149-160°C | 10-15 seconds | Medium-Firm | Cold Peel |
| 50/50 Cotton-Poly | 280-300°F / 138-149°C | 10-12 seconds | Medium | Cold Peel |
| 100% Polyester | 260-275°F / 127-135°C | 8-10 seconds | Medium | Cold Peel |
| Tri-Blends | 260-280°F / 127-138°C | 8-10 seconds | Medium-Light | Cold Peel |
Always, always, always place a Teflon sheet or protective cover over your transfer before closing the press. It protects your shirt from scorching and keeps your heat platen clean.
Mastering the Cold Peel Technique
Once the timer beeps, open the press and slide the garment somewhere cool and flat. This is where you need a little patience. DTF transfers require a cold peel, meaning you have to wait for both the transfer and the shirt to be completely cool to the touch before you even think about removing the film.
Trying to peel it while it’s still warm is the #1 reason for ruined prints. The ink and adhesive need that cooling time to set up and form a permanent bond with the fabric. If you peel too soon, you’ll pull the design right off with the film, and you'll be starting over from scratch.
Once it's cool, grab a corner and peel the film back low and slow—keep it almost parallel to the shirt. Don't just rip it off like a band-aid. A smooth, steady pull will release the film perfectly, leaving a crisp, vibrant design behind.
For the final touch, do a quick post-press (or finishing press). Cover the design with your Teflon sheet or a sheet of parchment paper and press it again for just 5-7 seconds. This last step melts the ink into the fabric fibers, which boosts durability and gives the print a softer, matte finish that feels amazing.
Getting Your Artwork and Gang Sheets Dialed In for Profit
A professional-looking shirt doesn't just happen at the heat press. The magic really begins with a high-quality, perfectly prepped design file. If you get your artwork right from the get-go, you're setting yourself up for those crisp, vibrant prints that people are excited to wear and buy.
Think of this step as laying the foundation. We'll walk through the absolute must-haves, like file resolution and format, which are crucial for making your digital design look just as good on fabric. More importantly, we're going to dive into the single best strategy for maximizing your materials and boosting your bottom line on every single order.
The Makings of a Flawless Print
Before you even think about uploading a file, let's cover two golden rules that will save you from some of the most common rookie mistakes. A quick check here prevents blurry prints, that dreaded white box around your art, and colors that just look... off.
- Resolution is Everything: Your design file must be 300 DPI (dots per inch) at the final print size. If you grab a low-res image from a website (usually 72 DPI), it’s going to look pixelated and fuzzy when it's on a shirt. No heat press in the world can fix a low-quality file.
- Stick with the Right File Type: For DTF transfers, the gold standard is a PNG with a transparent background. This is non-negotiable. It ensures only your design gets printed, not a big, clunky background. If you send a JPG, you’ll almost always get a white or black box printed right along with your graphic.
A Quick Pro Tip: Always double-check your color mode. Your artwork should be in RGB. DTF printing technology is optimized for this color space, and it gives you the most accurate results. Designing in CMYK can cause some surprising color shifts when your transfers are actually printed.
Unleash the Power of the Gang Sheet
Now, this is where you shift from being just a creator to a smart business owner. A gang sheet is simply a large transfer sheet where you can arrange—or "gang up"—multiple designs. Instead of buying transfers one by one, you can pack an entire collection of graphics onto a single sheet, which drastically slashes your cost for each individual print.
This isn't just a neat space-saving trick; it's a core strategy for fattening up your profit margins. For instance, on just one sheet, you could easily fit:
- A big graphic for the front of a t-shirt
- A couple of smaller logos for the sleeves
- A custom design for the neck tag
- A left-chest logo for a polo
You get all of that for the price of one sheet. To really get a handle on your business, you need to know how to calculate profit per unit for everything you sell, and gang sheets are a game-changer for lowering your material costs.
Making the Most of Your Real Estate
Using an online tool like the Raccoon Transfers gang sheet builder makes this whole process dead simple. You just upload your individual PNGs and start arranging them. You can rotate, resize, and nest them together like a puzzle until you've used every last inch of film. The more you can fit, the more money you make. To learn how to master this layout, check out our guide on how to make a DTF gang sheet.
It's incredible how accessible this level of optimization has become for everyone. The global heat press machine market has absolutely exploded, with the industry estimated to hit over 20 million units in 2025. This just goes to show that customizing apparel has moved from giant factories to the hands of entrepreneurs just like you. You can read the full heat press market research to see just how big this opportunity is.
Working Through Common Heat Press Hiccups
Even when you've got the best gear and top-notch DTF transfers, things can go sideways. A botched press is always a gut-punch, especially when you're watching expensive blanks and transfers go to waste. But here's the good news: nearly every common problem you'll run into with heat pressing is a quick fix once you know what to look for.
Think of this as your troubleshooting field guide. We'll walk through the most frequent issues, get to the root cause, and give you a simple, clear-cut plan to get your production humming again. Let's turn those printing headaches into easy wins.
"Why Isn't My DTF Transfer Sticking?"
This is, without a doubt, the number one question we get. When a transfer just won't stick, it almost always points back to two main culprits: pressure or moisture. The DTF adhesive needs a solid, even connection with the fabric's fibers to lock in permanently. If your design is lifting at the edges or peeling off completely, your press simply isn't applying enough force.
The other big offender is hidden moisture in the garment itself. When you skip the pre-press, steam gets trapped right under the transfer. This stops the adhesive from curing properly and grabbing onto the shirt.
Your troubleshooting checklist:
- Did you pre-press? Don't skip this. A quick 5-10 second press on the blank shirt drives out moisture and smooths out wrinkles, giving you the perfect canvas to work on.
- Is the pressure right? Most presses have a big knob for this. You want a setting that takes a bit of muscle to lock down—what we call "medium-firm" pressure. If the handle closes with zero effort, crank it up.
- Are you pressing over seams or collars? Any obstruction like a seam, zipper, or pocket edge creates an uneven surface. Slide a pressing pillow inside the shirt to lift the print area, ensuring the platen gets that flush, even contact it needs.
Real-World Scenario: Picture pressing a design onto the front of a hoodie. Those thick seams around the pocket and hood can easily prevent the heat platen from making solid contact with your transfer. This is exactly where a pressing pillow saves the day by evening out the pressure perfectly.
Fixing Scorched Polyester or Blends
You've been there: you press a crisp white polyester shirt, and when you lift the platen, you see a faint, yellowish box framing your beautiful design. That's scorching. It happens when the heat is just too much for the synthetic fabric, causing the dyes in the material to "gas out" and stain the area. This is especially common on white and light-colored performance fabrics.
The fix is simple: dial back your heat and time. Polyester just doesn't need the same high heat as cotton.
- Drop the temperature: For 100% polyester, bring your heat down to the 260-275°F (127-135°C) range.
- Shorten the press time: A quick 8-10 second press is typically all you need.
- Use a protective sheet: Always place a Teflon sheet over your transfer. It acts as a great buffer, diffusing the direct heat and giving that delicate fabric an extra layer of protection.
"Why Did My Transfer Peel After a Wash?"
There's nothing worse than a print that looked perfect off the press, only to have it crack or peel after its first wash. When this happens, it's a dead giveaway that the transfer never fully bonded with the fabric in the first place. The connection was just on the surface.
This problem almost always comes back to getting the fundamentals of your application process right.
- Wrong Temperature or Time: Double-check our recommended settings for your specific fabric. Using a cotton setting on a poly-blend shirt, for example, can leave the transfer under-cured and weak.
- Not Enough Pressure: This is a big one. Without that firm, even pressure, the adhesive can't properly melt and push its way into the fabric's weave.
- Peeling the Film While It's Still Warm: Our Raccoon Transfers are a cold peel. This is non-negotiable! You have to wait until both the garment and the transfer film are completely cool to the touch. If you peel it hot or even warm, you'll pull the ink right off before it has a chance to set permanently.
Ensuring Durability with Post-Press Care
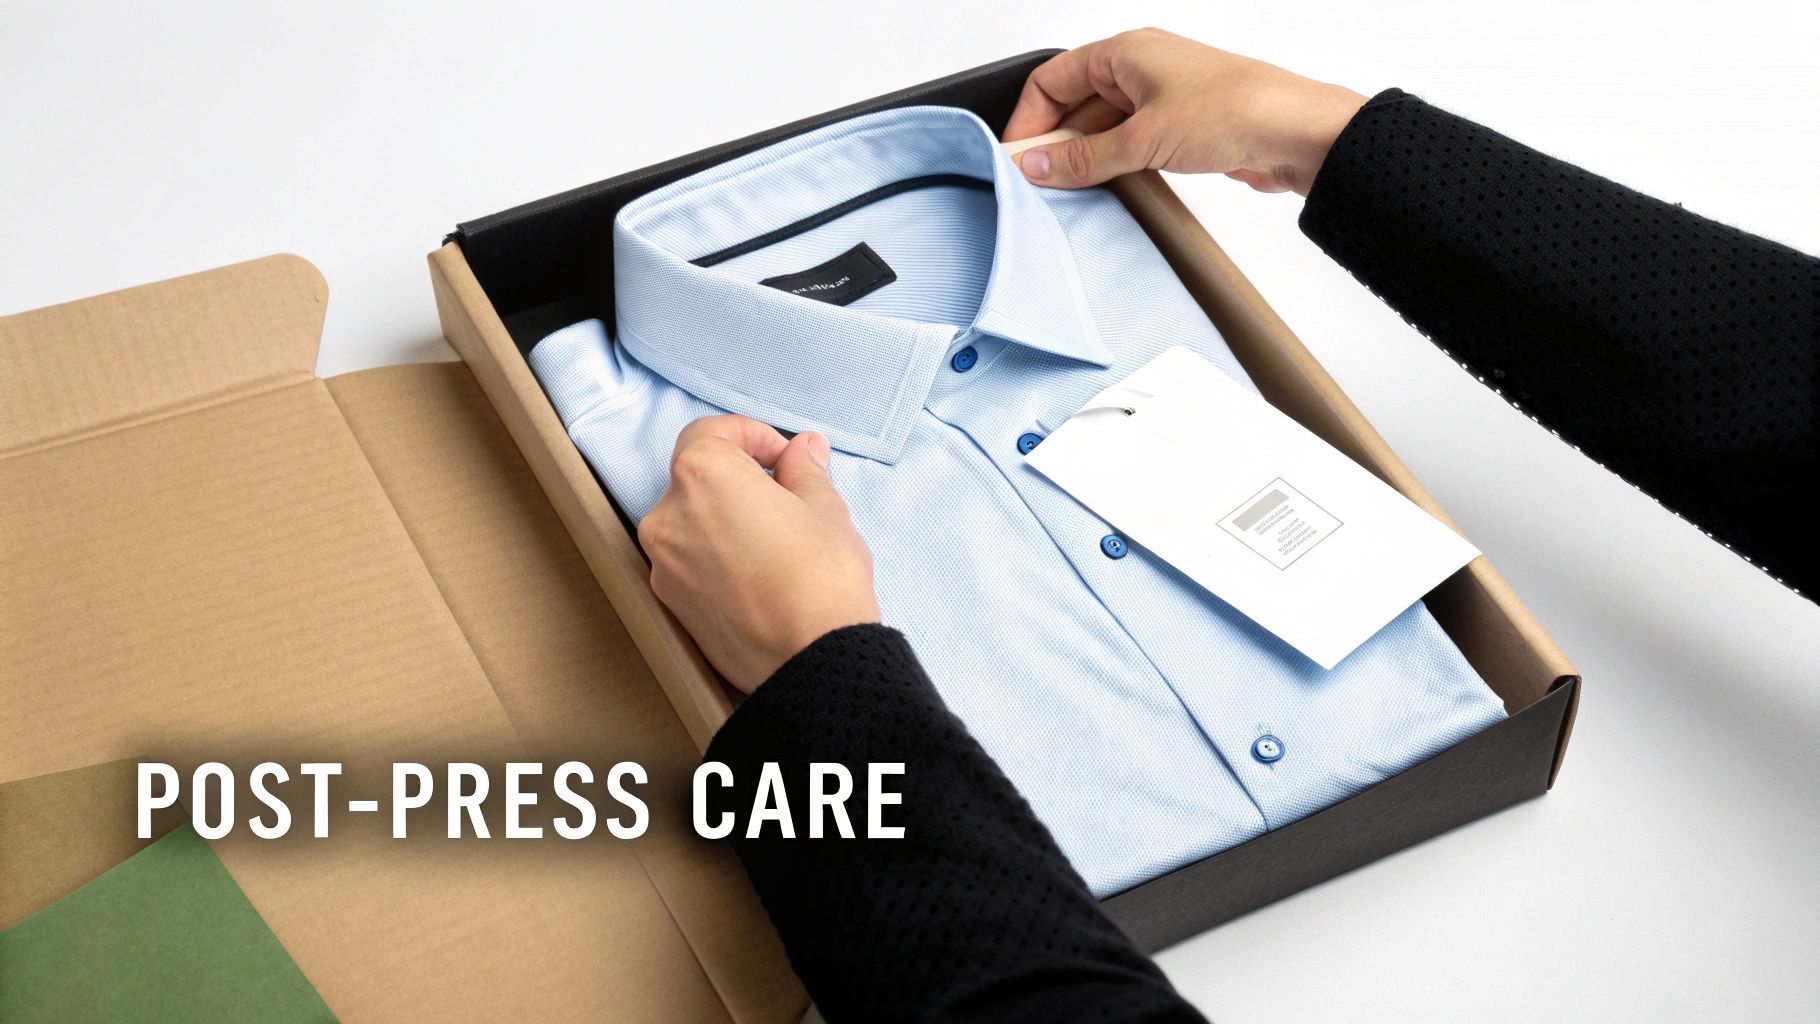
The job isn't truly finished just because the heat press beeps. What you do in the hours and days after the press is what turns a great-looking print into a durable, professional product that brings customers back for more. This is where you lock in the longevity of your heat press shirt printing work.
Think of the DTF transfer's adhesive as a sophisticated glue. Even after it's cooled, it's still working, continuing to cure and strengthen its bond deep within the fabric's fibers. If you rush this part, you're setting the print up for failure down the road.
The Crucial 24-Hour Curing Window
This is the most important rule of all: let the shirt rest. You absolutely must wait at least 24-48 hours before the garment sees its first wash. This is non-negotiable. This window gives the ink and adhesive the time they need to fully set, creating that permanent, tough bond that can handle whatever life (and a washing machine) throws at it.
You can definitely fold and package the shirts right away, but it's vital that your customers understand this waiting period. A small, simple care card tucked into their order is a fantastic touch. It not only prevents them from accidentally damaging their new favorite shirt but also shows you're a pro who cares about quality.
Simple Washing Instructions for Happy Customers
Don't leave your customers guessing. Give them clear, straightforward washing instructions so they can keep their new apparel looking fantastic. Vague advice leads to damaged prints and unhappy clients.
Here’s exactly what you should tell them:
- Turn Inside Out: This is the best way to protect the print from rubbing against other clothes.
- Wash Cold: Always use cold water and a gentle cycle. Hot water is the enemy of the transfer's adhesive.
- Tumble Dry Low: For best results, dry on the lowest heat setting. Even better? Hang it up to air dry.
- No Bleach or Fabric Softeners: Harsh chemicals are a big no-no; they can break down the print.
This focus on post-press care and clear customer communication is what separates a hobby from a real brand. When done right, a quality print should easily last 50-100 washes, often outliving the shirt itself.
Validating Your Process with a Wash Test
Want to be 100% confident in your work? Run your own quality control tests. Press a sample shirt using your go-to settings, let it cure for a full 48 hours, and then put it through its paces.
First, give it a good stretch. Gently pull the fabric around the design. The transfer should stretch right along with the shirt, with no signs of cracking or peeling. Then, toss it in the wash, following the exact care instructions you give your customers. If it comes out looking just as good as it went in, you know your heat press shirt printing process is dialed in perfectly.
Common Questions (and Quick Answers) About DTF Printing
When you're diving into the world of heat pressing with DTF transfers, a few questions always seem to pop up. Let's get them answered so you can press with confidence.
Can I Just Use My Home Iron Instead of a Heat Press?
I get this question all the time, and the short answer is no, not if you want professional results. A heat press is non-negotiable for DTF.
Your standard home iron just can't deliver the two things that are critical for a lasting transfer: consistent, accurate heat and heavy, even pressure. Without those, the adhesive won't properly bond to the fabric, leading to prints that crack, lift at the edges, or peel off entirely after a wash or two.
Help! My White Polyester Shirt Turned Yellow Under the Press.
That dreaded yellowing is called scorching, and it's a common headache with polyester. It happens when the heat is too high, causing the dyes in the synthetic fabric to "gas out" and stain the material.
The fix is pretty straightforward: dial back your heat. For most polys, aim for a lower temperature, somewhere in the 275-300°F range. You can also shorten your press time a bit and always, always use a protective Teflon sheet as a barrier between your shirt and the hot platen.
How Long Will a Good DTF Transfer Actually Last?
This is where DTF really shines. When you apply a quality transfer correctly, it's incredibly durable. You can expect it to hold up for 50-100 washes, and sometimes even more.
The lifespan is right up there with traditional screen printing, which is fantastic news. In most cases, the design will look great long after the t-shirt itself starts to wear out.
Quick tip from the trenches: Always remember that DTF is a 'cold peel.' You have to wait until the transfer is completely cool to the touch before peeling off the film. If you peel it while it's still warm, you risk pulling the ink right off the shirt and ruining all your hard work.
Ready to start pressing durable, eye-popping designs? The Raccoon Transfers online gang sheet builder is the easiest way to fit all your graphics onto one sheet and maximize your profit. Check it out and get started at https://raccoontransfers.com.