
How to Make Transfers for T Shirts with DTF Printing
If you've ever wanted to make your own custom t-shirt transfers, you're jumping in at the perfect time. The old ways of doing things are being replaced by newer, better technology, and at the top of that list is Direct-to-Film (DTF) printing. This method is a game-changer, letting you turn a digital design into a vibrant, tough, full-color transfer that sticks to just about any fabric you can imagine.
The whole process is about taking your artwork, printing it onto a special film, and then preparing it to be heat-pressed. The result? A professional-looking shirt with a design that feels soft and looks sharp.
Why DTF Is the Go-To for Modern T-Shirt Transfers

Before we get into the nitty-gritty of how to do it, it's worth understanding why so many creators and businesses are choosing DTF. It’s not just another option; it’s a massive leap forward from older techniques like heat transfer vinyl (HTV) or screen printing. DTF gives you professional quality without the headache of a complicated setup.
Compared to other methods, DTF transfers hold several key superiorities. They offer unparalleled versatility, adhering to a vast range of fabrics from cotton to polyester and even leather. The print quality is exceptional, capable of reproducing photorealistic images with fine details and unlimited colors without the need for complex multi-screen setups. Furthermore, DTF prints are known for their soft, lightweight feel and impressive durability, resisting cracking and fading through dozens of washes. This combination of flexibility, quality, and longevity makes it the superior choice for modern apparel customization.
The custom apparel world is booming—the global market for custom T-shirts hit $6.46 billion in 2024 and is expected to soar to $15.89 billion by 2033. This explosion is happening because technologies like DTF make it possible for anyone, from a side-hustler in their garage to a growing brand, to produce seriously high-quality gear.
It Works on Almost Any Fabric
This is probably the biggest selling point for DTF. We’ve all been there—a customer wants a design on a tricky fabric, and you have to say no. DTF pretty much eliminates that problem. While other methods are picky (DTG, for instance, really only loves cotton), DTF transfers press beautifully onto:
- 100% Cotton and cotton blends
- Polyester, both light and dark garments
- Tri-blends and other synthetic fabrics
- Tougher stuff like denim, canvas, and even leather
That kind of flexibility is huge. It means you can use the same transfer sheet for a classic cotton tee, a polyester athletic jersey, or a canvas tote bag, and get the same great results every time.
The Feel and Durability Are Top-Notch
You know that feeling of a cheap custom shirt? The design is thick, stiff, and feels like a sheet of plastic glued on top. That's a common complaint with old-school transfers. DTF is the complete opposite. The prints have what we call a "soft hand," meaning the ink actually bonds with the fabric fibers.
Because of this, the design stretches and breathes with the shirt. No more cracking or peeling after a few wears.
The real test of any transfer is the washing machine. DTF prints are built to last. They hold their color and won't fall apart after dozens of washes, making them perfect for creating apparel you'd be proud to sell.
When you get right down to it, DTF is about getting pro-level results without all the fuss. It can handle photorealistic images, intricate details, and smooth color gradients—things that are a nightmare to achieve with vinyl. If you want to get a deeper look at the tech behind it all, our comprehensive guide for understanding DTF printing is a great place to start.
DTF vs Other Transfer Methods At a Glance
Still on the fence? This quick comparison shows just how much of an advantage DTF offers over the classic methods you might be familiar with.
| Feature | DTF Transfers | Heat Transfer Vinyl (HTV) | Screen Printing | DTG Printing |
|---|---|---|---|---|
| Fabric Compatibility | Excellent (Cotton, poly, blends, leather, etc.) | Good (Cotton, poly, blends) | Limited (Best on cotton, struggles with poly) | Very Limited (Primarily cotton) |
| Color & Detail | Unlimited colors, photorealistic, fine details | Limited to solid colors, requires layering | Limited colors per screen, complex setup | Full color, good detail, but less vibrant on darks |
| Feel ("Hand") | Very soft, flexible, and breathable | Can be thick and stiff, especially layered | Soft, but can feel heavy with many colors | Very soft, ink soaks into fabric |
| Durability | High, resists cracking and fading through 50+ washes | Good, but can peel or crack over time | Very high, extremely durable | Moderate, can fade with repeated washing |
| Best For | Small to large runs, full-color complex designs | Simple text, logos, single-color graphics | Large bulk orders (100+ items) of simple designs | Small orders, one-off prints on cotton shirts |
As you can see, when you need versatility, durability, and stunning detail without ordering thousands of units, DTF is the clear winner for modern apparel customization.
Your Essential DTF Printing Equipment Checklist
Before you can start cranking out custom T-shirt transfers, you’ve got to get the right tools in place. Think of your DTF setup less like a shopping list and more like a finely tuned system. Each piece of equipment plays a vital role, and the quality of one component directly impacts the next. Get it right, and you'll be producing professional, durable prints.
The demand for this stuff is no joke. The personalized T-shirt market is booming, with projections showing revenue rocketing from $7.15 billion in 2025 to a massive $15.89 billion by 2033. This explosion is driven by creators like you who can now access pro-level digital printing tech. You can dig deeper into the numbers in this in-depth T-shirt market report.
Let's break down exactly what you'll need.
The DTF Printer and Specialized Inks
The heart of your whole operation is, of course, the DTF printer. This isn't your standard desktop printer. These machines are built to print on special film using very specific inks. They work by laying down a vibrant CMYK color layer first, then topping it with a brilliant white ink base. That white layer is the magic that makes your designs pop on any color fabric, from black to heather gray.
When you're picking a printer, be realistic about your production goals. Are you just starting out or running a small Etsy shop? A compact desktop model will probably do the trick. But if you're planning to handle bulk orders, you'll need a larger, roll-to-roll machine to keep up. For a full rundown of what's out there, our guide on the best DTF printer for T-shirt printing is a great place to start.
The DTF inks are just as critical. These are specially formulated pigment inks engineered to be flexible, colorful, and incredibly tough once they're cured. Skimping on ink quality is a rookie mistake—it's the difference between a shirt that looks amazing after 50 washes and one that fades and cracks after just a few.
Film and Adhesive Powder: The Key Consumables
Your designs are printed onto PET (polyethylene terephthalate) film. This isn't just a basic transparency sheet. It has a unique coating designed to grab the ink droplets and hold them perfectly in place, preventing any bleeding or spreading. A good quality film also ensures a clean, easy release—the "peel"—when you press the design, leaving nothing behind but a sharp graphic.
Next is the adhesive powder. This stuff is the secret sauce. It’s a fine, granular polymer that acts as the glue, binding your printed design to the T-shirt. Once the ink is printed on the film, you coat it with this powder. It sticks to the wet ink, and when you heat it up, it melts into a smooth adhesive layer.
The adhesive powder is what gives DTF its incredible versatility. It's the reason your transfer can stick firmly to cotton, polyester, leather, and more, creating a bond that withstands stretching and washing.
The Finishing Tools: Powder Shaker and Curing Oven
For small, one-off jobs, you can apply the adhesive powder by hand. But if you’re doing any real volume, an automatic powder shaker is an absolute game-changer. These machines evenly coat the print and shake off all the excess, giving you a perfectly smooth finish every single time. No clumps, no bald spots.
After powdering, the transfer needs to be cured. A curing oven or heat tunnel is used to melt the powder into a consistent adhesive film on the back of the ink. This is a non-negotiable step. If the powder isn't cured properly, the transfer simply won't stick to the garment. Many all-in-one systems actually combine the powdering and curing stages into one automated unit, which is a huge time and space saver.
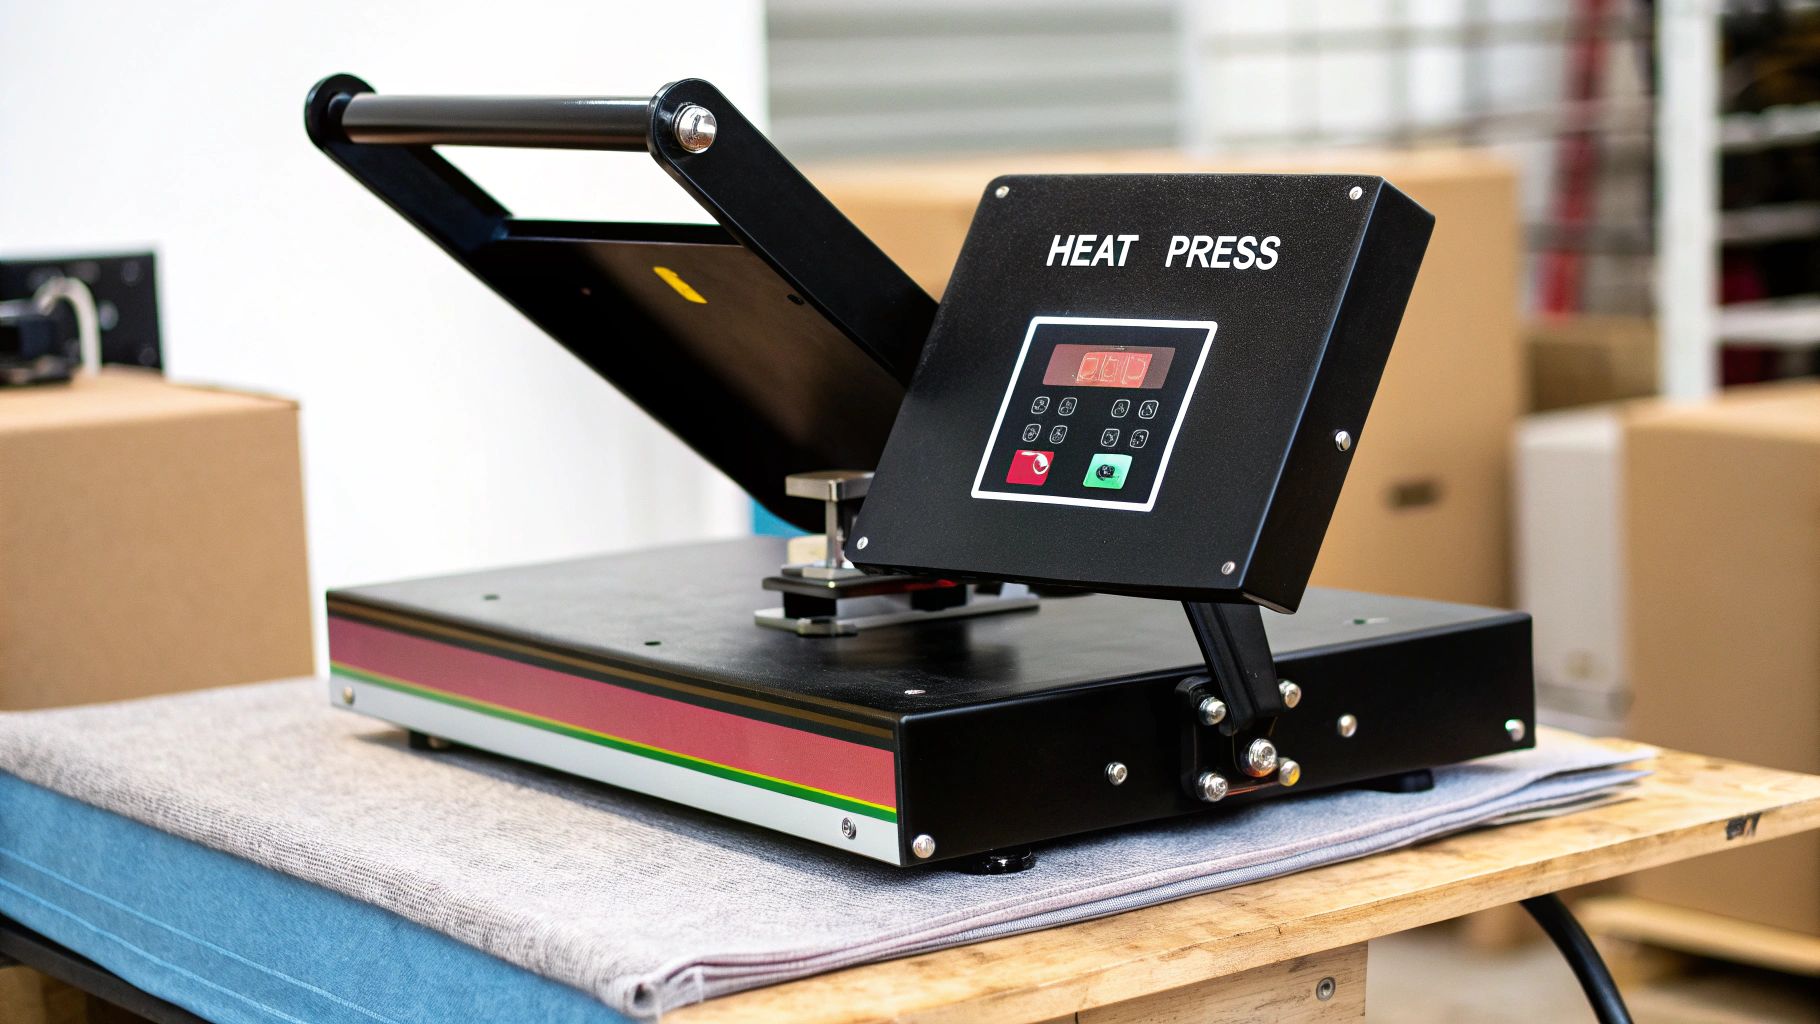
Finally, the heat press brings it all home. This is the machine that uses precise heat and pressure to transfer your cured design from the film to the fabric. A cheap, unreliable heat press with cold spots or uneven pressure is a recipe for disaster. Investing in a quality press is essential for getting that professional finish that keeps customers coming back.
Getting Your Digital Design Ready to Print
A top-notch T-shirt transfer doesn't start at the printer. It begins on your computer. The digital file is the foundation for everything that follows, and the settings you lock in here will make or break the final product's vibrancy, sharpness, and professional finish. Getting your artwork print-ready is arguably the most critical part of the whole process.
Think of your design file as the blueprint. Any flaw—whether it's low resolution, a stray background color, or the wrong file type—is going to show up on that shirt. This is your chance to get it right from the very beginning.
Nailing the Artwork File Setup
It doesn't matter if you're a Photoshop pro or an Affinity Designer enthusiast; a few rules are non-negotiable for DTF printing. The biggest one? Resolution. Your design absolutely must be set to 300 DPI (dots per inch). This is the gold standard for high-quality printing, and it’s what gives you those crisp lines and rich colors.
If you try to use a low-res image, like a 72 DPI graphic pulled from the web, you'll end up with a blurry, pixelated mess on the shirt. It just screams amateur. Always start your new projects at 300 DPI, or make sure you convert existing art correctly without sacrificing quality.
The other deal-breaker is the background. Your design file must have a transparent background. If you leave a white or colored box around your art, the DTF printer will print that box. Saving your file as a PNG or a TIFF with transparency checked is the only way to ensure just your design elements make it onto the film.
The Magic of RIP Software
Once your design is pixel-perfect, you can't just hit "Print" from your design program. DTF printing requires a special piece of software called a RIP (Raster Image Processor). This program is essentially a super-powered print driver that gives you granular control over how ink is laid down on the film.
The RIP software is the translator between your digital file and the physical printer, and its most important job is managing the ink.
- Color Matching: It works to ensure the colors you see on your monitor are the colors that actually come out of the printer.
- White Ink Control: This is the key. The software automatically creates the white ink underbase—the layer that makes your colors pop, especially on dark-colored shirts.
- Ink Density: You can fine-tune how much ink is used, which is crucial for preventing colors from bleeding into each other and keeping the final transfer soft and flexible.
Without RIP software, you simply can't print the essential white layer needed for colored garments. Your color accuracy would be a complete guessing game. It’s the essential bridge from a clean digital file to a perfect transfer.
Of course, getting the file right is only half the battle. You also need to know how big to make the design and where to place it. If you're scratching your head about sizing, our guide on graphic size for T-shirt design has some great real-world tips.
From Screen to Film: The Printing Process
With your artwork finalized and the RIP software configured, it's time to bring your design into the physical world. Start by loading a sheet of DTF film into your printer. Pay close attention here—you need to make sure the printable side, which is usually the duller, less glossy surface, is facing up. It's a simple mistake that can waste a lot of expensive ink and film.
Now, send the file to the printer directly from your RIP software. As the machine whirs to life, it will print the CMYK color layer first. Then, in a second pass, it will lay down a perfectly aligned white ink layer right on top of the color.
Keep an eye on the film as it emerges from the printer. You're looking for sharp lines and consistent color. Annoying issues like banding (faint horizontal lines) or splotchy ink can often be traced back to a clogged print head or the wrong settings. This is why regular printer maintenance is so important for getting pro-level results every single time.
Applying Adhesive Powder and Curing Your Transfer
Once your design is printed, what you have is a beautiful but very delicate layer of wet ink sitting on a sheet of PET film. The next two steps—powdering and curing—are where the real magic happens. This is the part of the process that transforms that fragile print into a durable, press-ready powerhouse, ready to become part of a T-shirt.
This stage is the critical bridge between your digital file and a physical product you can sell. The technology for making transfers for T-shirts has come a long way, growing from a niche craft into a massive industry. It's now so accessible that creators everywhere can produce professional custom apparel. To give you some perspective, in 2024, the average global revenue per person in the T-shirt market hit $5.87, which really shows how widespread high-quality transfers have become. You can dig into more insights about the custom T-shirt printing market to see just how much this space has grown.
Mastering the Art of Powder Application
The adhesive powder is the unsung hero of any DTF transfer. It’s a fine, granulated polymer that’s responsible for physically bonding your design to the fabric fibers. The goal here is simple but crucial: apply a perfectly even, consistent layer that sticks only to the wet ink.
You can go about this in two ways: manually or with an automatic shaker. If you're just starting out or only doing a few transfers at a time, the manual method works perfectly fine. Just place your freshly printed film inside a shallow tray, pour a generous amount of adhesive powder over the entire design, and gently rock the film back and forth to get full coverage.
After it's completely coated, pick up the film and give the back a few good flicks with your finger. This will knock off any loose powder that isn't clinging to the ink.
Pro Tip: Whatever you do, don't touch the wet ink with your fingers during this process. The oils from your skin can mess with the powder's ability to adhere, which can create weak spots in the final transfer that might start peeling after a wash or two.
Choosing Your Method: Manual vs. Automatic
While the manual method gets the job done for small batches, it quickly becomes a bottleneck when you start to ramp up production. This is where automated systems really earn their keep.
An automatic powder shaker completely changes the game. It takes the printed film, coats it with the perfect amount of powder, vibrates to ensure an even layer, and then shakes off all the excess in one smooth, continuous motion. This not only saves a huge amount of time but also delivers a professional, uniform finish on every single transfer you make.
- Consistency: An automatic shaker gets rid of the human error that can lead to ugly clumps or bare spots in your adhesive.
- Efficiency: It’s way less wasteful. Most systems collect and recycle the excess powder, saving you money in the long run.
- Speed: A task that takes a couple of minutes by hand is done in seconds. This is how you scale up production.
The choice really boils down to your production volume. If you’re just getting your feet wet, applying powder by hand is a great way to start. But if your goal is to build a business around making transfers for T-shirts, an automatic shaker is an investment you won't regret.
Curing the Transfer for a Flawless Bond
With the powder applied, your transfer is ready for its final prep step: curing. Curing is all about melting that adhesive powder into a smooth, uniform layer over the ink. If you skip this or rush through it, the transfer simply won’t stick to the shirt—it’s that important. The trick is to melt the powder completely without scorching the ink or the film.
You’ll know it’s cured perfectly when the surface changes from a grainy, white texture to a smooth, slightly glossy finish that looks a bit like an orange peel.
There are two main ways to cure your transfers:
- Curing Oven: This is the professional’s choice. A dedicated curing oven or a tunnel dryer provides consistent, even heat across the entire transfer. Most automatic powder shakers are designed to feed directly into a curing tunnel, creating a seamless, hands-off workflow.
- Heat Press Hovering: No oven? No problem. You can use your heat press. Set the temperature somewhere between 350-375°F (176-190°C). Place the transfer on the lower platen and bring the top platen down so it hovers about a half-inch above the transfer. Crucially, do not let the press touch the powder. Let it hover for about 1-2 minutes until you see the powder melt and get that signature orange-peel texture.
Once your transfer is cured, it's officially ready to be pressed onto a T-shirt. This quick visual breaks down those final application steps.
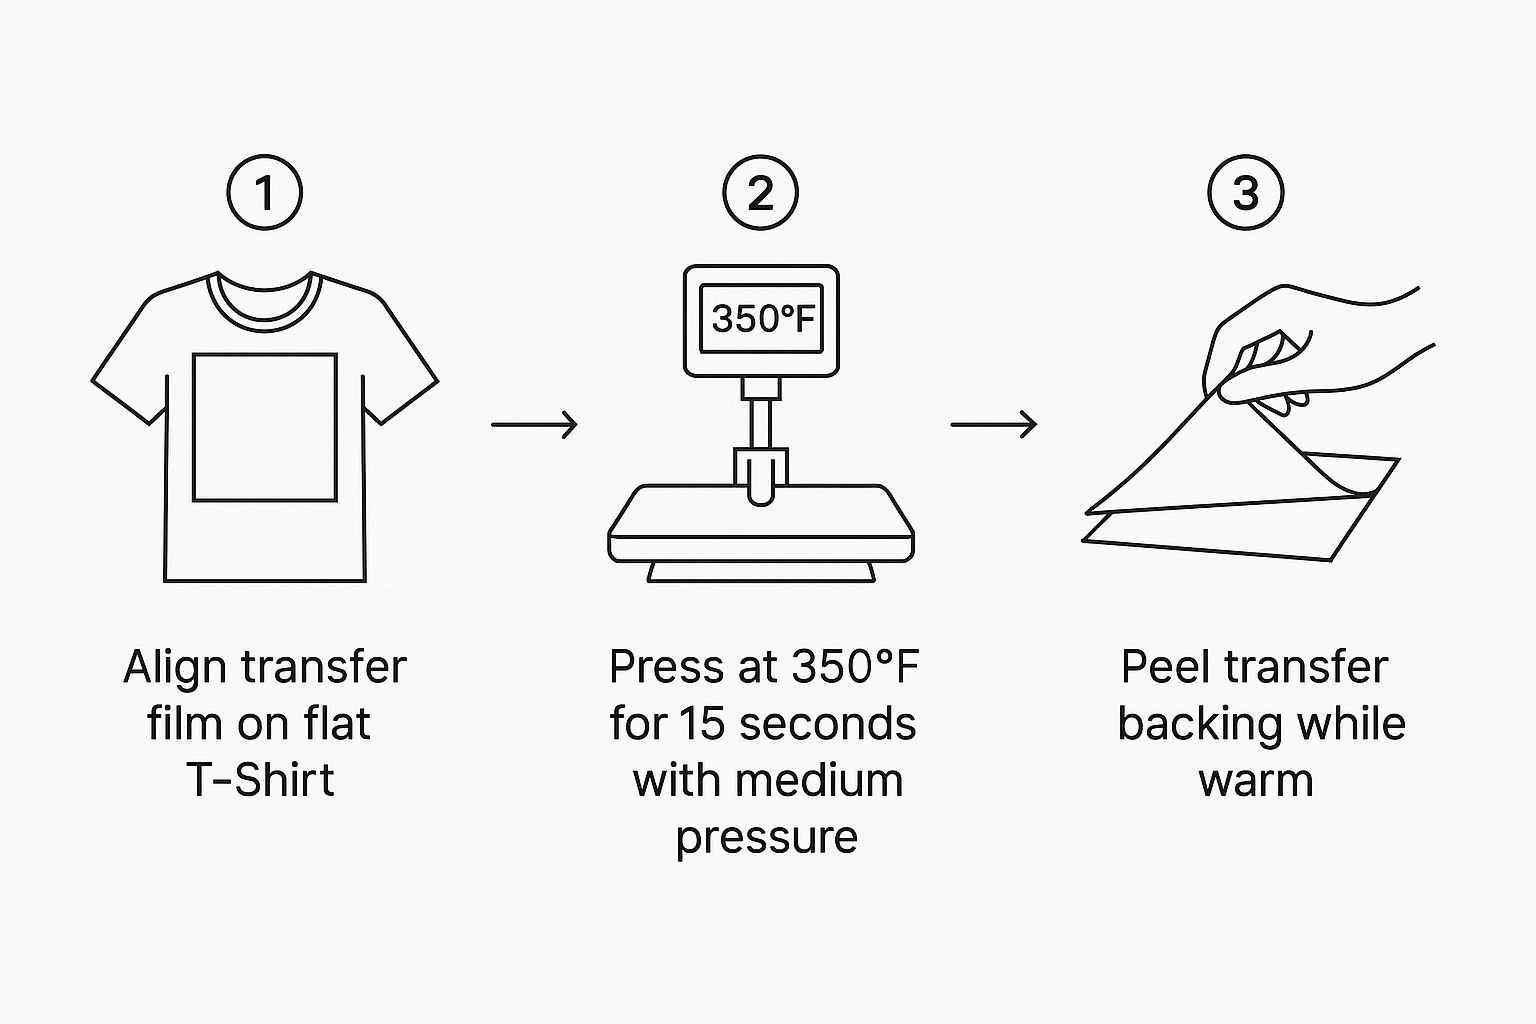
Think of this as a cheat sheet for the final press. After all the careful work of powdering and curing, these are the last few steps to bring your custom T-shirt to life.
Getting the Perfect Press: From Film to Finished T-Shirt
Alright, this is where the magic happens. All your design work and printing prep lead up to this final, crucial stage. Getting the heat press process right is what separates a professional, long-lasting garment from something that feels like a stiff, cheap sticker.
It’s all about nailing the trifecta of temperature, time, and pressure. Get that combination right for your specific fabric, and you’ll have a T-shirt that looks and feels incredible.
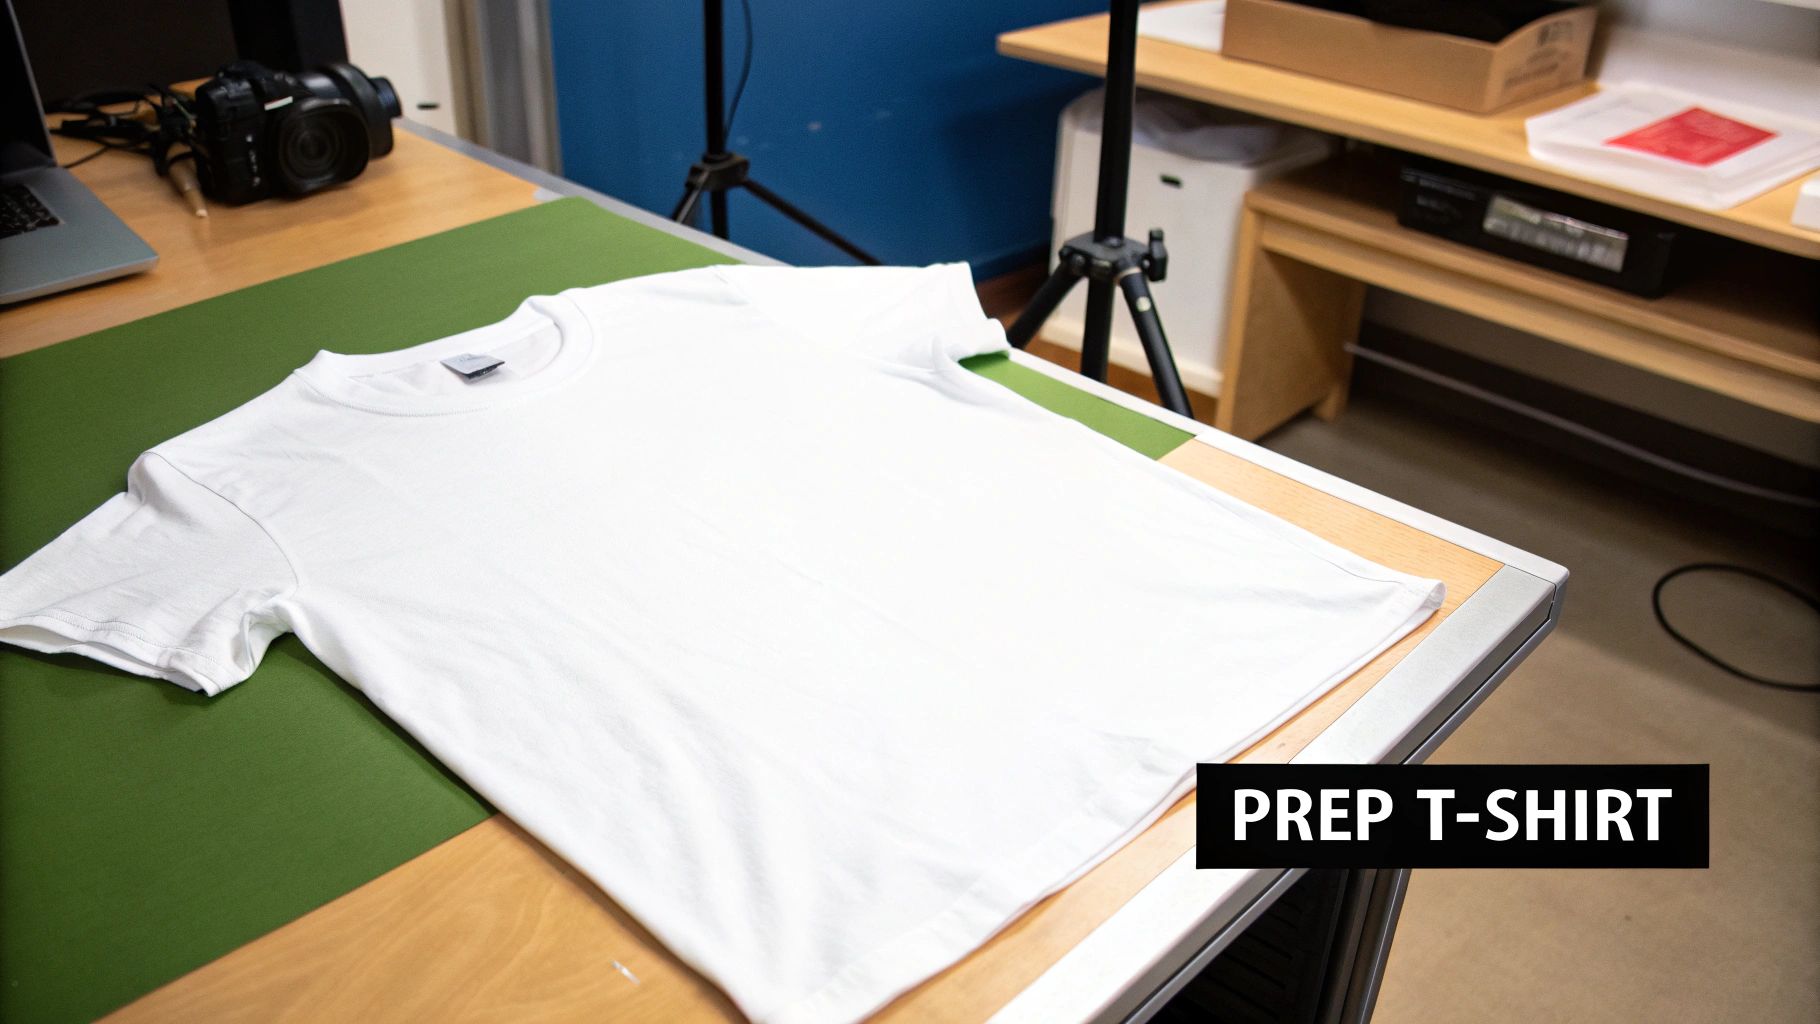
First Things First: Prep the Garment
Before you even think about laying down that transfer, you need to prep the shirt. Skipping this step is the root cause of probably 90% of all pressing issues. The two biggest culprits that can ruin a perfectly good transfer are moisture and wrinkles.
So, start with a quick pre-press. Lay the shirt flat on your press and press it for about 5-10 seconds. You’ll probably see a little puff of steam—that’s the hidden moisture boiling out of the fibers. This simple action smooths out any wrinkles that could cause gaps in your design and gets rid of any humidity that can mess with the adhesive.
Dialing in Your Heat Press Settings
There's no single magic number that works for every shirt. A beefy 100% cotton tee can take a lot more heat than a delicate polyester blend. If you use the wrong settings, you risk scorching the fabric, melting the design, or having the transfer peel off after the first wash.
To give you a solid starting point, I've put together a quick reference table for the most common T-shirt fabrics. Always do a test press if you're working with a new material, but these settings will get you in the right ballpark.
Recommended DTF Heat Press Settings by Fabric
This quick reference guide will help you achieve the perfect press on different T-shirt materials, helping to prevent scorching or poor adhesion.
| Fabric Type | Temperature Range (°F/°C) | Press Time (Seconds) | Pressure Level | Peel Type |
|---|---|---|---|---|
| 100% Cotton | 300-320°F / 149-160°C | 10-15 seconds | Medium to Firm | Cold Peel |
| Polyester | 260-280°F / 127-138°C | 8-10 seconds | Medium | Cold Peel |
| 50/50 Blends | 280-300°F / 138-149°C | 10-12 seconds | Medium | Cold Peel |
| Tri-Blends | 260-280°F / 127-138°C | 8-10 seconds | Medium | Cold Peel |
Remember, these are starting points. Your specific heat press, environment, and brand of transfers might require you to tweak these slightly.
Positioning the Transfer and the First Press
With the shirt prepped and your settings dialed in, it's time to place the design. A good rule of thumb for a standard chest graphic is to position the top of the design about three to four inches down from the collar. I highly recommend using a T-shirt guide or at least a ruler to make sure it's perfectly centered every time.
Once you’re happy with the placement, lay a protective sheet over the transfer. A Teflon sheet or even a simple sheet of parchment paper works great. This little barrier prevents the hot metal platen from directly touching the transfer film, which ensures even heat distribution and protects your equipment.
Now, clamp it down. Apply firm, even pressure and let the press do its work for the time you've set.
The Art of the Cold Peel
When the timer beeps, open the press and carefully slide the T-shirt onto a cool, flat surface. This is where DTF really shines. Unlike other methods that might need a "hot peel," nearly all DTF transfers require a cold peel. You have to let the transfer cool down completely before you even think about touching the film.
Rushing this step is a classic rookie mistake. If you try to peel the film while it's still warm, you risk pulling the ink right off with it, completely ruining the print. Be patient. Give it a minute or two until it’s cool to the touch.
Once it's cool, grab a corner of the film and peel it back slowly and smoothly at a low angle. You should see it release perfectly, leaving behind a vibrant, detailed design that’s bonded beautifully to the fabric.
The Finishing Press: Locking It In for Good
The design is on the shirt, but we’re not quite done. There’s one last step that truly makes the design a part of the shirt and gives it that professional, soft-hand feel: the finishing press.
Place your protective sheet back over the exposed design and press it again, this time for just 5-7 seconds. This quick final press is the secret sauce.
- It drives the ink deeper into the fabric’s fibers, making it incredibly durable in the wash.
- It knocks back any shine left by the adhesive, leaving you with a premium, matte finish.
- Most importantly, it dramatically improves the "hand" of the print, making it softer and more flexible.
This little trick is what separates the pros from the amateurs when you're learning how to make transfers for t shirts. It’s that final touch that makes your T-shirt look and feel like it belongs on a high-end retail rack.
Got Questions About Making T-Shirt Transfers? Let's Talk.
Once you start getting into the rhythm of making T-shirt transfers, you’re bound to have some questions pop up. It happens to everyone. This is where we’ll tackle the most common hurdles and "what if" scenarios that people run into.
Think of this as the troubleshooting guide I wish I had when I first started. We'll cover everything from making your prints last to figuring out why a transfer just won't stick. Getting these details right is what separates an okay shirt from a truly professional one.
How Do I Keep These DTF Shirts Looking Great After Washing?
One of the best things about DTF is how incredibly tough the prints are. They're made to survive the wash cycle without cracking up or fading away. But, a little bit of care goes a long way to make them last even longer.
Here's the advice I always give my customers (and follow myself):
- Turn it inside out. This is the oldest trick in the book for a reason. It protects the print from rubbing against other clothes.
- Wash with cold water. It’s just gentler on the ink and the fabric. Simple as that.
- Stick to a mild detergent. Bleach and harsh chemicals are the enemy of a good print.
- Go easy on the heat. High heat in the dryer can be rough. Your best bet is to tumble dry on low, or even better, just hang it up to air dry.
Follow these simple rules, and a quality DTF print can easily handle 50+ washes. That kind of durability is a huge reason why so many people are moving over to DTF.
What Kinds of Fabric Can I Actually Use DTF Transfers On?
This is where DTF really pulls ahead of the pack. Forget being limited to just cotton. The combination of flexible inks and that powerful adhesive powder means you can press these onto almost anything.
It’s a seriously versatile list:
- Cotton & Cotton Blends: Of course. This is the bread and butter, and it works flawlessly.
- Polyester: 100% poly jerseys and athletic blends are no problem at all.
- Tri-Blends: Those super-soft, popular shirts? DTF handles them beautifully.
- Tougher Stuff: Think denim jackets and canvas tote bags. The adhesive is strong enough to bond perfectly.
- The Tricky Ones: You can even press onto materials like leather and nylon if you dial in your heat press settings.
This flexibility is a game-changer. You can literally use the same batch of transfers for an order of cotton tees, a couple of polyester hoodies, and a canvas bag without missing a beat.
Help! Why Is My Transfer Not Sticking?
It’s one of the most common frustrations when you’re starting out, but don’t worry—it’s almost always an easy fix. If your transfer is peeling or just not bonding right, run through this mental checklist.
- Did you pre-press the shirt? Seriously, don't skip this. That quick 5-10 second press before you lay down the transfer is crucial. It gets rid of any hidden moisture in the fabric, which is the #1 killer of good adhesion.
- Are your temperature and pressure right? If your press is too cool, the adhesive won't melt properly. If your pressure is too low or uneven, the transfer can't make full contact with the fabric. Always double-check your settings for the specific material you're using.
- Are you peeling it cold? This is a big one. DTF is a cold peel. You have to let the transfer and the shirt cool all the way down to room temperature before you even think about pulling that film off. If you peel it while it's still warm, the design will come right off with it.
The incredible adhesion of DTF is what makes it so reliable. When you get the application right, the transfer doesn't just sit on top of the fabric; it becomes part of it. This is why you don't see the cracking and peeling that plagues older, stiffer transfer methods.
Nailing these details will help you fine-tune your process and get you creating pro-level custom apparel in no time. It all comes down to being methodical and trusting the steps.
Ready to create stunning, durable T-shirts without the usual headaches? Raccoon Transfers makes it easy. Just upload your design, and we’ll ship you press-ready DTF transfers with next-day shipping. See for yourself why DTF is the go-to choice for quality and versatility.