
How to Price Handmade Items: how to price handmade items for profit
Pricing your handmade goods is a tricky dance. You have to balance the hard costs of your materials, the value of your time, and what the market will bear, all while trying to make a decent profit. The basic idea is simple enough: add up your material costs and your hourly labor rate, then multiply that by a number that covers all your other expenses and leaves something for you.
Getting that formula right is the absolute bedrock of a sustainable creative business.
The Real Foundation of Profitable Handmade Pricing
Figuring out how to price your work can feel like walking a tightrope. Price too high, and you worry you'll scare people off. Price too low, and you're not making what you're worth. It's so tempting to just guess or copy what a competitor is doing, but that’s a fast track to undercharging. This mistake doesn't just hurt your bank account; it can damage how people see your brand in a noisy market.
When you underprice, you're accidentally telling the world your work isn't as valuable as it is. It makes it nearly impossible to grow your business, offer wholesale deals, or even run a simple sale without losing money. The goal isn't just to cover your fabric and thread—it's to build a real, profitable business that honors your skill, your time, and your creative vision.
Stop Guessing and Start Strategizing
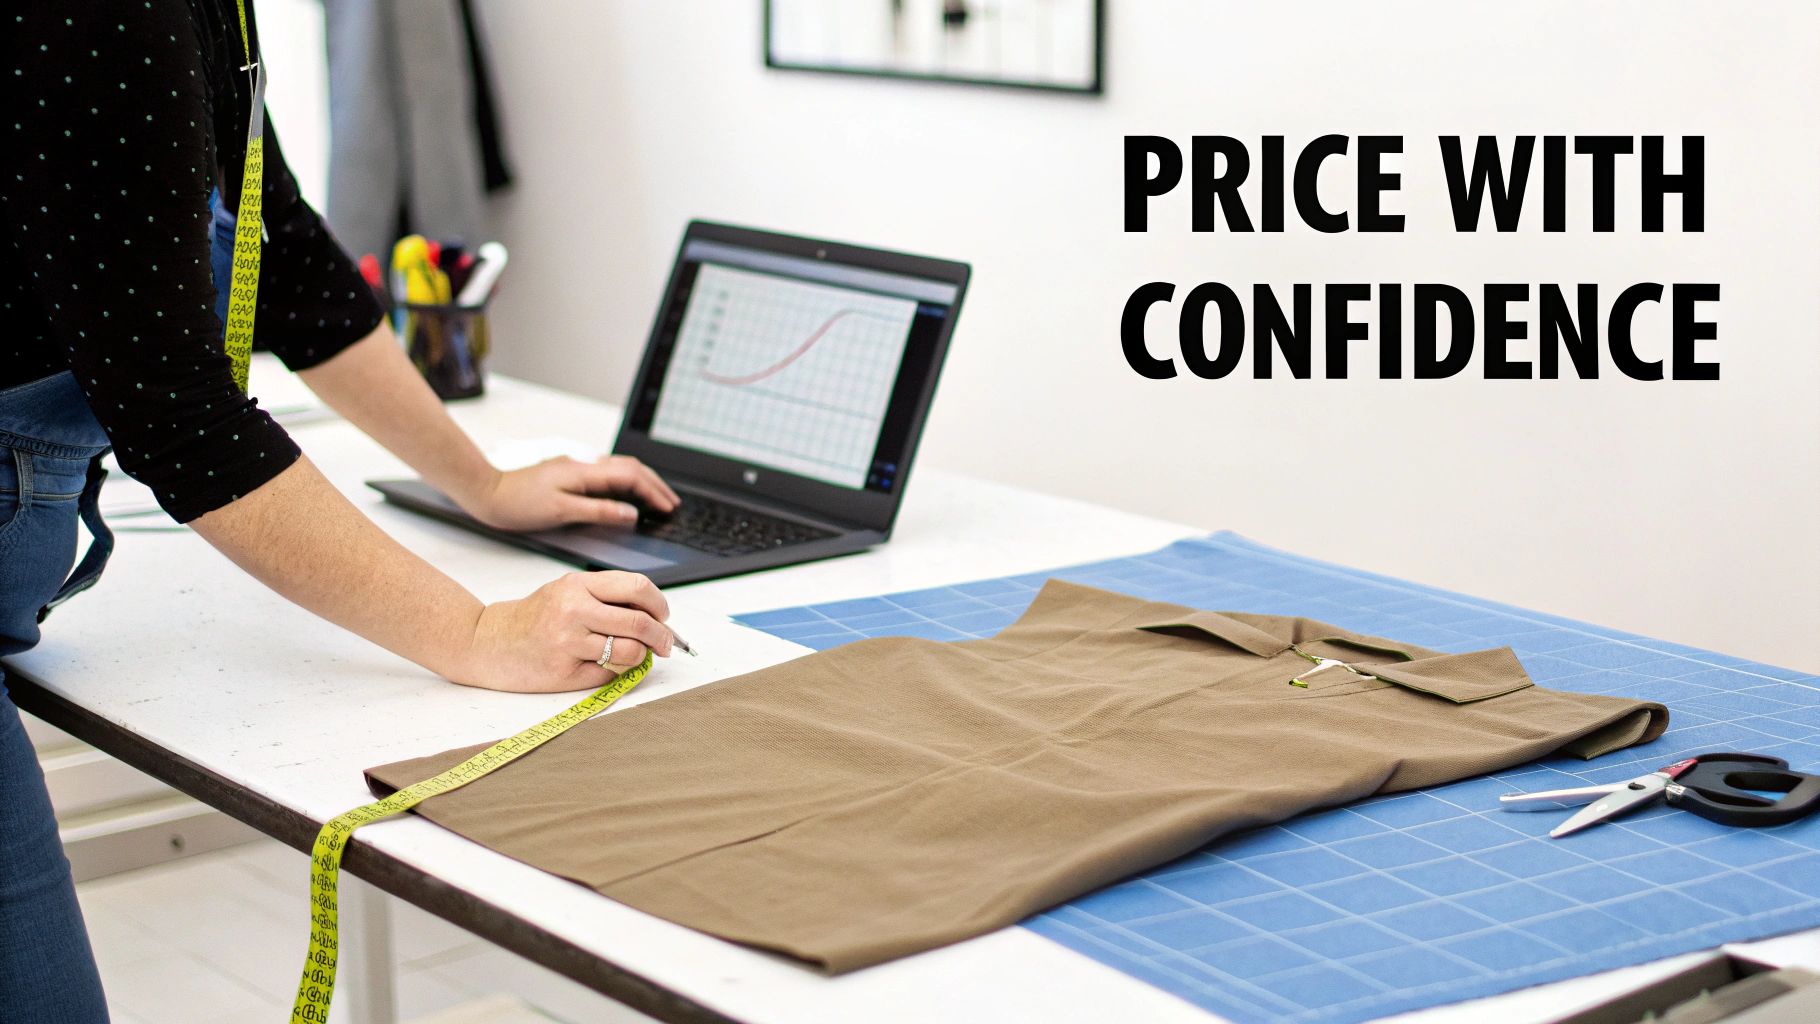
A solid pricing strategy is your roadmap. It gives you the power to stand behind your prices with confidence because you know exactly what goes into them. That awkward feeling when someone asks "why does it cost that much?" disappears. You'll know your number reflects:
- The true cost of every single component, from the main fabric down to the tags and packaging.
- The value of your labor and the specific, hard-earned skills you bring to each piece.
- The overhead costs of just being in business, like website hosting, platform fees, and marketing.
- A healthy profit margin that actually allows your business to grow.
This is especially true for anyone creating custom apparel or unique merch. Your customers are looking for quality and originality—and they expect the price to match. If you're serious about turning your hobby into a real career, our guide on how to start a craft business from home is a great place to start.
Thriving in a Growing Market
Here's the good news: the demand for unique, handcrafted goods is booming. The global handicrafts market hit a staggering USD 739.95 billion in 2024 and is only expected to climb. People are actively searching for artisanal products with a story.
This trend is your permission slip to price confidently. It justifies a premium price that reflects your craftsmanship, quality materials, and unique brand voice. You can dive deeper into the numbers by exploring the full handicrafts market report.
Your prices are a statement about your brand's quality and your belief in your own work. Don't let fear dictate your value. A well-researched price attracts the right customers—those who appreciate your skill and are happy to pay for it.
Know Your Numbers: Calculating Every Cost Before You Set a Price
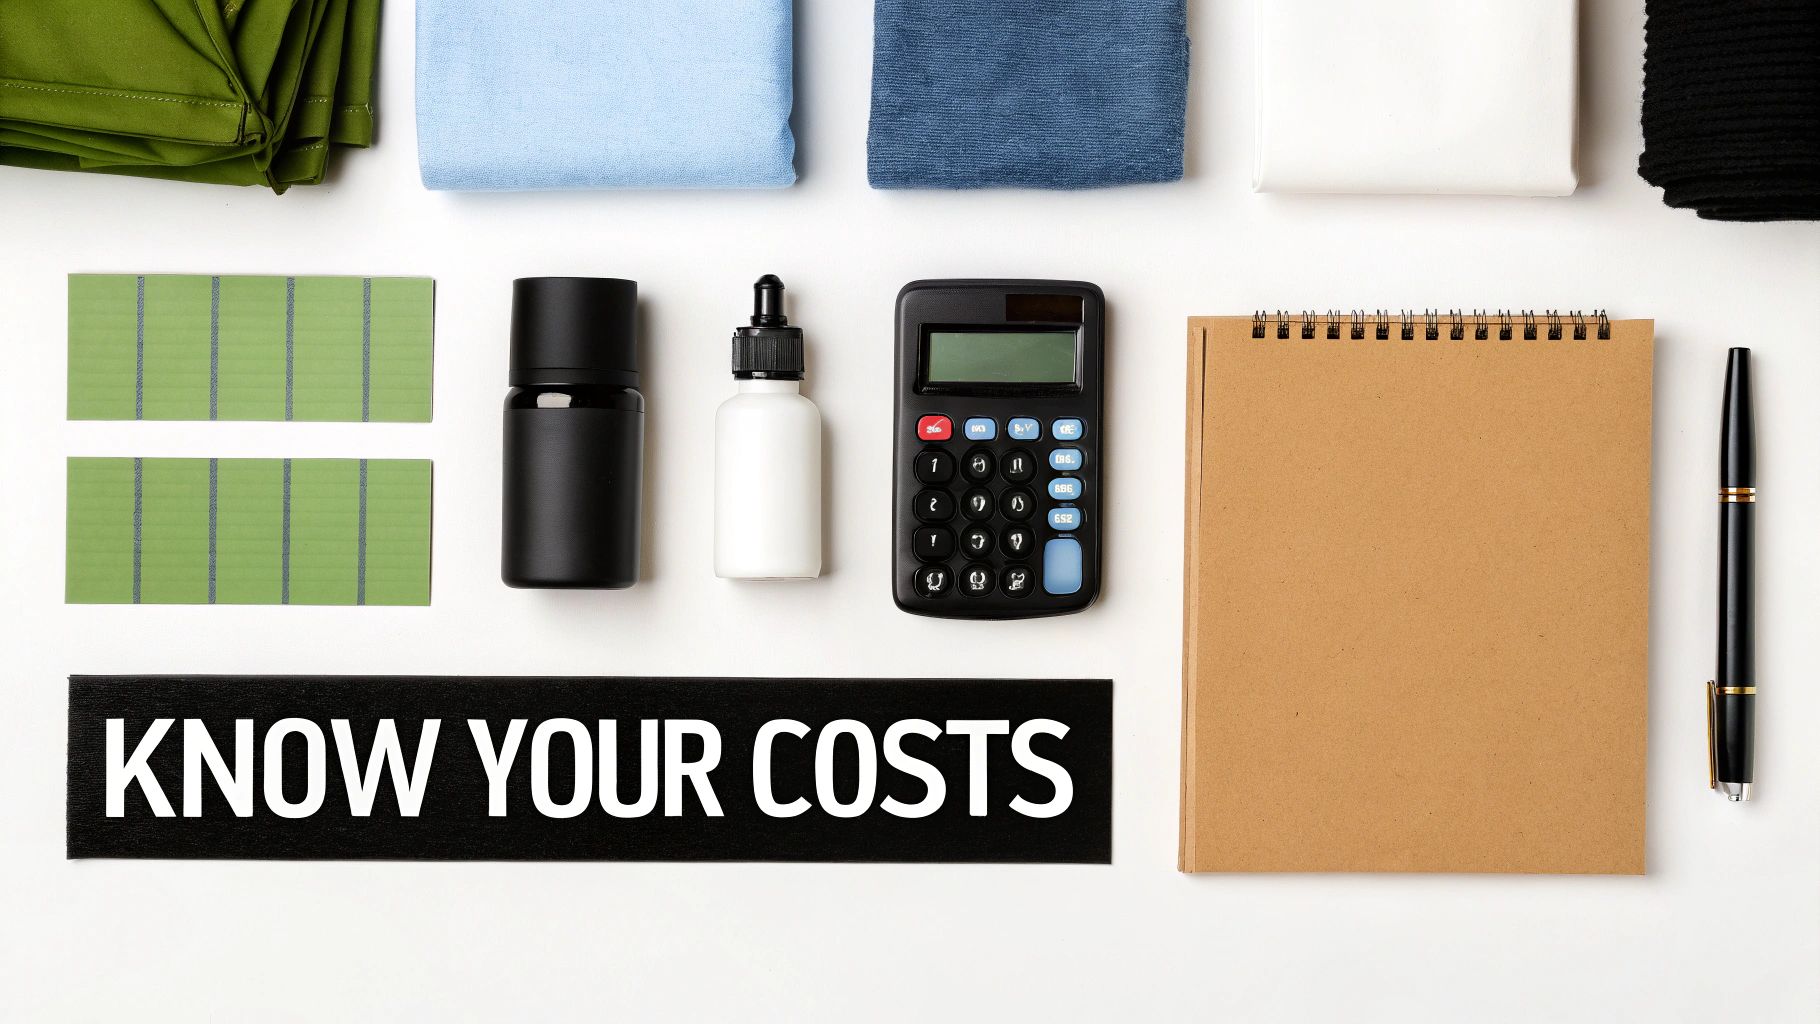
Before you can even dream about profit margins, you have to get brutally honest about your costs. A profitable price isn’t just pulled out of thin air; it’s built on a solid foundation of knowing exactly what it takes to produce one single item. Get this number wrong, and you could end up accidentally paying customers to take your products.
This whole process is about calculating your Cost of Goods Sold (COGS), and it goes way deeper than just the obvious stuff. It’s easy to remember the blank t-shirt or the DTF transfer. But what about all the “hidden” costs that quietly chip away at your profits? These tiny, often-forgotten expenses are usually the difference between a thriving business and a frustrating, money-losing hobby.
Itemizing Your Direct Material Costs
Let's start with the tangible things that actually go into your finished product. You need to think with extreme detail here. For someone making custom tees, this isn't just a shirt and a design—it’s a granular breakdown of every single component.
Your list of direct materials should include things like:
- The Blank Garment: The t-shirt, hoodie, or tote bag itself. This is your base.
- The Design: The cost of your DTF transfer, a sheet of vinyl, or the embroidery thread used for one design.
- The Little Things (Consumables): Don't forget the small but mighty items. A pinch of adhesive powder, a small piece of heat-resistant tape, or the specific amount of ink used.
- Finishing Touches: Any hang tags, branded neck labels, or other custom elements that are part of the final, packaged piece.
Precision is everything. If a roll of heat tape costs $5 and you know you can get 100 applications out of it, then the tape cost per shirt is a real $0.05. It sounds minuscule, but those cents add up fast over hundreds of orders and directly hit your bottom line.
To make this easier, here's a simple worksheet you can use to map out your costs for a single product, like a custom t-shirt.
Cost of Goods Sold (COGS) Calculation Worksheet
| Cost Component | Description | Cost Per Unit ($) |
|---|---|---|
| Blank Garment | Cost of one blank t-shirt | $4.50 |
| DTF Transfer | Cost of one custom heat transfer | $3.25 |
| Neck Label | Cost of one custom neck tag | $0.30 |
| Heat Tape | Cost per application (e.g., $5 roll / 100 uses) | $0.05 |
| Poly Mailer | Cost of one branded shipping bag | $0.75 |
| Thank You Card | Cost of one printed insert | $0.20 |
| Sticker | Cost of one promotional sticker | $0.10 |
| Total COGS | Total Direct Costs to Produce & Ship One Item | $9.15 |
Filling out a sheet like this for every product you sell is the first real step toward building a price that actually makes you money.
Accounting for Packaging and Shipping Supplies
Your costs don’t stop when the heat press opens. How your product gets to the customer is just as important and comes with its own set of expenses. So many new sellers make the mistake of lumping shipping supplies into a general "business expense" category when, in reality, they should be tied directly to each sale.
Think about everything that goes into that unboxing experience:
- Outer Packaging: Your poly mailers, shipping boxes, or rigid envelopes.
- Protective Stuff: The tissue paper, glassine bags, or bubble wrap that keeps your item safe.
- Branding & Inserts: Those thank-you cards, care instructions, business cards, and fun stickers.
- Shipping Labels: The physical cost of the thermal label or the paper and ink you use.
Each of these items has a per-unit cost. That custom-printed mailer might be $0.75, the thank-you card $0.20, and a sticker another $0.10. That's over a dollar in packaging costs alone before you even pay for postage. Ignoring this is a surefire way to kill your profits.
Don't Forget Utilities and Overhead
Finally, we have the costs that aren't physically in the product but are absolutely essential to making it. These are the easiest to overlook. While you don’t need to calculate the cost of flipping on a light switch, you should account for machinery that uses a significant amount of power.
Your heat press, for example, is an energy hog. You can find its wattage (let's say it's 1800W) and use an online calculator to estimate the electricity cost per hour in your city. If your press runs for 10 minutes total for each shirt you make, that's a real, measurable cost that belongs in your COGS.
For a more detailed breakdown of these calculations specifically for apparel, our guide on how to price custom shirts dives even deeper into these examples.
By meticulously tracking every material, supply, and utility, you establish an accurate cost baseline. This number is your starting line—it's the absolute minimum you have to cover before you make a single penny of profit. Once you have this clarity, you can confidently move on to valuing your time and building a pricing structure that actually works.
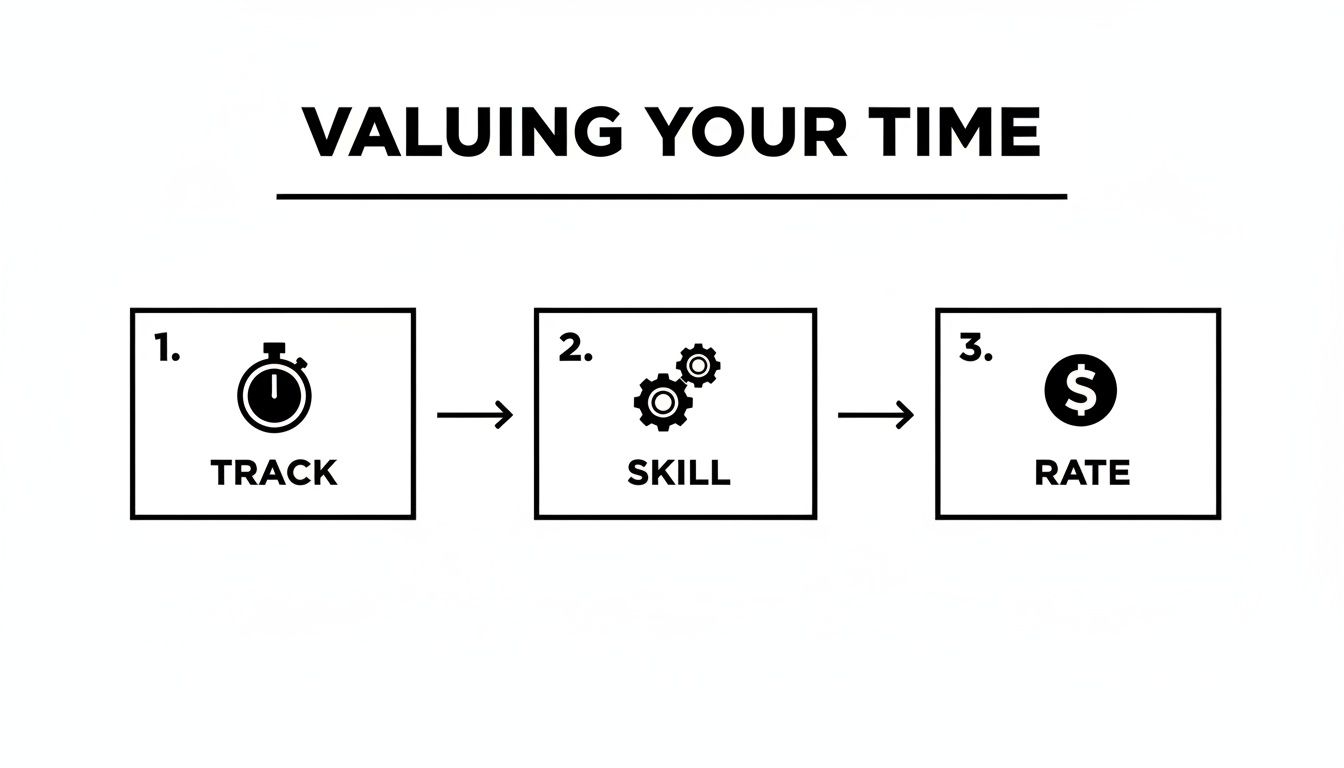
How to Value Your Time and Set a Fair Labor Rate
After you’ve meticulously calculated every material cost down to the last thread, you hit the part that trips up most creators. Putting a price on your own time. It feels personal, even a little awkward, and it's the number one reason handmade businesses fail to charge what they're worth.
Let's get one thing straight: your skill, your experience, and your creative vision are the most valuable parts of your business. Yet, they’re almost always the first things we discount.
It's time to stop thinking in terms of minimum wage. You aren't just an assembly line worker. You're the designer, the skilled artisan, the quality control manager, and the production lead, all rolled into one. Your labor rate has to reflect that. Setting a fair wage for yourself isn't just a good idea—it's a non-negotiable step toward building a business that actually respects your craft.
Going Beyond a Rough Guess on Time
To set a fair labor rate, you first have to know—really know—how long it takes to make one item. This isn't a ballpark estimate; it needs to be a precise, almost scientific measurement. The best way to do this is to grab a stopwatch and time the entire process from start to finish. And I mean everything, not just the fun creative part.
For someone making custom apparel, this looks like timing:
- The Setup: Firing up the heat press, getting your workspace organized, and pulling all your supplies.
- The Making: The actual time it takes to perfectly align and press a DTF transfer onto a shirt.
- The Finishing: Folding the garment, attaching your cool hang tags, and doing that final eagle-eyed quality check.
- The Packing: Placing the finished piece in a poly mailer, adding a thank-you note, and sealing it up.
Do yourself a favor and time a batch of 5-10 items, then find the average time per piece. This simple step smooths out any little hiccups or variations and gives you a much more reliable baseline. If you find it takes you 30 minutes on average to get one t-shirt out the door, that’s your starting number.
How to Calculate Your Skilled Hourly Rate
Okay, so you have your production time. Now you need an hourly rate to multiply it by. This is where you have to put on your business owner hat and think about your expertise. Your rate is a direct reflection of your skill, not just a number to cover basic living expenses.
Think about these factors when landing on your rate:
- Your Experience: A maker with five years of experience perfecting their DTF application process should absolutely charge more than someone who just unboxed their heat press last week.
- Your Technical Skill: Do you use complex techniques? Is your application process flawless and built to last? That specialized knowledge has real monetary value.
- The Going Rate: Do a little digging. What do other skilled professionals in your area charge? Look at graphic designers, custom tailors, or even specialized tradespeople. Their rates can give you a solid benchmark.
A great starting point for many skilled crafters is somewhere in the $20-$35 per hour range, but this can climb much higher depending on how specialized your niche is. So, if you set your rate at $25 per hour and it takes you 30 minutes (0.5 hours) to make a shirt, your labor cost is $12.50.
Don't get caught in the "no one will pay that" trap. Your ideal customer isn't just buying a t-shirt. They're buying your craftsmanship, your unique design sense, and the superior quality that comes directly from your experience. Your price needs to communicate that value.
What About All the "Invisible" Work?
Here’s a classic mistake: forgetting to account for all the hours you work outside of actually making things. Running a business is so much more than just production, and this "invisible" labor is essential. If you don't account for it, you're working for free.
I’m talking about all the time you spend on:
- Answering customer emails and DMs
- Creating custom design mockups for clients
- Photographing products and editing the photos
- Writing compelling product descriptions and social media captions
- Ordering supplies and managing your inventory
You can handle this in a couple of ways. One option is to track these hours each week and roll them into your general overhead costs (we’ll dive into that later). Another popular method is to simply bump up your hourly labor rate to build in a buffer for these tasks. For example, you might raise your skilled rate from $25 to $30 per hour to absorb this admin time, making sure it’s covered in the price of every single product you sell.
When you start valuing your time this way—accurately and unapologetically—you make the crucial shift from hobbyist to professional. A fair labor rate is the backbone of your pricing formula, ensuring you get paid for every single minute you pour into your business.
Choosing a Pricing Formula That Actually Works
Once you’ve nailed down your material costs and what your time is worth, it's time to put it all together. This isn't just about crunching numbers; it's about picking a pricing strategy that actually fits your brand and your goals. You're not just trying to break even—you're building a business.
Lots of new makers just add a little bit on top of their costs and call it a day. But to build something that lasts, you need a formula that covers everything—profit, overhead, and room to grow—right from the very beginning. Let’s look at how the pros do it.
The Classic Handmade Pricing Formula
A great place to start, and a method that’s been trusted for years, is the classic wholesale/retail model. It’s wonderfully simple and designed to give you enough breathing room whether you're selling directly to customers or through other shops.
Here's the basic breakdown:
- Find Your Base Cost: Materials Cost + Labor Cost = Base Cost
- Calculate Your Wholesale Price: Base Cost x 2 = Wholesale Price
- Set Your Retail Price: Wholesale Price x 2 = Retail Price
Let's run through a quick example. Imagine you're making a custom t-shirt. Your materials (COGS) add up to $9.15, and you spent 30 minutes on it at your $25/hour rate, making your labor $12.50. That puts your Base Cost at $21.65.
- Wholesale Price: $21.65 x 2 = $43.30
- Retail Price: $43.30 x 2 = $86.60
Seeing that "x4 markup" from your base cost to the final price might give you a little sticker shock. But trust me, that buffer is essential. It’s what covers your marketing, website fees, packaging, overhead, and—most importantly—your actual profit.
My Two Cents: Price your items for wholesale from day one, even if you have no plans to sell that way. It's one of the smartest things you can do. This strategy builds in a healthy margin, giving you the flexibility to run sales, offer free shipping promotions, or partner with a cool local boutique down the road without ever losing money.
A More Detailed (And Accurate) Formula
The classic formula is a solid starting point, but for an even sharper picture of your profitability, you can bake overhead and profit directly into the initial calculation. Many experienced artisans use a more detailed formula to make sure every single business cost is covered upfront.
It looks something like this:
Materials + Labor + Overhead + Profit Margin = Wholesale Price
And then, just like before:
Wholesale Price x 2 = Retail Price
This approach does require you to have a better handle on your numbers, especially your overhead percentage for each item. But the clarity it gives you is invaluable. The principles are similar to what we cover in our guide on how to calculate print on demand profit margins, which is another great read if you want to get into the nitty-gritty of profitability.
Comparison of Handmade Pricing Models
As your business grows, you'll realize that a one-size-fits-all formula doesn't always work. Different products and different markets call for different strategies.
Here's a quick comparison of the most common models you'll encounter, using our custom t-shirt example (Base Cost: $21.65) to see how the final price can change.
| Pricing Model | Formula / Concept | Best For | Example Price |
|---|---|---|---|
| Cost-Plus | (Materials + Labor) + Profit % | Beginners needing a simple start. | $32.48 (at a 50% markup) |
| Keystone (x2) | Wholesale Price x 2 | Creators planning to sell via retail partners. | $86.60 |
| Value-Based | Based on perceived customer value. | Highly unique, artistic, or premium goods. | $95.00+ |
| Tiered / Bundle | Offering multiple price points or discounts. | Clearing inventory or increasing average order value. | 3 for $225 |
Each model has its place. Your job is to figure out which one—or which combination—makes the most sense for your brand and your customers.
Finding Your Sweet Spot
This is where the art of pricing really comes in. It’s rarely about picking one formula and sticking with it forever.
The best approach is usually a hybrid one. Start with a solid, cost-based formula to guarantee you’re covering your expenses and paying yourself fairly. Then, put on your detective hat. Research the market and consider what your product is truly worth to your ideal customer. This might mean you can nudge that price up. For more great insights on this, check out this guide on how to price handmade jewelry for profit.
The perfect price isn't just a number. It's the number that pays your bills, values your skill, and fuels the growth of the business you love. Don't be afraid to experiment and adjust as you go.
How to Research and Position Your Brand
Your pricing strategy can't exist in a vacuum. Once you've nailed down your costs and figured out what your time is worth, the last piece of the puzzle is seeing where your products actually fit in the market. This is where a little bit of research becomes your best friend—not so you can copy what everyone else is doing, but to smartly position your own brand.
Think of it this way: your price tells a story. Are you the affordable, high-volume option? Or are you the premium, artisanal choice known for impeccable quality and unmatched detail? There's no right or wrong answer, but you can't be both. Figuring out where you stand is crucial for attracting the customers who will value what you do and happily pay for it.
Analyze Your Competition the Smart Way
Looking at your competitors is all about gathering intel, not just mimicking their prices. A quick search on Etsy, Instagram, or a stroll through a local craft fair will give you a general price range for items similar to yours. But remember, their price tag doesn't tell you the whole story. You don't know their material costs, their skill level, their efficiency, or how much profit they're actually making. They could be undercharging and barely scraping by.
So, instead of just fixating on the final number, dig a little deeper to understand what that price represents.
- Quality of Materials: Are they using basic Gildan tees or premium, ethically sourced cotton? You can usually get a good sense of this from their product photos and descriptions.
- Skill and Technique: Look closely at the craftsmanship. For a custom apparel maker, this means checking out the print quality, alignment, and any claims about durability.
- Brand Presentation: How’s their photography? What about their packaging and the overall customer experience they seem to offer? A premium brand invests in these details, and their price will reflect that.
- Unique Selling Proposition (USP): What makes them stand out? Is it their quirky designs, their commitment to eco-friendly practices, or their lightning-fast turnaround on custom orders?
This kind of analysis helps you spot gaps in the market. If you notice everyone else is in a race to the bottom on price, you have an opportunity to stand out by emphasizing exceptional quality and justifying a higher price point. For a broader view of the competitive landscape, you can explore various ratings and insights for handmade crafts.
Define Your Niche and Ideal Customer
Once you have a feel for the landscape, you can start carving out your own unique space. Your brand positioning is essentially the promise you make to your customers. If you're a custom apparel creator, for example, you might highlight the incredible durability and vibrant, fade-proof colors of your DTF transfers compared to other, lower-quality methods.
Your ideal customer is directly linked to this positioning. The person looking for the absolute cheapest custom t-shirt for a one-off event is a totally different customer from someone commissioning a durable, high-quality garment for their own clothing line. Knowing exactly who you're selling to makes your pricing decisions so much clearer. You're pricing for the customer you want to attract.
A strong brand position gives you the confidence to own your price. When a customer asks why your custom hoodie costs $75 while another is $40, you can confidently explain that it’s because you use a premium heavyweight blank, a print designed to outlast the garment, and an hour of skilled labor to ensure perfection.
Navigate a Crowded Global Market
The internet has made it possible to sell to anyone, anywhere. That's amazing, but it also means you're competing on a global scale. The Asia-Pacific region currently dominates the global handicrafts market, which has driven up competition and, in some cases, created price wars. As a small business in North America, which accounts for over 28% of the market, trying to compete on price with mass-producers is a race you'll never win.
Instead, use this knowledge to your advantage. You can justify a higher price by leaning into the things that global competitors can't easily offer: authentic North American craftsmanship, superior and traceable materials, truly personal customer service, and much faster shipping times. To dig into the data on these trends, check out some handmade products marketing statistics.
At the end of the day, market research isn't about finding some magic number. It's about arming yourself with the evidence you need to price your handmade items from a position of strength, confidence, and strategic clarity. That's how you make sure your brand stands out for all the right reasons.
When and How to Adjust Your Prices
Pricing your work isn’t a one-and-done deal. Think of your prices as dynamic—they need to evolve right along with your business, your skills, and the market itself. Nailing this ongoing adjustment is just as critical as getting your initial numbers right.
When you're rolling out a new t-shirt design or product, it's a good idea to test the waters first. Instead of carving a price into stone from day one, try launching with an introductory offer. This is a great way to see how people react and collect some early sales data without accidentally setting a permanent low price in your customers' minds.
Key Metrics to Watch After a Price Change
Once you've made a price change, you need to pay close attention to the data to see what's actually happening. A few key numbers will tell you almost everything you need to know.
-
Conversion Rate: Are more or fewer people actually clicking "buy"? A steep drop could be a sign you’ve pushed the price a little too high for your current audience.
-
Add-to-Cart Rate: This tells you about initial interest. If shoppers are still adding your merch to their carts but not completing the purchase, they might be getting sticker shock at the very end.
-
Abandoned Carts: A sudden jump here is a huge red flag. It often means the final total, after shipping and taxes, was just a bit more than your customer was willing to pay.
Don’t panic if you have one slow day. You're looking for patterns. Watch these metrics for a few weeks to get a true sense of the impact. A single data point is just noise, but a consistent trend is valuable feedback.
Knowing When It's Time for a Price Increase
Raising your prices can feel daunting, I get it. But it’s a necessary, healthy sign of a growing business. It shows that your brand is gaining traction and the value you offer is increasing.
Here are some clear signals that it’s time to bump up your prices:
-
Your material costs go up. If the blank hoodies or vinyl you use now cost 15% more than they did last year, that cost has to be passed on. If you don't adjust your price, you're the one eating that cost, and your profit margin shrinks.
-
Your skills have improved. Let's be honest—you're better and faster than when you first started. Your designs are sharper, your application is cleaner, and your quality is top-notch. That added expertise is worth something.
-
Your brand's reputation has grown. You've built a loyal following, you're getting fantastic reviews, and demand is starting to outpace what you can produce. Your pricing should absolutely reflect that hard-earned brand value.
Answering Your Toughest Handmade Pricing Questions
When you're figuring out your pricing, a few specific, tricky questions always seem to pop up. Let's tackle some of the most common ones I hear from other creators.
Should I Factor in Wholesale Pricing Right Away?
One hundred percent, yes. You absolutely should. Even if selling to other shops feels like a distant dream, setting your price with wholesale in mind from the very beginning is a pro move.
Start by using a basic wholesale formula (Base Cost x 2) to find your minimum price. This simple step bakes a healthy profit margin into your final retail price, which is your safety net. It gives you the wiggle room you'll eventually need to run sales, offer free shipping promotions, or partner with other businesses without ever taking a loss on a sale. Think of it as building a solid foundation for future growth.
But What If My Competitors Are Way Cheaper?
I get it. It's so tempting to look at a competitor's lower price and immediately want to drop yours to match. Don't do it.
Here’s the thing: you have no idea what's going on behind the scenes of their business. You don't know their material costs, their process, or frankly, if they're even paying themselves a fair wage. Competing on price is almost always a race to the bottom.
Instead, double down on what makes your work special. Use your product photos, your descriptions, and your social media to tell a story about your quality. Are you using better materials? Is your craftsmanship more detailed? Is your design truly original? The right customers—the ones you actually want—will happily pay a premium for quality they can see and trust. Let your price confidently reflect the value you bring to the table.
Ready to bring those high-quality designs to life? Raccoon Transfers specializes in premium, easy-to-use DTF transfers that make your products look professional and last wash after wash. Start creating your custom transfers today.