
How to Print Iron On Transfers: A Simple DIY Guide
So, you've got a cool design and you're ready to turn it into something you can actually wear. That's exactly what iron-on transfers are for. The whole idea is simple: you create a design on your computer, flip it so it’s a mirror image, and print it out on special heat transfer paper. From there, a little heat and pressure from an iron or heat press will transfer your art right onto the fabric.
It's a straightforward way to transform your digital creations into custom t-shirts, tote bags, or one-of-a-kind gifts.
Your Guide to Printing Perfect Iron On Transfers
Welcome to the incredibly fun world of custom apparel. Think of this guide as your roadmap for turning those ideas on your screen into real, wearable art. DIY iron-on transfers have become a massive hit with everyone from crafters to small business owners because they give you total creative freedom, whether you're making a single gift or a small batch of branded merch.
What I love most about this method is how accessible it is. You don't need a huge, expensive setup to get started. With just a handful of key supplies, you can produce some seriously professional-looking gear right at home. It puts you in the driver's seat of your creative projects, which is why it’s such a popular choice.
Key Takeaway: Nailing how to print iron on transfers really comes down to mastering four key stages: creating the design, printing it mirrored, cutting it out neatly, and applying it with heat. Each part of the process is just as important as the last for getting a clean, durable finish that looks like it was done by a pro.
Here's a quick look at how these phases break down.
Iron On Transfer Process at a Glance
| Phase | Primary Goal | Key Consideration |
|---|---|---|
| 1. Design & Prep | Finalize the digital artwork. | Ensure the image is high-resolution for a crisp print. |
| 2. Mirrored Printing | Print the design onto transfer paper. | The design must be flipped horizontally before printing. |
| 3. Cutting & Weeding | Trim away excess transfer material. | A clean cut is essential for a professional, borderless look. |
| 4. Heat Application | Transfer the design to the fabric. | Consistent heat and even pressure are non-negotiable. |
This table gives you the high-level view, but as we dive in, you'll see how the details in each step are what truly make or break your project.
The Growing Popularity of Customization
It's no secret that people love personalized stuff, and DIY apparel is a massive part of that trend. We've all moved away from wanting mass-produced items and are leaning more into unique things that express who we are. The numbers back this up—the global market for iron-on transfer sheets was valued at around $1.21 billion in 2024 and is expected to almost double by 2033. This explosion is all thanks to our collective desire for customization. You can dig into more data on the iron-on transfer sheet market if you're curious about the growth.
This boom is great news for creators like us. It means companies are innovating, bringing us better products every year. The quality and sheer variety of transfer papers have come a long way, making it easier than ever to get vibrant, tough designs that won't fade after a few washes. This guide will walk you through everything you need to know to get it right from the very first try.
Gathering Your Essential Tools and Materials
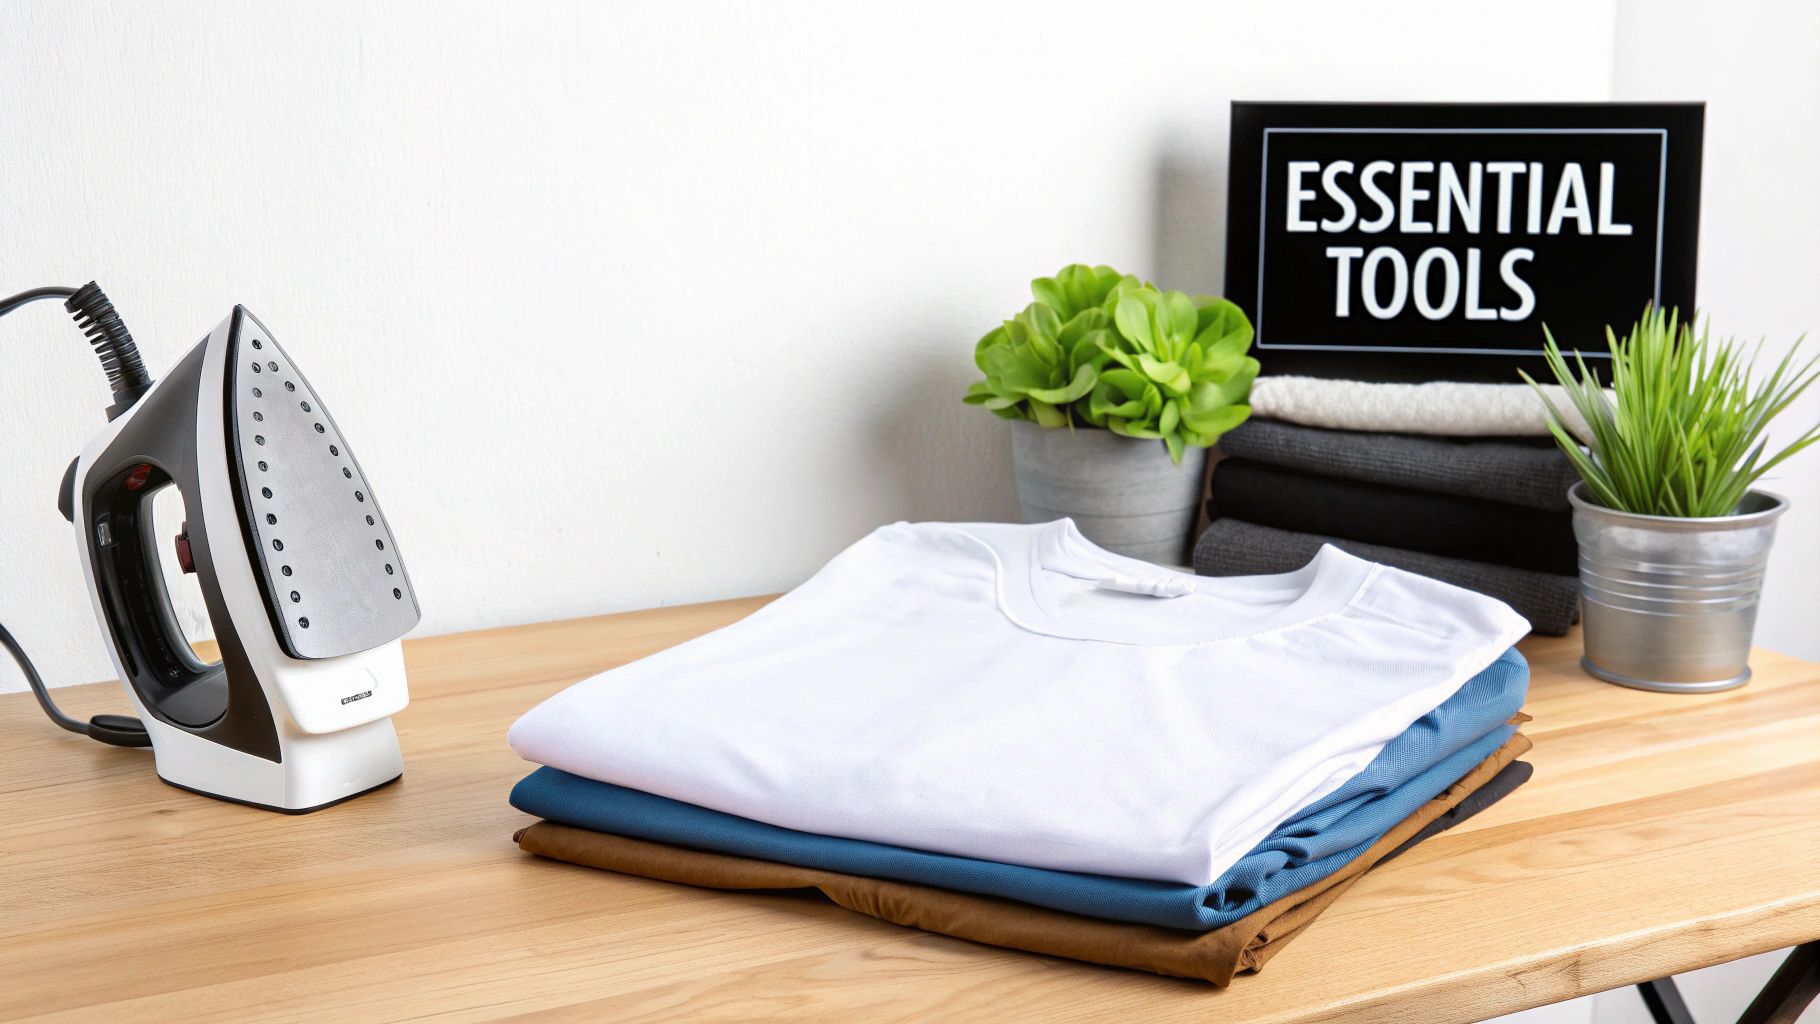
Before you dive into bringing your custom designs to life, let’s get your toolkit in order. Having everything you need laid out and ready to go makes the entire process way more enjoyable and, honestly, has a massive impact on how well your project turns out.
The absolute star of the show is your heat transfer paper. This isn't your everyday office paper; it’s a specialty material with a heat-activated film that bonds your design to the fabric. It’s the cornerstone of a market valued at USD 871.6 million back in 2025, a number that's only going up. This just goes to show how many people are using this method for amazing custom work. You can get a feel for the industry's trajectory by checking out the growth of the textile transfer paper market.
Choosing the Right Transfer Paper
Your first big decision is picking paper designed for either light or dark fabrics. This is a crucial step—get it wrong, and your design will either vanish into the shirt or look completely out of place.
-
Paper for Light Fabrics: This paper has a transparent film. Any unprinted areas will be clear, letting the shirt’s original color show through. It’s the go-to for designs on white, pastels, or light gray shirts.
-
Paper for Dark Fabrics: This version is backed with a solid white, opaque layer. This is non-negotiable for dark garments. It acts like a primer, giving your colors a bright white base so they stay vibrant on black, navy, or deep green fabrics.
Making the right call here is fundamental. If you want to get deeper into the nitty-gritty, our guide on the best paper for heat transfer is a great resource.
Your Printer: Inkjet vs. Laser
Next up, the printer. You can absolutely get great results with both inkjet and laser printers, but they work differently and produce slightly different looks.
Most people starting out use an inkjet printer. They spray liquid ink that absorbs into the paper, creating rich, vibrant colors that are perfect for photos or designs with lots of gradients. Inkjet printers are also usually cheaper to buy, making them a really accessible entry point.
A laser printer, on the other hand, uses a powdered toner that's fused onto the paper with heat. This often gives you super sharp lines and crisp text. From my experience, laser transfers can also be a bit more durable over the long haul. The downside is that the initial investment in a laser printer and toner is typically higher.
Pro Tip: No matter which printer you're using, always crank the settings to the highest quality. Look for options like "Best," "Photo," or "High Quality." This forces the printer to use more ink or toner, which is exactly what you want for a bold, fully saturated transfer.
The Heat Source: Iron vs. Heat Press
Now for the magic—the heat. This is what actually moves your design from the paper to the shirt. Your two main options are a household iron or a dedicated heat press.
A regular household iron is what most people have on hand, and it can work just fine for small one-off projects. If you're using one, try to find an iron without steam holes, since those create cool spots and lead to patchy transfers. You’ll also need to put your back into it—applying firm, even pressure is key, and it can be a real workout.
For anyone serious about making shirts, a heat press is a total game-changer. It delivers three things an iron just can't:
- Consistent Temperature: The entire platen heats to one precise, stable temperature.
- Even Pressure: The clamshell design locks down, distributing pressure perfectly every time.
- Precise Timing: A built-in timer means you never over or under-press your design.
Essential Supporting Tools
Finally, let's round up the other essentials. You'll need a hard, flat, heat-resistant surface. Please, do not use a standard padded ironing board! The padding absorbs the pressure you need for a good transfer. A sturdy table or a spot on the floor (with protection) works much better.
You’ll also need a good pair of scissors or a cutting machine like a Cricut to trim your design neatly. And don't forget a sheet of parchment paper or a Teflon sheet—this little piece protects both your shirt and your iron or heat press from any mishaps.
Getting Your Design Ready for a Flawless Print
A great-looking iron-on transfer doesn't just happen at the heat press. Honestly, the real magic starts on your computer. Getting your digital file prepped correctly is the secret to making sure what you see on your screen is exactly what ends up on your shirt. Skip these steps, and you're just setting yourself up for wasted time, ink, and some pretty expensive transfer paper.
The absolute most critical part of this whole process is mirroring your image. You have to flip your design horizontally before you even think about printing.
Why? It’s simple. When you lay the transfer paper face-down on your shirt to apply the heat, the image gets reversed. If you don’t mirror it in your software first, any text will be completely unreadable, and your whole design will be backward. Think of it like a temporary tattoo—you apply it face-down, and the image appears correctly once you peel the backing off. This is how most transfer papers work, especially the ones designed for light-colored fabrics.
How to Mirror Your Design
Flipping your image is a breeze in most design programs, so don't feel intimidated. It's usually just a single click.
- Canva: Just select your whole design (group all the elements first!), and a menu will pop up at the top. Click "Flip," and then choose "Flip horizontal."
- Adobe Photoshop: Head up to the top menu and click "Image," then go to "Image Rotation," and you'll see the "Flip Canvas Horizontal" option.
Forgetting to do this is hands-down the most common mistake I see beginners make. It's a simple step that saves you from a world of frustration.
Crucial Reminder: Always, always double-check that your design is mirrored before you print. A quick glance is all it takes to see if the text on your screen reads backward. It’s a tiny step that prevents a huge headache.
Nailing Your Printer Settings
Okay, your design is mirrored and ready to go. The next move is to get your printer settings just right. Don't just hit "Print" using the default options. You're using special paper, and you need to tell your printer that so you get those rich, vibrant colors that actually last.
You'll need to open your printer's properties or advanced settings dialog box. The exact location of these settings can be a little different between brands like HP, Epson, or Canon, but you're hunting for two key things: print quality and paper type.
-
Crank Up the Print Quality: Switch the quality setting from 'Standard' or 'Normal' to 'Best,' 'High,' or 'Photo.' This tells the printer to slow down and use more ink, which is exactly what you want for deep, saturated colors and crisp details.
-
Choose the Right Paper Type: Now, look for a paper setting that matches what you're printing on. Some printers are smart and have a specific 'T-Shirt Transfer' or 'Iron-On Transfer' option. If you don't see that, no worries. Just pick a heavyweight option like 'Glossy Photo Paper' or 'Matte Photo Paper.' This tells the printer to adjust its ink flow for a thicker sheet.
The Final Pre-Flight Check
Before you load that pricey sheet of transfer paper, do yourself a favor and run one last test print on a regular piece of copy paper. This quick check saves you from wasting good material.
- Color Check: How do the colors look on paper? Sometimes the colors on your backlit computer screen don't quite match the printed reality. To really get this right, it's worth learning how to master color correction for your designs, as it's a game-changer for getting the perfect look.
- Size and Placement: Hold the test print up against the shirt. Is the design the right size? Is it positioned where you imagined it? This is your last chance to tweak things. If you're struggling with this, our guide on choosing the right graphic size for a t-shirt can be a lifesaver.
This little test run is a pro-level habit. It ensures that when you finally print on the real transfer paper, the result is exactly what you had in mind.
From Printed Page to Finished Product: Cutting and Pressing
This is where the magic happens. All that time you spent tweaking your design on the computer is about to pay off as you bring it into the real world. Getting from a printed sheet to a finished shirt involves a couple of crucial physical steps, and getting them right is key to a professional-looking result.
First up, you need to cut the design out from the transfer paper. How you handle this single step can make or break the final look of your project.
Trimming Your Transfer for a Clean Look
After printing, you’ll have your design sitting on the transfer sheet, but it's surrounded by a sea of blank film. You absolutely have to get rid of that excess material. If you don't, that clear film will transfer right onto your garment, leaving a faint, glossy box around your art. For a truly professional finish, you want it to look like only the design itself is on the fabric, with no visible border.
You've got a couple of ways to tackle this:
- Scissors or a Craft Knife: If you're working with simple shapes—circles, squares, or anything without a lot of fiddly bits—a sharp pair of scissors or a craft knife will do the job just fine. The trick is to go slow and cut as close to the edge of your design as you possibly can.
- Electronic Cutting Machine: For anything with complex edges, tiny details, or cutouts inside the design (think of the holes in letters like 'A' or 'O'), a machine like a Cricut or Silhouette is a total game-changer. These machines are incredibly precise and will follow the exact lines of your artwork, giving you a perfect cutout every single time.
Before we get to the heat, this quick visual sums up the workflow from screen to paper.

It’s a simple reminder that mirroring your design is that non-negotiable step between finalizing the file and hitting "print."
Applying Heat the Right Way
Now we’re at the moment of truth: applying the heat. This is what permanently bonds the transfer to the fabric fibers. A successful transfer comes down to a perfect trifecta of temperature, time, and pressure. Nail these three, and you'll have a vibrant design that won't peel or crack after the first wash.
The custom apparel world is massive—the global market for heat transfer materials is projected to hit USD 2.27 billion by 2034, with the textile sector accounting for nearly 47% of that. This isn't just a niche hobby anymore, and all that growth means the quality of transfer papers available to everyone has gotten seriously good. You can read more about the growth of the heat transfer market to see where the industry is heading.
Using a Household Iron
A standard iron is what most people have on hand, and it can definitely work for smaller projects if you’re careful. The absolute most important rule: turn the steam function OFF. Steam introduces moisture and creates cool spots, which are the two biggest enemies of a successful transfer.
Set your iron to the temperature recommended on your transfer paper's instructions, which is usually a high setting like 'Cotton' or 'Linen'. Before you place the transfer, press the garment by itself for a few seconds to iron out any wrinkles and chase away lingering moisture. Then, lay down your transfer and press down with firm, even pressure. You'll want to keep the iron moving in slow, steady circles to make sure every single part of the design gets enough heat—pay special attention to the edges.
Crucial Tip: Ditch your regular padded ironing board for this. The soft padding absorbs all the pressure you're trying to apply. Work on a hard, heat-safe surface instead, like a wooden table with a pillowcase or thin towel laid down to protect it.
Using a Heat Press
If you see yourself making more than just a handful of shirts, a heat press is an investment that pays for itself in quality and consistency. It completely removes the guesswork. A heat press provides perfectly even heat and pressure across the entire design, something a household iron just can’t do.
With a press, you simply dial in the exact temperature and time your transfer paper calls for—a common starting point might be 375°F for 15 seconds, but always follow the manufacturer's specific guide. Once you lower the platen, the machine applies uniform pressure and the timer ensures a perfect press every time. For a full walkthrough, check out our guide on how to use a heat press machine for more detailed steps.
Household Iron vs Heat Press Comparison
Deciding between a household iron and a dedicated heat press can be tough. The iron is convenient, but the heat press offers professional-level control. This table breaks down the key differences to help you choose the right tool for your project's needs.
| Feature | Household Iron | Heat Press |
|---|---|---|
| Temperature | Inconsistent, with hot and cool spots | Precise and evenly distributed across the entire surface |
| Pressure | Relies on your body weight; hard to apply evenly | Delivers consistent, uniform pressure mechanically |
| Consistency | Varies with each application; difficult to replicate | Highly consistent, ensuring reliable results every time |
| Project Size | Best for small designs and one-off projects | Ideal for any size, especially larger designs and batch production |
| Cost | Low (you likely already own one) | Higher initial investment ($200+) |
| Best For | Hobbyists, quick personal projects, small-scale use | Serious crafters, small businesses, professional-quality results |
Ultimately, while an iron can get you started, a heat press is the clear winner for anyone serious about getting durable, store-quality results. Mastering the application step, regardless of your tool, is what separates a homemade-looking shirt from a truly professional custom garment.
Getting Your Transfer to Last: Aftercare and Troubleshooting
The moment your timer dings and you lift the press is thrilling, but don't celebrate just yet. What you do in the next few minutes—and how you care for the garment long-term—is what really seals the deal. This is what separates a shirt that looks great for one night from a custom piece that holds up wash after wash.
One of the most critical steps happens right away: peeling the backing paper. This isn't a "one size fits all" situation. The right way to do it depends entirely on the specific transfer paper you’re using.
The Critical Difference: Hot Peel vs. Cold Peel
Every single pack of iron-on paper will tell you if it's a "hot peel" or a "cold peel." I can't stress this enough: follow this instruction to the letter. Getting it wrong can instantly destroy all your hard work.
-
Hot Peel: This means exactly what it sounds like. You need to pull off that backing paper the second you lift your iron or heat press, while everything is still scorching hot. The benefit here is that a hot peel often leaves the design feeling softer and more integrated into the fabric's weave.
-
Cold Peel: This one requires some patience. You absolutely have to let the garment and transfer cool down completely before you even think about touching the backing. We're talking several minutes, until it's cool to the touch. Cold-peeled designs often have a slightly thicker, glossier finish that can feel more durable.
My Two Cents: Don't ever guess on the peel type. If you rush a cold peel, the design will likely come right off with the paper. If you wait too long on a hot peel, the backing can bond to the design and become impossible to remove cleanly. Check the instructions that came with your paper. Always.
Washing and Care for Maximum Longevity
Once your design is on and the backing is off, the final piece of the puzzle is making sure it lasts. The laundry room is where great transfers go to die, so proper care is essential to prevent fading, cracking, and peeling.
First, the golden rule: wait at least 24 hours before that first wash. This is non-negotiable. The adhesive needs this time to fully cure and create a permanent bond with the fabric.
When it's finally time for a wash, these simple habits will make all the difference:
- Turn the garment inside out. This protects the design from rubbing against other clothes.
- Wash in cold water. Hot water is your enemy; it softens the adhesive and invites peeling.
- Run a gentle cycle. The less tumbling and agitation, the better.
- Use a mild detergent. Skip the harsh stuff, bleach, and fabric softeners, as they can eat away at the transfer material over time.
When it comes to drying, your best move is to hang it up to air dry. If you're in a hurry, tumble dry on the absolute lowest heat setting. High heat from a dryer is just as bad as hot water. And if you ever need to iron the shirt, do it inside out and never let the hot iron touch the design directly.
Fixing the Most Common Iron-On Problems
Even when you're careful, things can go sideways. The good news is that most issues are pretty easy to diagnose and, more importantly, prevent next time. Knowing how to troubleshoot is just part of the learning process.
Here’s a look at the most common frustrations I see and what’s usually behind them.
Problem: My design is peeling up around the edges.
This is almost always a pressure problem. The edges of your design simply didn't get the same firm, even pressure as the middle. If you're using a household iron, it means you didn't give enough attention to the outer parts of the transfer. On a heat press, it’s a sign your pressure setting is too light.
Problem: The colors look faded or dull right after pressing.
If your design looks washed out from the get-go, it’s typically one of two culprits. You might have used too little heat, so the ink transfer never fully activated. The other common cause is the printer settings—if you didn't choose "Best" or "Photo" quality for your print, the colors were never saturated enough to begin with.
Problem: My transfer is cracking after just one wash.
Cracking is often a sign the transfer was stretched before the adhesive was fully set. This can happen if the fabric was stretched too tightly on the heat press platen or if someone wore the shirt before that initial 24-hour curing period was over. It can also mean your heat was way too high during application, which can cook the transfer and make it brittle.
Iron On Transfer FAQs: Your Questions Answered
Even with the best guide, you're bound to run into a few questions when you start making your own iron on transfers. I've been there! This section tackles the most common head-scratchers I hear from fellow crafters. Let's get these cleared up so you can get back to what matters—creating something awesome.
What Fabrics Work Best for Iron On Transfers?
This is a big one. The fabric you choose is just as important as the transfer paper itself. Get this right, and you're setting yourself up for a design that lasts. For the most reliable results, stick with fabrics that have a lot of cotton.
- 100% Cotton: This is your best friend. Cotton is a champ when it comes to handling the high heat needed to get a really solid, permanent bond. The transfer's adhesive just loves gripping onto those natural fibers.
- Cotton/Polyester Blends: A 50/50 or 60/40 blend is a fantastic choice, too. You get a bit of the stretch and softness from the polyester, but the cotton content is still high enough to take the heat without any drama.
- Canvas and Denim: Thinking of making tote bags, aprons, or jazzing up a jacket? These sturdy, cotton-based fabrics are perfect. Their tight weave gives you a smooth, solid surface for your design.
Now, some fabrics are a bit tricky. Be very careful with things like 100% polyester, rayon, or silk. They're sensitive to heat and can easily scorch or even melt under an iron. If you absolutely have to use one of them, always, always do a small test press on a hidden area first.
Can I Use an Inkjet and Laser Printer?
Yep, you can use either! The non-negotiable rule here is that you must buy the transfer paper made specifically for your type of printer. Trying to use inkjet paper in a laser printer (or the other way around) is a recipe for a mess and could even damage your machine.
An inkjet printer is what most people have at home. It sprays liquid ink that soaks into the paper, giving you those rich, deep colors that look amazing for photos or vibrant graphics.
A laser printer, on the other hand, uses a dry powder called toner that gets melted onto the paper. Laser transfers are known for being incredibly crisp and durable. They often hold up like a rock star through wash after wash.
Bottom Line: Don't stress about which printer is "better." The best one is the one you already have, as long as you pair it with the right paper. You can get professional-looking results from both.
Why Is My Transfer Cracking or Peeling After Washing?
Ugh, this is the most frustrating thing, isn't it? After all your hard work, the design starts falling apart. But I can tell you from experience, it almost always comes down to one of three culprits during the application.
- Pressure is Paramount: The adhesive on the back of the transfer needs to be literally mashed into the fibers of the fabric. If you used a regular household iron, there's a good chance you just didn't apply enough firm, even pressure. The edges are usually the first to go.
- Heat and Time Settings: Every brand of transfer paper has its own magic formula for temperature and time. Too little heat and the glue never melts properly. Too much, and you can actually cook the transfer, making it brittle and easy to crack.
- The 24-Hour Rule: This is a big one people miss. That adhesive needs a full 24 hours to cool, cure, and create a permanent bond with the fabric. Tossing it in the wash before then is asking for trouble.
My go-to fix? Make sure you're pressing on a hard, flat surface (a countertop with a towel on it works, but an ironing board is too squishy). Then, follow the time and temp instructions on your paper package like they're gospel.
How Do I Fix a Mistake After Pressing?
Okay, so you've pressed your design and... it's crooked. It happens! Fixing it is tough, but sometimes possible. If you catch it right away, you might be able to reheat the design and very carefully peel it off while it's still hot. You have to be quick.
If the transfer has already cooled down, it's a bit trickier. You can try a solvent like an adhesive remover made for fabric, but test it somewhere hidden first, as it can sometimes leave a mark. Another trick I've used is to turn the shirt inside out and heat the design from the back with the iron. This can soften the glue just enough to let you scrape it off the front.
Honestly, the best fix is preventing the mistake in the first place. Always, always double-check your placement before you press. It takes five extra seconds and can save you from a major crafting crisis.
Ready to skip the DIY printing and get professional, ready-to-press transfers delivered to your door? At Raccoon Transfers, we specialize in high-quality DTF prints that are vibrant, durable, and incredibly easy to apply. Just upload your design, and we’ll handle the rest.