
How to Print Transfer Paper for Custom Shirts
So, you're ready to start printing your own custom designs? The process is pretty straightforward: create your art, print it on special transfer paper with a standard inkjet printer, and then use heat to apply it to your chosen fabric. But before you even think about firing up the printer, there's one crucial first step: picking the right paper.
The biggest decision you'll make is whether to use paper designed for light fabrics or dark fabrics. This single choice dictates how you'll prep your artwork and what the final result will look like.
Getting Started With Transfer Paper Printing
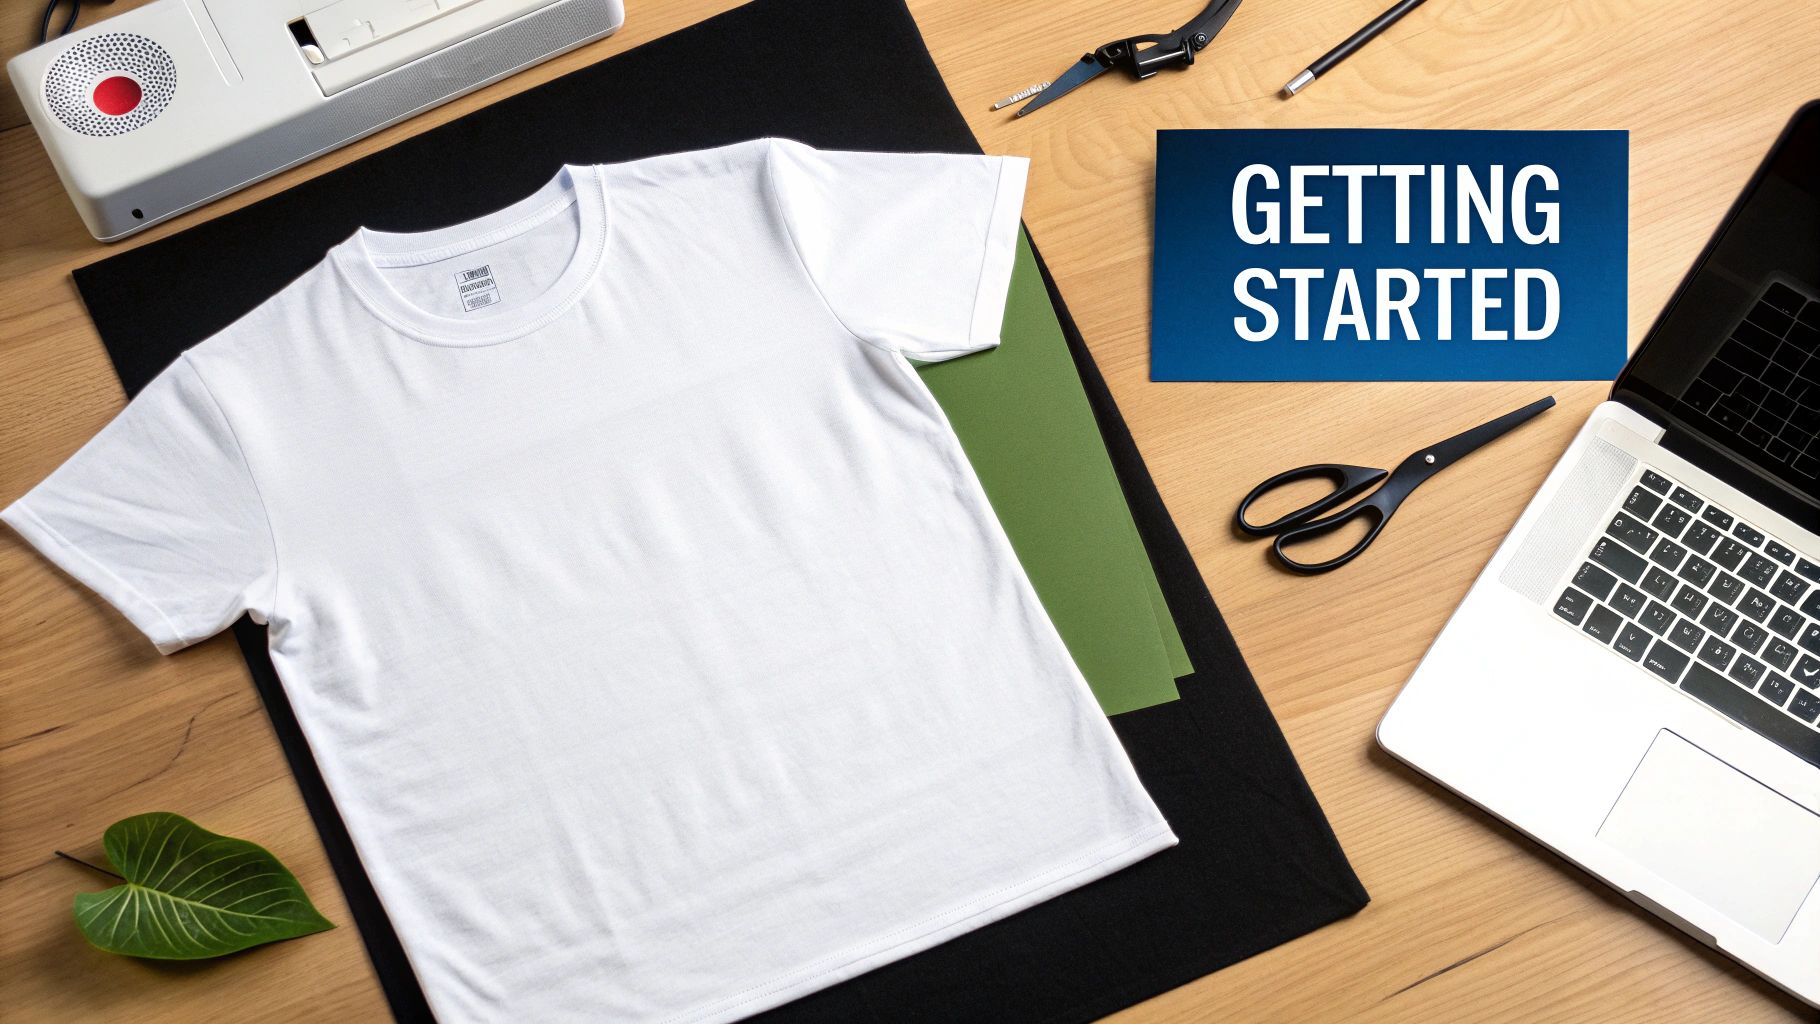
Welcome to the incredibly fun world of custom apparel. Once you learn how to print with transfer paper, you'll unlock a ton of creative possibilities, turning your digital designs into real, wearable art. Think of this guide as your personal roadmap—we'll walk through everything you need to know to get it right, even on your first try.
Going from a blank tee to a custom-printed masterpiece isn't complicated, but your success really boils down to a few key details and having the right supplies on hand. The good news? You don’t need a huge, professional setup. An everyday inkjet printer, a heat source, and good-quality transfer paper are really all you need to get started.
Choosing Between Light and Dark Fabric Paper
This is, without a doubt, the most important decision you'll make. It’s not just a suggestion; it fundamentally changes your entire workflow, from how you prepare your digital file to how the final print looks and feels.
So, what's the difference? It all comes down to transparency.
-
Paper for light fabrics is basically transparent. Your inkjet printer doesn't have white ink, so any white areas in your design will simply be blank on the paper. When you press it, the color of the shirt shows through. This works great for white, pastel, or very light-colored garments.
-
Paper for dark fabrics has an opaque, white background layer. This is essential because it gives your colors a bright base to sit on, making them pop on black, navy, or any other dark material. The trade-off is that you must trim away any unprinted areas, or you'll have a white box around your design.
Making the wrong choice here can leave you with a faded, washed-out design that's barely visible. Getting it right is the first step to a professional-looking print.
To make it even clearer, here’s a quick comparison to help you decide.
Choosing Between Light and Dark Fabric Paper
| Feature | Paper for Light Fabrics | Paper for Dark Fabrics |
|---|---|---|
| Background | Transparent | Opaque white |
| Best For | White, pastel, and light gray fabrics | Black, navy, forest green, and all dark colors |
| Artwork Prep | Mirror the image before printing | Print the image as-is (do not mirror) |
| Trimming | Optional, but recommended for a clean look | Essential to avoid a white border |
| Feel | Softer, more blended into the fabric | Thicker, sits more on top of the fabric |
Ultimately, just match the paper to your shirt color, and you've already won half the battle.
Essential Tools for Your First Project
Before you dive in, it’s a good idea to gather your supplies. Having everything you need laid out and ready to go helps the whole process run smoothly and keeps you from scrambling mid-project.
Here’s a quick checklist of the basics:
- Inkjet Printer: This is non-negotiable. The vast majority of heat transfer paper you'll find is made specifically for inkjet printers, not laser ones.
- Heat Source: You can definitely use a regular household iron, but a dedicated heat press will give you much more consistent heat and pressure. For professional-looking, durable results, a heat press is the way to go.
- Scissors or Cutting Machine: You’ll need a sharp pair of scissors or a craft knife to trim your design. If you're doing intricate cuts, a machine like a Cricut or Silhouette is a game-changer, especially for dark fabric transfers.
- Parchment Paper: This little sheet is your best friend. You'll place it over the transfer during pressing to protect your design and your heat source from any residue. Most transfer paper packs come with a sheet or two.
This simple setup is all it takes to tap into a huge market. The demand for customized products is booming, with the printing transfer paper market projected to hit USD 17.44 billion. It's a testament to how popular this craft has become for both hobbyists and small businesses.
While this guide covers the printing side of things, if you're interested in creating custom garments from the ground up, learning some essential sewing techniques is a fantastic skill to add to your creative toolkit.
Getting Your Design Ready for a Perfect Print
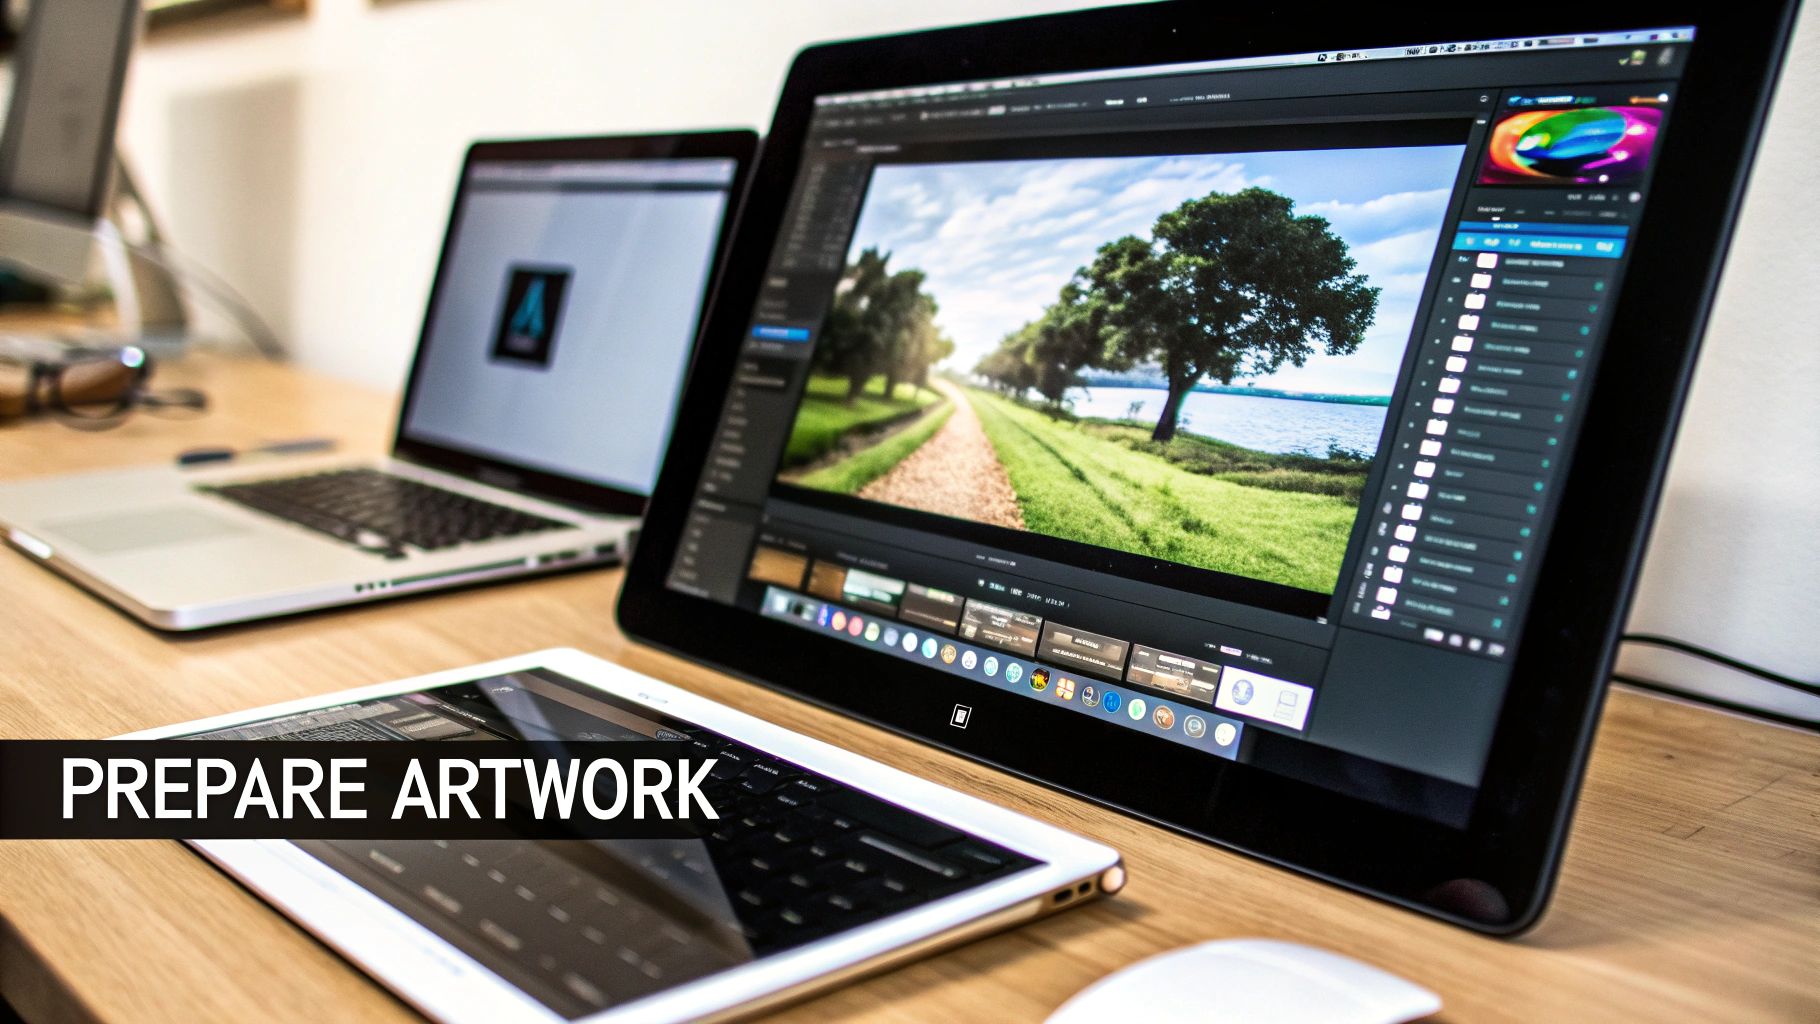
The first step toward a killer custom shirt happens long before you touch a printer. It’s all in the digital prep work. What you see on your monitor has to be set up just right to look fantastic on fabric. Get this part wrong, and nothing else matters.
Getting your digital file in order is what separates a homemade-looking shirt from something that looks genuinely professional. It really just comes down to nailing the resolution and orientation.
Image Resolution Is Everything
Ever seen a printed t-shirt where the graphic looks fuzzy, pixelated, and just... soft? That’s almost always a low-resolution file at work. For crisp, clean transfers that pop, your design file needs to be at least 300 DPI (dots per inch). This high resolution is the industry standard and ensures every line and detail comes out sharp.
Grabbing an image off of Facebook or a quick Google search is a recipe for a blurry print. You have to start with a high-quality file. If you’re not sure how to check, software like Adobe Photoshop or a free online tool like Photopea will let you see the image’s DPI settings.
A huge rookie mistake is trying to "upscale" a small, low-res image. Stretching it out doesn't magically create detail—it just makes the pixels bigger, resulting in that blocky, unprofessional look we all want to avoid. Always start with a file that's built at the right size and resolution from the get-go.
The Mirroring Question: To Flip or Not to Flip?
Alright, this is a critical step that trips up a lot of people when they're starting out. Whether or not you mirror your design comes down to one thing: the type of transfer paper you’re using.
-
For Light Fabric Paper: You absolutely must mirror (or flip horizontally) your image before printing. This paper is transparent, so you place it face-down onto the shirt. If you forget to flip it, any text will be completely backward.
-
For Dark Fabric Paper: Do not mirror your image. This paper is different; it has an opaque white backing. You peel the transfer off the backing and place it right-side-up on the shirt. What you see is what you get.
This simple flip is one of the most important things to get right. In most design programs like Canva or Photoshop, you can find a "Flip Horizontal" command in the edit or object menus. Double-check before you print!
Finalizing Your Design File
Once your resolution is locked in at 300 DPI and you know whether to mirror the art, give it one last look. Check your colors. Digital screens use an RGB color profile, but printers use CMYK. Switching your design to a CMYK profile can give you a much more accurate preview of how the final colors will look on paper.
Finally, think about the physical size of the graphic on the shirt. A design that looks great on a small tee might get lost on an XL. For some expert guidance on this, check out our complete guide to choosing the perfect graphic size for t-shirts. Nailing these digital details makes the hands-on printing part a whole lot smoother.
Dialing in Your Printer for the Best Results
Believe it or not, the standard inkjet printer sitting on your desk can produce some seriously professional-looking heat transfers. The trick isn't the printer itself, but how you tell it to print. You can't just hit the print button and expect magic to happen; you have to get into the settings and make a few crucial adjustments.
Think about it this way: your printer’s default mode is for regular, thirsty copy paper. That paper soaks up ink like a sponge. Heat transfer paper is completely different—it has a special coating designed to hold the ink on the surface. If you use the default settings, your printer will dump way too much ink, turning your beautiful design into a smudged, bleeding mess that never seems to dry. Getting this right is the secret to a sharp, clean transfer.
Picking the Right Paper Type
This is, without a doubt, the most important setting you’ll change. When the print dialog box pops up, you need to click into "Properties" or "Advanced Settings" and find the media or paper type menu. Your goal is to get it off "Plain Paper."
What should you look for? Every printer is a little different, but you'll usually find options like:
- T-Shirt Transfer
- Iron-On Transfer
- Specialty Paper - Matte
- Photo Paper Matte
Choosing one of these options signals your printer to lay down less ink and do it with more precision. This is exactly what the non-absorbent coating on the transfer paper needs. If your printer doesn't have a specific "T-Shirt Transfer" setting, "Photo Paper Matte" is almost always a safe and effective bet. For a closer look at the different materials out there, check out this guide on the best paper for heat transfer to perfectly match your settings to your supplies.
Bumping Up the Print Quality for Rich Color
Once you’ve set the paper type, hunt down the print quality setting. You'll typically see choices like "Draft," "Normal," and "High" or "Best." You want to crank this all the way up and select the highest quality setting available.
Sure, it'll print slower and use a little more ink, but the difference is night and day. This setting forces the printer to be more deliberate, placing each drop of ink with incredible accuracy. The result? Your colors will pop, gradients will look smooth and seamless, and all those tiny details will be crisp instead of muddy. If your design has intricate lines or a wide range of colors, skipping this step just isn't an option.
Pro Tip: Never, ever load your printer tray with a full stack of transfer paper. That special coating makes the sheets prone to sticking together, which is a surefire recipe for a paper jam. I've learned this the hard way. Always feed one single sheet at a time to ensure a perfect, hassle-free print. It's a simple habit that will save you a ton of ink, paper, and frustration.
By taking just a minute to tweak these two settings—paper type and print quality—you turn your everyday printer into a powerful tool for custom apparel. It's a small but critical step that makes a massive difference in the final product.
Applying Heat for a Permanent Transfer
This is where the magic really happens. All your work prepping the design and getting the print just right comes down to this final, crucial step: applying heat. This is what permanently bonds the ink and transfer film to the fabric's fibers. Whether you’re working with a standard household iron or a professional heat press, it all boils down to the same three elements: time, temperature, and pressure. Get those right, and you’ll get a perfect result every time.
Your tool of choice will dictate your technique. An iron can definitely work for a one-off project or if you're just starting out. But for anyone looking to produce professional, consistent results, a heat press is a game-changer.
This infographic gives you a quick visual on the printer settings that set you up for success before you even get to this stage.
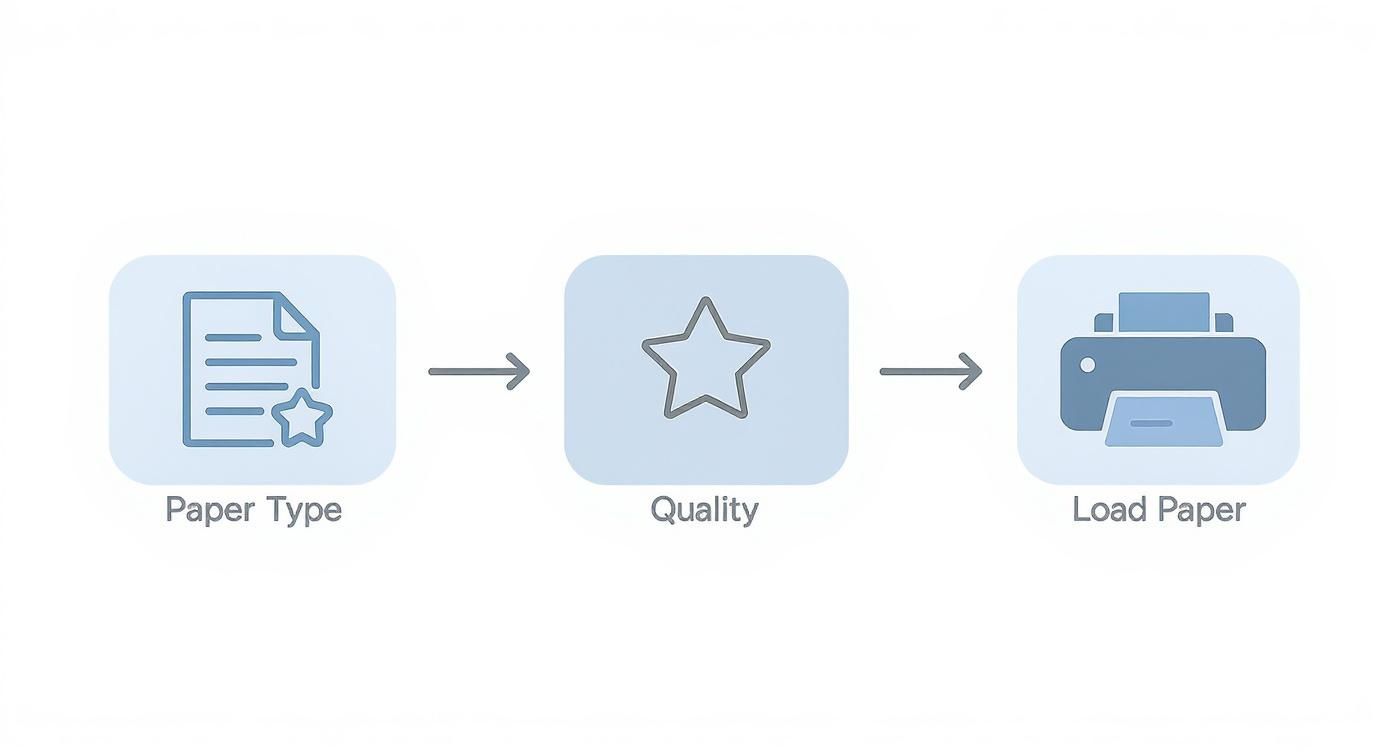
As you can see, choosing the right paper type and print quality settings is the foundation for a design that will not only look great but last.
Using a Household Iron
If you’re going the iron route, your biggest challenge is maintaining even heat and pressure. Most home irons have steam holes, which create annoying cool spots. To counter this, you have to keep the iron moving in slow, steady circles. Make sure you cover every single part of the design, paying extra attention to the edges, as they're the first to peel if not bonded correctly.
Key Takeaway: You can't just glide the iron across the surface like you're smoothing out a wrinkly shirt. You need to apply some serious body weight. Most transfer papers recommend pressing firmly for 3-4 minutes to ensure the entire design has bonded.
This concept of using focused heat and pressure isn't unique to transfer paper. It’s a common technique in many fabric crafts, like when you're applying fusible interfacing to give material more structure.
Mastering the Heat Press
A heat press completely eliminates the guesswork. It gives you precise, digital control over the big three variables:
- Temperature: Different papers have different needs, but most fall within the 350-375°F (175-190°C) range.
- Time: The press duration is critical. It’s usually a quick process, somewhere between 10-30 seconds.
- Pressure: This is where a press truly shines. It clamps down with consistent, even pressure across the entire design—something you just can't replicate by hand.
For anyone getting serious about making custom shirts or other apparel, investing in a heat press is well worth it. If you're looking for the right settings, our heat press temperature chart is a fantastic resource for all kinds of materials.
Hot Peel vs. Cold Peel
Finally, check the instructions that came with your transfer paper. It will specify whether it’s a "hot peel" or a "cold peel" paper. This little detail makes a huge difference in the final look and feel of your print.
A hot peel means you rip off the paper backing right after pressing, while everything is still piping hot. This gives the design a softer, more flexible feel that seems to blend right into the fabric. It's my go-to for a comfortable, worn-in vibe.
On the flip side, a cold peel requires patience. You have to wait for the transfer to cool down completely before you touch that backing paper. This method leaves a shinier, almost glossy finish and often makes the colors pop just a little bit more.
The demand for these custom-printing supplies is booming. The global market for textile transfer paper was valued at around $1.2 billion and is projected to more than double, which shows just how popular custom apparel has become. At the end of the day, always read the manufacturer's instructions for your specific paper to get the finish they designed it for.
Aftercare Tips to Make Your Designs Last
You've done the hard work—printing, cutting, and pressing your design. Now for the crucial final step: aftercare. What you do in the next 24 hours and during the first few washes will make all the difference between a design that lasts for years and one that peels after a month.
Let's make sure all that effort pays off.
The golden rule is to wait at least 24 hours before washing. Seriously, don't touch it. The adhesive and ink need that time to fully cure and create a permanent bond with the fabric. Washing it too soon is a surefire way to see your work crack or peel. Just set the garment aside and forget about it for a day.
Washing Your Custom Garment
When that first wash day arrives, a few tweaks to your laundry routine will keep your design looking sharp. The first thing to do, always, is to turn the garment inside out. This simple trick protects the print from rubbing against other clothes in the wash, which is a major cause of wear and tear.
Next, get your machine settings right. Your transfer’s best friends are cold water and a gentle touch.
- Water Temperature: Stick to cold water only. Hot water is the enemy of the transfer adhesive; it can soften it and cause the design's edges to lift over time.
- Cycle Setting: Choose the "delicate" or "gentle" cycle. Less agitation means less stress on the print, preventing it from stretching or cracking.
- Detergent: A mild detergent is all you need. Stay away from bleach and fabric softeners, as their harsh chemicals can eat away at the ink and adhesive.
It might seem like a small thing, but treating your custom apparel with a little extra care goes a long way. Think of it like a piece of art—you wouldn't scrub it with an abrasive cleaner. Gentle care is what gives it a long, vibrant life.
The Best Way to Dry Your Print
How you dry your garment is just as important as how you wash it. The high heat from a standard tumble dryer can wreak havoc on your transfer, potentially melting the adhesive or causing the design to wrinkle and crack.
The absolute best way to dry your custom gear is to air-dry it. Hang it on a line or lay it flat. It's that simple.
If you're in a real hurry and have to use a machine, be smart about it. Turn the garment inside out and use the lowest heat setting you have—or even better, the "air fluff" setting with no heat at all. And try to pull it out while it's still a little damp, letting it finish air-drying from there. Taking these precautions ensures your design stays looking as crisp as the day you pressed it.
Working Out the Kinks: Troubleshooting Transfer Paper Problems
Even when you follow all the steps, sometimes a print just doesn’t turn out right. A faded design or a transfer that starts peeling after one wash can feel defeating, but don’t worry—these are common bumps in the road, and they’re almost always fixable. Think of these little hiccups as part of the learning curve, not a sign of failure.
Most issues you'll run into stem from just a few things: your printer settings, the heat press (or iron) application, or how the shirt is cared for afterward. Once you know what to look for, you can make small tweaks that make a huge difference in your final product and stop wasting expensive paper and shirts. Let's dig into the most frequent frustrations and how to fix them.
Why Do My Colors Look Faded or Dull After Pressing?
This is probably the most common question I hear. You print a gorgeous, punchy image, but once it's pressed onto the fabric, it looks like a washed-out, pale version of the original. It’s a frustrating experience, but the good news is the fix is usually simple.
More often than not, it’s one of these two culprits:
- You Used the Wrong Printer Settings. Your printer needs to know it’s not printing on regular copy paper. If you leave it on the "Plain Paper" setting, it simply won't use enough ink. You have to tell it to lay down a richer, more saturated layer by selecting a setting like "T-Shirt Transfer," "Matte Photo Paper," or even "Premium Glossy." This single change can be a total game-changer.
- Not Enough Heat or Pressure. Ink transfer is a chemical reaction that needs the right amount of heat and firm, consistent pressure to work. If your iron isn't hot enough, or if you're not leaning into it with some serious body weight, the ink won't fully bond with the fabric fibers. The result? A weak, faded-looking print.
Getting Rid of That Annoying "Halo" Effect
Ah, the dreaded "window" or "halo." This is that noticeable, clear box of film you see around your design, especially on light-colored shirts. It’s a dead giveaway that the shirt was a DIY project. While you can't get rid of it completely with this type of paper, you can definitely make it almost invisible.
The secret is all in the prep work: trim your design like you mean it. Get as close to the edge of your artwork as you possibly can. A sharp pair of scissors will do, but a craft knife (like an X-Acto) gives you precision for tight corners and intricate shapes. The less blank film you leave on the paper, the cleaner and more professional your finished shirt will look.
What to Do When Your Design Cracks or Peels After Washing
It’s the worst feeling—you create the perfect shirt, wear it once, and then pull it out of the laundry to find the design is a cracked, peeling mess. This is a tell-tale sign that the transfer never properly bonded with the fabric in the first place.
This almost always comes back to a slip-up during the application process. Here’s what likely went wrong:
- You Rushed the Pressing Time. It can feel like a long time, but most transfer papers need 3 to 4 full minutes of consistent heat and movement with an iron. Cutting corners here is a guaranteed recipe for failure.
- The Pressure Wasn't Even. When using a hand iron, you have to be the press. This means applying significant, even pressure over the entire design. Pay special attention to the edges, as they're the first part to lift if they weren't pressed down firmly.
- It Went Into the Wash Too Soon. The adhesives and inks need time to cure and lock into the fabric. Give your new shirt at least 24 hours to fully set before it ever sees the inside of a washing machine. Washing it too early will destroy all your hard work.
Getting the application right is key, and sometimes the paper itself can help. For instance, tacky transfer paper is designed to be stickier for easier placement, which is a big help in preventing mistakes. It's part of a specialty paper market that’s projected to hit USD 2.5 billion. Find out more about this growing market trend.
Got Questions? We’ve Got Answers.
Even with the best instructions, you're bound to run into a few questions along the way. It happens to everyone. Let's tackle some of the most common things people ask when they're just starting out with transfer paper. Getting these right from the beginning will save you a lot of headaches (and wasted shirts).
Can I Really Use a Laser Printer for This?
This one's a biggie, and getting it wrong can be a costly mistake. The short answer is yes, but only if you buy transfer paper made specifically for laser printers.
Inkjet and laser transfer papers are not interchangeable. They're built differently. A laser printer's fuser unit gets incredibly hot, and if you feed it standard inkjet paper, the coating will melt all over the internal components. It's a messy, expensive disaster that can easily wreck your machine.
Always, always double-check the packaging. It will clearly state whether it's for an inkjet or a laser printer.
Help! Why Is My Design Cracking After I Wash It?
Cracking is a classic sign that the transfer didn't fully bond with the fabric. It’s frustrating, but it's usually easy to fix once you know what's causing it. It almost always boils down to one of three things:
- Not enough heat or pressure: You need to apply firm, consistent pressure at the right temperature. This is what truly melts the adhesive and pushes it deep into the fabric's weave.
- Stretching the garment too soon: Freshly pressed transfers are still pliable. Give the shirt time to cool down and let the design completely set before you stretch or pull on it.
- Washing it too early: The 24-hour rule is your best friend. The print needs at least a full day to cure and bond before it can handle a trip through the washing machine.
A solid, lasting bond is the whole game. If you're consistently seeing cracks, take another look at your heat press technique. Try adding a bit more pressure, or maybe increase your press time by 15-20 seconds and see if that makes a difference.
Do I Really Have to Cut My Design Out?
For a result that doesn't scream "homemade," yes, you absolutely should. Any part of the transfer paper you don't print on still has a thin, clear polymer layer. If you press the whole sheet, that clear film will transfer right onto your garment.
While it's technically transparent, it creates a faint, boxy outline or a "halo" around your artwork that just doesn't look professional. Taking a few extra minutes to trim close to your design's edge is a game-changer. It’s that one small step that elevates your project from a craft to a high-quality custom piece.
Ready to skip the guesswork and get flawless, professional-grade prints every time? Raccoon Transfers offers premium Direct-to-Film (DTF) transfers that are vibrant, durable, and incredibly easy to apply. Upload your design and let us handle the printing for you.