
How to Transfer Photo to Shirt at Home: Easy DIY Guide
Want to turn a favorite photo into a piece of clothing you can actually wear? It's way easier than you might think. The best method by far is using a Direct-to-Film (DTF) transfer. You can order one online with your custom image and then press it onto a shirt yourself with a heat press. This technique gives you a soft, long-lasting, and super vibrant image that blows old-school iron-ons out of the water.
Why DTF Is the Best Way to Transfer a Photo to a Shirt
Forget those stiff, peeling iron-on sheets that crack after the first wash. Modern Direct-to-Film (DTF) technology has completely changed the game for creating high-quality custom apparel at home. The process is straightforward: your photo gets printed onto a special film, and then you use a heat press to transfer it to the fabric. The end result is a professional-looking print that actually feels like it’s part of the shirt.
The excitement around making your own custom gear is really taking off. The global market for photo printing and merchandise is expected to hit a massive USD 40.1 billion by 2035, mostly because everyone wants personalized stuff like custom t-shirts. It just goes to show how many people are getting into creating their own one-of-a-kind clothes. You can dig into the numbers in this photo printing market analysis.
The Key Advantages of DTF Transfers
So what really makes DTF the go-to choice for DIY creators? The benefits speak for themselves, especially when you think about the headaches that come with other methods.
Before we dive into the "how-to," it helps to understand why this modern approach is so much better than what you might have tried in the past. Here's a quick look at how DTF stacks up against those old-school iron-on papers.
DTF vs Traditional Iron-On A Quick Comparison
| Feature | DTF Transfers | Traditional Iron-On Paper |
|---|---|---|
| Durability | Excellent. Resists cracking and fading through many washes. | Poor. Often cracks, peels, or fades after just a few washes. |
| Feel | Soft, flexible, and lightweight. Moves with the fabric. | Stiff and plastic-like. Sits heavily on top of the fabric. |
| Color Vibrancy | Outstanding. Reproduces millions of colors with great detail. | Limited. Colors often look faded or lose their punch. |
| Fabric Compatibility | Highly versatile. Works on cotton, polyester, blends, and more. | Very limited. Usually restricted to light-colored cotton fabrics. |
As you can see, DTF is the clear winner for creating a shirt you'll actually love to wear again and again.
Here's what really sets it apart:
- Exceptional Durability: Unlike old transfers that just sit on top of the fabric, DTF ink actually bonds with the fibers. This means your design will hold up through dozens of washes without cracking.
- Vibrant, Full-Color Prints: DTF technology can nail millions of colors with stunning accuracy. Your photo will look just as vivid and detailed on the shirt as it does on your screen.
- A Soft, Flexible Feel: The finished print is super lightweight and moves with the fabric. You won't get that stiff, plasticky feeling that makes old iron-on shirts so uncomfortable.
- Versatility Across Fabrics: Got a 100% cotton tee? A polyester athletic shirt? A blend? No problem. DTF transfers stick beautifully to almost any material you can throw at them.
Pro Tip: The real secret to a perfect photo shirt comes down to two things: a high-resolution digital image and a reliable heat press. A regular household iron just can't deliver the even heat and consistent pressure you need for a bond that lasts.
Prepping Your Photo for a Perfect Print
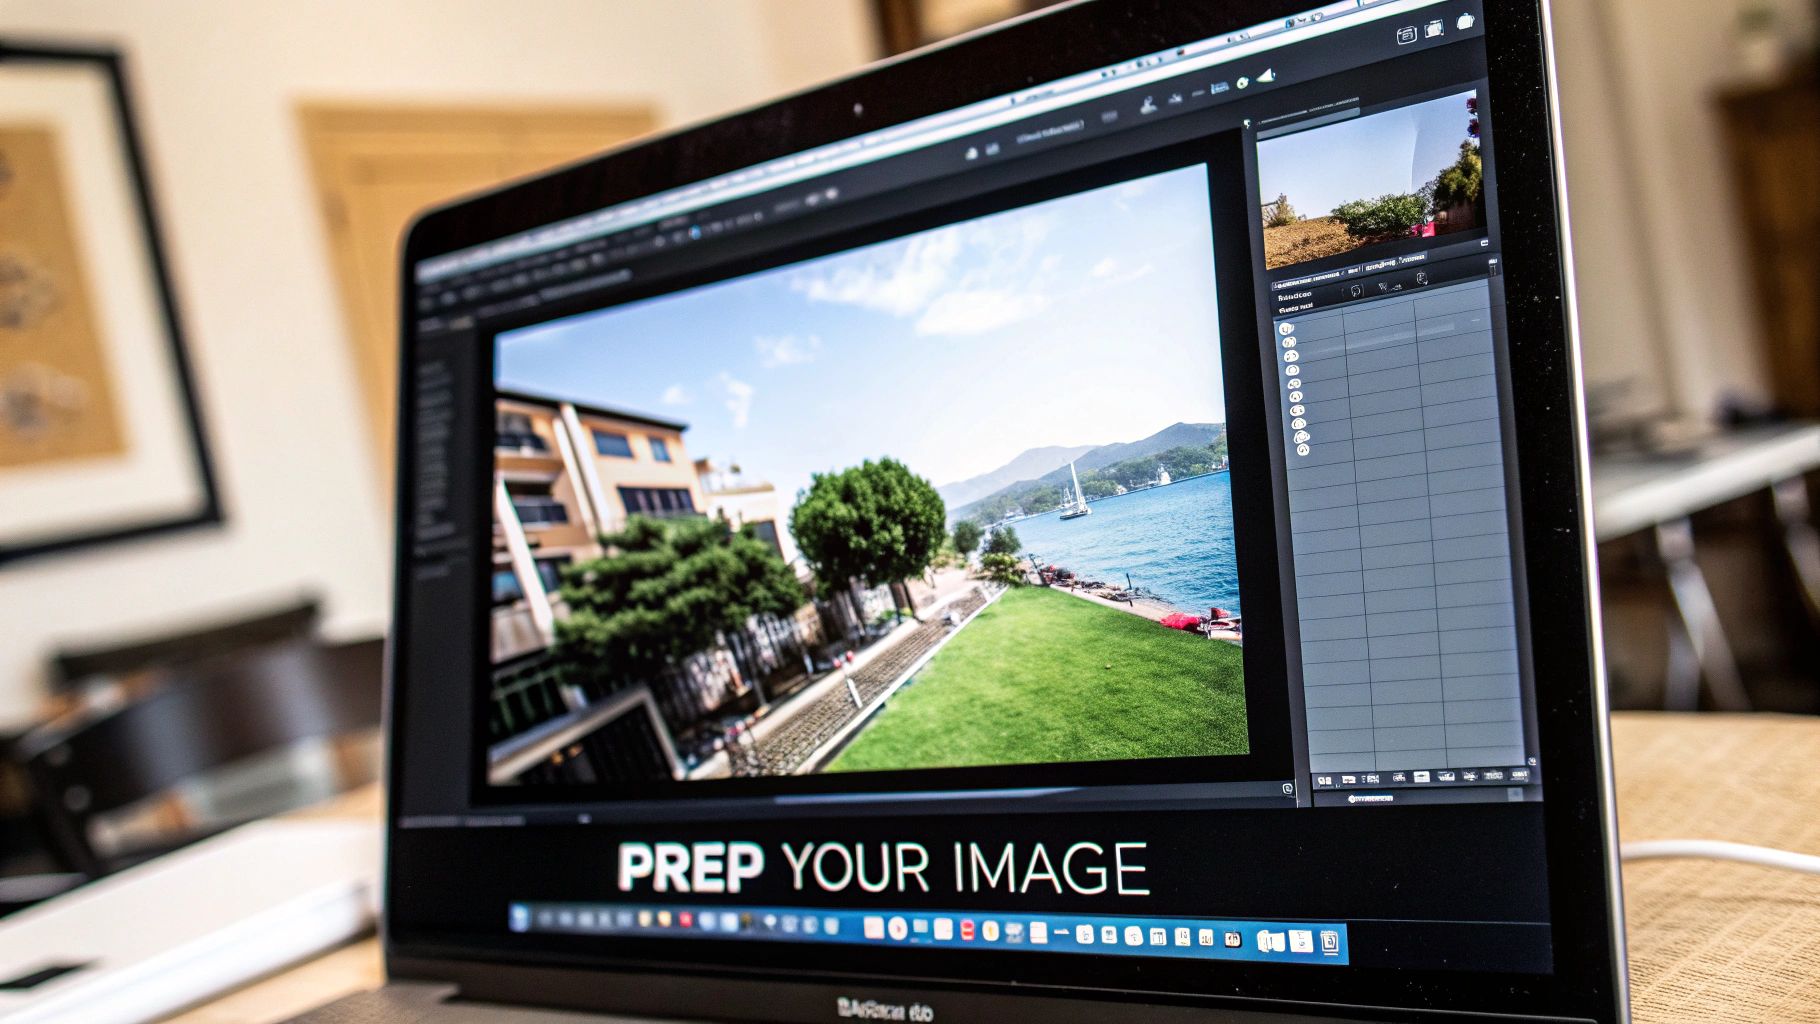
The secret to a stunning custom shirt doesn't start at the heat press. It starts with your digital file. A high-quality photo is the foundation for a crisp, vibrant result, and I’ve seen firsthand how skipping this prep work is the fastest way to get a blurry, amateur-looking design.
It's tempting to just grab a photo from social media, but those images are almost always compressed to save space. That means they have a low resolution that looks fuzzy and pixelated the moment you try to enlarge it for a shirt.
Aim for High Resolution
When it comes to printing, the magic number is 300 dots per inch (DPI). This is the industry standard for a reason. It refers to the density of pixels in your image, and a photo with 300 DPI will look sharp and detailed when printed. Compare that to a typical web image at 72 DPI, which will almost certainly look blocky on fabric.
If your original photo is a little soft or not quite high-resolution enough, don't worry—you have options. Technology can be a huge help here. It's worth looking into how to improve image quality with AI using online tools that can sharpen details and boost clarity before you even think about printing.
Eliminate the Background for a Cleaner Look
One of the biggest giveaways of a DIY shirt is that dreaded "white box" effect. This happens when you transfer a photo with its background still attached, creating a stiff, rectangular patch on the fabric. For a clean, professional look where only your subject stands out, you’ve got to remove that background.
Luckily, you don't need to be a Photoshop pro to pull this off. There are plenty of free online tools that can automatically isolate and remove the background from your photo in seconds, leaving you with just the person, pet, or object you want to feature.
Pro Tip: Always save your final, background-free image as a PNG file. JPEGs don't support transparency, but the PNG format does. This is absolutely critical for ensuring only your design gets printed, with no unwanted boxes or borders.
Sizing and Saving Your File Correctly
Once your image is sharp and has a transparent background, the last piece of the puzzle is sizing it correctly. Think about where the design will go on the shirt. A full-front graphic on an adult large shirt might be 10-12 inches wide, whereas a left-chest placement would be much smaller, probably closer to 4 inches.
Before you finalize everything, do one last check.
- Is it really 300 DPI?
- Is the background completely transparent?
- Is the file saved as a PNG?
Nailing these details ensures the DTF transfer you receive will be exactly what you envisioned. While we're focused on DTF here, the principle of a high-quality file is universal for most apparel decoration, which we touch on in our guide on how to print on transfer paper.
Choosing the Right Shirt for Your Project
The shirt you choose is far more than just a canvas for your photo. It’s the foundation. The fabric you pick will make or break the final look, dictating everything from color vibrancy to how the design feels when you wear it. Honestly, this decision is just as crucial as getting your artwork perfect.
One of the best things about working with Direct-to-Film (DTF) transfers is just how flexible they are. You’re not boxed into one or two fabric types like you are with other printing methods. DTF plays well with almost anything you can throw at it.
Cotton vs. Polyester vs. Blends
Let's break down the most common options you'll encounter.
100% cotton is the old-school favorite for a good reason. It’s soft, breathes well, and gives DTF transfers a fantastic, solid base to adhere to. If you want to take it up a notch, look for ringspun cotton. The fibers in ringspun cotton are spun to create a much finer, smoother yarn. The difference is immediately noticeable—the shirt feels softer, and your photo transfer will look cleaner and more integrated into the fabric itself.
Then you have polyester. This is your go-to for athletic wear. DTF works perfectly on polyester, too. The final print will have a slightly different hand-feel compared to cotton, but it will stick just as well and maintain its color and stretch without a problem.
Finally, there are cotton/polyester blends (think 50/50 or 60/40 mixes), which many of us in the business consider the sweet spot. You get the comfortable softness of cotton combined with the strength and wrinkle resistance of polyester. These blends are workhorses; they hold up beautifully through countless washes and give you a great surface for any photo transfer.
This little chart can help you visualize the process.
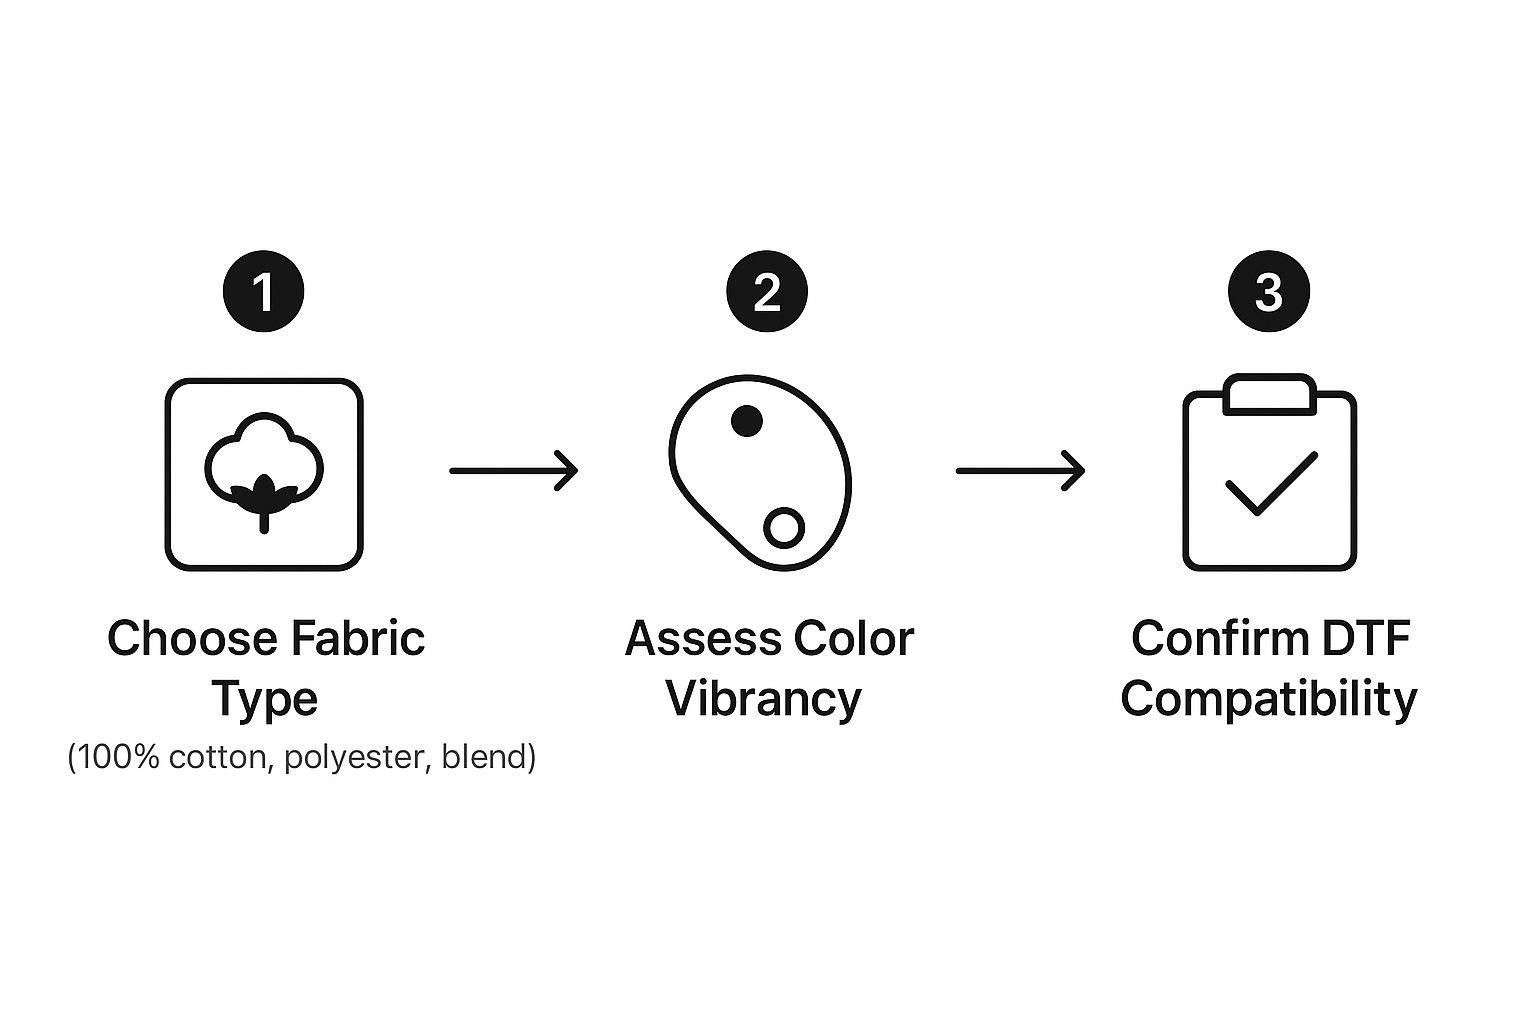
As you can see, once you’ve picked your fabric, you have to think about how it’s going to influence the final look and feel of your design.
Where DTF Fits in the Bigger Picture
The ability to print on just about any fabric is what really makes DTF a game-changer. To appreciate why, it helps to know a bit about the other methods out there. The custom apparel world is huge and growing, dominated by a few key techniques: screen printing, sublimation, and other digital methods like DTF.
Screen printing has been king for a long time, especially for large bulk orders where it's incredibly cost-effective. But digital printing is catching up fast, driven by the massive demand for detailed, custom, small-batch orders—which is exactly what a one-off photo shirt is. If you're curious, you can find more details on the current state of printing trends on Stickeryou.com.
Expert Insight: You’ll hear a lot about sublimation, and it’s great for certain things. But its biggest drawback is a deal-breaker for most photo-on-shirt projects: it only works on high-polyester fabrics, and it needs a white or very light-colored background to look good. This is why DTF is the clear winner for putting a photo on most shirts you'd actually want to wear, especially if it's a colored cotton tee.
When all is said and done, for a single, high-detail photo transfer, DTF is the most practical and high-quality choice. Grab a quality ringspun cotton tee or a nice blend, and you’ll end up with a wearable memory that not only looks incredible but feels great, too.
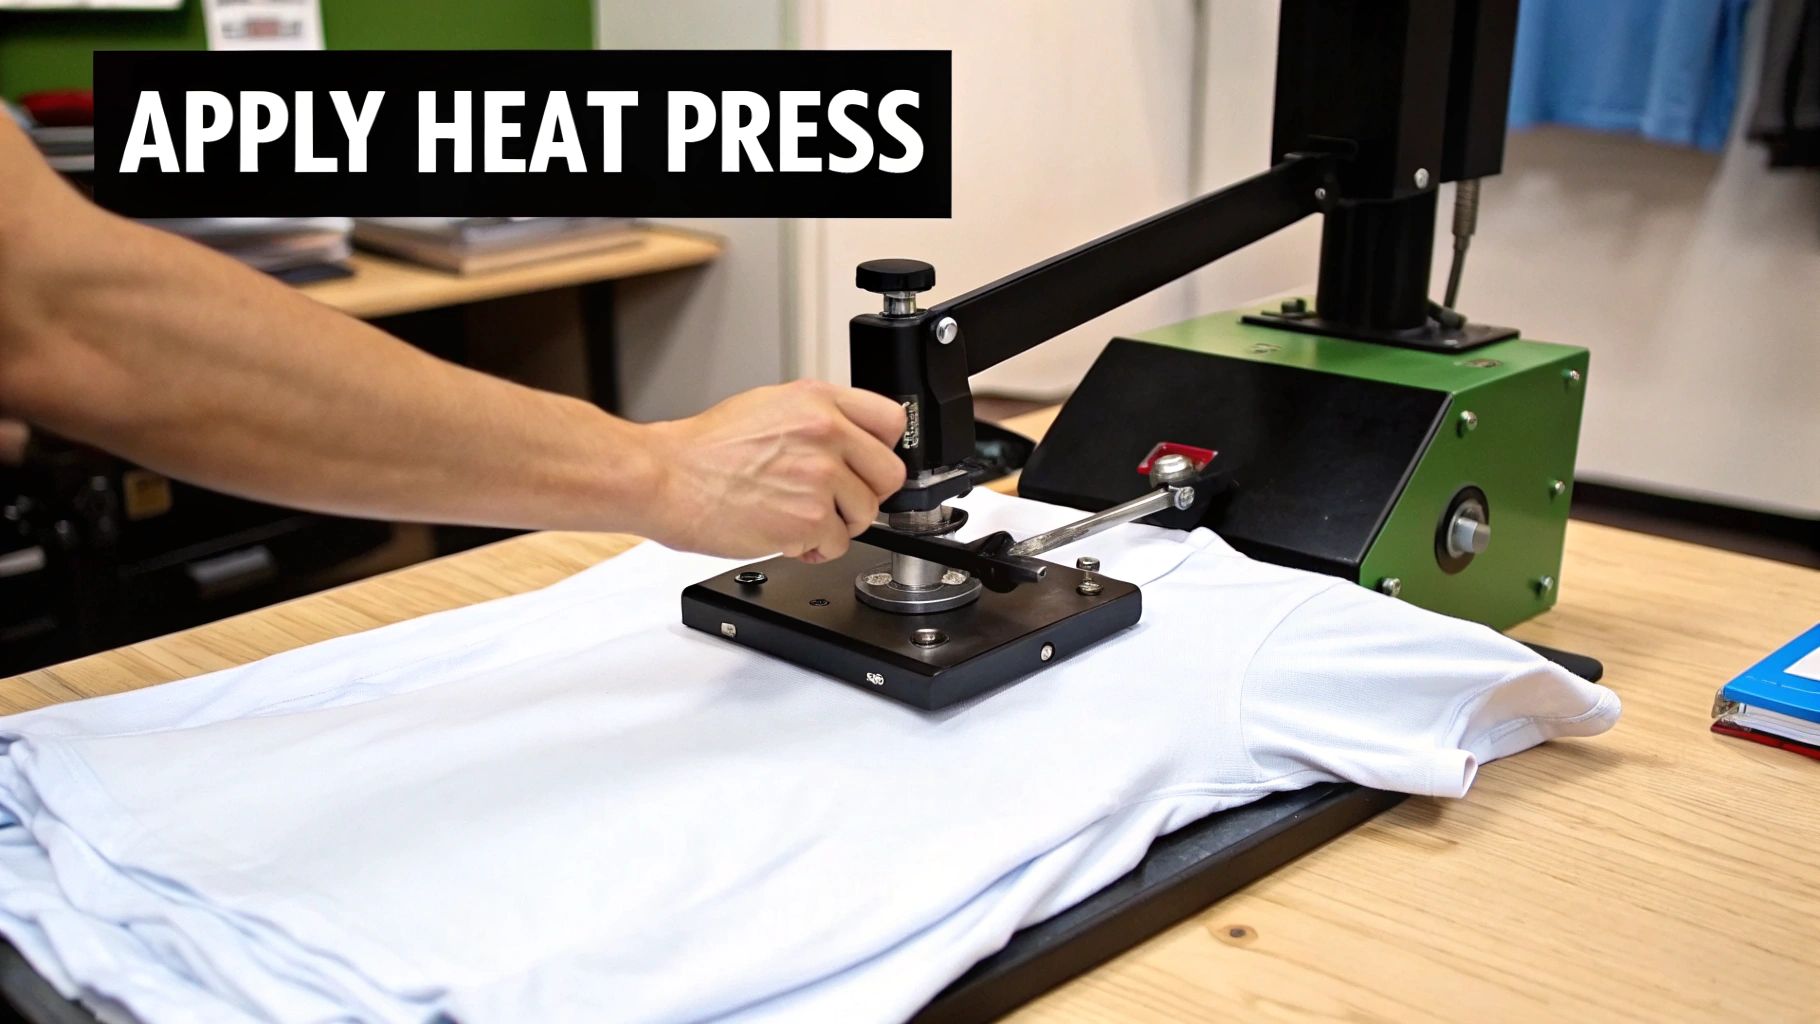
Mastering the Heat Press Application
Alright, this is where the magic really happens. All that time you spent getting the artwork just right pays off in this final stage. Applying your DTF transfer with a heat press is what turns a digital photo into a real, wearable piece of art. Forget creativity for a moment—this part is all about precision. Nailing the settings is the secret to a professional-looking shirt that will actually last.
Before you even think about laying that transfer down, there's a quick but critical step a lot of people skip: the pre-press. Just press the empty shirt for about 5-10 seconds. This little action smooths out any wrinkles and, more importantly, zaps any moisture hiding in the fabric fibers.
Trust me, moisture is the arch-nemesis of a good transfer. Under heat, it turns into steam and messes with the adhesive bond, which is a one-way ticket to a peeling design later on.
Finding the Perfect Placement
Now that your shirt is prepped, it's time to get that transfer positioned perfectly. There’s nothing more frustrating than pulling a shirt off the press only to see your beautiful photo is crooked or sitting weirdly high.
Here’s a simple trick I use all the time: fold the shirt in half vertically and give it a quick press to make a temporary centerline. You can do the same with your transfer film (just fold it gently). Line up those two creases, and you’ve got a perfectly centered design, every single time.
To be extra safe, use a bit of heat-resistant tape to tack down the corners of the transfer. This small step is a lifesaver, as it stops the film from shifting when you close the press.
Ideal Settings for DTF Transfers
With your photo transfer secured, you're ready to press. Getting the right mix of time, temperature, and pressure is what makes or breaks the application.
- Temperature: Your target is somewhere between 300-320°F (149-160°C). This is the sweet spot for the DTF adhesive to activate properly without any risk of scorching the garment.
- Time: A 10-15 second press is typically all you need. That’s enough for the ink and adhesive to create a solid bond with the fabric fibers.
- Pressure: Go for medium to firm pressure. You want enough force to really embed the design into the fabric, not just have it sitting on top.
Pro Tip: Consistency is everything. While these settings are a fantastic starting point, you should always double-check the instructions from your DTF transfer supplier. Their film and adhesive might have slightly different requirements. For a deeper dive, our complete guide on how to heat press has even more tips.
The Critical Cold Peel Technique
Once that timer beeps, lift the press and slide the shirt onto a cool surface. Now for the big reveal—the peel. With DTF, you almost always want to do a cold peel. This just means you need to let the transfer cool down completely to room temperature before even thinking about removing the film.
Be patient here. If you jump the gun and try a "hot peel" while it's still warm, you risk stretching the design or, even worse, pulling up fine details from your photo. Waiting for it to cool ensures the entire image stays exactly where it's supposed to be: on the shirt.
The Final Press for a Softer Feel
Okay, your photo is officially on the shirt. It looks good, but we can make it feel great. This last step, the "second press," is what separates the amateurs from the pros and makes a huge difference in the final product.
Lay a sheet of parchment paper over the now-exposed design and press it again for another 5-10 seconds. This quick finishing press accomplishes two key things:
- It improves the feel: This pushes the ink deeper into the fabric, getting rid of any plastic-like shine and giving the photo a much softer, more flexible feel.
- It boosts durability: This second press truly locks the design in, making it way more resistant to cracking and fading after a bunch of washes.
Don't skip this. It's a simple touch that elevates a "homemade" shirt into something that looks and feels professionally made.
Keeping Your Custom Photo Shirt Looking New
You’ve pressed the perfect photo onto a shirt—now, how do you make sure it lasts? Proper care is what separates a shirt that looks great for years from one that cracks and fades after just a few washes. A few simple laundry habits can dramatically extend the life of your custom apparel, protecting those vibrant colors you worked so hard to create.
The golden rule, and it's non-negotiable, is to always wash your custom shirt inside out. This one small step shields the photo transfer from rubbing against other clothes and the inside of your washing machine, which is the number one cause of premature wear and tear.
Washing Your Photo Shirt
For the best results, stick with a gentle wash cycle using cold water. Heat is the enemy of any custom print. Hot water can weaken the transfer's adhesive over time, leading to peeling, cracking, and fading. It’s one of the fastest ways to ruin your design.
When it comes to detergent, a mild one is all you need. Be sure to avoid harsh additives.
- No Chlorine Bleach: It's too aggressive and will absolutely destroy the colors in your photo while weakening the transfer itself.
- Skip Fabric Softener: Many softeners contain chemicals that can break down the adhesive that bonds the transfer to the fabric fibers.
The demand for personalized apparel is absolutely booming. The global custom t-shirt printing market is valued at around USD 6.09 billion, which just goes to show how much people love creating and wearing their own unique pieces. You can find more details about the custom t-shirt market here.
Drying and Ironing Best Practices
Just like with washing, low heat is your best friend when it comes to drying. The ideal method is simply to hang the shirt to dry.
If you're in a pinch and need to use a machine, tumble dry on the lowest possible heat setting and pull it out as soon as it's done. High heat from a dryer can easily cause the print to crack or warp.
And if your shirt needs a little touch-up with an iron? Never, ever place a hot iron directly on the photo. Always turn the garment inside out first. Ironing right on the design will melt it in an instant, ruining all your hard work.
Following these simple steps will ensure your custom photo shirt stays looking as fresh as the day you made it. For a complete breakdown, check out our guide on proper DTF washing instructions.
Got Questions About Photo Shirt Transfers? We've Got Answers
Even with the best instructions, you're bound to have a few questions when you start pressing your own photo shirts. That's perfectly normal. Getting these little details right is what separates a good shirt from a great one, so let’s walk through some of the things people ask us all the time.
A big one we hear constantly is, "Can I just use my home iron?" It's a fair question, especially if you don't have a heat press yet. But honestly, for DTF transfers, an iron is just setting yourself up for failure.
You'll never get the consistent heat and heavy, even pressure that these transfers need to bond properly. Parts of the photo will inevitably lift and peel, probably after the first wash. A heat press is a non-negotiable tool for a professional, long-lasting print.
Why Does My Photo Transfer Feel Stiff or Shiny?
Ever press a shirt and the design feels like a thick, plastic shield just sitting on the fabric? That's a classic sign of over-pressing. It usually means you used too much heat or held it down for too long. It’s a super common mistake when you're just getting the hang of things.
The trick to getting that soft, matte finish everyone loves is the second press. After your cold peel, lay a sheet of parchment paper over the design. Then, press it again for just 5-10 seconds. This little step melts the ink into the fabric fibers, which makes a world of difference in the feel and completely knocks out that plastic-y shine.
What's the Best Fabric for a Photo Transfer?
One of the best things about DTF is how well it plays with almost any fabric. You can get fantastic results on 100% cotton, polyester, and all sorts of blends. It's incredibly forgiving.
That said, if you're aiming for the absolute sharpest, most vibrant photo print, my go-to is always a high-quality ringspun cotton or a 50/50 cotton-poly blend. These fabrics have a much smoother surface, which gives the transfer a perfect base to adhere to and really makes the colors pop.
How Do I Avoid That White Box Around My Image?
Ah, the dreaded white box. Seeing a halo or a square outline around your beautiful photo is a dead giveaway that the background wasn't removed from your original artwork file. This is 100% an artwork issue, but the good news is, it's an easy fix before you even think about printing.
You have to completely isolate your subject by removing the background in a program like Photoshop or a free online tool. Once that’s done, how you save the file is critical.
- Save as a PNG: This file type is your best friend because, unlike a JPEG, it supports a transparent background.
- Double-Check Your File: Before you upload it for printing, open the PNG file. You should see just your subject on a checkered or blank background, with no white pixels hanging around.
Taking a few extra minutes to prep your art correctly is the secret to getting a clean, professional transfer that looks like it belongs on the shirt, not just stuck on top of it.
Ready to turn your own photos into incredible custom apparel? At Raccoon Transfers, we make it simple to get stunning, durable DTF prints. Order your custom DTF transfers today!