
A Practical Guide to Flawless Iron Prints on T Shirts
Applying an iron-on print to a t-shirt is a fantastic way to create custom gear. The whole process really boils down to three key things: getting your materials ready, applying the right amount of heat and pressure, and letting it cool down correctly. When you get this rhythm down, you can turn a plain shirt into something truly unique with just a handful of tools.
Gathering Your Essential T-Shirt Printing Toolkit
Before you even dream of pressing that awesome design, let's talk about setting yourself up for success. Making professional-looking iron-on prints isn't just about the transfer itself—it's about having the right gear on your workbench. A solid toolkit is what stands between a flawless print and common frustrations like peeling corners or a scorched shirt.
The biggest choice you'll make right out of the gate is your heat source. Honestly, while a home iron can work for a tiny, one-off project, they're famously unreliable. Their heat is uneven, with hot and cold spots all over the place, and getting consistent pressure is a real guessing game. This is why a dedicated heat press is a total game-changer if you're even remotely serious about quality.
Choosing Your Core Equipment
A heat press is designed to do one thing perfectly: deliver consistent, even temperature and pressure across your entire design. That's the secret sauce for getting the transfer's adhesive to properly bond with the fabric fibers. It’s like trying to bake a perfect cake—you could try it over a campfire, but a proper oven gives you control and repeatable results every single time. A heat press is your professional-grade oven.
Just as important is the shirt you choose. If you're just starting, stick with 100% cotton t-shirts. They are incredibly forgiving, handle heat like a champ, and give the transfer a great surface to grab onto. Once you've got a few successful projects under your belt, you can start experimenting with trickier fabrics like polyester blends, but be warned—they demand much more precise temperature control to keep from melting.
It's a huge market. T-shirts make up over 50% of all decorated apparel revenue, and good old cotton accounts for more than 60% of custom shirt orders. As the industry grows, we're seeing more options for different fabrics, but cotton remains king for a reason.
Key Takeaway: If you want to avoid headaches and get great results from day one, invest in a quality heat press and start with 100% cotton shirts. These two choices will have the biggest impact on your success.
Heat Press vs Home Iron Which Tool Should You Use
Still on the fence about your heating tool? This quick comparison should help you decide which one is right for your projects.
| Feature | Heat Press | Home Iron |
|---|---|---|
| Consistency | Provides even, consistent heat across the entire surface. | Has hot and cold spots, leading to uneven application. |
| Pressure | Applies uniform, adjustable pressure for a secure bond. | Pressure is inconsistent and relies entirely on your arm. |
| Project Scale | Ideal for everything from one-offs to small batches. | Best for very small, simple, personal projects only. |
For anyone looking to create items to sell or who simply values a professional finish, the heat press is the clear winner. The control it offers is simply unmatched by a home iron.
The Unsung Heroes of Your Toolkit
Okay, beyond the press and the shirt, there are a few smaller items that make a huge difference. Don't overlook these—they're the secret weapons for a clean, pro-level finish.
- Teflon Sheet: Think of this as your project's insurance policy. You place it over the transfer before pressing, and it protects your shirt and your heat press from scorching, melting, or any sticky residue.
- Heat-Resistant Tape: This stuff is a lifesaver for getting perfect placement. It holds your transfer securely in place so it doesn't shift around when you lower the press, which can cause blurry "ghosting" effects.
- Weeding Tools: If you're working with heat transfer vinyl (HTV), these are an absolute must. They're sharp, pointy tools that let you easily pick out all the tiny, unwanted bits of vinyl from your design before you press it.
Having these tools ready to go makes the entire process smoother and more enjoyable. Of course, the transfer paper itself is a huge part of the equation, and it's vital to match it to your fabric and printer. To learn more, check out our complete guide on the best paper for heat transfer.
A Repeatable Process for Perfect Application
Alright, you've got your gear ready to go. Now for the fun part: turning that design into something you can actually wear. Getting flawless iron-on prints isn't magic; it's about having a solid process you can count on every single time. A reliable workflow means you're not just guessing—you're ensuring every shirt you press, whether it's the first or the fiftieth, looks professional.
This visual guide breaks down the core stages, from picking your materials to the final press.
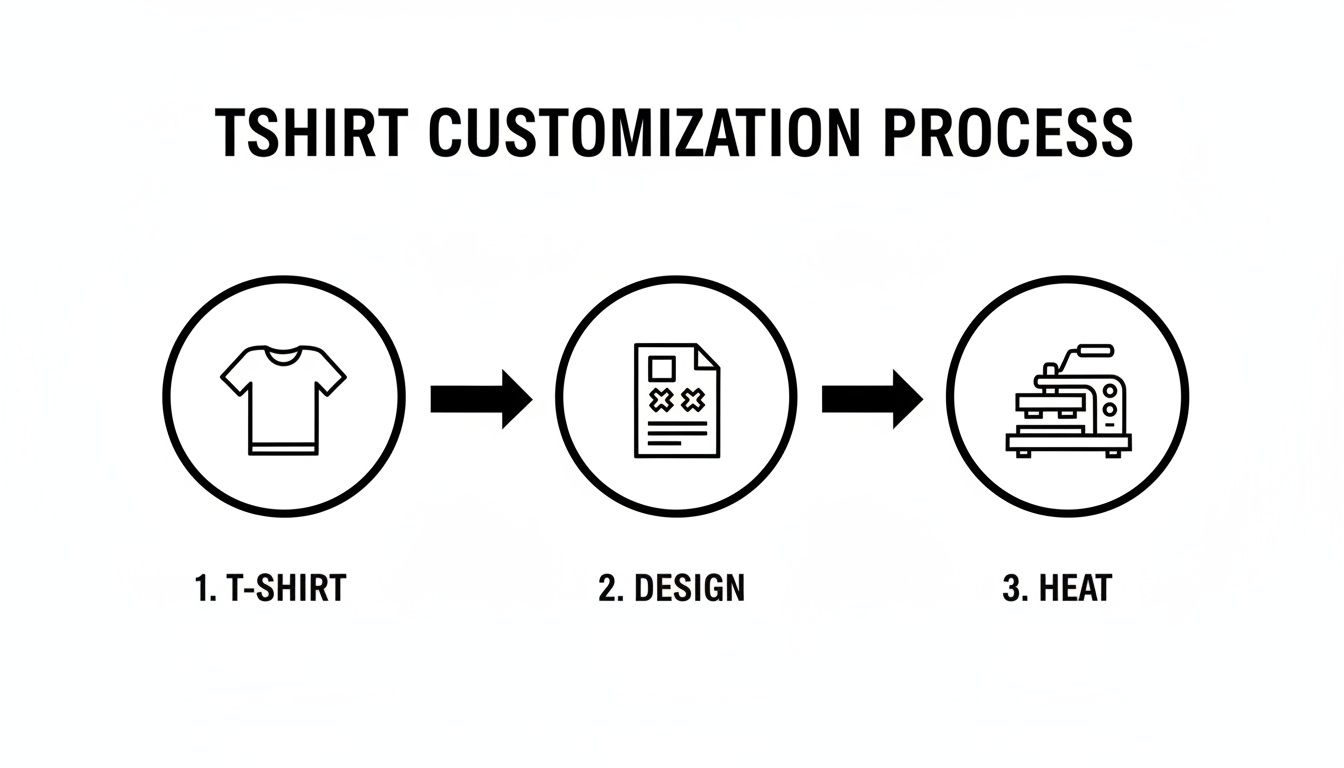
As you can see, success is a three-legged stool: great prep, a solid design, and proper application. If you skimp on one, the whole thing can fall apart.
Preparing the Garment for Application
First things first, and this is a step people love to skip: pre-press your t-shirt. Just lay it flat on your heat press and give it a quick press for about 5-10 seconds at your target temperature. This simple move does two incredibly important things. It gets rid of any sneaky moisture hiding in the fabric, and it irons out every last wrinkle.
Trust me, moisture is the number one enemy of a good transfer. When that trapped water hits the heat, it turns to steam and literally pushes the transfer away from the fabric, killing the adhesion. Pressing a wrinkle is just as bad—you'll end up with a permanent crease right through your design where the print is almost guaranteed to crack or peel.
Nailing the Placement and Settings
With your shirt prepped and perfectly flat, it's time to position your design. Here's a classic trick of the trade: fold the shirt in half vertically and give it a light press to make a faint centerline. You can do the same with your transfer paper (just fold it gently so you don't crease the ink!) to find its center. Line up those two marks, and you've got a perfectly centered design. No rulers, no guesswork.
Now, let's talk about the big three: time, temperature, and pressure. These are the variables you need to master, and they change depending on your fabric and transfer type.
- For 100% Cotton: You can go a bit hotter here, somewhere around 300-320°F (149-160°C). Use a medium-to-firm pressure and press for 15-20 seconds. Cotton is a workhorse fabric that can take the heat, so it's pretty forgiving.
- For Polyester & Blends: You have to be more careful. Drop the temperature to 270-290°F (132-143°C) to avoid scorching or melting those synthetic fibers. Go with medium pressure for a shorter time, usually around 10-12 seconds.
Expert Tip: I can't stress this enough: always do a test press. Use a scrap piece of the same material or find a hidden spot on the garment itself. A quick test will tell you if your settings are dialed in before you commit to the final product and potentially ruin a good shirt.
The Peel and Final Press
Once the timer buzzes, you're at the moment of truth—the peel. This is where you'll hear terms like "warm peel" or "cold peel," and you absolutely need to follow the specific instructions that came with your transfers.
- Warm Peel: You'll pull the carrier sheet off almost immediately after the press finishes, while everything is still hot.
- Cold Peel: You have to wait. Let the shirt and transfer cool down completely to room temperature before even thinking about peeling.
Getting this wrong is a quick way to ruin your work. Peeling at the wrong time can pull up parts of the design or leave a weird, blotchy texture behind. If you want a deeper dive, our guide on how to iron on transfers breaks it down even further.
Once the carrier sheet is off, I always recommend one last, quick press. Place a Teflon sheet over the exposed design and press for just 2-5 seconds. This final step helps melt the design into the fabric fibers, which not only improves durability but also gives it a softer feel. It's the finishing touch that really locks in your work.
Dialing It In: How to Press on Different Fabrics
Let’s be honest, a one-size-fits-all approach to applying iron-on transfers is a recipe for disaster. The settings that work perfectly for a heavy cotton tee will absolutely destroy a delicate polyester blend. If you want consistently great results, you have to learn how to adapt your technique for the specific fabric you’re working with.
Success really boils down to tweaking those three key variables: temperature, time, and pressure. Getting this right for different materials opens up a huge range of creative possibilities, but it definitely requires a little more finesse.
Working With Heat-Sensitive Synthetics
Polyester and poly-blends are everywhere, especially in sportswear, but they're notoriously sensitive to heat. Go too hot, and you’ll melt the fibers, leaving a permanent shiny mark—or worse, changing the fabric's color entirely. This is called scorching, and there’s no coming back from it.
To avoid this nightmare, you need to dial back your settings significantly.
- Temperature: Drop it down to the 270-290°F (132-143°C) range.
- Time: Keep the press brief, just 10-12 seconds.
- Pressure: Use light to medium pressure. Too much can crush the fabric’s natural texture.
This gentler method ensures the adhesive activates and bonds properly without damaging those delicate synthetic fibers. I always recommend using a Teflon sheet as an extra buffer—it’s cheap insurance against scorching.
Pressing on Stretchy and Textured Fabrics
What about tricky materials like spandex blends or fabrics with a distinct texture, like ribbed cotton or canvas? These each come with their own set of challenges. Stretchy fabrics demand a transfer that can move and flex with the garment, while textured surfaces can prevent the adhesive from making full, even contact.
For anything with stretch, don't just use any old transfer; make sure you're using one specifically designed for stretchability. A crucial tip is to press the garment in its natural, relaxed state. If you stretch it out on the press, the design will look puckered and weird once it's off.
When you're dealing with rougher surfaces like canvas, you’ll likely need to bump up the pressure a bit. This helps the adhesive really sink into all the little nooks and crannies of the fabric weave.
Pro Tip: For heavily textured materials like denim or canvas, a flexible finishing sheet or a pressing pillow can be a game-changer. These tools help distribute pressure evenly across an uneven surface, ensuring every part of your design makes solid contact.
This is where modern transfers really prove their worth. The custom t-shirt market is projected to hit USD 7.80 billion by 2026, largely thanks to innovations like DTF (Direct-to-Film) that work beautifully on all kinds of materials. For more on the custom apparel market's growth, it's worth a read. These newer transfers offer incredible flexibility, sticking to everything from smooth polyester to rugged canvas, which is why they’re quickly becoming the go-to for small brands and creators.
Ultimately, knowing your materials is half the battle. To get a deeper dive into which fabrics will give you the most professional-looking results, check out our guide on the best fabric for t-shirts.
Solving Common Iron-On Print Problems
Even when you follow all the steps perfectly, things can still go sideways. Don't panic—most of the common issues with iron-on prints are surprisingly easy to fix once you know what to look for. Think of this as your go-to guide for rescuing a project that’s on the verge of becoming a "learning experience."
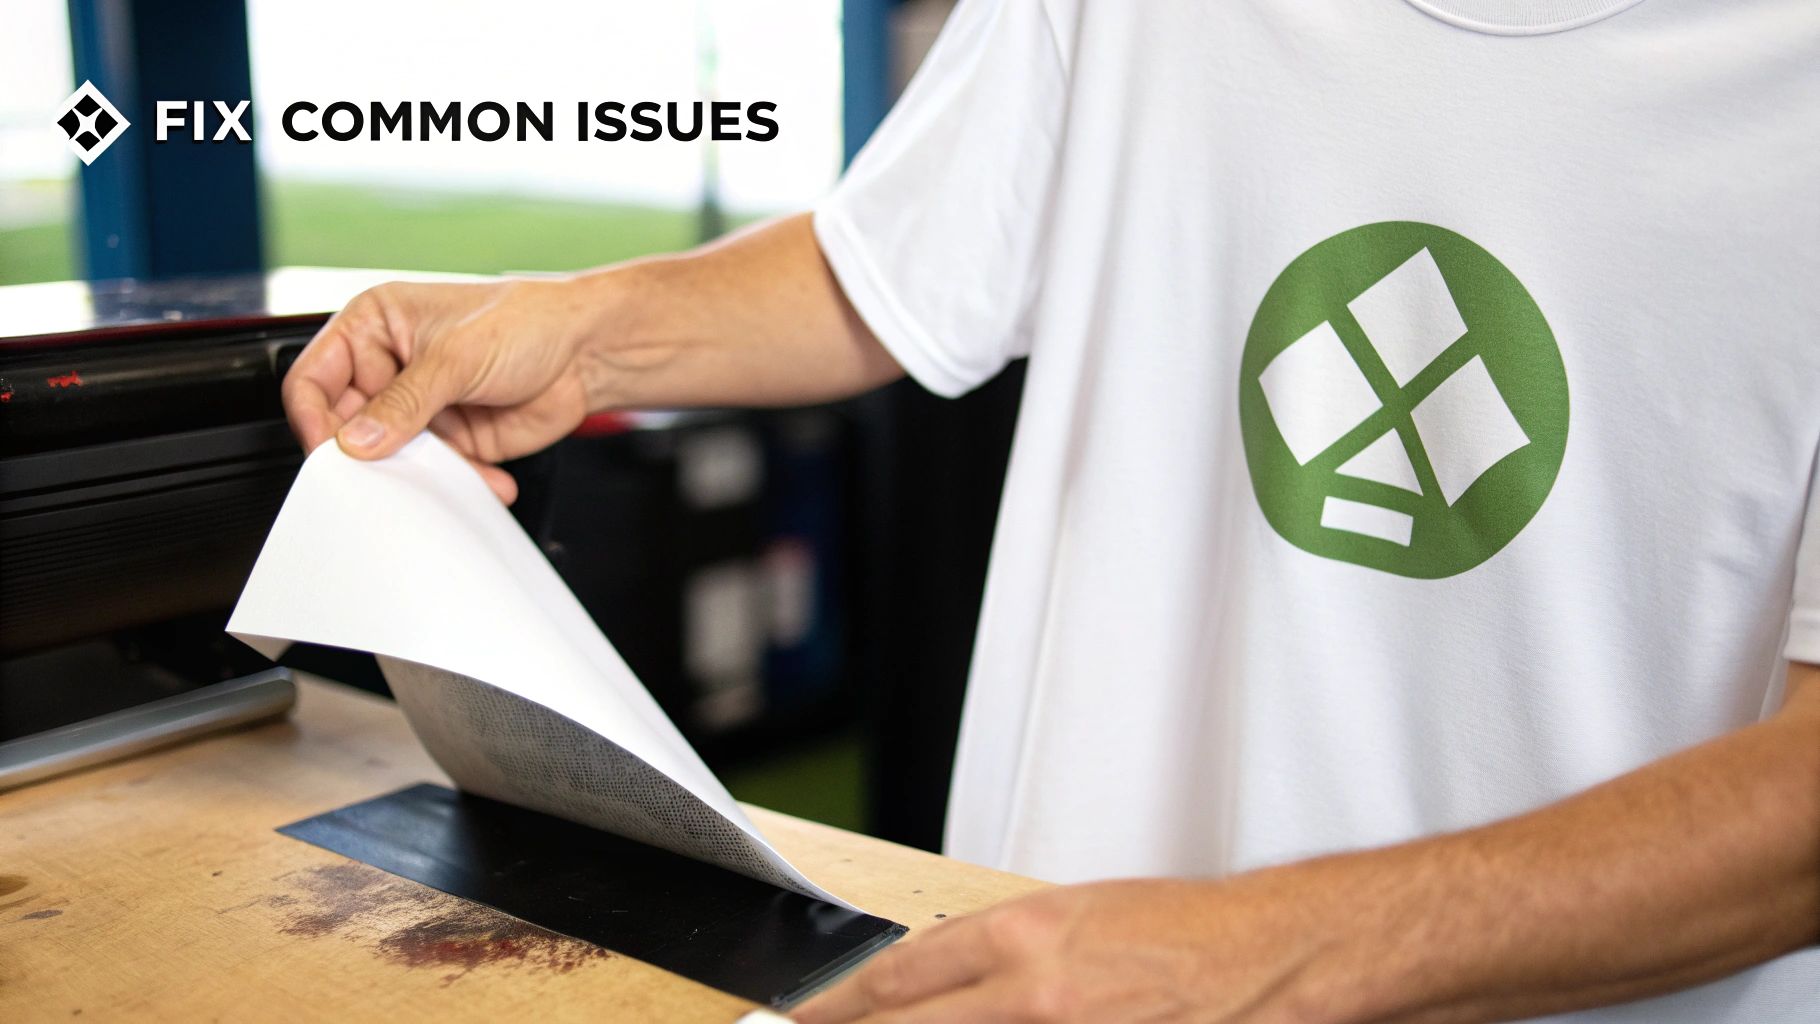
From prints that peel right off to designs that crack after one wash, nearly every problem boils down to one of three things: temperature, pressure, or time. Let's break down the most frustrating mishaps and get your project back on track.
Why Is My Design Peeling or Not Sticking?
This is the big one. You go to peel back the carrier sheet, and the edges of your design lift right off with it. Nine times out of ten, the culprit is a lack of sufficient heat or pressure. The adhesive on the transfer simply didn't get hot enough, or it wasn't pushed firmly enough into the fabric’s fibers to create a solid bond.
Another sneaky cause is hidden moisture. If you skip the pre-press step, any humidity in the garment turns to steam during the press, which can prevent the adhesive from working correctly.
Here’s how to fix it:
- Not Enough Heat: Your setting might be too low for the specific vinyl or transfer you're using. Always double-check the manufacturer's recommendations and try bumping the temperature up by 5-10°F.
- Uneven Pressure: This is a classic problem when using a home iron. A proper heat press applies consistent pressure, but with an iron, you have to be the press. Make sure you’re bearing down firmly across the entire design, giving extra attention to the corners and edges.
- Moisture: This is non-negotiable. Always pre-press your shirt for 5-10 seconds to zap any lingering moisture before you even think about placing the transfer.
Quick Tip: You can often save a peeling design! Just place a Teflon sheet or parchment paper over the print and press it again for another 5-10 seconds. Focus firm pressure on the problem areas to reactivate the adhesive and lock it down.
What Causes Cracking and Fading After Washing?
There's nothing more disheartening than pulling a freshly washed shirt out of the laundry to find your beautiful work cracked or faded. This usually means the transfer stuck initially but never fully cured and bonded with the fabric. The adhesive was just sitting on top of the fibers instead of truly melting into them.
Again, this almost always comes back to your settings. The heat might have been just enough to make it stick temporarily, but not high or long enough to make it last.
To avoid this, make sure your press time is adequate. For most standard heat transfer vinyl on cotton, a solid 15-20 second press is what you need. If you pull away too early, you're just asking for a weak bond that won't survive the washing machine.
And one more thing: be patient! Always wait at least 24 hours before washing a freshly pressed shirt. This gives the adhesive crucial time to fully cure and set. Following these simple rules is the key to creating iron-on prints that stay vibrant and durable for the long haul.
Quick Fixes for Common Printing Issues
When something goes wrong, it's easy to feel frustrated. But before you toss that t-shirt, check this table. Most issues are simple fixes related to the "big three": time, temperature, and pressure.
| Problem | Likely Cause | Solution |
|---|---|---|
| Print is peeling at the edges | Uneven pressure or not enough heat. | Re-press for 5-10 seconds with a Teflon sheet, focusing on the edges. Ensure your press is hot enough and you're applying firm, even pressure. |
| Design cracks after washing | Not enough press time or heat; adhesive didn't fully cure. | Increase your press time by 5-10 seconds. Make sure you wait 24 hours before the first wash. |
| Colors look dull or faded | Temperature is too low. | Check the manufacturer's specs and increase your heat setting slightly. Always pre-press the garment to remove moisture. |
| Print has a "scorched" look | Temperature is too high or press time is too long. | Reduce your heat setting by 10-15°F or shorten your press time. Always use a protective Teflon sheet. |
| Vinyl won't release from carrier sheet | You might be attempting a "hot peel" on a "cold peel" vinyl (or vice versa). | Check your vinyl's instructions. Some require you to peel the backing while it's hot, and others require it to cool down completely first. |
Remember, every heat press and every type of transfer material has its own personality. A little bit of testing and paying close attention to these details can save you a ton of headaches down the road.
Keep Your Custom T-Shirts Looking Great for Longer
Your job isn't quite finished when you lift the heat press. The real secret to making iron-on prints that actually last lies in the aftercare. A few simple rules can be the difference between a design that peels after one wash and a custom shirt that stays vibrant for years. This is how you protect your hard work.
The biggest rule? Be patient. After pressing, the adhesive needs time to fully cure and create a rock-solid bond with the fabric's fibers. You absolutely must wait at least 24 to 48 hours before that first wash. Throwing it in the machine too soon is the fastest way to ruin the bond, guaranteeing it will peel and crack.
The Washing Playbook
When it’s finally time to wash your custom tee, a few key steps will preserve its quality. Always, always turn the shirt inside out before it goes into the machine. This one tiny step drastically reduces friction, shielding the print from rubbing against other clothes and the washing machine drum—a major cause of wear and tear.
Next up, stick to cold water. Hot water is a print-killer because it can reactivate the adhesive, causing the design to soften and lift right off the fabric. Cold water is much kinder to both the print and the shirt itself.
- Turn It Inside Out: This is your best defense against friction and fading.
- Cold Water Only: This keeps the adhesive bond strong and prevents colors from bleeding.
- Use a Mild Detergent: Harsh chemicals and especially bleach will break down the print over time.
Following these steps will help your designs stay crisp and firmly attached, wash after wash.
Drying and Storing for the Long Haul
How you dry your shirt is just as critical as how you wash it. The best method, hands down, is to air-dry it. Just hang it on a line or lay it flat. This completely avoids the intense heat and tumbling of a machine dryer, which is your print's worst enemy.
If you’re in a pinch and have to use a machine, be sure to use the lowest heat setting you possibly can—think tumble dry low or the delicate cycle. I can't stress this enough: high heat is the number one reason prints crack and peel.
Pro Tip: Heat is your best friend when you're applying the design, but it becomes your worst enemy during aftercare. Always choose cold washes and air-drying to get the most life out of your custom apparel.
Once you’ve nailed the process for creating durable, long-lasting iron-on prints, you might even think about turning your hobby into a business. For creators ready to sell their work, learning about selling custom creations on Amazon Handmade can be a fantastic next step. After all, great aftercare ensures your customers get a product that lasts, which is essential for building a great reputation.
Beyond Basic Iron-Ons: A Look at DTF Transfers
Traditional iron-on vinyl is a fantastic starting point, but if you've been in the custom apparel game for a while, you know the landscape is always evolving. Today, there are some seriously impressive alternatives that deliver professional results without the old-school headaches. The one making the most noise right now is Direct-to-Film, or DTF.
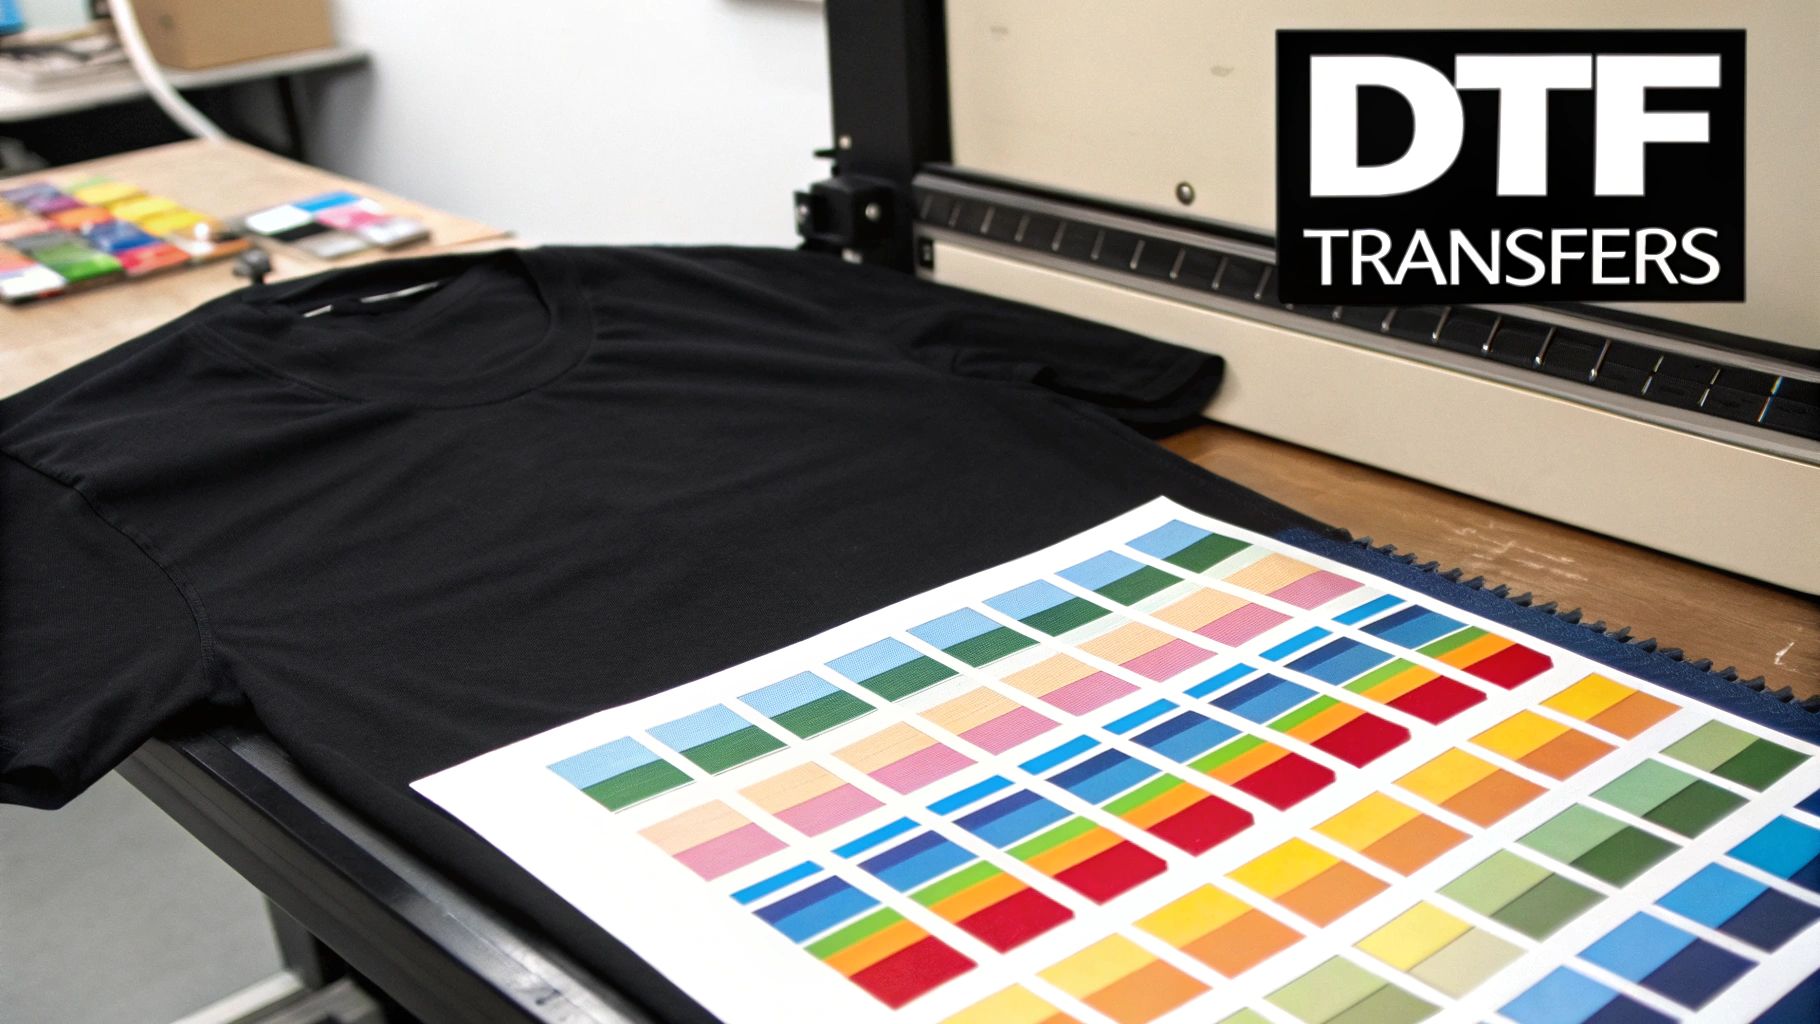
Think of DTF as the next leap forward. It’s a process where your design—photographs, intricate logos, full-color illustrations, you name it—is printed onto a special film. You then use a heat press to apply it to a garment. The real magic? There's absolutely no weeding involved. Ever. Even for the most complex, detailed designs you can imagine.
What Makes DTF a Game-Changer?
That "no weeding" feature is usually what gets people's attention, but the advantages of DTF run much deeper. For small businesses or even dedicated hobbyists looking to level up their iron prints on t shirts, this technology is a huge deal.
- Press on Almost Anything: Forget worrying about fabric compatibility. DTF is incredibly versatile and works beautifully on cotton, polyester, blends, denim, and even tricky materials like canvas.
- Built to Last: These transfers are tough. The ink fuses right into the fabric fibers, so the final print stands up to dozens of washes without cracking, peeling, or fading. It’s the kind of durability your customers expect.
- Feels Great to Wear: Once applied, the design has a surprisingly soft and flexible feel. It stretches and moves with the fabric, unlike some older transfer methods that can feel like a thick, stiff sticker on the shirt.
It's this blend of ease, quality, and versatility that makes DTF such a powerful tool. You can produce retail-quality apparel without the steep learning curve or massive investment required for other professional methods.
DTF essentially closes the gap between DIY crafting and full-scale screen printing. It gives you the unlimited color and fine detail of digital printing with a consistent, high-quality finish on a huge variety of products.
Why You’re Seeing DTF Everywhere
The demand for unique, custom apparel is exploding. While screen printing has long been the industry standard, claiming over 55% of the market share back in 2021, digital methods like DTF were already gaining serious ground.
Now, with the global custom t-shirt market projected to skyrocket from USD 7.01 billion in 2025 to an astounding USD 20.05 billion by 2035, DTF is poised to be a dominant force. You can dive deeper into the stats on the custom apparel industry's rapid expansion.
For a small brand, this is huge. It means you can offer vibrant, full-color designs on everything from classic tees to premium hoodies without the mess, chemicals, and high setup costs of screen printing. It’s no wonder that online searches for DTF have jumped by over 200%—this next generation of iron prints on t shirts is truly changing the game for creators everywhere.
Ready to experience the future of custom apparel? At Raccoon Transfers, we specialize in high-quality, easy-to-apply DTF transfers with next-day shipping. Start your order today