
A Pro Guide to Print on Transfer Paper for Flawless Results
If you want to nail your heat transfer projects, it all starts with the right gear. You'll need a specific kind of paper, a printer that plays nice with it, and the correct ink. The basic idea is simple: print your design onto a special coated sheet, then use heat to press it onto a surface, usually a t-shirt. But getting that process right is what separates a professional-looking shirt from a cracked, faded mess after one wash.
Choosing the Right Gear for Perfect Transfers
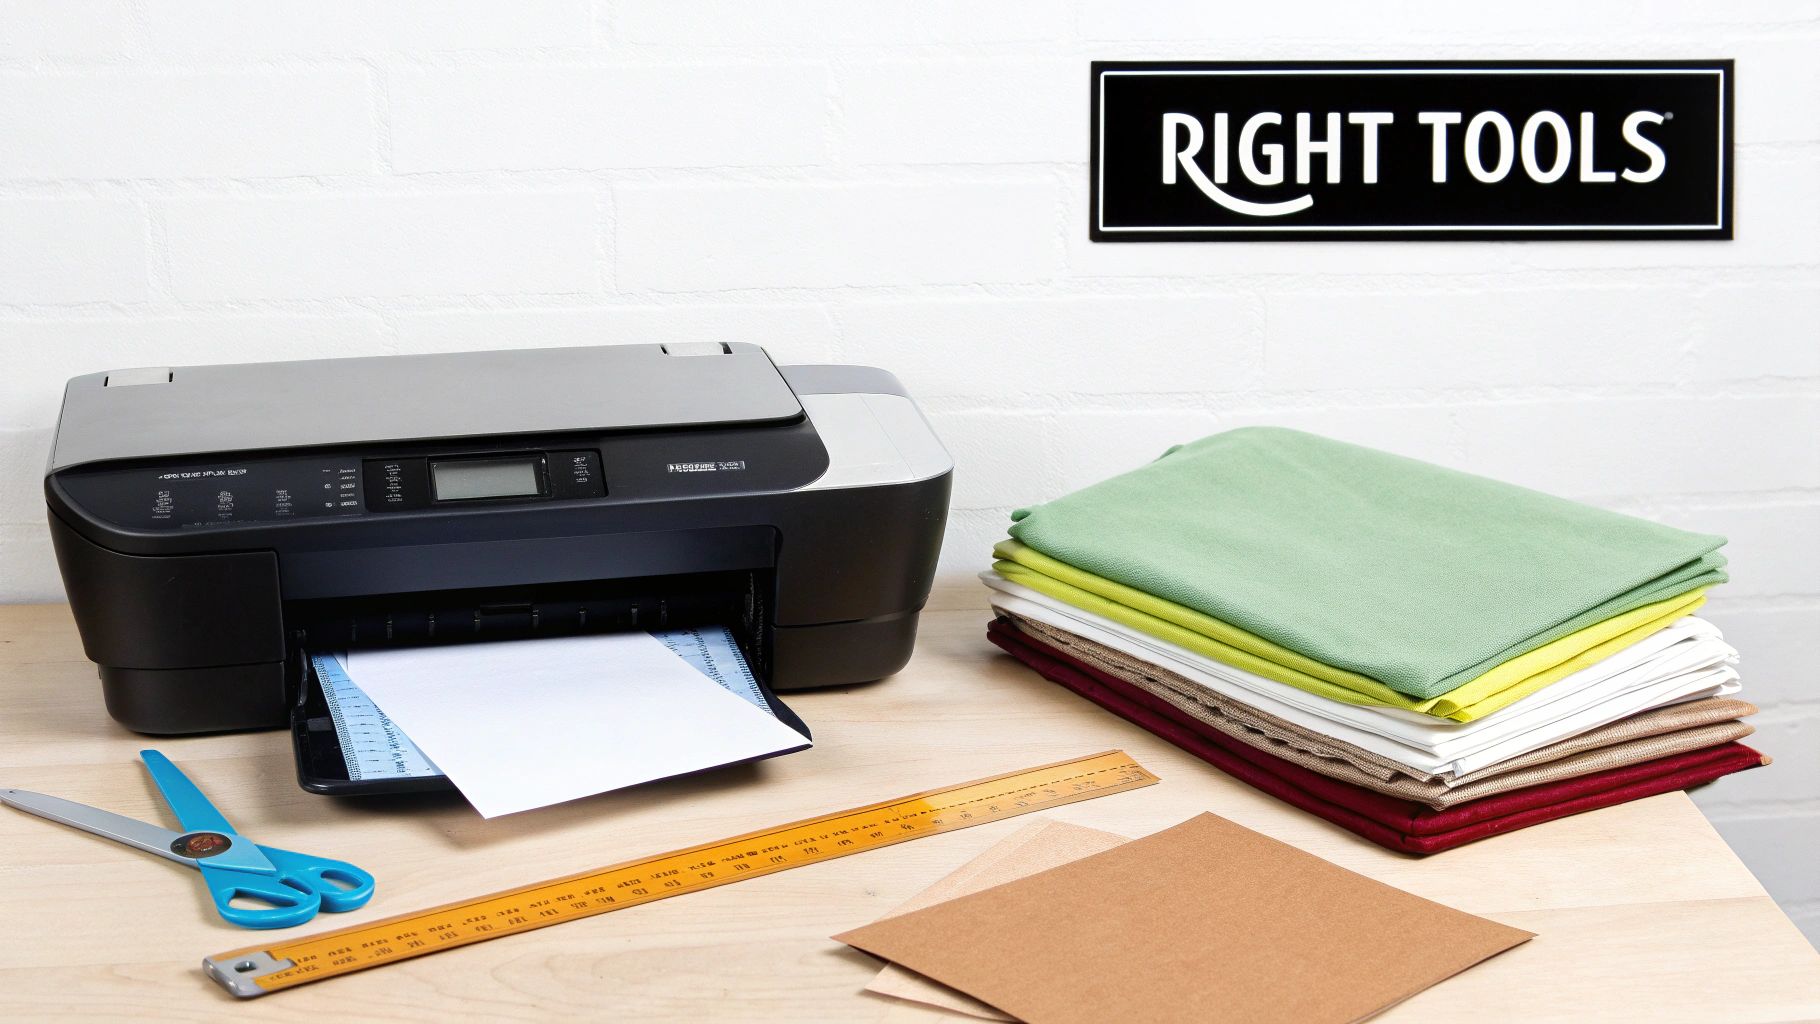
Before you even think about hitting "print," let's talk about your toolkit. The success of your project really boils down to how well your paper, printer, and ink work together. Getting this combo right from the start is the key to avoiding headaches like poor adhesion, dull colors, or a design that looks ancient after its first trip through the laundry.
Inkjet vs. Laser Transfer Paper
Your first big decision is matching the paper to your printer. You absolutely cannot swap inkjet and laser transfer papers—they're built with completely different chemistries to handle different printing methods.
- Inkjet Transfer Paper: Think of this paper as a sponge. It has a porous coating designed to soak up the liquid ink from an inkjet printer. That ink-filled layer is what gets bonded to your fabric with heat. If you try running this through a laser printer, you'll end up with a melted, gooey disaster inside your machine.
- Laser Transfer Paper: This type is the opposite. It has a slick, non-porous surface made to work with the dry toner and intense heat of a laser printer. The toner fuses onto the paper’s surface, creating a solid film that’s ready to be transferred.
Light vs. Dark Fabric Paper
Next up is picking a paper based on the color of your garment. This is a crucial step because it completely changes how you need to prep your artwork.
For light-colored fabrics—think whites, pastels, or light grays—you'll use paper with a transparent film. Any white parts of your design won't print, and the shirt's color will show through instead. This means you must mirror your image before printing, or it will be backward on the final product.
For dark-colored fabrics, the paper is designed with an opaque white backing. This white layer transfers along with your colors, acting like a primer so your design pops instead of getting swallowed by the dark fabric. Because of this backing, you do not mirror your design.
Pro Tip: Never use light-fabric paper on a dark shirt. Your design will look faded and practically invisible. That opaque backing on dark-fabric paper is absolutely essential for getting bright, punchy colors on anything darker than a pastel.
Printers and Inks: The Best Fit for the Job
While a lot of standard home printers can technically work, some are way better suited for this job. If you're going the inkjet route, a printer that uses pigment-based inks will give you far more durable results than one with standard dye-based inks.
Pigment ink particles are tiny bits of solid color suspended in liquid. They sit on top of the transfer paper instead of soaking in, and they're much more resistant to water and UV light. The result? Better wash durability and less fading. Dye-based inks, on the other hand, can bleed in the wash and fade much faster in the sun. For this reason, many crafters lean on modern Epson or certain Canon printers.
Of course, no matter what supplies you choose, the magic happens with heat and pressure. For a deeper dive, check out our guide on choosing the best heat press machine for shirts to make sure you get a perfect bond every time.
Transfer Paper and Printer Compatibility Guide
To make things a little clearer, here’s a quick-glance table to help you match your paper, printer, and fabric for the best results.
| Transfer Paper Type | Compatible Printer | Best Ink Type | Ideal Fabric Color | Key Feature |
|---|---|---|---|---|
| Inkjet for Lights | Inkjet Printer | Pigment Ink | White, Pastels, Light Gray | Transparent film; requires mirroring |
| Inkjet for Darks | Inkjet Printer | Pigment Ink | Black, Navy, Red, All Colors | Opaque white backing; no mirroring |
| Laser for Lights | Laser Printer | OEM Toner | White, Pastels, Light Gray | Self-weeding options available |
| Laser for Darks | Laser Printer | OEM Toner | Black, Navy, Red, All Colors | Requires a white toner printer |
Getting this combination right is more than half the battle. Once you've got your tools dialed in, you're well on your way to creating professional-quality custom apparel.
Getting Your Artwork Ready for a Flawless Print
A great transfer doesn't just happen at the heat press. It starts with the digital file. Seriously, the prep work you do in your design software is what makes the difference between a crisp, professional-looking shirt and a blurry, off-color mess.
Think of it this way: your digital file is the blueprint. If the blueprint is shaky, the final product will be too. Let’s walk through the non-negotiable settings that will make sure what you see on your screen is exactly what you get on your fabric.
Nail Your Resolution for Ultimate Clarity
Ever see a t-shirt graphic that looks fuzzy or pixelated up close? That's almost always a resolution issue. For printing, the gold standard is 300 DPI (dots per inch). This number tells the printer how many tiny dots of ink to lay down in a square inch, directly controlling how sharp your final image looks.
A classic rookie mistake is grabbing a cool image off the internet. Most web images are saved at 72 DPI so they load quickly on a screen. That’s fine for a monitor, but when you print it, the lack of data results in jagged edges and a blurry finish. There just isn't enough information for the printer to work with.
Here's a real-world example: Say you're printing a detailed company logo with small, fine text. At 72 DPI, that text will probably bleed together and become unreadable. But at 300 DPI, every letter is sharp and distinct, giving you that clean, professional look that makes a brand look good.
The Mirror Image Rule: Know Your Paper
Mirroring your artwork (flipping it horizontally) trips up a lot of people, but it's actually pretty simple. It all comes down to the type of transfer paper you're using.
- For Light Fabric Paper: You MUST mirror the image. This paper is transparent, and you place it face-down on the shirt. The heat press transfers the ink, so if you don't flip it first, your design will be backward on the fabric.
- For Dark Fabric Paper: You NEVER mirror the image. This paper has a solid white backing. You peel the transfer off its carrier sheet—kind of like a sticker—and place it face-up onto the garment. Since it's not being flipped over, you print it exactly as it should appear.
Getting this wrong is a fast way to ruin a good shirt and some expensive paper. Before you hit print, always double-check the instructions for your specific paper. It’s a five-second check that prevents a major headache.
Why Your Colors Look Different: RGB vs. CMYK
One of the most common frustrations is picking a brilliant, vibrant red on your screen only to see a dull, muddy maroon on the finished shirt. This color shift usually comes down to a misunderstanding between two different color worlds: RGB and CMYK.
- RGB (Red, Green, Blue): This is the language of screens—your monitor, your phone, your TV. It’s an "additive" color model that starts with black and adds light to create colors. This is why RGB colors can look so bright and luminous.
- CMYK (Cyan, Magenta, Yellow, Key/Black): This is the language of printers. It’s a "subtractive" model that starts with a white surface (your paper) and subtracts brightness by adding ink.
Your inkjet printer handles the conversion from your RGB file to CMYK automatically, but the translation isn't always perfect. For more predictable results, it’s a good habit to set up your design file in a CMYK color profile from the very beginning, if your software allows. This gives you a much more accurate preview of how the colors will actually look when printed, helping you sidestep those nasty surprises.
By mastering these three things—resolution, mirroring, and color—you're not just printing; you're setting yourself up for a perfect transfer, every single time.
Mastering Your Printer and Heat Press Settings
Alright, you've got your artwork perfected. Now comes the critical part: getting that digital design onto a physical product without losing any of its quality. This is where the rubber meets the road, and your printer and heat press settings become your most important tools. Getting these right isn't just a suggestion; it's what separates a professional-looking product from a disappointing dud.
This whole process is the lifeblood of the custom apparel world, and the market for transfer paper—the foundation for methods like DTF used by pros like us at Raccoon Transfers—is booming. The industry was valued at USD 3.3 billion in 2025 and is projected to hit USD 5.8 billion by 2035. That’s a steady growth rate of 5.8% per year, which tells you just how many people are using these techniques to create amazing things. You can see the full breakdown over at Future Market Insights.
This growth is all about creators like you bringing ideas to life.
Before we dive into the hardware, let's remember the prep work that got us here. The flow is simple but crucial: get the resolution right, mirror the image, and lock in the color mode.
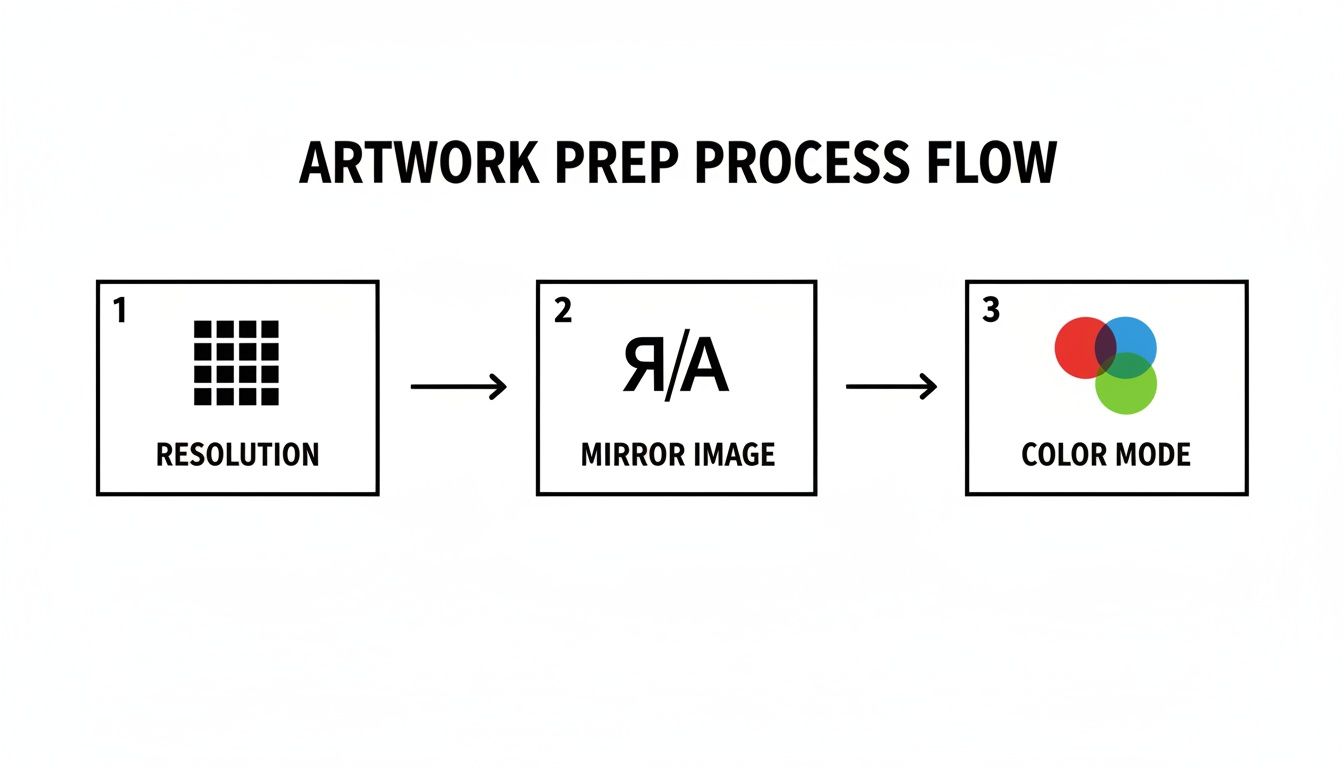
Nailing these fundamentals ensures your file is ready for the printer, preventing a lot of headaches down the line.
Dialing in Your Printer for the Perfect Print
Don't just hit the "print" button and hope for the best. Your printer settings are the first real-world checkpoint for quality. Taking a minute to get this right makes all the difference.
- Paper Type Is Everything: In your printer’s settings, you won't find an option that says "Heat Transfer Paper." Look for something like "Matte Photo Paper," "Premium Matte," or another high-quality matte setting. This tells the printer to lay down a richer, more precise layer of ink, which is exactly what a coated transfer sheet needs.
- Go for Quality Over Speed: Always crank the print quality up to the highest possible setting. It might be called "Best," "High," or "Photo." Sure, it'll print slower, but that extra time allows the printer to saturate the paper fully, giving you the vibrant, detailed result you’re looking for.
These two tweaks are your first line of defense against weak, faded designs that look washed out after pressing.
The Heat Press Trinity: Temperature, Time, and Pressure
The heat press is where the magic really happens. Success here comes down to a perfect balance of three key elements: temperature, time, and pressure. If one of these is off, the whole transfer can fail.
Your first step should always be to check the manufacturer’s instructions that came with your specific transfer paper. They've tested their product extensively and their recommendations are your best starting point.
My Go-To Tip: Always, always pre-press your shirt or garment for 5-10 seconds before you place the transfer. This simple step removes hidden moisture and any wrinkles, giving you a perfectly flat, dry canvas. It’s a game-changer for getting great adhesion and avoiding blotchy spots.
If you want to go deeper, our comprehensive heat press temperature guide covers just about every material you can think of.
Recommended Heat Press Settings by Fabric Type
Every fabric is different. The settings for a rugged cotton hoodie will absolutely destroy a thin polyester performance tee. To help you get started, here's a quick-reference chart with some solid baseline settings.
| Fabric Type | Temperature Range (°F/°C) | Press Time (Seconds) | Pressure Level | Peel Type |
|---|---|---|---|---|
| 100% Cotton | 350-375°F / 177-190°C | 15-25 | Medium-Firm | Hot or Cold |
| 100% Polyester | 270-300°F / 132-149°C | 10-15 | Light-Medium | Warm or Cold |
| 50/50 Blends | 320-340°F / 160-171°C | 12-18 | Medium | Warm or Cold |
| Tri-Blends | 300-320°F / 149-160°C | 12-15 | Light-Medium | Warm or Cold |
Remember, this is a starting point. Your heat press might run a little hot or cold, so don't be afraid to do a test press and adjust slightly if needed.
Hot Peel vs. Cold Peel: What's the Difference?
The last choice you'll make is when to peel the backing paper off the garment. This decision really affects the final look and feel of the print.
- Hot Peel: This means you rip that backing paper off the moment the heat press opens, while everything is still scorching hot. It generally leaves a softer, more integrated finish, as the ink gets pushed down into the fabric fibers.
- Cold Peel: Just like it sounds, you wait for the garment and transfer to cool down completely before peeling the backing away. This method typically results in a slightly glossier, smoother surface, with the design sitting more on top of the fabric.
There's no "better" option here—it’s purely about the style you're going for. The most important thing is to check your paper’s instructions, as some are engineered specifically for one peel method to ensure the ink releases properly.
Tackling Common Transfer Printing Problems
Even when you've done everything by the book, sometimes things just don't turn out right. You pull the shirt off the press, and instead of a perfect design, you're looking at a faded, cracked, or peeling disaster. It’s frustrating, but don't sweat it—most of these issues are common and completely fixable once you learn to spot the signs.
Let's walk through the usual suspects and figure out how to get you back on track. Think of this as your field guide for troubleshooting, turning those print fails into wins.
Why Do My Colors Look So Faded and Dull?
There’s nothing worse than seeing the vibrant design from your screen turn into a muted, lifeless print on the shirt. This is almost always a classic case of either not enough ink or a problem with the press itself.
- The Symptom: Your final colors look washed out and lack the pop you see in your digital file.
- The Likely Culprit: This usually points to one of two things. First, your printer might not be laying down enough ink because it's on a "Standard" or "Draft" setting. Second, your heat press temperature might be too low to properly melt the ink and bond it into the fabric.
- The Solution: Always go into your printer’s advanced settings. You want to tell it you're using a high-quality paper, so select something like "Matte Photo Paper." Just as important, crank the print quality up to "Best" or "High." Then, double-check that your heat press temperature matches the paper's instructions. If you're still getting dull results, try bumping the heat up by 5-10 degrees.
My Design is Cracking and Peeling After One Wash!
A perfect print that falls apart in the laundry is a nightmare. When a design cracks or starts to peel away, it's a dead giveaway that the transfer never truly bonded with the fabric.
This is a big reason why professional services are booming. People want durable prints that last, which has driven huge growth in the direct-to-film market. In the US alone, this sector hit USD 302.7 million in 2025 and is projected to climb to USD 389.8 million by 2030. You can see the data for yourself and learn more about this industry's expansion on Grand View Research.
A Pro Tip From Experience: Cracking is almost never a bad batch of paper. I'd say 99% of the time, it's an application error. The number one cause? Not enough pressure. You need to physically force that transfer deep into the fabric's weave to make it stick for good.
To fix this, make sure your heat press is set to medium-to-firm pressure. You should feel some real resistance when you lock it down. If peeling persists, increase your press time in five-second intervals until you get a bond that won't budge.
How Do I Get Rid of That Visible "Box" Around My Design?
The design itself looks great, but you can see a faint, shiny outline of the entire transfer paper sheet on the shirt. This "window" effect is caused by the unprinted polymer coating on the paper melting onto the fabric.
- The Symptom: A clear, rectangular box is visible on the garment, perfectly matching the shape of the paper you pressed.
- The Likely Culprit: The transfer sheet is coated with a polymer film from edge to edge. When you apply heat, the entire film melts and bonds, not just the parts with ink on them.
- The Solution: The fix is simple but requires a steady hand: trim your design carefully. After printing, grab a good pair of scissors or use a vinyl cutter to get as close to the edge of your artwork as possible. By cutting away the blank, unprinted film, you ensure only the design itself gets transferred. For designs with lots of nooks and crannies, a craft knife is your best friend for a clean, professional finish.
When to Upgrade to Professional DTF Transfers
Starting out with DIY transfer paper is a fantastic way to get your feet wet. It’s affordable, lets you learn the ropes, and it’s perfect for one-off projects or a small batch of tees for friends. But as your hobby turns into a side hustle or your brand starts to get noticed, you'll quickly run up against the limitations of what standard transfer paper can do.
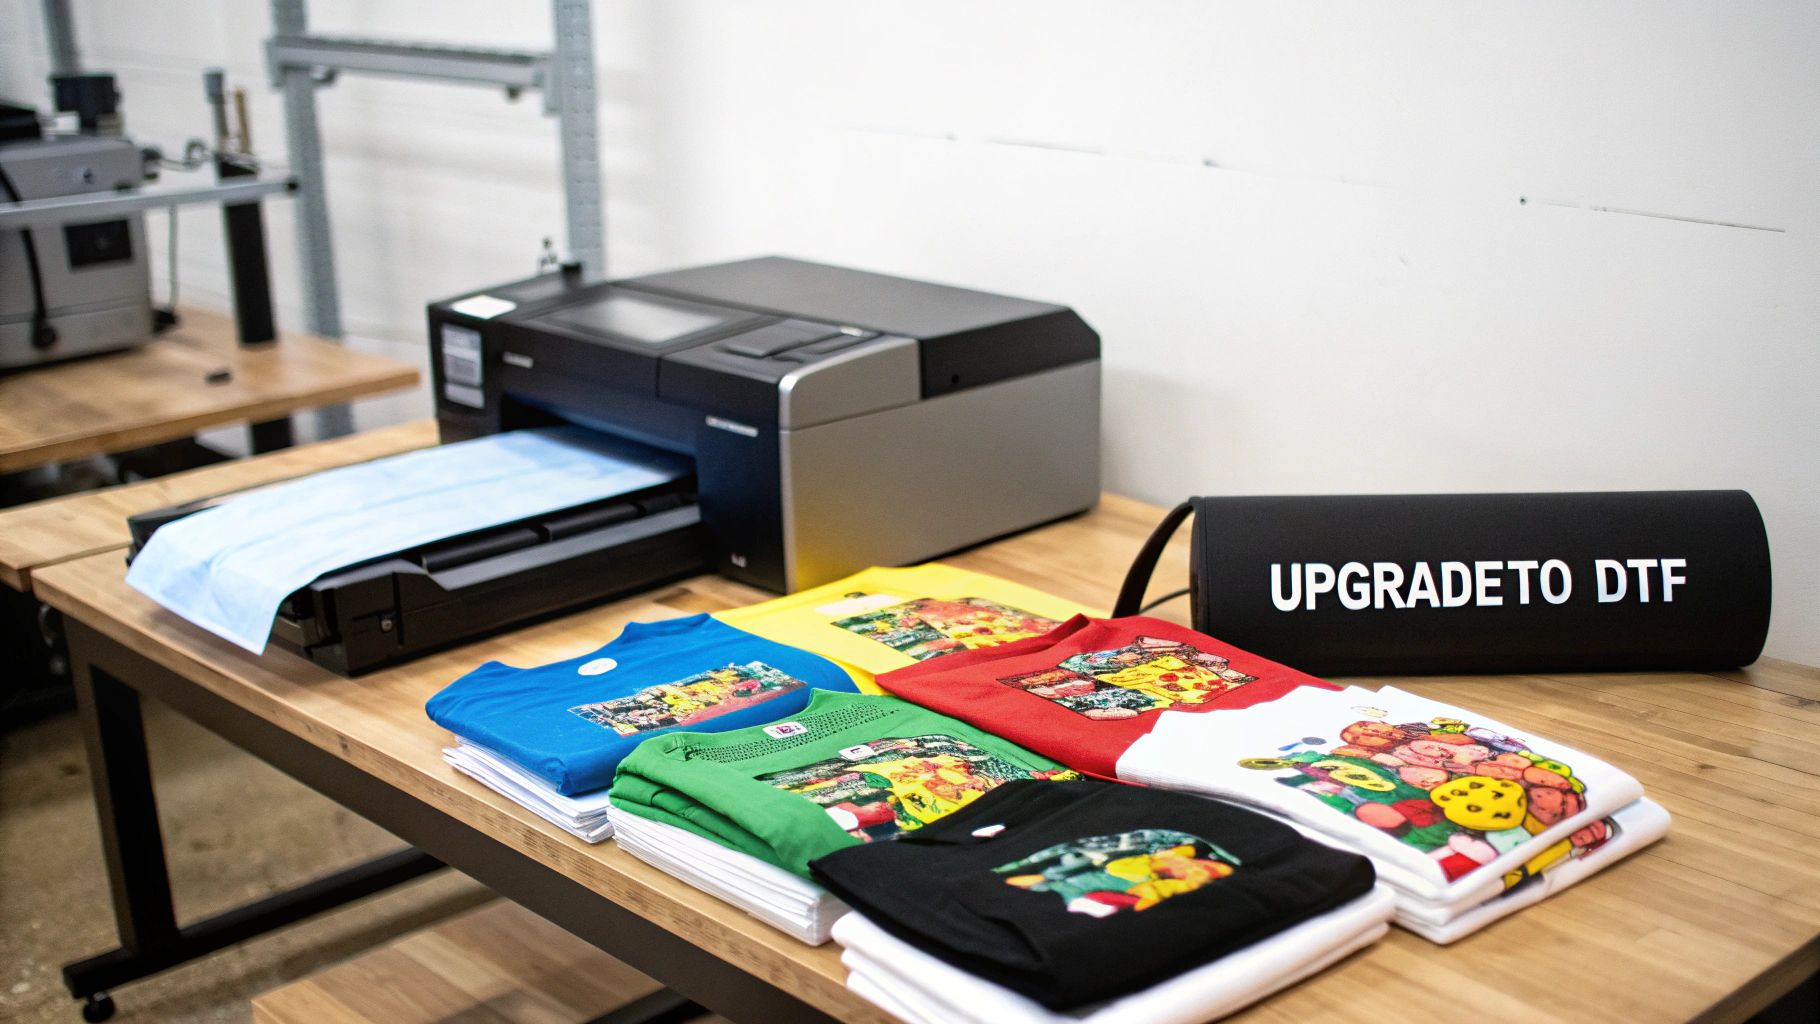
Knowing when you've hit that wall is crucial for scaling your business without sacrificing the quality you're known for. Making the jump to professional Direct-to-Film (DTF) transfers isn't just an equipment change; it's a strategic move that seriously boosts your product's look, feel, and lifespan. This is the pivot that separates lasting brands from fleeting fads.
The Durability Difference
One of the first signs you've outgrown DIY paper often comes from your customers. Hearing that a design is cracking, fading, or peeling after just a few washes is tough feedback to get. It’s a common issue with standard transfers, especially when heat and pressure aren't perfectly consistent, and it can sink your reputation before you even get going.
Professional DTF transfers are in a completely different league when it comes to performance.
- Superior Wash-Resistance: DTF prints are built to last, rated to handle 50+ washes without any major breakdown. That means the design stays crisp and vibrant for the life of the shirt.
- Incredible Stretch and Rebound: You know that stiff, plastic-like feel of some DIY transfers? The kind that cracks the moment you stretch the fabric? DTF is the exact opposite. It's incredibly flexible and moves right along with the garment, so you don't have to worry about that cracking and splitting.
This kind of durability lets you sell your products with total confidence, knowing they reflect the quality your brand is built on.
Eliminating the Biggest DIY Headaches
Beyond how they hold up, the sheer manual labor of DIY transfers becomes a massive bottleneck once you start getting more orders. If you're spending hours hunched over, meticulously cutting around an intricate design, you know it's not just tedious—it's impossible to sustain as you grow.
This is where ordering professional DTF transfers is a total game-changer.
With professional DTF, the two most frustrating and time-sucking steps of the DIY process vanish. There is zero weeding, and you never have to worry about printing a flawless white underbase for dark garments. It's all handled for you, ensuring your colors pop perfectly, every single time.
You get a transfer that's ready to press and looks amazing on any color fabric, from bright white to jet black. The time you save can be poured back into what really matters: creating awesome designs and growing your business. For a deeper look, you can learn more about how DTF custom transfers can transform your workflow.
When Consistency and Quality Become Non-Negotiable
As your order list gets longer, consistency becomes everything. With DIY methods, tiny variations in your printer's ink levels, settings, or how you apply the heat press can create noticeable differences from one shirt to the next. For customers expecting a professional product, that kind of inconsistency is a major red flag.
Professional DTF services like Raccoon Transfers use industrial-grade, calibrated equipment to make sure every single transfer is a perfect clone of the last. Colors are matched with precision, the adhesive is applied flawlessly, and the final result is 100% repeatable. That's a level of quality control you simply can't achieve with a desktop printer.
The entire DTF industry is booming for this very reason. Valued at USD 2.89 billion in 2025, the global Direct-to-Film printing market—a major evolution in print-on-transfer-paper tech—is projected to hit USD 4.56 billion by 2032. That’s a steady growth of 6.72% annually, all driven by the demand for high-quality, on-demand custom apparel. You can dig into more market insights in the full 360iResearch report.
Ultimately, the decision comes down to one question: Is your current process holding you back? If you’re spending more time fighting with your printer and weeding tiny details than you are fulfilling orders, it's time to make the switch. Investing in professional DTF is an investment in your brand's quality, efficiency, and future.
Frequently Asked Questions
When you're getting into custom apparel, it's natural to have questions pop up, especially when you're just starting out. Let's tackle some of the most common ones we hear about how to print on transfer paper. Here’s some straightforward advice from our experience to help you get past those early hurdles.
Can I Just Use My Home Iron Instead of a Heat Press?
Look, for a quick, one-off craft project for yourself, you can technically use a home iron. But for anything you want to last or sell, it's a hard no. A heat press isn't just a bigger, hotter iron; it's a precision tool that gives you two things your iron simply can't: consistent temperature and even pressure.
An iron has hot spots and cool spots, and you can't possibly apply the same amount of pressure across the entire design. This weak, uneven bond is exactly why iron-on transfers start cracking and peeling after just a couple of washes. A heat press is a non-negotiable investment for professional, durable results.
Why Did My Transfer Crack After the First Wash?
This is a classic problem, and it's almost never the paper's fault. When a transfer cracks, it’s a sign that the application process went wrong. The bond between the transfer and the fabric was just too weak to hold up.
The three main culprits are always pressure, temperature, or time. You either didn't use enough pressure, the temperature was too low, or you didn't press it for long enough.
Pro Tip: Always double-check the instructions for your specific transfer paper and use firm pressure. Also, pre-washing the garment (without fabric softener!) removes any sizing chemicals from the factory and can dramatically improve how well the transfer sticks.
If you're still seeing cracks, try bumping up your press time by five seconds. Sometimes that little extra dwell time is all it takes to lock the design in for good.
What’s the Real Difference Between Paper for Light vs. Dark Fabrics?
Getting this right is crucial because it changes your entire process, from setting up your file to pressing the shirt.
- Paper for Light Fabrics: This type has a clear film. Any white in your design will be transparent, so the color of the shirt shows through. You place it face-down on the garment, which means you must mirror your image before printing.
- Paper for Dark Fabrics: This paper has an opaque, white backing. That white layer transfers with your design, creating a solid base so your colors look bright and don't get lost on the dark material. You peel the design off the backing and place it face-up, so you do not mirror the image.
Mixing these up leads to bad results every time. A beautiful design on light-fabric paper will all but disappear on a black shirt. That white backing on paper for darks is what makes your graphics pop on any color.
Ready to move beyond the DIY learning curve and create truly professional-grade custom apparel? Raccoon Transfers makes it easy. Just upload your artwork, and we'll send you premium DTF transfers that are vibrant, durable, and ready to press. No weeding, no color limits, just perfect results. Explore our custom DTF transfers today!