
A Guide to Printing Designs onto Fabric
Ready to print your own designs onto fabric? It can feel a little intimidating at first, but getting those vibrant, long-lasting results you see from the pros is easier than you think. We’re going to walk through the entire process, from getting your digital file just right to the final press.
Your Guide to Flawless Fabric Prints
We'll be focusing specifically on Direct-to-Film (DTF) transfers. If you're not familiar, it's a fantastic method known for producing brilliant colors that hold up on all kinds of fabrics. This guide is all about avoiding the common pitfalls—think peeling graphics or colors that look washed out after the first wash.
We'll get into the specific settings and pro tips that make all the difference, giving you the confidence to create custom apparel that truly lasts.
The demand for custom-printed fabric is exploding. The global textile printing market is expected to jump from US$ 5.9 billion in 2025 to US$ 8.3 billion by 2032. It’s a clear sign that people love personalized clothing and decor. You can dig deeper into this expanding market and its trends if you're curious.

What You Will Learn
Think of this as your practical roadmap. By the time you're done reading, you'll know exactly how to:
- Prep your artwork to make sure your prints are sharp and clear.
- Understand why DTF might be the perfect choice for your projects.
- Dial in the right heat press settings for different materials.
- Properly care for your printed items so they look great for years.
My goal here is simple: to take the mystery out of printing on fabric. I’m breaking everything down into straightforward, actionable advice to help you get from concept to finished product without the usual trial and error.
Preparing Your Artwork for Perfect Prints
A phenomenal print starts long before the heat press warms up. It begins with a high-quality digital file. Honestly, getting your artwork right from the get-go is the single most important thing you can do to guarantee professional-looking results.
First, you need to understand the two main types of graphics: raster and vector. Raster images (like a JPG or a photo) are built from tiny pixels. Vector graphics, however, are made from mathematical paths, which means you can scale them up to the size of a billboard without them ever getting blurry. For most t-shirt designs with clean lines and text, vector is almost always the better choice.
Key Technical Settings for Your Artwork
Once you know your file type, it's time to nail down the technical specs. These settings are what ensure the design you love on your screen looks just as good on the final garment.
I've learned from experience that three things are absolutely non-negotiable for a print-ready file:
- Resolution (300 DPI): Your canvas must be set to 300 Dots Per Inch. This is the gold standard in the printing world. Anything less, and you risk a final print that looks fuzzy or pixelated.
- Color Mode (CMYK): Your monitor uses an RGB (Red, Green, Blue) color profile, but printers run on CMYK (Cyan, Magenta, Yellow, Black). If you design in RGB and convert later, you can get some nasty surprises. Start in CMYK to see a more accurate preview of your final print colors.
- Transparent Background: This is a classic rookie mistake. Always save your final design with a transparent background. Otherwise, you’ll end up with an ugly white or colored box printed right around your graphic.
Think of your design file as the blueprint for your print. If that blueprint is flawed—low resolution, wrong colors, or an unwanted background—the final product is guaranteed to have those same flaws. Taking a few extra minutes here will save you a world of frustration later on.
Getting the scale of your design right is also critical. We've put together a comprehensive resource on this, so for a detailed breakdown, check out our guide on choosing the right graphic size for t-shirt printing.
When you're ready to send the file to your DTF transfer provider, stick to PNG for raster images (because it supports transparency) or SVG, AI, or EPS for vector files. A little preparation here makes the whole process smoother and ensures you get that vibrant, durable print you're after.
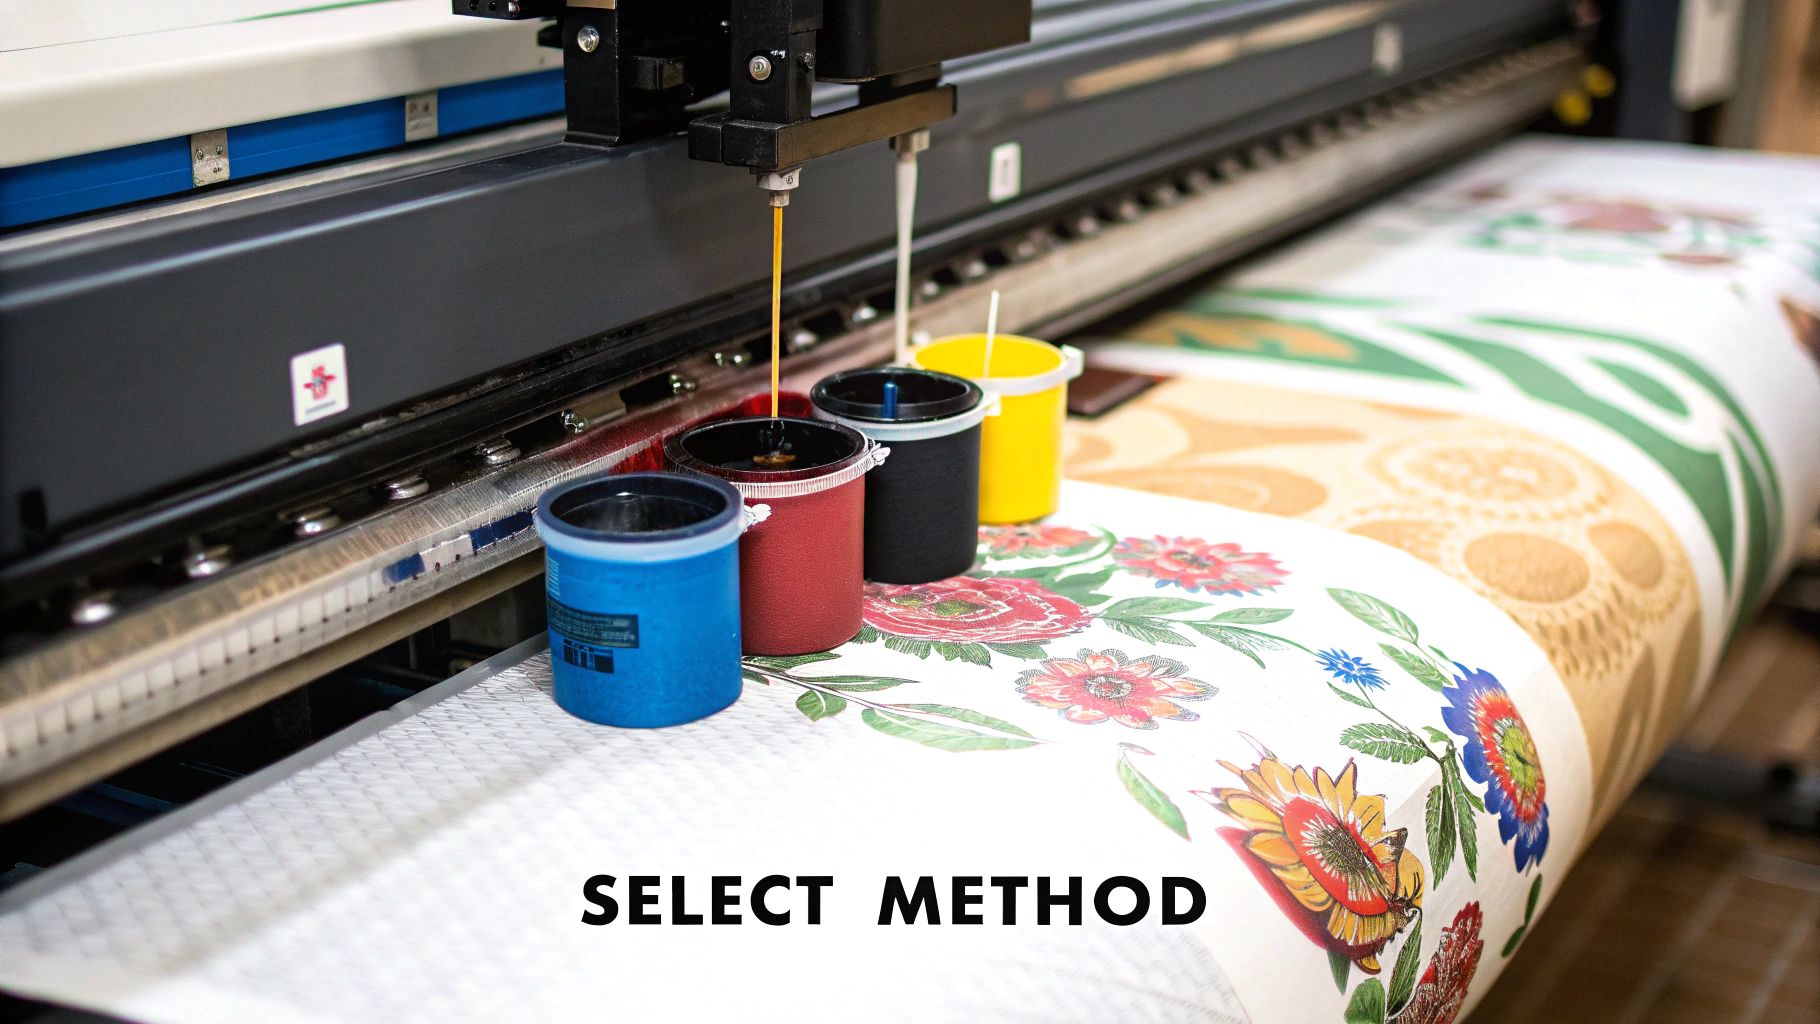
Choosing the Right DTF Transfers
When it comes to getting full-color, photorealistic designs onto fabric, Direct-to-Film (DTF) technology is a game-changer. I've found it to be one of the most versatile methods out there, especially for intricate graphics on all sorts of materials, from cotton to polyester blends.
Unlike old-school screen printing, you don't need to burn a new screen for every single color. That makes DTF incredibly efficient for complex designs, small custom runs, and one-off projects. It's no wonder this technology has really shaken up the custom apparel world.
The numbers back this up, too. The digital textile printing market, which includes DTF, was valued at USD 6.77 billion in 2025 and is forecast to explode to USD 19.92 billion by 2034. It's a clear signal that the industry is moving toward more precise and flexible printing methods that can handle pretty much any design you throw at them.
Finding a Quality DTF Supplier
Let's be clear: the quality of your final print is only as good as the transfer you start with. When you're looking for a DTF supplier, don't let price be your only guide.
Here’s what I always look for:
- Ink and Adhesive Quality: Always ask what kind of inks and adhesive powders they use. From my experience, premium materials lead to more vibrant colors, a much softer feel on the shirt, and way better durability in the wash.
- Print Consistency: A reliable partner delivers the same great quality every time. Check out their reviews, or better yet, order a sample pack to see their work for yourself before placing a big order.
- Turnaround Time: In this business, speed matters. At Raccoon Transfers, we built our reputation on a 24-hour turnaround because we know you can't afford to wait.
The real test of a great DTF transfer is how it feels. It shouldn't feel like a thick, plastic sticker. Instead, it should feel like it's part of the fabric. That perfect feel comes from using high-grade flexible ink and a fine, evenly applied adhesive powder that really bonds with the fabric fibers.
To give you a clearer picture, let's see how DTF stacks up against a couple of other popular methods.
Fabric Printing Method Comparison
This table breaks down the key differences between DTF, traditional Screen Printing, and Heat Transfer Vinyl (HTV).
| Feature | DTF (Direct-to-Film) | Screen Printing | HTV (Heat Transfer Vinyl) |
|---|---|---|---|
| Color Capability | Unlimited colors, gradients, photorealistic | Limited colors (one screen per color) | Limited to available vinyl colors |
| Best For | Complex, multi-color designs, small to large runs | Large batches of simple, low-color designs | Simple text, shapes, single-color logos |
| Feel on Fabric | Soft, flexible, and lightweight | Can be heavy, depending on ink layers | Often thicker, feels like a layer on top |
| Fabric Compatibility | Very wide range (cotton, poly, blends, etc.) | Best on cotton, can work on some blends | Works well on cotton and polyester |
| Durability | Excellent, withstands many washes | Very high, often outlasts the garment | Good, but can crack or peel over time |
Each method has its strengths. DTF is my go-to for its versatility and incredible detail, but sometimes other options make sense.
While DTF is a fantastic all-rounder, there are times when another method might be a better fit. For simple, single-color designs, something like a Vinyl Iron On Gloss can give you a unique, shiny finish that looks amazing for certain aesthetics. But for anything with gradients, photos, or a whole spectrum of colors, DTF is hands-down the best choice for its incredible detail and efficiency.
Mastering Your Heat Press Application
Alright, this is where the magic happens. All your work prepping the artwork comes down to this moment at the heat press. This is how you take a DTF transfer and turn it into a vibrant, permanent design on the garment. Getting this right is what separates a professional-looking print from a hobbyist one.
The entire process boils down to three key things working in harmony: temperature, pressure, and time. When you dial in the right combination, the adhesive activates perfectly, bonding the ink directly into the fabric's fibers. This is the secret to a print that looks amazing and won't peel after a couple of washes.
Let's walk through the whole workflow.
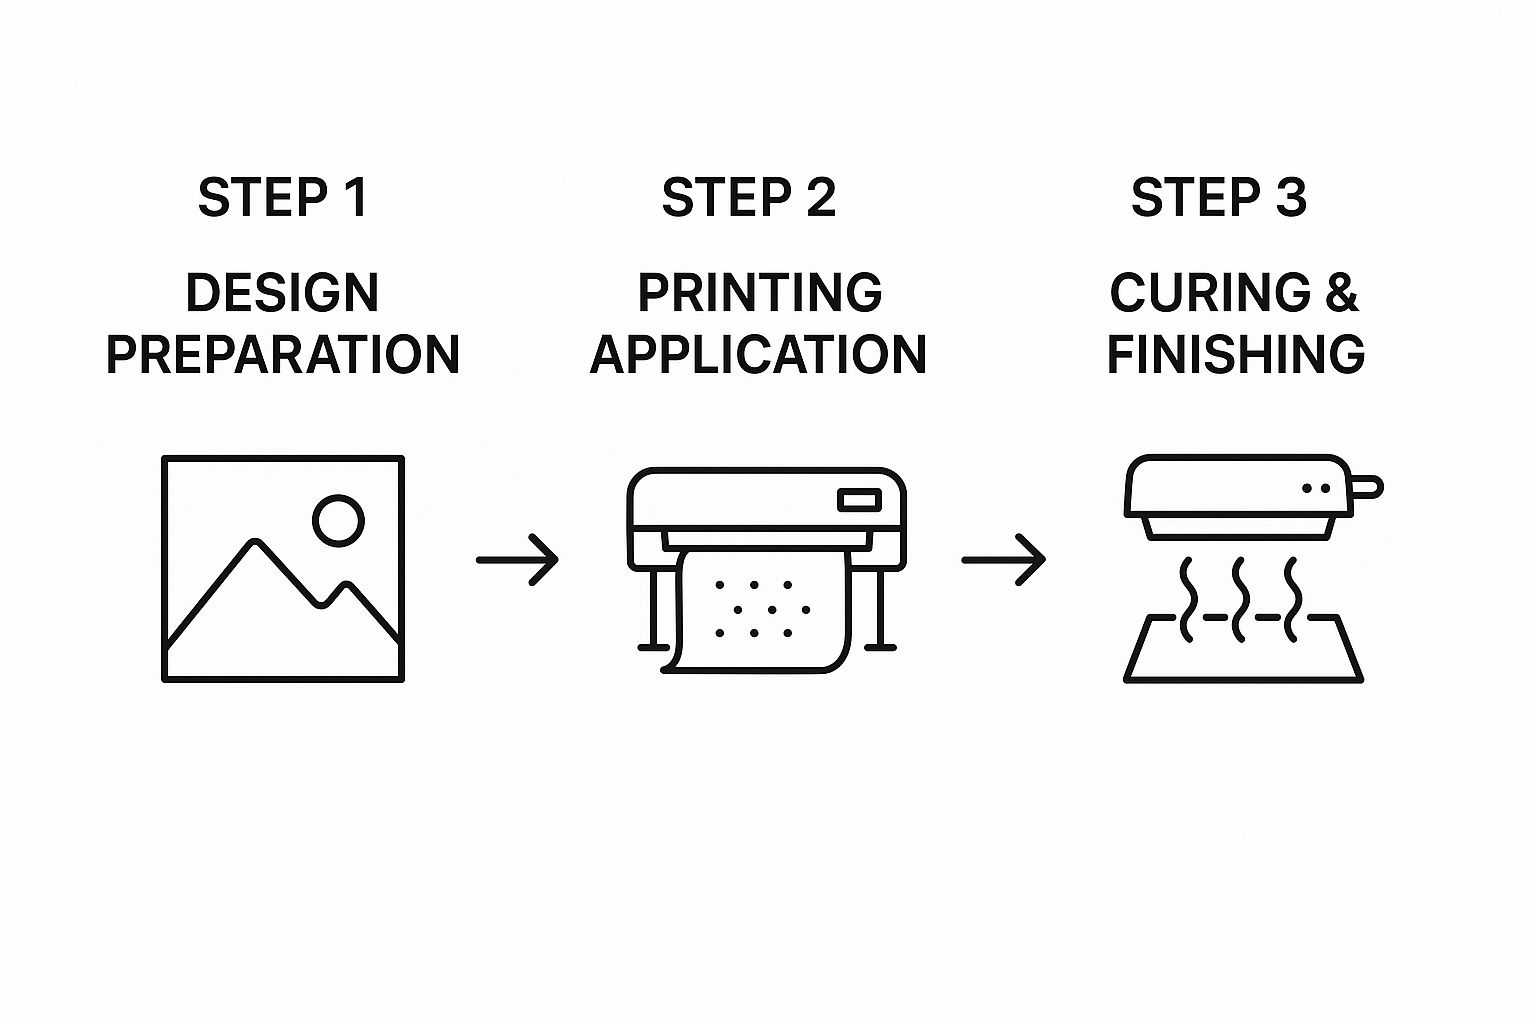
As you can see, the application itself is the critical link between your design file and the finished product people will love.
Fine-Tuning Your Press Settings
First things first, never skip the pre-press. Before you even think about placing the transfer, get your press up to temperature and press the blank garment for about 5-10 seconds. This little step is a game-changer; it removes any lingering moisture and smooths out wrinkles, giving you a perfectly flat, dry canvas for the transfer.
With the garment prepped, go ahead and carefully position your DTF transfer. I personally like to use a bit of heat-resistant tape to make sure nothing shifts. Once it's in place, cover the transfer with a Teflon sheet or a piece of parchment paper. This acts as a protective barrier, stopping any ink from getting on your press's upper platen and helping distribute the heat evenly.
The settings you use will change depending on what you're printing on:
- 100% Cotton: I usually start around 300-320°F (149-160°C).
- Polyester & Blends: You'll want to drop the temperature a bit to 260-280°F (127-138°C) to avoid scorching those synthetic fibers.
- Pressure: You're looking for medium to firm pressure. It needs to be enough to really embed the design into the fabric but not so much that you crush the texture flat.
For a deeper dive into settings for all sorts of materials, our comprehensive guide on heat press settings for DTF is a must-read.
Pro Tip: Always treat your transfer supplier's instructions as gospel. Start with their recommended settings for temperature, time, and whether it’s a 'hot peel' or 'cold peel.' This one detail can be the difference between a perfect print and a complete failure.
The Peel and Final Press
After your initial press—typically for about 10-15 seconds—it’s time to peel off the clear film. This is where you need to know if you have a "hot peel" or "cold peel" transfer. Hot peels come off immediately while the shirt is still on the press, while cold peels need to cool down completely. Peeling at the wrong time will pull the ink right off with the film.
Don’t stop there! The final step is a second press for 5-7 seconds, again with your Teflon sheet on top. This is the finishing move. It fully cures the ink, locks the design into the fabric for maximum durability, and gives it a smooth, professional matte finish. You'll notice the difference in how it feels and how long it lasts.
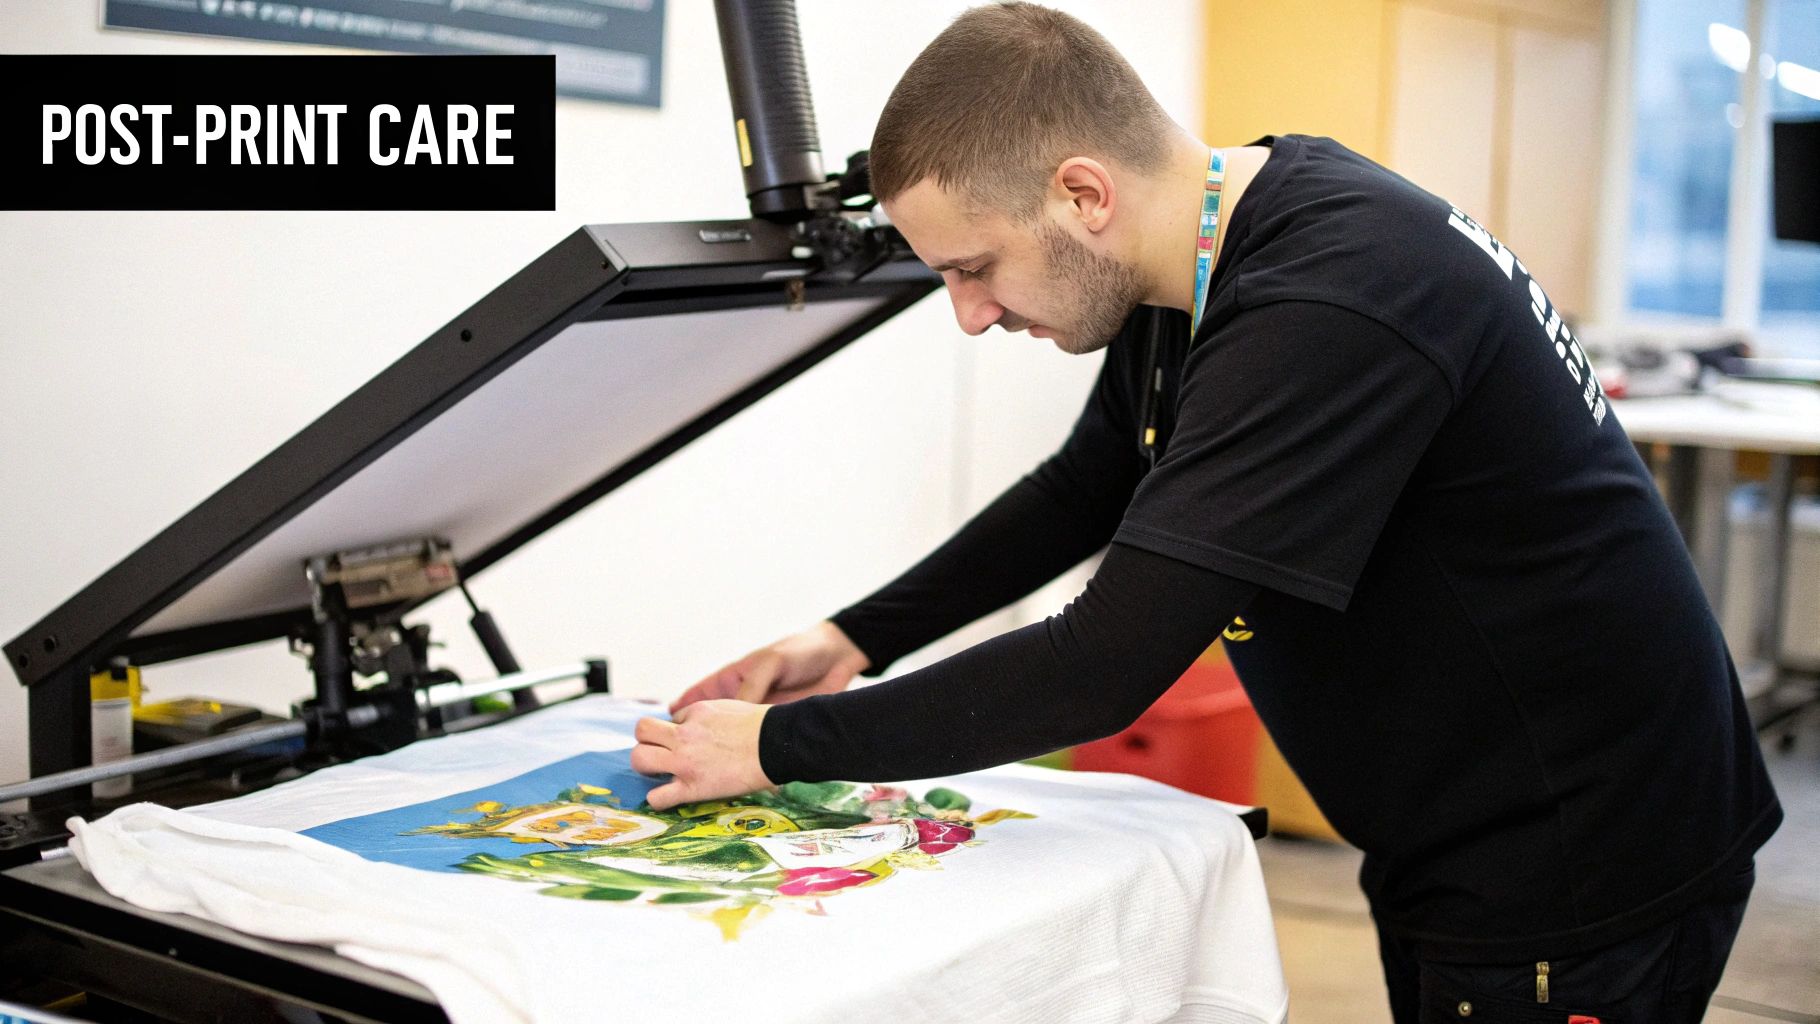
Keeping Your Prints Bright and Durable for the Long Haul
A design that pops off the fabric is one thing, but the real test of quality comes after a few cycles in the laundry. This is where a good product becomes a great one, and it all comes down to what happens after the press. Getting the final care instructions right is just as important as the application itself.
The first rule of aftercare is simple: tell your customers to wash the garment inside out. It's a small step that makes a huge difference, protecting the print from the rough and tumble of a washing machine.
The Right Way to Wash and Dry
To keep those prints looking as good as the day they were made, here are the non-negotiables:
- Go Cold: Always wash in cold water. Hot water is the enemy; it can soften the adhesive and dull your vibrant colors over time.
- Gentle Does It: Stick with a mild detergent. Steer clear of bleach and fabric softeners, as they can be too harsh on the transfer.
- Low and Slow Drying: The best method is to hang dry. If you must use a machine, tumble dry on the lowest heat setting. High heat will absolutely destroy a DTF print.
When a print starts cracking or peeling, the problem usually isn't the wash—it’s the initial press. If you didn't use enough pressure or the right temperature, the transfer never truly bonded with the fabric in the first place.
The best way to fix problems is to prevent them. If you’re seeing premature wear, double-check your heat press settings and make sure they’re dialed in for the specific garment you're using. To really get into the weeds on this, check out this guide on the factors influencing DTF transfer durability.
When you nail both the application and the aftercare, your prints will look fantastic for years to come.
Tackling Common Fabric Printing Questions
Even with the best instructions, things can go sideways when you're pressing a new design. It's all part of the learning process. Let's walk through some of the most common questions and hiccups that come up with DTF transfers and get you printing with confidence.
Why Is My Transfer Not Sticking to the Fabric?
This is, without a doubt, the number one issue people run into, but the fix is almost always straightforward. When a transfer peels up or just won't stick, it’s usually a problem with temperature, pressure, or moisture.
First things first, look at your heat press. Is the temperature set correctly for both the transfer you're using and the fabric? Too little heat, and the adhesive simply won't activate and bond with the material.
Pressure is the next piece of the puzzle. If your press isn't clamping down with firm, even pressure across the entire graphic, you'll get patchy adhesion. Finally, and this is a big one, you have to pre-press your garment for 5-10 seconds. This quick step gets rid of any hidden moisture or factory chemicals that are blocking the adhesive from gripping the fabric fibers.
I can't stress this enough: skipping the pre-press is the most common reason for print failures I see. It seems small, but that quick press removes invisible moisture, giving the transfer a perfectly dry surface to create a permanent bond.
Can I Just Use a Home Iron Instead of a Heat Press?
It's a tempting shortcut, especially for a one-off project, but using a home iron for DTF transfers is a recipe for disappointment. A heat press provides two critical things that an iron just can't: consistent temperature and even pressure.
A household iron has hot and cold spots across its plate and can't hold a steady temperature. Even more crucial, you physically can't apply the amount of even, downward pressure needed for the adhesive to properly fuse. This leads to prints that crack, peel, and wash out almost immediately. If you want a professional, durable result, a heat press is a non-negotiable tool.
What's the Difference Between Hot Peel and Cold Peel?
This is a simple but vital instruction from your transfer supplier that tells you when to pull off the clear film after pressing. Getting this wrong can ruin an otherwise perfect print.
- Hot Peel: Just like it sounds, you peel the film off immediately after the heat press opens, while everything is still hot.
- Cold Peel: You have to let the garment and transfer cool down completely to room temperature before you even think about touching the film.
If you try to peel a cold-peel transfer while it's still warm, the ink hasn't fully set and will lift right off the shirt. Always check and follow the specific instructions that came with your transfers.
Ready to create amazing, long-lasting custom apparel without the hassle? Raccoon Transfers delivers top-quality DTF transfers with a quick 24-hour turnaround, so your projects never miss a beat. Upload your art and see how easy it is with our gang sheet builder