
Mastering DTF Transfer Gang Sheets for Ultimate Profit
DTF transfer gang sheets are essentially one big canvas where you can print multiple designs at the same time. This simple trick lets you get the most out of every inch of material, which is a huge deal for slashing costs and getting different orders out the door quickly. It turns what could be a messy, expensive process into something streamlined and affordable.
Why Gang Sheets Are a Game-Changer for Apparel Businesses
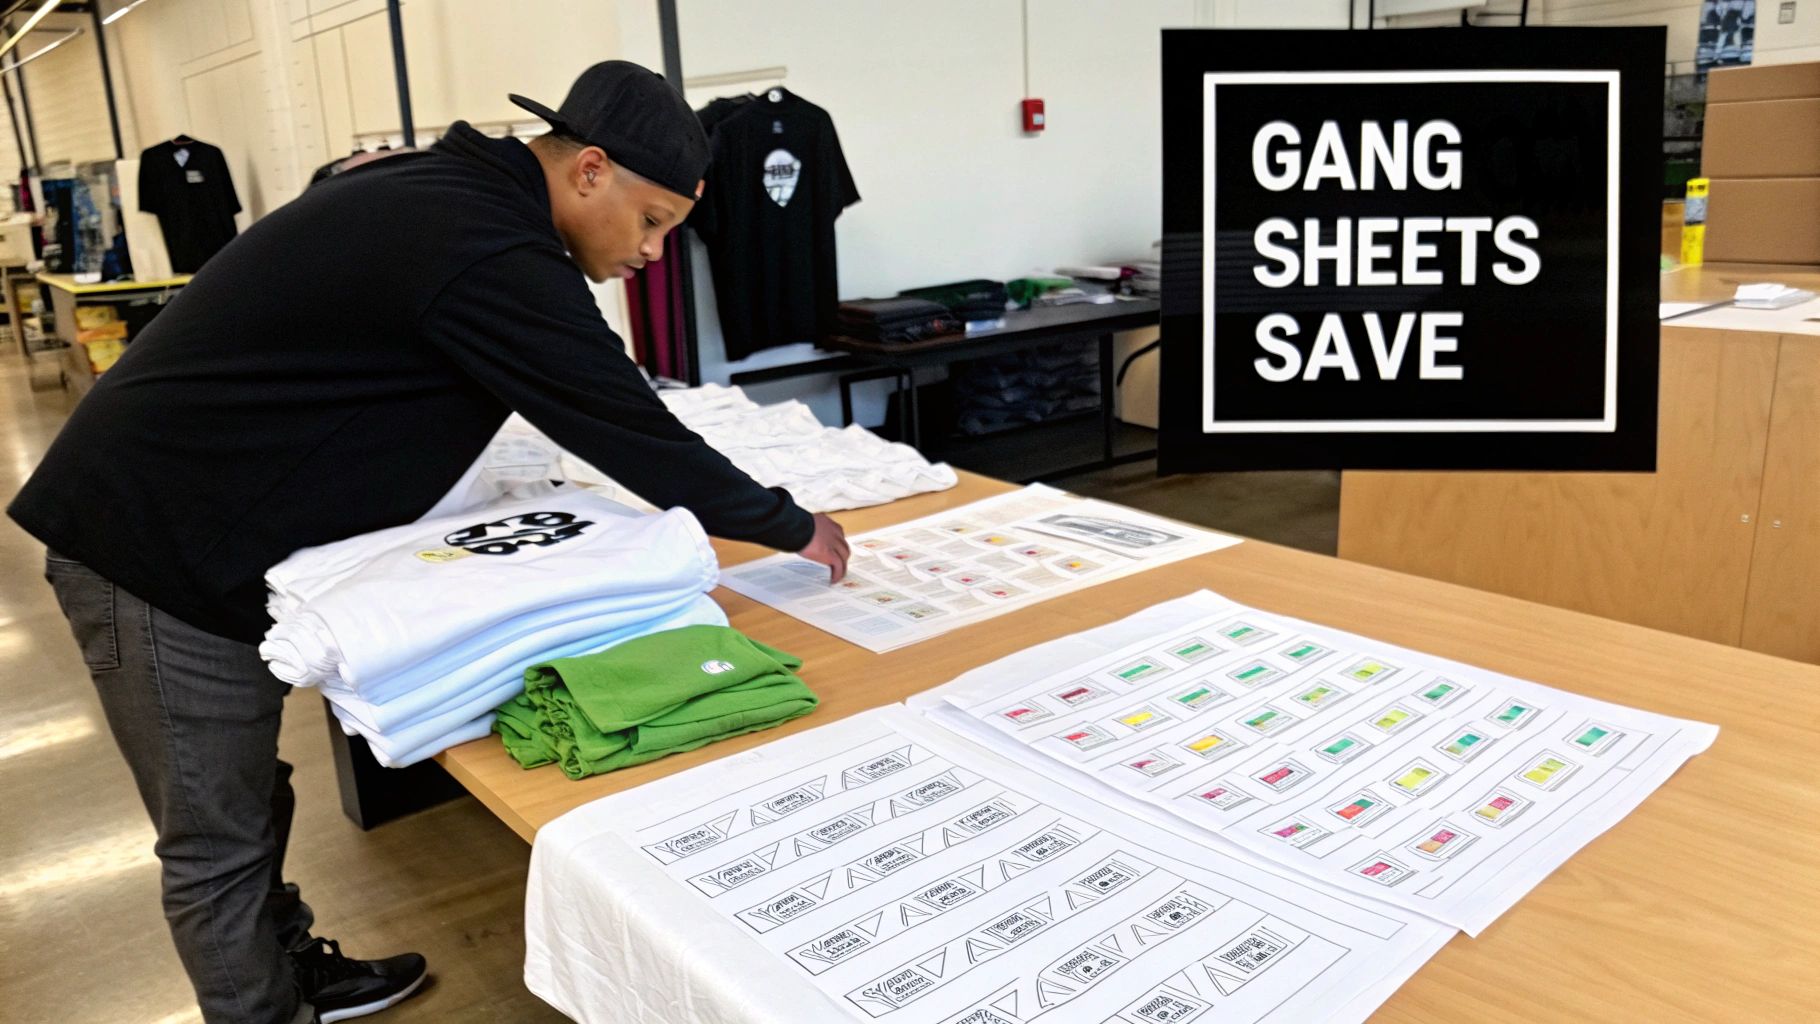
If you're running a custom apparel business, you know that efficiency is everything. It's the secret sauce for actually making a profit. This is where "ganging" your designs comes in. Instead of printing every single graphic on its own little piece of transfer film, you lay them all out on one big sheet. Think of it like a game of Tetris with your artwork—you’re trying to fit every piece together perfectly to leave no empty space.
This method completely flips the economics of your production. Let's say you're an Etsy seller with ten different orders for small chest logos. Normally, you'd have to print ten individual transfers. But with a gang sheet, you can put all of them, plus maybe a few sleeve prints and neck tags you need, onto a single dtf transfer gang sheet. The cost of printing that one sheet is way, way lower than printing each design on its own.
Boosting Profit Margins and Minimizing Waste
The biggest win with gang sheets is the massive drop in your per-print cost. You're paying for the film by the square inch, not by how many designs you cram onto it. When you fill up every last bit of space with art, you're getting the absolute most value from that sheet. That saving goes straight to your bottom line, boosting your profit on every shirt you sell.
This kind of efficiency is exactly why the market is booming. The global Direct to Film (DTF) printing market was valued at USD 2.72 billion in 2024 and is expected to climb to USD 3.92 billion by 2030. That growth shows just how many people are catching on to smarter methods like gang sheets, where one person can easily knock out hundreds of shirts in an 8-hour shift. You can dig deeper into these industry trends to see what this means for businesses like yours.
Key Takeaway: Gang sheets force you to think in terms of "cost per square inch" instead of "cost per design." This is a fundamental mindset shift that’s essential for scaling up. You can produce more variety with less waste and lower overhead.
Real-World Production Scenarios
Picture a small clothing brand dropping a new collection. They have three t-shirt designs and two hoodie graphics. Instead of placing five different print orders, they can arrange all five designs on one or two large gang sheets. This doesn't just save them a chunk of change; it also makes managing their inventory a whole lot simpler.
Here’s how different people can really benefit:
- Crafters and Hobbyists: You can bring a bunch of different project ideas to life at once. Think custom tote bags, gifts for the family, and that one-off shirt idea you had—all from a single, budget-friendly print run.
- Small Brands: This is perfect for producing a whole product line in one shot. You can fit your main front graphics, back designs, and even little branded neck tags onto the same sheet, which keeps your branding consistent and your costs down.
- Promotional Companies: Need to print a few logos for several different clients? Bundle them all onto one sheet. It makes those small-batch orders profitable and easy to manage.
Getting Your Designs Ready for Perfect Prints
The success of your final shirt isn't decided at the heat press. It's determined the moment you start working on your digital design file. Sending a poorly prepped file to your printer is a surefire recipe for disappointment—it's the single biggest (and most avoidable) reason for a bad print run.
Let’s break down exactly what makes a file "press-ready." This isn’t about being a master artist; it's about technical details. Getting these specs right ensures the transfer that comes off the film looks exactly like the vision on your screen. Nail this part, and you'll save yourself a ton of time, money, and headaches.
Why 300 DPI is a Hard-And-Fast Rule
Your artwork has to be 300 DPI (dots per inch). No exceptions. Think of DPI as the amount of detail packed into your image. A 72 DPI image snagged from a website might look okay on your monitor, but it will come out of the printer as a blurry, pixelated mess. It's just not enough information for the printer to work with.
To get those razor-sharp lines and smooth color blends, the printer needs a high-density file. Providing a 300 DPI file gives it the data to produce a professional, high-quality transfer. You can't just stretch a low-res image and hope for the best; that doesn't create detail, it just makes the pixels bigger. Always, always start your design on a 300 DPI canvas.
The Best File Formats for the Job
When you’re building dtf transfer gang sheets, the file format you save is incredibly important. While you might design in vector programs like Illustrator, the gold standard for submitting your final art is almost always a high-resolution PNG.
Here’s the skinny on why:
-
PNG (Portable Network Graphics): This is the go-to format, and for one critical reason: transparency. A JPG file will automatically fill any empty space with a white background. A PNG, on the other hand, can have a truly transparent background. This is a game-changer for DTF, because the printer lays down white ink only where there are colored pixels. If your file has a hidden white background, you’ll end up with a giant white box printed on your shirt. Not the look we're going for.
-
Vector Files (AI, PDF, SVG): Vectors are fantastic for creating designs because you can scale them up or down infinitely without losing quality. But for the actual printing stage, these files are typically flattened and exported as a high-resolution PNG. This ensures all your effects, gradients, and fonts are locked in and ready for the RIP software that runs the printer.
Pro Tip: I always open my final PNG in a program with a dark or checkered background before uploading. This is the quickest way to spot a stray white background you might have missed. It’s a simple check that has saved me from costly mistakes more times than I can count.
To make this crystal clear, here’s a quick-reference table with the essential file specs. If you stick to these guidelines, you'll be setting yourself up for a flawless print every time.
Essential File Specifications for DTF Gang Sheets
| Specification | Recommended Setting | Why It Matters |
|---|---|---|
| Resolution | 300 DPI | Ensures your prints are sharp, crisp, and professional. Anything less will look pixelated and blurry. |
| File Format | PNG | Preserves transparency, which is crucial for printing designs without an unwanted background box. |
| Color Mode | CMYK | Matches the printer's color space, giving you the most accurate color representation from screen to shirt. |
| Background | Transparent | Prevents the printer from laying down a white ink underbase where you don't want it. |
Following these technical rules is just as important as the design itself. It's the foundation of a high-quality product.
Final Checks: Color Mode and Sizing
One last pitfall that catches a lot of people is the color mode. Your computer screen displays colors in RGB (Red, Green, Blue), which creates bright, glowing light. Printers, however, work in CMYK (Cyan, Magenta, Yellow, Black), which is based on ink. If you design in RGB, the colors can shift dramatically when converted for print—your vibrant electric blue might turn into a duller royal blue. To avoid any surprises, set your design software to CMYK right from the start.
Finally, know your dimensions. A 12-inch wide design for a full-front T-shirt is worlds apart from a 4-inch pocket logo. To help you figure out the perfect size for different placements, you can check out this handy guide on graphic sizes for T-shirts. Getting the scale right ensures your dtf transfer gang sheets are packed with perfectly sized designs, ready to press and sell.
Arranging Your Gang Sheet for Maximum ROI
Okay, so your designs are prepped and polished. Now comes the part where the real money is made (or saved). Arranging your dtf transfer gang sheets is less about design and more about pure financial strategy.
Think of it like a game of Tetris, but instead of clearing lines, you're clearing out wasted space. Every square inch of film you save is cash that stays in your pocket. This isn't just about slapping images onto a canvas; it's a deliberate, thoughtful layout designed to minimize waste and max out your return.
The whole point is to pack that sheet so tightly that you're only paying for printed designs, not blank film. This is what separates the pros from the beginners.
Just as a quick refresher, getting your design files right is the first step.
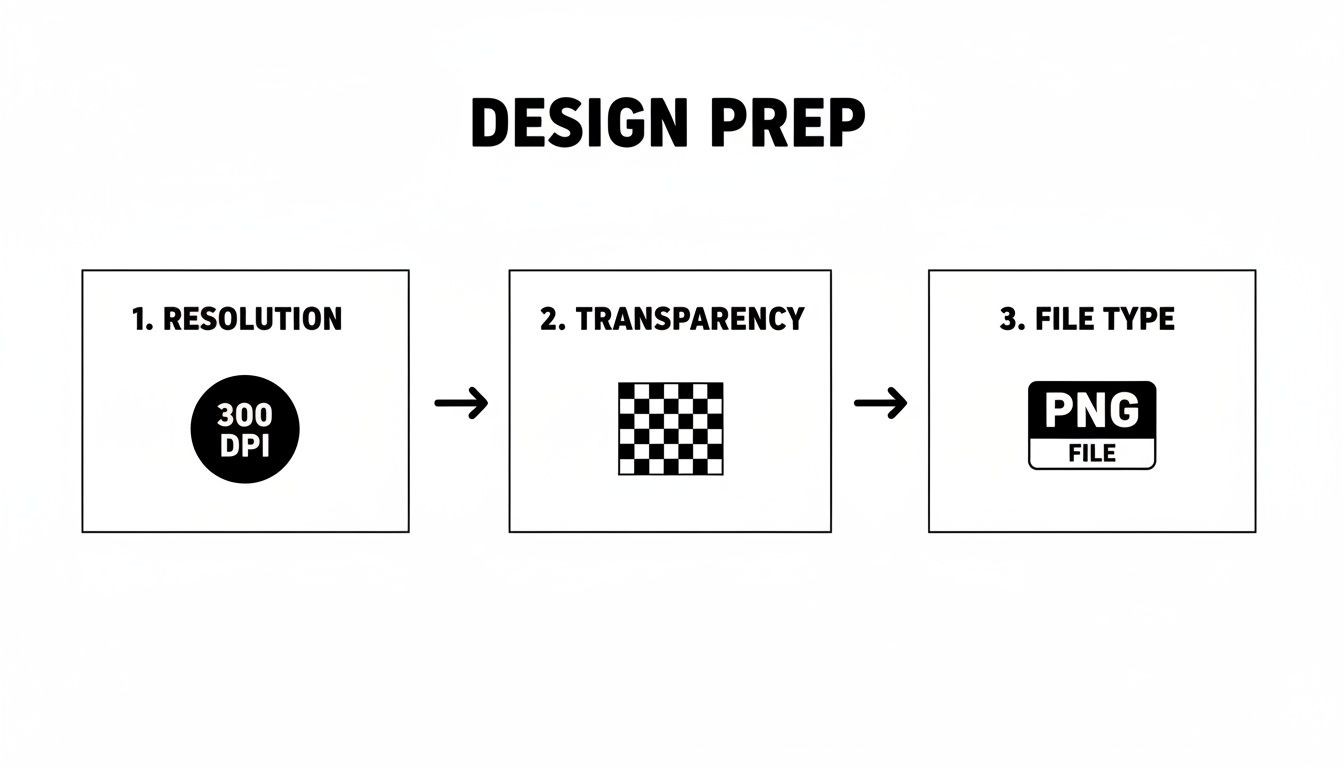
Nailing these three things—resolution, transparency, and file type—sets the stage for a gang sheet that's not only cost-effective but looks incredible when pressed.
Mastering the Art of Nesting and Rotating
Two of your best friends in this process will be nesting and rotating. These simple moves are game-changers and can drastically increase how many designs you can cram onto a single sheet.
-
Nesting Your Designs: This is all about tucking smaller graphics into the empty or "negative" space of larger ones. Got a big back design with a huge open loop in the art? That's prime real estate for a sleeve logo, a neck tag, or a little hat graphic. You’re literally using film that would have been thrown away.
-
Rotating for a Perfect Fit: Don't be afraid to flip things around. Sometimes, just turning two rectangular designs 90 or 180 degrees to sit vertically instead of side-by-side opens up a ton of usable space. Play with different orientations until you find the tightest fit possible.
I once had a project for a local sports team that needed big back logos, chest patches, and tiny hat designs. By carefully nesting the little hat logos inside the open areas of the back prints, I squeezed everything onto one 22”x60” sheet. That single move saved the client almost $40 and made the whole job way more profitable.
A Real-World Gang Sheet Project
Let's make this practical. Imagine a local sports team places an order for their new gear. They need:
- 15 large back logos (11" wide)
- 20 left-chest patches (4" wide)
- 30 small hat designs (2.5" wide)
Ordering these separately would be a financial nightmare. Instead, we build a gang sheet. On a 22" x 60" sheet, we can easily lay out two rows of the 11" back logos. But that leaves all these weird, irregular gaps between them. That's where we get clever. We start slotting in the chest patches and hat designs, rotating them to fit into every available nook and cranny. The result? One densely packed sheet that covers the entire order for a fraction of what individual prints would have cost.
This strategy isn't just for big commercial jobs. The demand for custom apparel is exploding, and this is how small creators are keeping up. According to market data from Accio's market analysis, DTF gang sheet sales on Amazon shot up by 183% between early 2024 and late 2025, a surge driven by small-batch creators.
Why? Because gang sheets absolutely crush the per-transfer cost, taking it from as much as $3.00 down to just $0.25-$0.55. If you're a small shop making 100 graphics a day, that simple switch can add up to around $180 in extra daily profit.
When to Use an Online Gang Sheet Builder
While you can definitely set up your gang sheet in programs like Adobe Illustrator or Canva, many print shops offer their own online gang sheet builders. These tools are fantastic, especially if you're not a graphic design whiz.
These builders give you a digital canvas that matches the exact size of the film you're buying. You just upload your PNG files and start dragging, dropping, and rotating them in real-time. They often have handy features like alignment guides and auto-spacing to make sure your designs don't accidentally touch.
You should definitely use a gang sheet builder when:
- You want a quick, easy way to see how many designs you can fit.
- You aren't super comfortable with pro design software.
- You want to guarantee your layout fits the printer's exact specs.
- You're juggling an order with a ton of different small designs.
These tools take all the guesswork out of the equation. It turns what could be a tedious, frustrating task into a quick and efficient process, ensuring you get a perfectly packed sheet every single time.
Placing Your Gang Sheet Order Like a Pro
You’ve got your gang sheet file dialed in and ready to go. Now comes the critical part: choosing the right print partner to bring your designs to life. It’s easy to get lost in a sea of flashy ads and too-good-to-be-true promises, but finding a reliable printer is what separates a smooth run from a costly headache.
Think of your supplier as an extension of your own team. A great one is more than just a printer; they’re a partner in your success. So, let's look beyond the homepage deals and focus on what really matters.
How to Vet a DTF Print Supplier
Before you even think about uploading your file, take a few minutes to do some homework. The goal here is to find a company that delivers consistent, high-quality transfers on a schedule you can actually count on.
Start by digging for real customer reviews—and not just the glowing ones cherry-picked for their website. Look for feedback on third-party sites or social media. What are people saying about the specifics?
- Is the color accuracy on point?
- How do the transfers hold up after a few washes?
- What’s the word on shipping times and customer service?
These are the details that can make or break an order. Slow shipping or poor communication from a supplier can throw your entire production schedule off track.
My Two Cents: Don't let the lowest price be your only guide. Paying a little more for a printer with a stellar reputation is one of the smartest investments you can make. It saves you from the hidden costs of dealing with reprints, angry customers, and missed deadlines that always seem to follow a bad batch of transfers.
Choosing the Right Gang Sheet Size
Next up, you’ll need to pick the film size that makes the most sense for your job. Most printers offer several standard sizes, and your choice here directly impacts your cost per design. The logic is simple: the bigger the sheet, the lower your cost per square inch.
Let’s break down a typical scenario:
- A small 22" x 24" sheet is great for a quick one-off project or a handful of sample shirts.
- A medium 22" x 60" sheet is the go-to workhorse for most small businesses, perfect for knocking out several small orders at once.
- A large 22" x 120" sheet is where you hit the jackpot on value. This is your best bet for bulk orders, giving you the absolute lowest cost-per-transfer.
You have to think strategically. Let's say you only need enough designs to fill a 22" x 70" space. It’s almost always smarter to order the full 22" x 120" sheet. Just fill that extra real estate with your top-selling designs, logos, or other brand elements. You're essentially building a low-cost inventory for future orders.
Calculating Your Real Cost Per Transfer
This is where you stop guessing and start making data-driven decisions. Once you’ve packed your designs onto a sheet, you need to figure out your true cost for each individual transfer. The math is easy but incredibly powerful.
- Start with the total price of the gang sheet (e.g., $75 for a 22" x 120" sheet).
- Count up every single design you managed to fit on that sheet (e.g., 50 designs).
- Divide the total cost by the number of designs.
In this example, that’s $75 / 50 = $1.50 per transfer.
Now you have a hard number. This single piece of data is gold—it lets you price your finished products accurately and know your exact profit margins. For shops doing any kind of volume, the savings from producing dtf transfer gang sheets can be huge, potentially reaching $900 weekly compared to outsourcing individual prints. This efficiency is the real magic of the gang sheet model.
The Final Stretch: Upload and Checkout
Alright, you've vetted your supplier and picked your sheet size. It's time to pull the trigger.
Most online printers have a simple upload process. You'll just need to upload your high-resolution PNG, double-check that the dimensions are correct, and add it to your cart. Before you click that final "confirm" button, give everything one last look. Make sure the sheet size you selected in the cart matches the file you built.
Many printers also offer a rush processing option for an extra fee if you’re in a pinch. While finding a good local supplier is a bonus, don’t limit yourself—you can learn how to find the best custom DTF transfers near you in our detailed guide.
Applying Your DTF Transfers Like a Pro
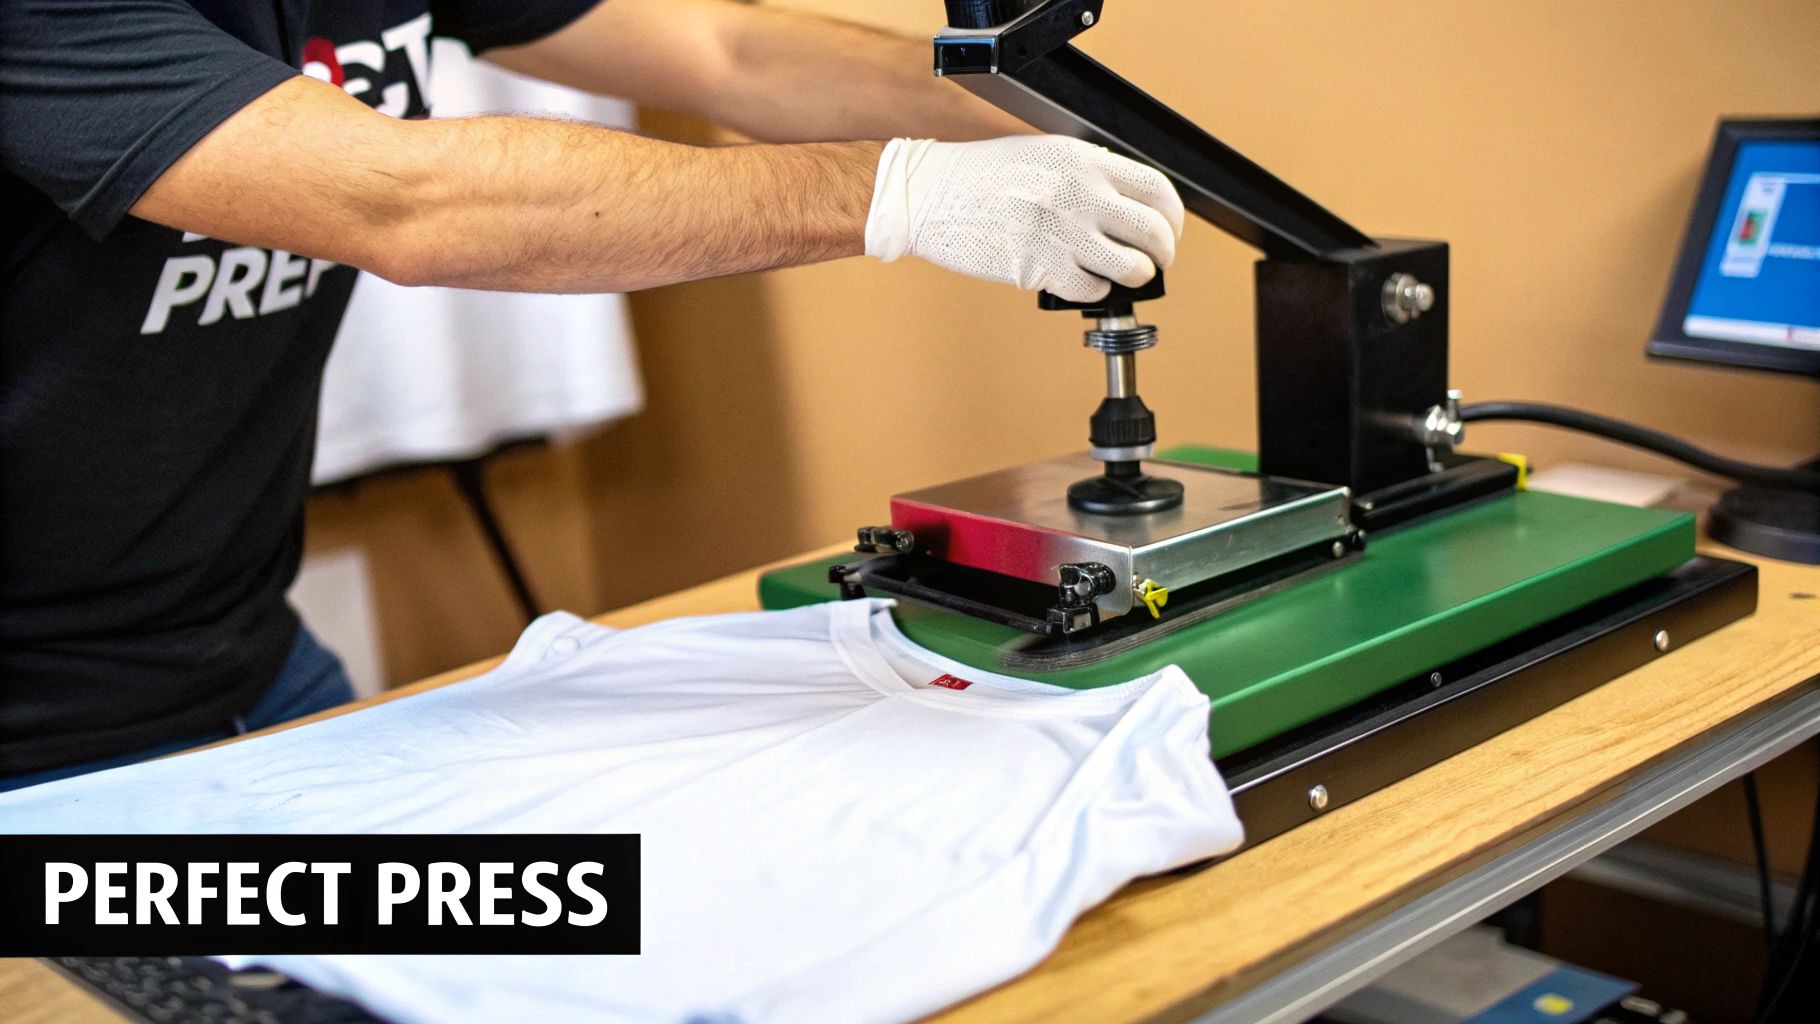
Your perfectly packed dtf transfer gang sheets have arrived, and now comes the fun part: making your designs real. This is where your digital artwork becomes a tangible, wearable product. Getting the application process right is what separates a professional-looking shirt from one that just doesn't last.
It’s more than just slamming down a heat press. This is a craft that relies on a precise technique. Skipping even one small step can mean the difference between a durable, vibrant print and one that peels, cracks, or fades after the first wash. Let's walk through it together and make sure every garment you create is top-notch.
The Unsung Hero: Pre-Pressing Your Garment
Before you even think about laying down that transfer, you need to pre-press your shirt. I know, it's tempting to skip, but this is probably the single most important step for a lasting bond. Every fabric, no matter how dry it feels, holds moisture and has tiny wrinkles that can ruin adhesion.
A quick pre-press for 5-10 seconds at your target temperature does two crucial things: it zaps all that hidden moisture and creates a perfectly smooth canvas for your design. Think of it like priming a wall before painting. It’s a simple action that guarantees a much stronger, more even result.
Key Insight: Moisture is the arch-nemesis of a good DTF transfer. When you apply heat, any trapped water turns to steam and literally pushes the transfer's adhesive away from the fabric fibers, preventing a solid bond. A quick pre-press is your best defense.
Dialing In Your Heat Press Settings
There's no magic "one-size-fits-all" setting for DTF. The right mix of time, temperature, and pressure really comes down to the fabric you're working with. While a home iron or a tool like a Singer Intelligent Steam Press can work in a pinch, a dedicated heat press is what gives you the consistent, even heat and pressure needed for truly professional results.
Here are some solid starting points I use for common materials:
- 100% Cotton: This is a pretty forgiving fabric. I usually start around 300-320°F (149-160°C) for 10-12 seconds with medium pressure. The adhesive really gets a good grip on cotton fibers.
- 50/50 Cotton/Poly Blends: You'll want to back off the heat a bit for these. Try 280-300°F (138-149°C) for 8-10 seconds. This helps prevent the polyester from getting scorched or discolored.
- 100% Polyester & Tri-Blends: Go easy on these synthetics. A lower temp of 260-280°F (127-138°C) for 7-10 seconds is your best bet. Too much heat can cause the fabric's dye to "migrate" into your transfer, which can muddy your colors.
If you want to get really granular with different fabrics, our guide on heat press settings for DTF is a great resource. And a pro tip: always, always do a test press on a scrap piece if you're working with a new material.
The Peel: That Make-or-Break Moment
Once the timer goes off, the next big step is peeling away the clear film. Whether you peel it hot, warm, or cold can completely change the final look and feel of your print.
- Hot Peel: You peel this the instant the press opens. It's fast, efficient, and great for production runs. It often leaves a slightly glossier finish. Many modern transfers, like ours, are designed specifically for a hot peel.
- Warm Peel: Just wait about 5-10 seconds after the press opens. This can sometimes help the transfer stick a little better on tricky fabrics.
- Cold Peel: This means letting the garment and transfer cool down completely before you touch the film. This method is famous for giving a super soft, matte finish that feels like it’s part of the fabric itself.
No matter which peel method you use, don't skip the final press! After peeling, cover the design with a Teflon sheet or parchment paper and press it again for just 3-5 seconds. This final step is what really locks the design into the fibers, making it more durable and giving it that amazing soft-hand feel.
Troubleshooting Common Application Issues
Even the most experienced of us run into problems sometimes. Here’s how to fix the most common hiccups.
Problem 1: The Transfer Isn't Sticking Properly
If you peel back the film and parts of the design are lifting with it, it’s almost always one of these three culprits:
- Not Enough Pressure: The adhesive needs a firm, even hug to bond. Crank up the pressure on your press.
- Uneven Surface: Things like seams, collars, or zippers can create gaps where the press isn't making contact. A pressing pillow is your best friend here—it raises the print area for perfect contact.
- Temperature is Too Low: The adhesive simply didn't get hot enough to activate. Double-check your temp settings for that specific fabric.
Problem 2: The Colors Look Faded or Dull After Pressing
This is a classic sign of too much heat or too much time. The high temperature is causing the dye in the shirt to sublimate and bleed into your transfer ink. Try dropping your temperature by 10-15 degrees and shortening your press time.
Problem 3: The Transfer Feels Stiff and Plastic-y
This usually happens when the pressure is too high, essentially squishing the ink and adhesive too deeply into the fabric. Back the pressure off to a medium setting. That final 3-5 second press with a Teflon sheet also works wonders to soften up the print and give it a much more natural feel.
Got Questions About DTF Gang Sheets? Let's Clear Things Up.
Even after you get the hang of it, a few questions always seem to pop up when you're working with DTF transfer gang sheets. Getting those sorted out is key to feeling confident and keeping your projects running smoothly. Let’s walk through some of the most common ones I hear all the time.
Think of this as a quick FAQ to clear up any final bits of confusion. It’s all about reinforcing what you’ve learned so you can tackle any project that comes your way, from prepping files to that final, satisfying press.
How Much Space Should I Leave Between Designs?
This is a big one. It's so tempting to cram designs together to get the most out of your film, but if they're touching, you're setting yourself up for a headache. You absolutely need enough room to cut them apart without nicking an adjacent print.
As a general rule, aim to leave at least 0.25 to 0.5 inches of space around every single design. That little buffer is a lifesaver when you've got scissors or a rotary cutter in hand. It gives you a clean margin for error, preventing those "oops" moments that can ruin a perfectly good transfer. Some online gang sheet builders even have an automatic spacing feature, which is a fantastic help.
My Personal Rule: I never go below a quarter-inch gap. It might feel like wasted real estate at first, but trust me, the time and frustration it saves during the cutting phase are worth their weight in gold. There's nothing worse than ruining two transfers with one bad cut.
Can I Mix and Match Different Designs on One Sheet?
Absolutely! In fact, that's the whole point—and the magic—of using a gang sheet. You can and should mix and match designs from different projects. It’s an incredibly efficient way to work.
Imagine you're working with a 22" x 60" sheet. You could easily fit:
- A big, bold design for the front of a hoodie.
- A dozen left-chest logos for a local business's polo order.
- A handful of sleeve prints for a youth sports team.
- A whole row of your own branded neck tags.
This is exactly how you make smaller, varied orders profitable. Instead of paying for four separate print runs, you're combining them into one. This slashes your print cost and makes your entire production schedule a whole lot simpler.
Do I Need Special Software to Build a Gang Sheet?
While professional software like Adobe Illustrator or Affinity Designer offers the most granular control, you definitely don't need it to get started. Many transfer suppliers, including us, have easy-to-use online gang sheet builders. These tools are perfect for jumping right in.
These builders give you a digital canvas that matches the exact size of the film you're buying. You just upload your individual PNG files and start arranging them. You can drag, drop, rotate, and resize everything right in your web browser. It’s a super intuitive way to see your layout come to life without needing any fancy design skills.
What's the Difference Between Hot Peel and Cold Peel Film?
The type of film your transfers are printed on dictates how you apply them. The main difference is right in the name—it all comes down to when you remove that clear carrier sheet after pressing.
- Hot Peel Film: This is the go-to for speed and efficiency. You peel the film off immediately after the heat press opens, while it’s still hot. It’s designed for high-volume work and usually leaves a clean, semi-gloss finish.
- Cold Peel Film: With this film, you have to wait. Let the transfer cool down completely before you even think about peeling the carrier sheet. It takes a bit more patience, but it’s known for producing an incredibly soft, matte finish that feels like it’s part of the fabric.
Always, always double-check with your DTF supplier to know which film they use. Trying to hot-peel a cold-peel transfer (or vice-versa) is a recipe for disaster. It can lead to the design not sticking properly and a ruined shirt. Knowing the right process is non-negotiable for getting that perfect, durable finish.
Ready to put all this into practice? The best way to really get comfortable with DTF transfer gang sheets is to just build one. At Raccoon Transfers, our intuitive online builder and top-notch films make it easy to get professional results, even on your very first go.