
T Shirts Neck Types: A Practical Guide for Designers
You're choosing blanks for a small apparel drop, and the same graphic looks right on the crew neck but crowded on the V-neck. The scoop feels more comfortable on your fit sample, yet the artwork sits differently once someone wears it. Before you order transfers, you need to settle the neckline, not just the shirt color.
Why Neckline Choice Shapes Every Custom Apparel Order
For a small-batch brand owner, comparing t shirts neck types is really an order-planning decision. You're choosing where the garment opens, how much coverage the wearer gets, and which parts of the chest remain available for decoration. Approve the blank and artwork together rather than treating them as separate purchases.
Start with the intended use. An event shirt, a layered undershirt, and a relaxed retail tee don't need identical openings. Ask whether customers will wear the graphic uncovered, beneath an open shirt, or alongside accessories that might overlap it.
Choose the blank before locking the transfer
Use the buying stage to answer practical questions:
- Wearer requirements: Establish preferences for coverage, collar contact, and layering before choosing a silhouette.
- Artwork requirements: Decide whether the order needs a chest logo, a tall illustration, or a broad front composition.
- Production requirements: Request garment measurements and neckband specifications, then inspect an actual sample before approving placement.
- Assortment requirements: Decide which styles serve different customers rather than stocking variations without a clear purpose.
For broader shopping context alongside that production checklist, Blitz Surf Shop's tee buying guide is a useful companion when considering the finished garment rather than the decoration alone.
Crew, V-neck, and scoop styles deserve separate artwork approvals. Boat necks, henleys, mock necks, and turtlenecks introduce additional decisions about opening width, plackets, and collar height.
Production principle: Approve a garment-and-graphic combination, not a graphic that you assume will fit every blank.
Keep your approval record specific. Save the blank style, garment size, artwork dimensions, placement reference, and sample photographs together. If you substitute a blank later, reopen that approval instead of assuming the original layout still works.
How the Crew Neck Became the Default Blank Garment
The crew neck's history helps explain why it remains such a familiar starting point for decorated apparel. In 1913, the U.S. Navy adopted short-sleeved white cotton T-shirts as undershirts; the garment's name appeared in the 1920s, referring to its laid-flat shape, as documented in Canada's History's account of the T-shirt. That account also records Canadian naval adoption in 1939, Marlon Brando's appearance in a white tee in A Streetcar Named Desire in 1951, and the spread of graphic, slogan, and branded tees by the 1970s.
The original design wasn't built around a logo. A simple collarless opening was practical beneath a uniform, comfortable, and inexpensive to manufacture. Once people began wearing the garment visibly, that straightforward construction offered a useful canvas for decoration.
From underlayer to graphic canvas
That transition matters when selecting blanks today. A crew neck doesn't require the artwork to accommodate a deep opening or a center-front placket. Designers can build a composition around a relatively uninterrupted chest panel.
The historical familiarity is useful too. A plain crew-neck blank already has a recognizable place in everyday clothing, so a brand can make the graphic its main design decision rather than asking customers to evaluate an unfamiliar silhouette.
The neckline still deserves inspection. This construction overview identifies the collar components worth examining before approving a blank.
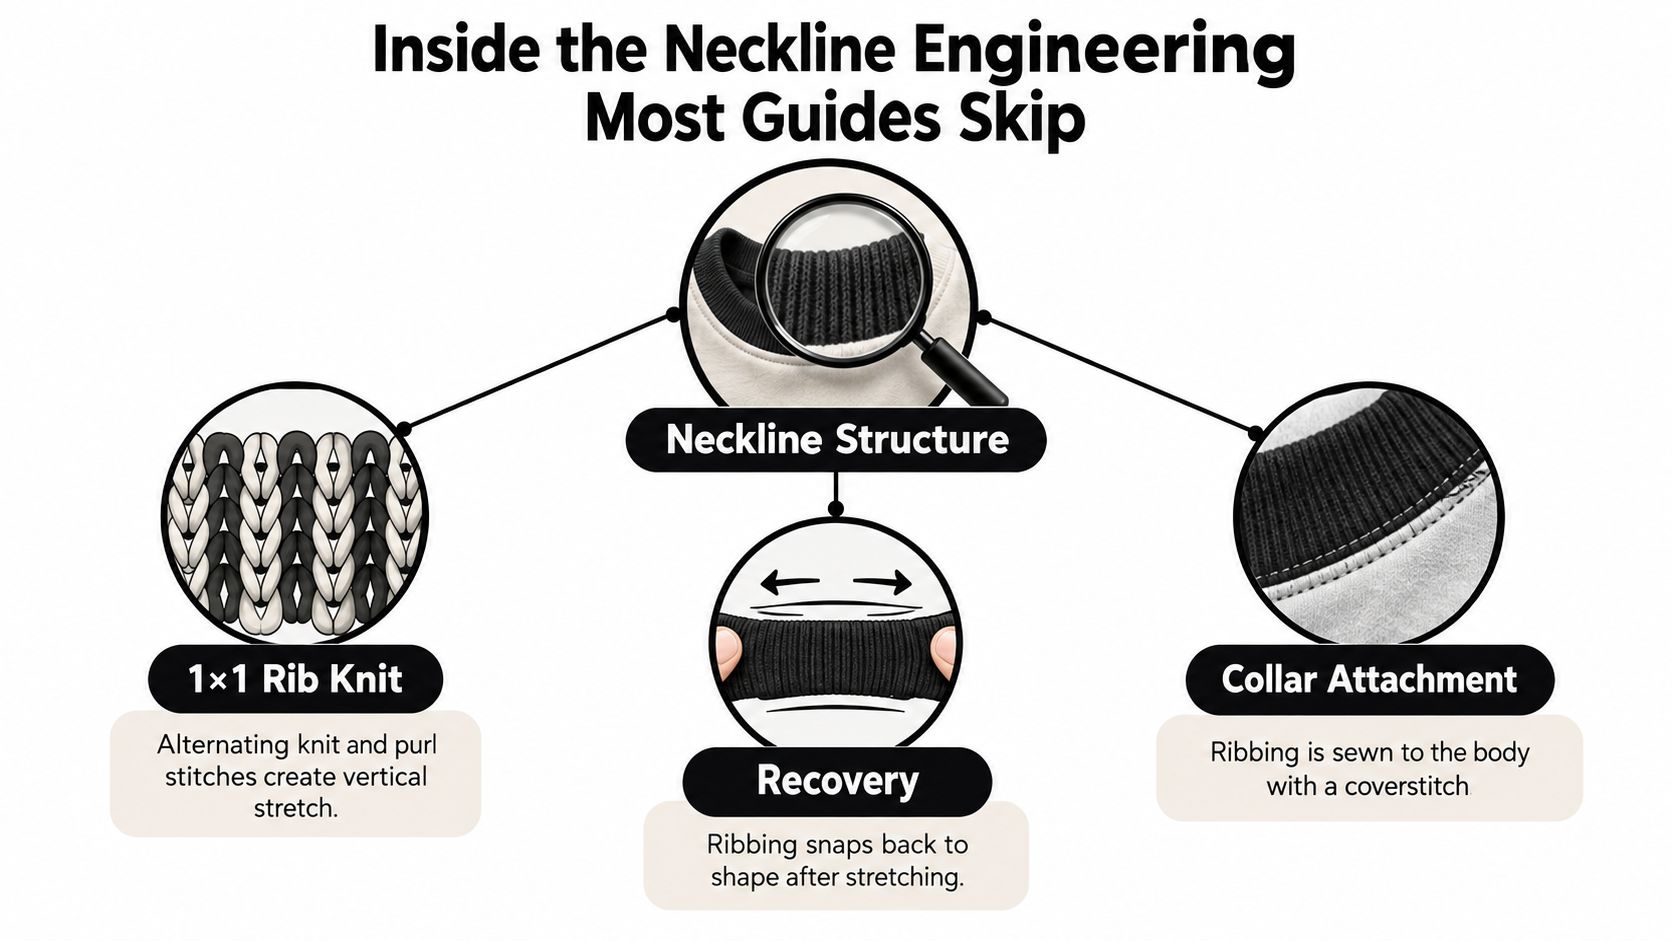
- Keep the useful default: Start with a crew when the artwork needs an uncomplicated front panel.
- Avoid the automatic assumption: Familiar styling doesn't establish the quality of a particular supplier's collar.
- Separate history from fit: Cultural recognition isn't proof that every customer wants a close neckline.
For inventory planning, treat the crew neck as a baseline sample, not the automatic winner. Compare alternative blanks against it using the actual order's requirements.
Inside the Neckline Engineering Most Guides Skip
Stretch and recovery are different properties. A neckband must expand enough for dressing, then return toward its original dimensions. A band that stretches easily but stays enlarged hasn't solved the fit problem.
A common 1×1 rib alternates knit and purl columns, producing lateral contraction and greater crosswise elasticity than single-jersey body fabric. Typical 1×1 neck rib is approximately 180–240 GSM, while 2×2 rib commonly falls around 240–300 GSM, according to Pura Fabric's technical guide to rib structures and sourcing.
Match the band to the garment
The lighter, flatter appearance of the former often suits standard retail tees. The thicker texture of the latter can better support heavyweight or oversized garments. Those are construction trade-offs, not a ranking from poor to premium.
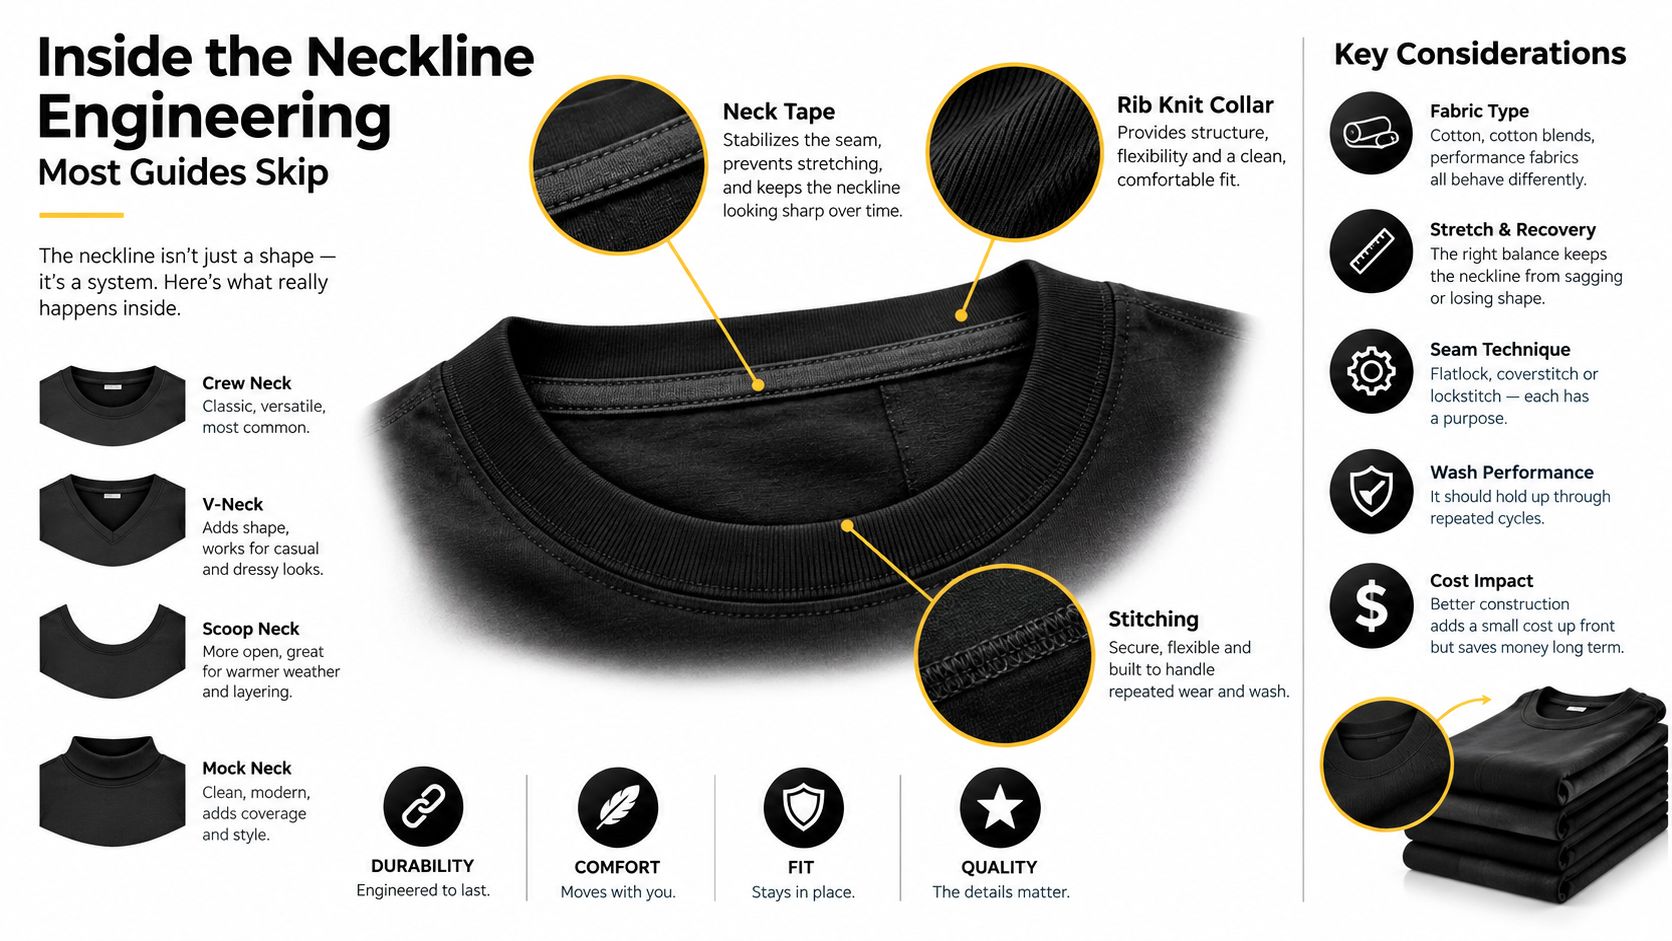
For decoration, evaluate the whole collar assembly rather than judging softness between your fingers. Consider the band's profile, its attachment, and whether the opening returns evenly after handling. Weak recovery can leave a collar rippled or stretched after application and laundering, making a carefully positioned graphic look less orderly beside it.
Ask the supplier for a specification that describes behavior:
- Relaxed width: Record the band before extension so later comparisons use a consistent baseline.
- Extension percentage: Request the supplier's measured result and testing conditions, not a description such as stretchy.
- Recovery after cycling: Ask how the band behaves after repeated extension rather than a single pull.
- Material details: Obtain rib construction, GSM, and elastane content together.
Read specifications as a system
GSM describes fabric mass, not a complete performance guarantee. Likewise, elastane content alone doesn't tell you whether the finished opening will lie flat. Compare the written specification with the sewn sample.
A substantial collar can suit the garment and still be awkward beside a close-positioned transfer. Judge construction quality and decoration compatibility separately.
Keep an untouched sample as a reference. Comparing it with a pressed and washed garment gives you a clearer basis for discussing changes with the blank supplier.
Comparing the Seven Necklines You Will Actually Stock
Choose neckline styles by their role in the assortment, not by a universal claim about who should wear them. Opening geometry, coverage, and layering distinguish the categories; the crew-versus-V trade-offs are outlined in Dear-Lover's neckline comparison.
The table below is a production selection aid, not a promise that every blank within a category will behave identically. Pattern depth and garment proportions still need sample approval.
T-Shirt Neckline Comparison for Custom Apparel
| Neckline | Shape & Depth | Best For | Print Area Impact |
|---|---|---|---|
| Crew | Closed circular opening near the throat | Everyday graphics and customers who prefer coverage | Straightforward starting point for a centered front composition |
| V-neck | Angled opening ending in a point; depth varies | Layering and customers who prefer an open center neckline | Artwork must accommodate the point rather than use crew placement unchanged |
| Scoop | Wider, deeper rounded opening | Wearers seeking less collar contact and a more open neckline | Upper-chest availability depends on the full curve, not just its center |
| Boat | Broad, relatively shallow opening | Collections built around a wider neckline | Check artwork against the opening's lateral edges |
| Henley | Rounded opening with a button placket | Customers who want an adjustable opening | Placket interrupts center-front artwork and complicates loading |
| Mock | Short raised collar | Covered-neck retail styling and layering | Body panel may remain usable, but collar bulk needs inspection |
| Turtleneck | Taller collar covering the neck | Customers specifically seeking neck coverage | Don't assume the chest is unavailable; assess the actual pattern and press setup |
Separate opening shape from overall fit
A scoop neckline doesn't automatically make a shirt relaxed, and a crew neckline doesn't automatically make it fitted. Evaluate body width, length, and sleeve shape independently. When your assortment includes lounge-oriented garments, oversized sleep t-shirt styles from Get Spliced provide a relevant reference for thinking about the garment's intended use.
Don't reject mock necks or turtlenecks on the assumption that they leave almost no print zone. Collar height and usable body-panel area are different questions. For those blanks, make the decision from the physical sample rather than a category label.
For henleys, decide early whether the artwork belongs beside the placket or below it. A composition designed as an uninterrupted rectangle isn't a useful starting point if its most important detail lands beneath the buttons.
Matching Artwork Placement to Each Neckline
Measure from a defined reference, then approve the result on a wearer. There isn't a defensible universal collar-to-artwork distance for every blank. Neckline depth, garment size, and design proportions all affect the result.
The practical gap is the relationship between opening geometry and graphic readability, not merely the amount of fabric available. 4OVER4's guide to T-shirt necklines provides context for comparing neckline styles with decoration choices.
Build a repeatable placement record
- Define the origin: Identify the body centerline and specify whether the vertical measurement begins at the center-front collar seam or another documented landmark.
- Measure the clearance: Record the gap from the nearest neckline seam to the nearest printed edge. For a scoop, inspect the whole upper artwork boundary.
- Record the artwork bounds: Save finished width and height alongside the placement measurement.
- Approve each combination: Photograph the selected garment size with the transfer outline in place before releasing the order.
For left-chest artwork, don't use only the center-front collar measurement. Check how the logo relates to the wearer's shoulder and the nearest edge of the opening.
For full-front artwork, test a narrower composition on a V-neck before lowering a broad crew-neck design. A vertical-friendly logo may fit the available shape more naturally. On scoop and boat styles, check left-to-right balance around the wider opening rather than aligning by eye to a single point.
More printable fabric doesn't mean the design should occupy all of it. Preserve breathing room around the artwork.
Approve scale before ordering
Use the guide to graphic size for a T-shirt when assessing dimensions, then finalize the neckline-specific placement on your sample. Back prints need their own recorded origin at the rear neckline; don't carry a front offset around to the back.
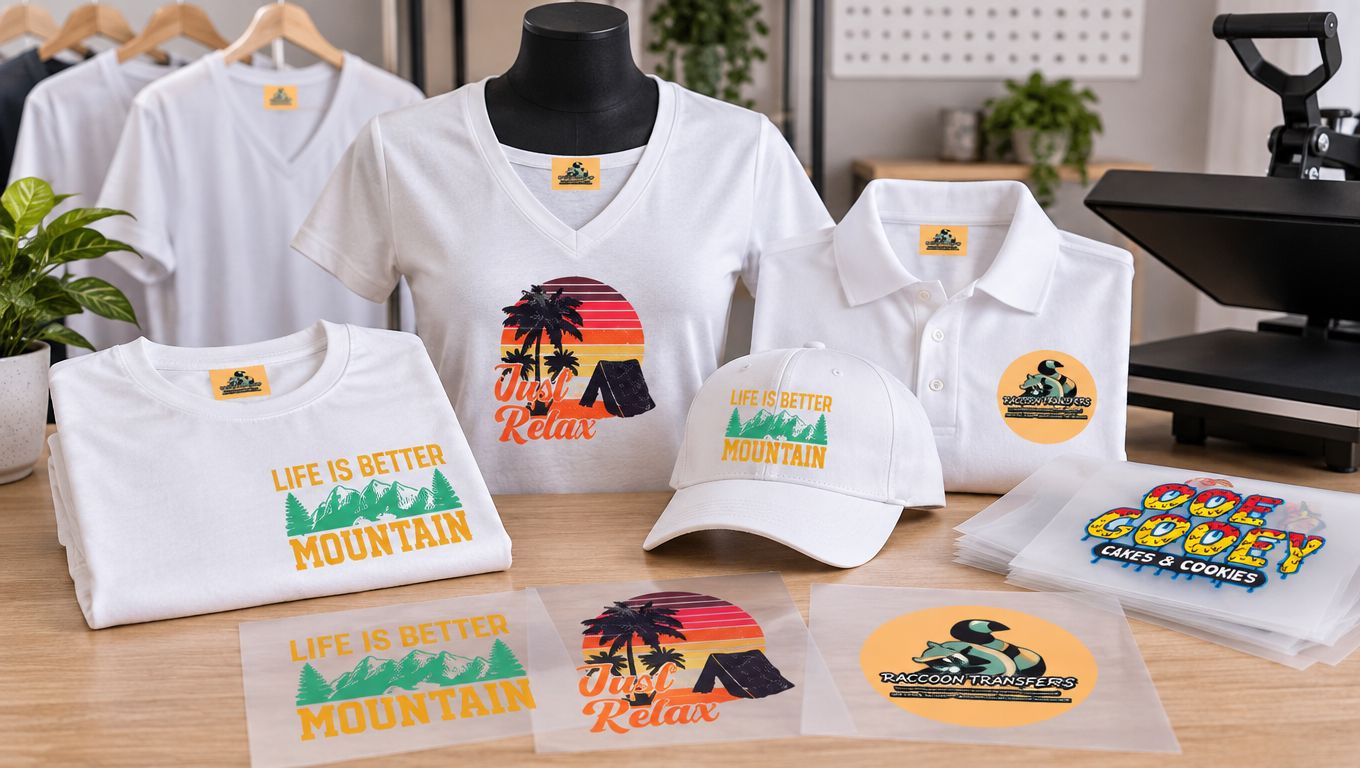
Once dimensions are approved, Custom DTF Transfer by Size: Perfect Prints for Every Project is one option for ordering ready-to-press artwork to those specifications. Set the layout first rather than reshaping the design around a transfer you've already purchased.
How Rib Construction Changes Your Heat Press Workflow
A neckline that looks tidy on a hanger may still need careful handling at the press. The operator's task is to present the intended print panel without stretching the opening or placing the transfer across an unsuitable transition.
Crew openings distribute tension around a relatively closed circle, while V-necks concentrate shaping where seam directions meet. Sinofine Tex's T-shirt quality-control guidance supports checking rib width, stretch, and recovery before attachment and keeping DTF artwork clear of high-stretch collar transitions, especially the V point.
Set up for the actual blank
Start by laying the garment in its relaxed state. Don't pull the neck opening to make it fit a placement mark. If your loading method requires that distortion, change the setup or reconsider the placement.
Inspect the contact area before pressing. Treat a thick neckband or henley placket as a reason to verify the setup, not as permission to improvise a new application recipe.
- Collar clearance: Keep the transfer off the seam transition and check that the garment remains relaxed during positioning.
- Placket clearance: Position henley artwork on an uninterrupted panel and verify the buttons aren't interfering with loading.
- Process settings: Follow the transfer and garment instructions for temperature, pressure, dwell, and peeling.
- Protective materials: Use masking or other protective arrangements only when compatible with the approved process, then test the result.
Don't infer settings from rib weight
Rib GSM and elastane content inform garment assessment, but they don't establish a universal pre-press dwell or peel temperature. Use the DTF heat-press settings guide as process guidance alongside the instructions for the transfer being applied.
For supplier documentation, ASTM D2594 can be used to document textile stretch and growth, while AATCC methods address laundering and colorfastness, as described in the quality-control guidance cited above. Request the actual method, conditions, and result rather than accepting an unspecified tested label.
Record collar appearance and printed-edge condition separately after your sample run. That distinction helps you identify whether a problem belongs to the blank, placement, or application process instead of changing every variable at once.
Debunking the Flattening Rules and Replacing Them With Fit Checks
A V-neck doesn't universally improve a person's proportions, and a scoop neckline isn't automatically the right choice for a particular body shape. Those statements skip the variables that customers experience: collar pressure, coverage, bust room, posture, and movement.
Consumer styling descriptions can be useful starting points, but they aren't fit guarantees. VistaPrint's guide to T-shirt necklines provides neckline context; for product approval, use functional checks rather than treating styling categories as rules.
Ask what the wearer needs
Begin with preferences instead of assigning a neckline to someone's body. Ask whether close collars bother them, whether they want more room around the opening, and what coverage they expect while moving.
Accessories deserve a place in that conversation. If the customer wears a lanyard or hearing device, invite them to test the sample with it. Don't assume that a lower opening solves every comfort or accessibility concern.
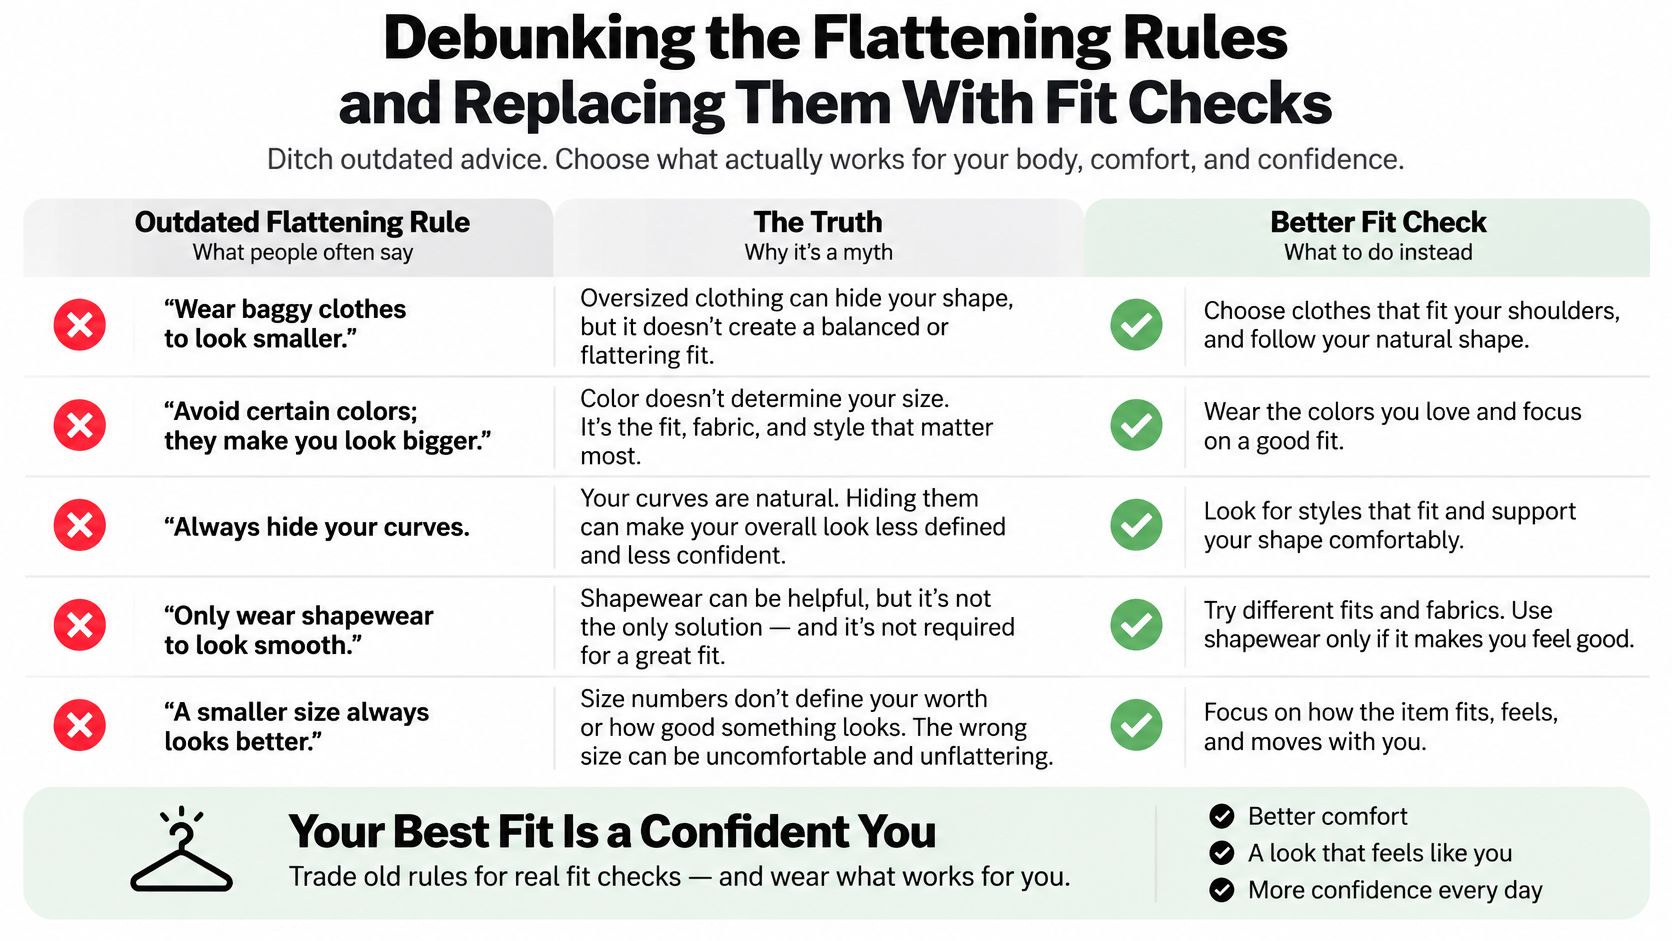
Replace appearance promises with an approval checklist
- Shoulder position: Check whether seams align with the shoulder edge on the intended fit sample.
- Opening behavior: Look for gaping, rolling, or a neckline that doesn't lie flat.
- Movement and modesty: Ask the wearer to sit, bend, and reach, then confirm coverage meets their preference.
- Bust accommodation: Check garment room and graphic position together rather than blaming the opening for an overall sizing issue.
- Post-wash comparison: Compare the worn and washed sample with the original fit record.
A useful sample session includes the same graphic outline across the neckline options you're considering. Photograph standing and moving views so you can judge the decoration as worn, not just as a flat layout.
Fit approval: The wearer should confirm comfort and coverage. The production lead should confirm placement and repeatability.
Keep those approvals distinct in your notes. A beautifully aligned print doesn't compensate for an uncomfortable opening, and a comfortable blank doesn't automatically make the artwork placement successful.
A Decision Checklist for Picking the Right Neckline
Make the final choice in this order:
- Define use: Confirm layering, coverage, and wearer preferences.
- Approve construction: Match the neckband specification and sample to the intended garment.
- Lock decoration: Record artwork dimensions, reference points, and seam clearance.
- Test before scaling: Complete movement, pressing, and wash checks on samples.
Use the guide to blank T-shirts for printing to build your shortlist. Keep the approved sample and placement record together so repeat orders don't depend on memory.
Raccoon Transfers offers custom DTF transfers and size-based ordering for artwork you've fitted to your chosen blank. Visit Raccoon Transfers with your approved design dimensions, then order transfers for a sample press before committing to the full apparel run.