

Transfer Paper for Heat Transfer Vinyl: Ultimate Guide
You’re probably here because you searched for transfer paper for heat transfer vinyl, opened five tabs, and somehow ended up more confused than when you started.
One product says transfer paper. Another says transfer tape. A third says printable HTV mask. Then your vinyl already arrives stuck to a clear sheet, so now you’re wondering whether you need anything extra at all.
That confusion is normal. In craft shops and online listings, “transfer” gets used for several different tools that do very different jobs. It’s a bit like walking into a baking aisle and seeing flour, icing sugar, cake flour, and self-rising flour all called “baking essentials.” Technically true. Practically annoying.
The good news is that the mix-up has a pattern. Once you understand which product moves a design, which product holds a design, and which product is itself the printable surface, the whole category gets much easier to shop for and use.
Your Guide to Transfer Paper and Heat Transfer Vinyl
A new team member once asked me a question I hear all the time: “I bought HTV, but the listing also says I need transfer paper. Did I miss something?”
Usually, the answer is no. They didn’t miss a step. They ran into messy product language.
If you’re still getting comfortable with heat transfer vinyl (HTV), the simplest way to think about it is this. Standard HTV is the material you cut and press onto fabric. Transfer tape or a mask is what helps you move certain designs into place. Traditional heat transfer paper is a different printable product altogether.
That distinction matters because buying the wrong item creates the same kind of frustration as bringing wall paint to a fabric project. Both belong in the decorating world. They just solve different problems.
Here’s the plain-English version:
- If you’re cutting regular HTV, you usually use the carrier sheet that already comes attached.
- If you’re printing onto printable HTV, you may need a separate transfer mask to lift the design.
- If you’re printing onto heat transfer paper, the paper itself becomes part of the transfer process.
The words sound similar, but the workflow is different. That’s where most mistakes start.
Once you sort the names by job, shopping gets easier. So does training a new employee, ordering supplies, or figuring out why a project worked last month and failed this week.
The Great Mix-Up Transfer Tape vs Heat Transfer Paper
The biggest misunderstanding in this category is simple. Transfer tape and heat transfer paper are not the same thing.
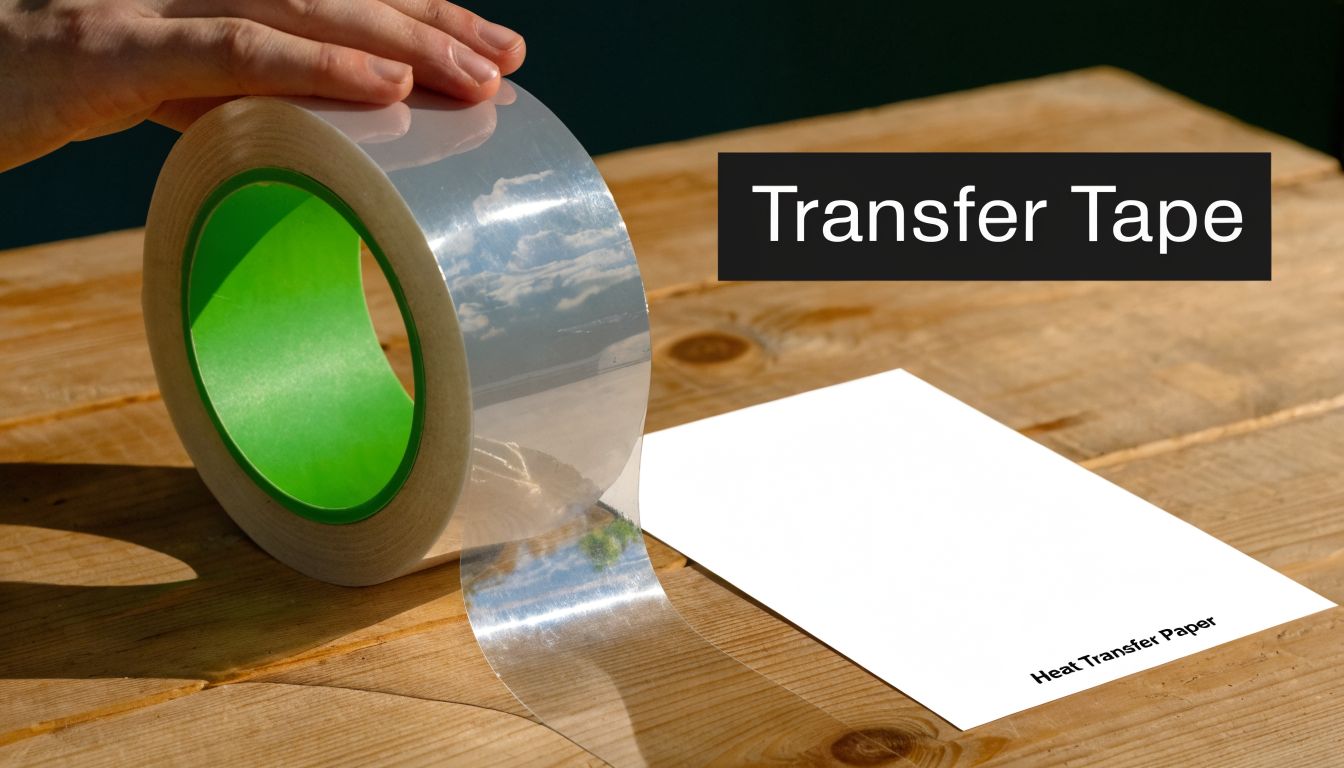
What transfer tape actually does
Think of transfer tape like painter’s tape helping you place a stencil. It doesn’t become the final decoration. It helps you pick up a design, keep the pieces aligned, and move that design where it belongs.
For many vinyl crafters, that’s the mental reset that clears everything up.
With standard adhesive vinyl, transfer tape is often the thing that lifts letters off the backing so you can place them on a wall, mug, or sign. With some printable HTV products, a similar idea shows up under a different name: transfer mask.
If you need a deeper look at that tool category, this guide on vinyl transfer paper is a useful companion.
What heat transfer paper actually is
Heat transfer paper is a printable medium. You print a design onto the sheet, then use heat and pressure to move that printed design onto fabric.
That’s a separate lane from standard cut HTV. It also changes the equipment conversation. According to A-SUB’s comparison of T-shirt transfer paper and HTV, printers for T-shirt transfer paper, typically white toner models, range from $4,000 to $7,000, while vinyl cutters for HTV start at $200. The same source notes that the initial machinery outlay is often 20-30 times lower with HTV.
That difference explains why so many small shops start with HTV. It’s easier to enter, easier to test, and easier to learn without making a large equipment commitment.
The rule that keeps most people out of trouble
Use this quick test before you buy anything:
- You’re cutting regular HTV from a roll. You usually don’t need separate heat transfer paper.
- You’re printing a graphic onto a special printable sheet. You may be dealing with heat transfer paper or printable HTV, depending on the product.
- You need to move a printed or cut design after weeding. You’re probably looking for transfer tape or a transfer mask.
Practical rule: Ask what job the product performs. Does it print, carry, or position? The answer tells you what it really is.
That’s the craft-world naming mess in one sentence.
Understanding Printable HTV and Its Transfer Mask
Printable HTV is where the phrase transfer paper for heat transfer vinyl starts to make sense, but only if you understand the workflow.
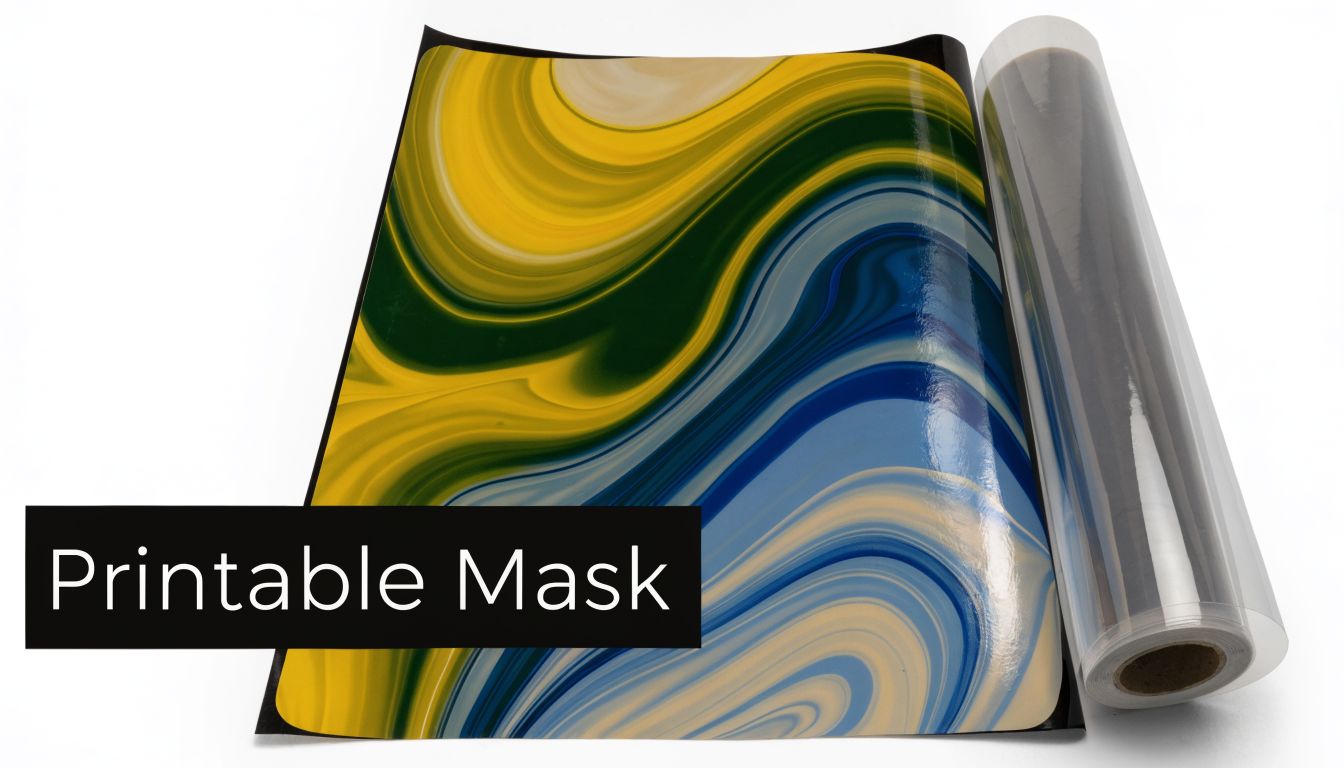
Why printable HTV is different
Standard HTV is like buying colored fondant for a cake. The color is already there. You cut the shape, remove the extra material, and press it in place.
Printable HTV is more like starting with a blank edible sheet and printing your artwork onto it first. You’re not limited to one vinyl color. You can create logos, gradients, photos, and detailed artwork on a printable surface.
That’s useful when a design would be awkward to build with layered HTV, especially if it includes fine lines or many colors.
Why printable HTV often needs a mask
After you print and cut printable HTV, the design may not have the same built-in handling support that standard HTV has. Once weeded, the pieces need help staying aligned. That’s where the transfer mask comes in.
The mask sits on top of the printed design, grabs it evenly, and lets you lift the design off its backing so you can place it on the garment for pressing.
If the tack is too strong, it can fight the vinyl. If the tack is too weak, the design won’t lift cleanly. That’s why printable systems often specify a particular mask.
Where older and newer methods differ
According to Wikipedia’s overview of heat transfer vinyl, HTV was introduced as a carrier-backed plastic film alternative to non-carrier transfer paper and had revolutionized the industry by 2010. The same source notes that opaque white transfer papers for dark fabrics eliminate halo edges but require weeding, which can take 2-3x more time than HTV’s cut-and-apply process. It also notes that Silhouette’s 2022 printable HTV papers achieved 90% success on dark fabrics after 24hr dry with medium-tack masks, reducing defects by 70%.
That tells you two things:
- Printable systems have improved a lot.
- The mask is not an accessory you choose casually. It’s part of the process.
What to look for in a mask
When I train someone on printable HTV, I tell them to evaluate the mask the way a baker evaluates parchment paper. You don’t want the cake welded to it, and you don’t want the paper sliding around.
Look for:
- Tack level matched to the vinyl so the print lifts cleanly
- Clear visibility so you can align the design on the shirt
- Smooth release so the mask peels away without disturbing edges
A good mask feels boring. That’s a compliment. It means it did its job quietly.
Comparing Transfer Methods HTV vs Transfer Paper vs DTF
Once the terminology is clear, the next question is usually practical: which method fits the job?
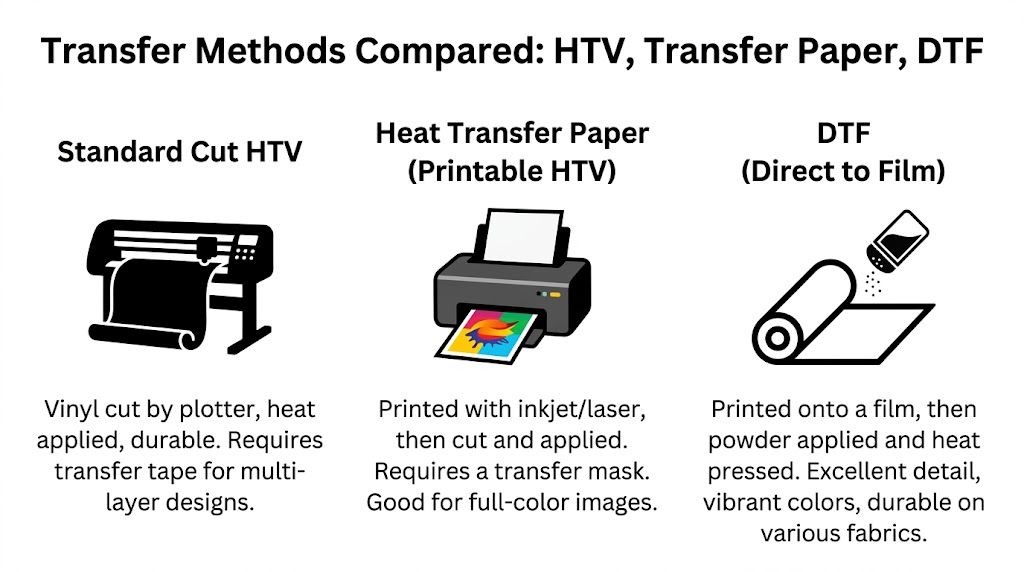
One helpful way to decide is to compare the methods the same way you’d compare paint tools. A small brush, a paint roller, and a sprayer can all cover a surface. They just make sense in different situations.
For a broader overview of production options, this guide to types of heat transfers adds useful context.
Transfer Method Comparison
| Attribute | Standard HTV | Printable HTV | DTF Transfers |
|---|---|---|---|
| Best for | Simple shapes, names, one-color or layered looks | Full-color artwork printed onto vinyl | Detailed full-color designs with a production-focused workflow |
| Design handling | Usually uses its built-in carrier sheet | Often needs a separate transfer mask | Arrives as a ready transfer film |
| Color approach | Strong for solid colors and specialty finishes | Better for images and multi-color prints | Strong for detailed, full-color graphics |
| Labor style | Cutting and weeding heavy | Printing, cutting, masking, then pressing | Press-focused, with less design assembly at application time |
| Batch comfort | Good for small runs and personalized pieces | Good for selective use cases | Better suited when consistency matters across repeat jobs |
| Learning curve | Easy to start, harder as designs get more complex | More variables to manage | Simpler at the press stage for the end user |
Standard HTV
Standard cut HTV is often the cleanest starting point for a small shop. You cut shapes, weed away the extra vinyl, and press the design. It works well for names, numbers, bold logos, and specialty finishes like glitter or holographic effects.
Its weakness shows up when designs get busy. Tiny details and many color changes can turn a simple shirt into a long assembly project.
Printable HTV and transfer paper workflows
Printable HTV bridges the gap. It gives you printed color without forcing you into building everything from separate vinyl layers.
Some heat transfer paper systems also compete in this zone. According to Ninja Transfers’ guide to heat transfer paper, self-weeding laser dark papers can eliminate manual trimming labor, reduce production time by 40-60% per design compared to traditional HTV on standalone cutters, and enable full-color photorealism. The same source notes they operate under precise press conditions such as 185°C, heavy pressure, and 15-60 seconds, but are not as scalable for bulk orders as DTF.
That’s the tradeoff in plain terms. Printable approaches can look great, but they ask more from the operator.
DTF transfers
DTF is the method many growing shops lean toward when they want color detail without the print-cut-mask routine of printable HTV. For the person at the heat press, the workflow is usually more straightforward: position, press, peel according to instructions, and finish.
If your artwork has tiny outlines, shading, and several colors, the question often isn’t “Can HTV do this?” It’s “How much handling do you want to do to get there?”
A quick decision filter
Choose based on the shape of your work:
- Use standard HTV when the design is bold, simple, and easy to weed.
- Use printable HTV or heat transfer paper when you need printed color and you’re comfortable managing masks, drying, and alignment.
- Use DTF when repeatability, detail, and production speed matter more than crafting each graphic by hand.
None of these methods is “best” in every situation. The better question is which one asks for the least struggle on the project in front of you.
How to Use a Transfer Mask with Printable HTV
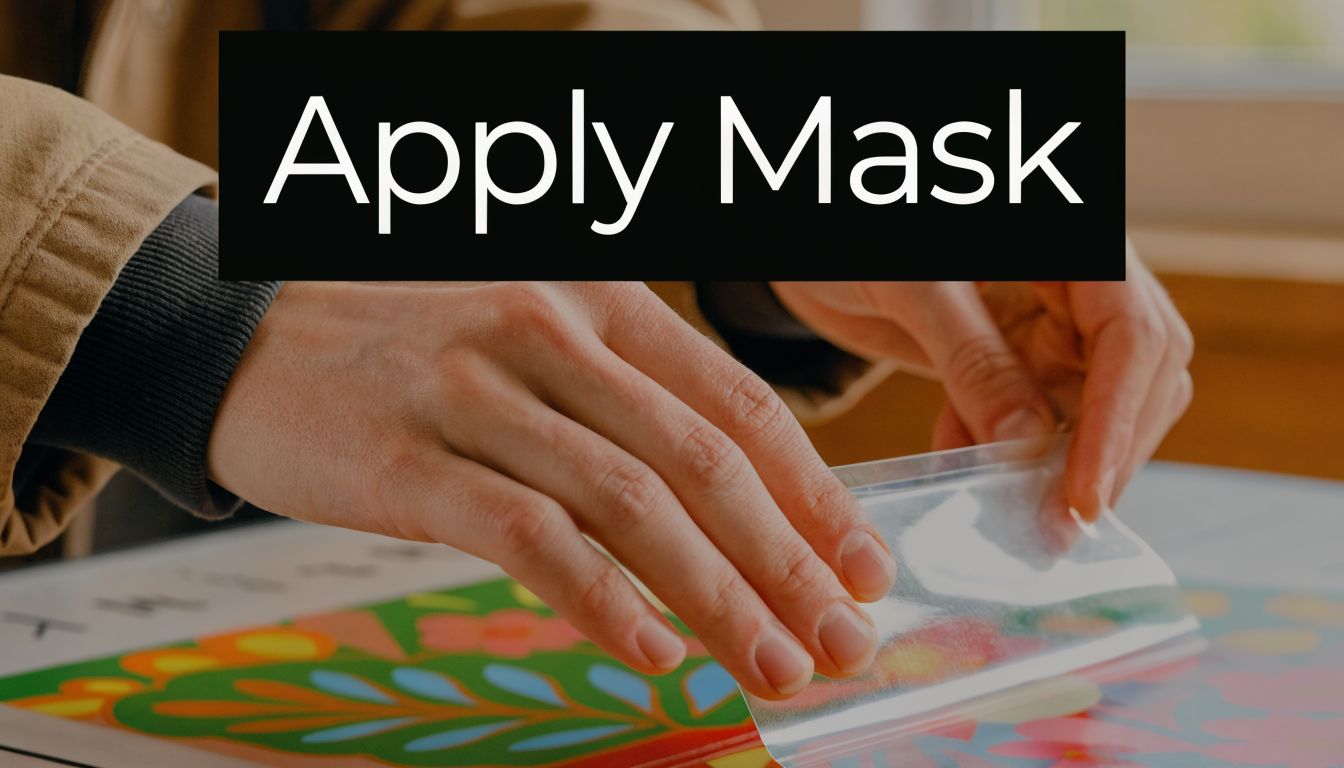
If you’ve never used a transfer mask with printable HTV, the first attempt can feel fiddly. That’s normal. The trick is to treat it like laminating a printed menu. Smooth contact matters more than speed.
If you’re unsure about press settings in general, a heat press temperature guide can help you cross-check the basics before you start.
Step by step workflow
-
Print the design correctly
Use the printable HTV and printer type the product calls for. Don’t assume one printable sheet works with every printer family. A mismatch can ruin the transfer before pressing even starts. -
Let the print settle
Some printable systems need drying time before masking. If you rush this stage, the mask can disturb the print surface or pick up ink. -
Trim and weed carefully
Remove the unwanted material without stretching the printed areas. Fine details need patience here. A sharp weeding tool helps. -
Lay down the mask from one side
Don’t drop the whole mask sheet straight onto the graphic. Start at one edge and guide it across the surface, the same way you’d apply contact paper to a shelf. -
Burnish the mask
Use a squeegee or scraper to press the mask onto the printed design. Work from the center outward to push air away instead of trapping it. -
Flip and peel the backing
Turn the masked design over and peel the backing away slowly. If a detail stays behind, lay it back down and burnish again. - Place it on the garment Position the design on the shirt, bag, or other fabric. Here, a clear mask earns its keep. You can see your placement before heat locks anything in.
-
Press according to the product instructions
Printable HTV products vary. Follow the material’s specific temperature, pressure, and peel method.
Small habits that prevent big mistakes
A few working habits save a lot of wasted blanks:
- Pre-press the fabric to flatten wrinkles and remove moisture.
- Use even pressure so one side of the design doesn’t bond better than the other.
- Peel with attention instead of yanking the mask off in one motion.
- Cover as directed if the product calls for a cover sheet during the final press.
A transfer mask doesn’t fix poor prep. It only helps a well-prepared design move cleanly.
A specialty variation worth knowing
Some shops also use hybrid workflows when normal printable HTV or standard sublimation won’t give the result they need. According to Vision Sub’s transfer paper instructions, one specialized method presses sublimation HTV onto fabric at 185°C for 5 seconds with a cold peel, then presses sublimation paper onto the HTV at 185°C for 40 seconds, also with a cold peel. That two-step process reduces ghosting and fabric shrinking while improving color and detail on synthetics without cutting or weeding.
You may never need that method. But it’s a good reminder that “transfer paper for heat transfer vinyl” can refer to several workflows, not just one.
Troubleshooting Common Transfer Application Problems
Most transfer failures are less mysterious than they feel in the moment. Usually, one of three things went wrong: the mask choice, the surface prep, or the press settings.
The mask is too sticky
You apply the mask, go to lift the design, and it feels like the mask wants to keep the whole project forever.
That usually points to a tack mismatch. The mask is gripping harder than the printable HTV wants to release. It can also happen if the print hasn’t had enough time to settle before masking.
Try these fixes:
- Switch to a lower-tack mask if your printable material allows it.
- Give the print more drying time before applying the mask.
- Peel slowly at a tight angle instead of pulling straight up.
The mask isn’t sticky enough
This problem shows up when parts of the design stay on the backing and refuse to come up with the mask.
Start with contact. Many times, the issue isn’t the mask alone. It’s weak burnishing.
Use a firmer pass with your squeegee, especially around edges and small details. If the design still won’t lift, the mask may be too low-tack for that material.
You see bubbles or tunnels
Bubbles form when the mask lands unevenly or traps air. Tunnels happen when one section sticks before the rest and creates a lifted channel.
The easiest prevention is application angle. Don’t slap the mask straight down. Roll it on from one side and smooth as you go.
A few practical checks:
- Work on a flat, clean table so the sheet doesn’t flex unexpectedly.
- Apply from one edge to the other rather than center-dumping the mask.
- Burnish outward to drive air to the edges.
Colors look smeared or unstable
If the print shifts, softens, or looks disturbed after pressing, think about heat and cure time first.
Printable products need their own instructions followed closely. If the ink or toner wasn’t ready, pressing can exaggerate the problem. Too much heat can do the same.
The finished transfer feels thick or stiff
Some stiffness is normal, especially with larger printed areas. But if the design feels like a plastic placemat, the artwork or material choice may be fighting the garment.
A few ways to improve hand feel:
- Reduce oversized solid blocks in the artwork when possible
- Match the material to the fabric use case
- Choose another transfer method when soft feel matters more than building the graphic yourself
When a transfer feels wrong, don’t just change the pressure and hope. Check the whole chain: print, dry, mask, burnish, place, press, peel.
That habit solves more problems than random experimentation.
When to Choose a Professional DTF Service Instead
There’s a point where doing everything in-house stops feeling efficient and starts feeling like hand-assembling every sandwich in a lunch rush.
That point usually arrives when your designs get more detailed, your order volume becomes less forgiving, or your product line expands beyond simple shirts.
Signs the DIY route is becoming a bottleneck
A professional DTF service makes sense when:
- Your art has a lot of color or fine detail and printable HTV starts feeling too delicate to handle
- You need consistency across repeat orders and don’t want each application to depend on perfect cutting, masking, and weeding
- You’re training staff and want a simpler press-stage workflow
- You’re selling, not just sampling and failed blanks now cost real money
DTF also becomes attractive when you’re trying to serve several fabric types without constantly reworking your process.
When hard goods enter the picture
Apparel content gets most of the attention in the craft world, but many businesses eventually want more than shirts and tote bags. According to Heat Press Nation’s buyer’s guide, there’s a real knowledge gap around non-apparel applications, and UV-DTF offers superior performance on hard-surface materials like glass, metal, plastic, and wood.
That matters for promotional companies, makerspaces, and online sellers. Once customers ask for tumblers, packaging accents, signage, jars, and branded accessories, DIY HTV workflows stop being the obvious answer.
The practical question isn’t whether you can keep forcing one method to cover every product. It’s whether you should.
Frequently Asked Questions
Can I use the same transfer tape for adhesive vinyl and printable HTV
Sometimes, but don’t assume you can. Adhesive vinyl transfer tape and printable HTV masks may look similar, yet they aren’t always tuned for the same release behavior. Printable HTV can be pickier about tack level because you’re protecting a printed surface while also trying to lift the design cleanly. If the printable product recommends a specific mask, follow that recommendation first.
Can I reuse a transfer mask for HTV
Sometimes for practice pieces, but I wouldn’t count on it for production work. A reused mask can lose tack, collect lint, or create uneven pickup on small details. If the design is simple, you might get another use out of it. If the job is customer-facing, fresh material is the safer choice.
Does glitter or specialty printable HTV need a different mask
It can. Specialty finishes often behave differently because the top surface, thickness, or texture changes how the mask grabs and releases. Treat these products the way you’d treat specialty paper in a printer. They may need their own settings and handling habits.
What’s the best way to store printable HTV and masks
Keep them flat, clean, and away from heat, dust, and humidity swings. I like to store sheets in their original packaging or in clear sleeves, then keep rolls upright or supported so they don’t crease. A bent carrier or contaminated mask can create problems long before you ever get to the press.
Why does the phrase transfer paper for heat transfer vinyl feel so confusing
Because people use it to describe different things. Sometimes they mean traditional printable heat transfer paper. Sometimes they mean the mask used with printable HTV. Sometimes they mean transfer tape in general. The best fix is to stop shopping by category name alone and start shopping by function.
What’s the simplest buying question to ask
Ask, “Am I printing onto this, or am I using it to move something else?” If you’re printing onto it, you’re likely looking at a transfer medium. If you’re using it to lift and place a design, you’re likely looking at tape or a mask.
If you’ve outgrown the trial-and-error stage and want clean, ready-to-press results for apparel or hard goods, Raccoon Transfers is a strong next step. They specialize in DTF and UV-DTF transfers for small brands, makers, promo shops, and e-commerce sellers who need sharp detail, vivid color, and a smoother production workflow without managing every print variable in-house.