
Your Guide to Custom Heat Transfers for Shirts
If you're looking to create custom shirts, you've probably realized the old ways aren't always the best. Gone are the days of being limited to massive screen printing runs with huge minimum orders. Today, there's a much better way for creators, small businesses, and even hobbyists to make amazing, professional-quality clothes.
The answer is custom heat transfers for shirts, and more specifically, Direct-to-Film (DTF) technology.
This method has completely changed the game. Instead of dealing with messy inks or complicated screen setups, you get a transfer that's ready to press right out of the box. This unlocks the ability to create incredibly detailed, full-color designs that used to be a nightmare—or just plain expensive—to produce in small batches.
Why Is Everyone Talking About Custom Transfers?
The demand for unique, personalized products is absolutely exploding. You don't have to take my word for it; the numbers tell the same story. The global custom t-shirt printing market was valued at around USD 4.9 billion in 2024 and is expected to nearly double, hitting USD 9.0 billion by 2033. You can dig into the data yourself in the IMARC Group's latest report on the custom t-shirt printing market.
So, what's fueling this massive growth? It really comes down to a few key things:
- It’s a game-changer for small businesses. Entrepreneurs can finally launch a clothing line without needing a massive loan for equipment and inventory.
- Creativity has no limits. With DTF, you can use unlimited colors and create super-intricate designs without paying a premium for each color.
- It’s fast. The entire process is incredibly efficient, which is perfect for getting last-minute orders out for events, brand launches, or personal projects.
My Takeaway: The real magic of DTF transfers is how they've leveled the playing field. High-quality, professional-looking custom apparel is no longer just for the big players. Anyone with a great idea can now bring it to life.
Whether you're just getting started or looking to expand your current business, these transfers are a reliable tool for creating branded merchandise that looks and feels premium. Of course, a great product is only half the battle; focusing on building a strong brand is what will truly set you apart in the long run.
Getting Your Artwork Ready to Print
A great t-shirt idea is just the start. The real magic happens when you turn that vision into a print-ready file, and honestly, this is where a lot of people stumble. But you don't need to be a professional designer to nail it. Getting a few basics right is all it takes to make sure your custom heat transfers for shirts look crisp, vibrant, and professional every single time.
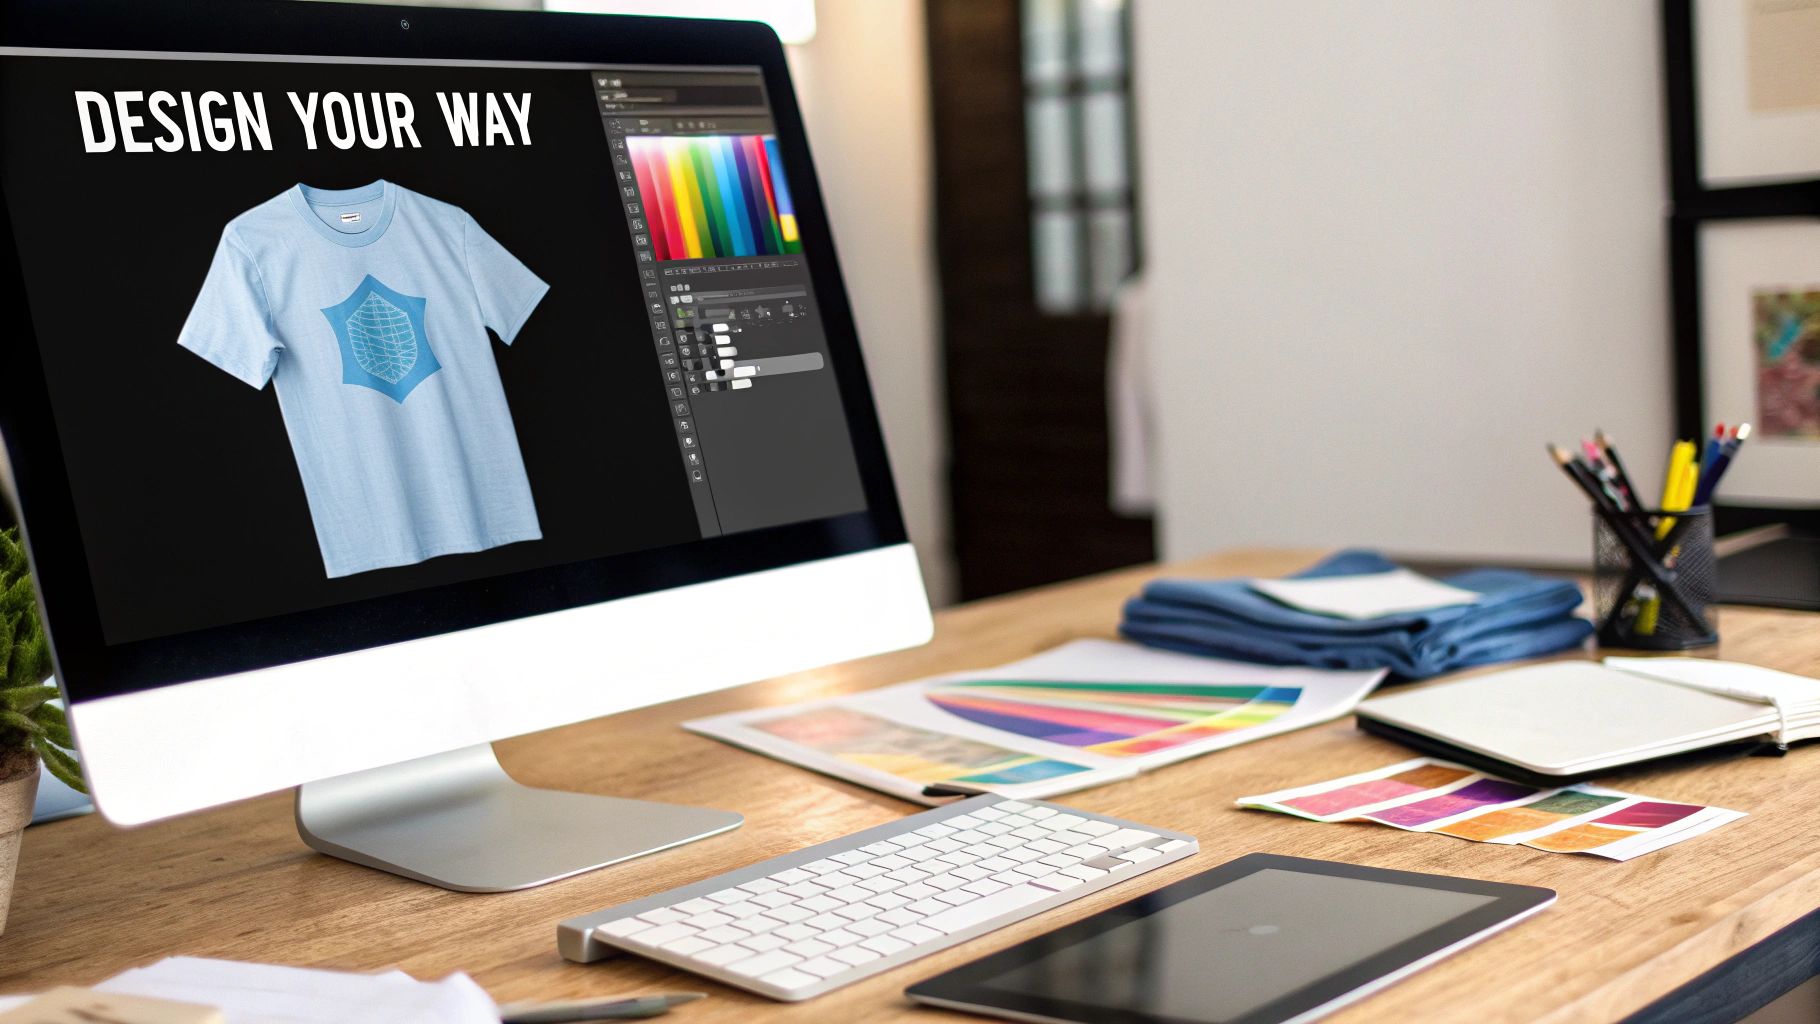
The number one mistake I see is people using low-resolution images. If your design looks blurry or pixelated on screen, it’s going to look ten times worse when it's printed on a shirt. It just screams amateur. The golden rule is to always design your artwork at 300 DPI (dots per inch). This is the professional standard for printing and ensures every line and detail comes out sharp.
Equally important is the file format you use. For DTF transfers, the only way to go is a PNG file with a transparent background. A JPG will leave a big white box around your design, which is a dead giveaway of a DIY job. A transparent PNG means only your actual design gets printed, giving you a clean, high-end look.
The Essential File Checklist
Before you even think about uploading your design, give it a quick once-over with this checklist. This is what every print shop looks for, and getting it right from the start will save you a ton of back-and-forth and prevent common issues like weird colors or fuzzy prints.
- Resolution: Stick to 300 DPI. Don't use a 72 DPI web image and expect it to work. It won't.
- File Type: Save it as a PNG. This is non-negotiable for preserving that crucial transparency.
- Background: Is the background truly transparent? If you see any kind of white or colored box around your art, that’s going to get printed.
- Color Mode: Work in RGB. I know traditional print uses CMYK, but modern DTF printers are actually optimized for RGB files. This gives you access to a much wider range of colors for a more vibrant final product.
My Two Cents: You can't just take a low-quality image and "save it" at 300 DPI. That doesn't magically add detail back in. You have to start your project on a 300 DPI canvas from the very beginning.
A Quick Trick for Removing Backgrounds
Let’s imagine you have a logo you love, but it’s sitting on a solid white background. That has to go. You don't need fancy software; a free online tool like Photopea works perfectly and feels a lot like Photoshop.
Just open your image in the tool, grab the "Magic Wand," and click anywhere on the white background. You’ll see a dotted line appear around it—we used to call these "marching ants" back in the day. Hit the delete key, and poof, the background is gone. Now you have a clean logo ready to be exported as a PNG. It's a five-second step that makes a world of difference.
Putting in a little effort upfront on your file prep is the foundation for a shirt you'll be proud of. Taking a couple of minutes to double-check these details ensures your design comes to life exactly how you pictured it. If you're also wondering about sizing, we have a whole guide on finding the perfect graphic size for a t-shirt that you'll find helpful.
Getting Your Transfers Ordered Without Wasting Money
Jumping into the world of online transfer suppliers can feel a bit like the wild west at first, but with a few insider tips, you'll be ordering like a pro without overspending. The single biggest way to save money comes down to how you lay out your designs. This is where mastering the "gang sheet" will completely change the game for anyone ordering custom heat transfers for shirts.
Think of a gang sheet as one big canvas where you can arrange as many different designs as you can fit. You're not paying for each individual design; you're paying for the sheet. It's an incredibly efficient way to work.
For instance, an Etsy seller who needs 20 unique, small designs for different products could easily fit them all onto just one or two sheets. This slashes their per-item cost compared to ordering 20 separate, tiny transfers. On the flip side, a local band that needs 100 copies of their logo can tile that same design over and over on a sheet to maximize every square inch. Both of them save a ton of money.
To make this super easy, a good DTF gang sheet builder lets you visually drag, drop, and rotate your designs to get the most bang for your buck.
Hot Peel vs. Cold Peel: What’s the Difference?
As you shop around, you'll definitely see the terms "hot peel" and "cold peel." This simply describes when you pull off the clear backing film after pressing the design.
- Hot Peel: Just like it sounds, you peel the film off right after the heat press opens while everything is still hot. This is my go-to for speed. It also tends to leave a softer, more matte finish that feels like it’s part of the shirt.
- Cold Peel: With these, you have to let the shirt and transfer cool down completely before peeling. The patience pays off with a slightly glossier, smoother feel, which can be great for preserving super fine, intricate details in a design.
For most t-shirt jobs, hot peel is the way to go. It's faster, which is a lifesaver when you're doing a big batch, and it gives you that soft-hand feel that people really prefer.
Finding a Supplier You Can Trust
Don't just chase the lowest price tag when choosing a supplier. You need a reliable partner. Pay close attention to their turnaround times, how clear their artwork guidelines are, and whether they have a customer support team that actually responds.
The custom apparel world is exploding—it's projected to grow from USD 9.23 billion in 2024 to USD 17.27 billion by 2032. That growth is fueled by creators like you who need quality and reliability.
Before you commit, do a little homework to understand typical pricing structures in the industry. This helps you compare your options fairly and find a supplier who delivers both quality and value for what you need.
Getting Your Pressing Area Dialed In
Your journey to professional-grade shirts really boils down to two things: the right gear and a well-organized space. Trust me, a chaotic setup is a fast track to crooked designs, transfers that peel, and a whole lot of frustration. So, before you even think about pressing that first custom DTF transfer, let's get your station set up for success.
The absolute heart of your operation is the heat press. I know a home iron might seem tempting, especially when you're just starting out, but it's the quickest way to waste your transfers and ruin your shirts. Irons are notorious for uneven heat and pressure, which is a recipe for designs that start peeling after the first wash. A quality heat press isn't just a recommendation; it's a must-have for getting results that last.
You'll mainly see two types on the market: clamshell and swing-away. A clamshell press opens and closes vertically, kind of like a mouth, which makes it super compact and a great fit for smaller workshops. Then you have the swing-away press, where the top platen swings out to the side. This gives you a wide-open, unobstructed view of your shirt for getting that placement just right.
Picking the Right Press for You
- Clamshell: These are fantastic for beginners. They're usually more affordable, save a ton of space, and are workhorses for standard t-shirt jobs where you need to move quickly.
- Swing-Away: The visibility here is a game-changer for lining up detailed designs. It's also a bit safer since the hot surface moves completely away from your work area. This style is my go-to for thicker garments like hoodies or jackets.
Beyond the press itself, a few other tools will make your life so much easier and elevate your results from "homemade" to "professional." Think of them as your support crew—they handle the little details that prevent big screw-ups. Getting everything together before you start makes the whole process feel smooth and efficient.
A dedicated, organized space isn’t just for convenience—it's about consistency. When your tools are always in the same spot and your workflow is second nature, you'll slash your error rate and ensure every single shirt you press looks just as good as the last.
Your Heat Pressing Toolkit
Here’s a quick rundown of the essentials you’ll want within arm's reach. Having this stuff ready to go means no more frantic searching mid-press.
- Teflon Sheet: This is your best friend for protecting both your press and your shirt. You lay it over the transfer before pressing, and it stops any ink from sticking to the hot platen while preventing scorch marks on the fabric. A clean press every time.
- Heat Resistant Tape: This stuff is a lifesaver. Use a couple of small pieces to lock your transfer in place on the shirt. It completely stops the design from shifting when you close the press, which is the key to perfect alignment.
- Alignment Ruler or T-Square: Ever wonder how the pros get designs perfectly centered? This is the secret. These tools take the guesswork out of placement, making it easy to get your transfer in the exact same spot on every shirt in a big order.
- Heat Pressing Pillows: These foam-filled, heat-resistant pads are indispensable when you're working on anything with seams, zippers, or buttons. You slide one inside the shirt to raise the printing area, guaranteeing you get solid, even pressure across the entire transfer surface.
When you take the time to set up your workspace thoughtfully, you’re building a foundation for a flawless application. This prep work turns what could be a frustrating guessing game into a precise, repeatable process, ensuring your custom shirts look amazing, wash after wash.
Your Guide to a Flawless Application
You’ve got your workspace ready and your new transfers are in hand. This is the moment it all comes together—the fun part where a blank shirt becomes a finished piece. Getting this right isn't about speed; it's about following a few key steps to get that vibrant, durable finish you're after.
The first thing you absolutely have to do is the pre-press. It’s a step that people often skip, but it’s crucial. Just lay the shirt flat on your heat press and give it a quick press for about 5-7 seconds. This does two things: it smooths out any wrinkles and, more importantly, zaps any moisture hiding in the fabric. Moisture is the number one enemy of a solid bond, so don't skip this.
Nailing the Placement and Main Press
With the shirt pre-pressed and ready, it’s time to position your DTF transfer. This is where you want to be a perfectionist. An alignment ruler can be your best friend here, helping you get the design perfectly centered and straight. Trust me, a slightly crooked design can ruin the look of an otherwise great shirt.
Once you’re happy with the placement, use a couple of small pieces of heat-resistant tape to lock the transfer in place. This stops it from shifting when you lower the press. Now, lay a Teflon sheet over the transfer to protect both your garment and your heat press platen.
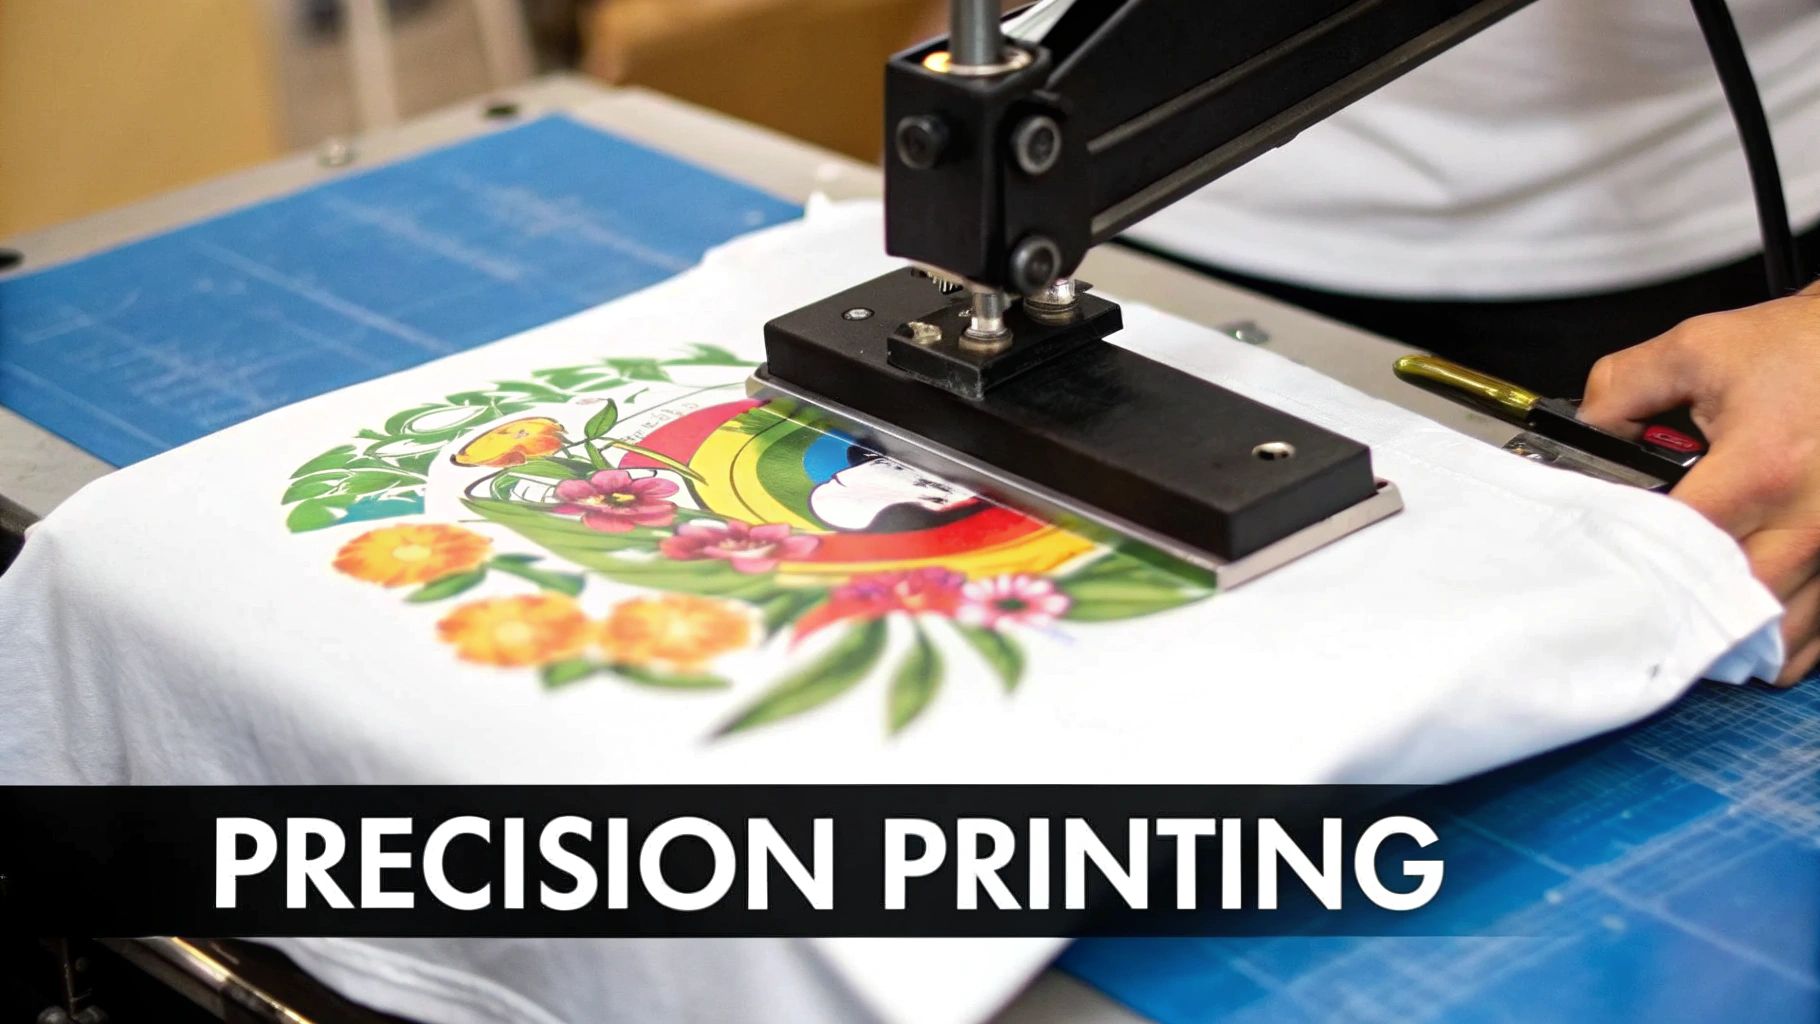
Time for the main event.

As you can see, getting that perfect bond is a balancing act between time, temperature, and pressure. These settings can change depending on your specific transfers and the type of fabric you're working with.
It's this kind of precision that's fueling the custom apparel boom. The U.S. custom t-shirt printing market was valued at roughly $857.5 million in 2023 and is expected to keep climbing. People want unique gear, from company merch to personalized gifts, which makes knowing how to apply a transfer correctly more valuable than ever.
The Peel and the Final Press
Once the timer beeps, pop open the press. What you do next depends on whether you have a hot peel or cold peel transfer. For hot peel, you'll pull the clear film off right away while everything is still hot—do it in one smooth, confident motion. If it's a cold peel, you have to wait for the shirt and transfer to cool down completely before peeling the film.
Pro Tip: Don't just toss the shirt into the "done" pile yet. For maximum durability, you need to do a final press. It’s a game-changer.
After you've peeled the film away, cover the design with your Teflon sheet one last time and press it for another 5-10 seconds. This extra step melts the ink deeper into the fabric fibers, which seriously improves washability and gives the design a much softer, more professional feel. It's a tiny step that makes a huge difference.
For a deeper dive into the specific settings for different fabrics, our guide on heat press settings for DTF has all the details you’ll need.
One last thing—if you're working on hoodies or polos with thick seams, zippers, or collars, a pressing pillow is a must. Sliding one inside the shirt raises the print area, ensuring the press can apply firm, even pressure across the entire design. This eliminates any gaps and guarantees your transfer adheres perfectly every time.
Common Questions We Hear About Custom Heat Transfers
Even after walking through the whole process, you probably still have a few questions. That's a good thing—it means you're thinking like a pro. Let's tackle some of the most common things people ask before they dive into using custom heat transfers for shirts.
Getting these answers will help you feel confident that you're making the right call for your project, whether you're starting a brand, making gear for your team, or just having some creative fun.
How Durable Are Custom DTF Heat Transfers, Really?
This is the big one, and the answer is one of the best parts about this technology. A properly applied Direct-to-Film (DTF) transfer is incredibly tough. We're talking durability that often meets or even beats old-school screen printing.
When you use a quality heat press, the design doesn't just sit on the surface. The heat and pressure actually bond the ink and adhesive into the fabric's fibers. This creates a flexible finish that moves with the shirt, so you don't get that cracking and peeling you see with cheaper methods. A well-made DTF print can easily go through 50+ washes before showing any significant signs of fading. It’s all thanks to the blend of flexible, water-based inks and a powerful adhesive that creates a permanent bond.
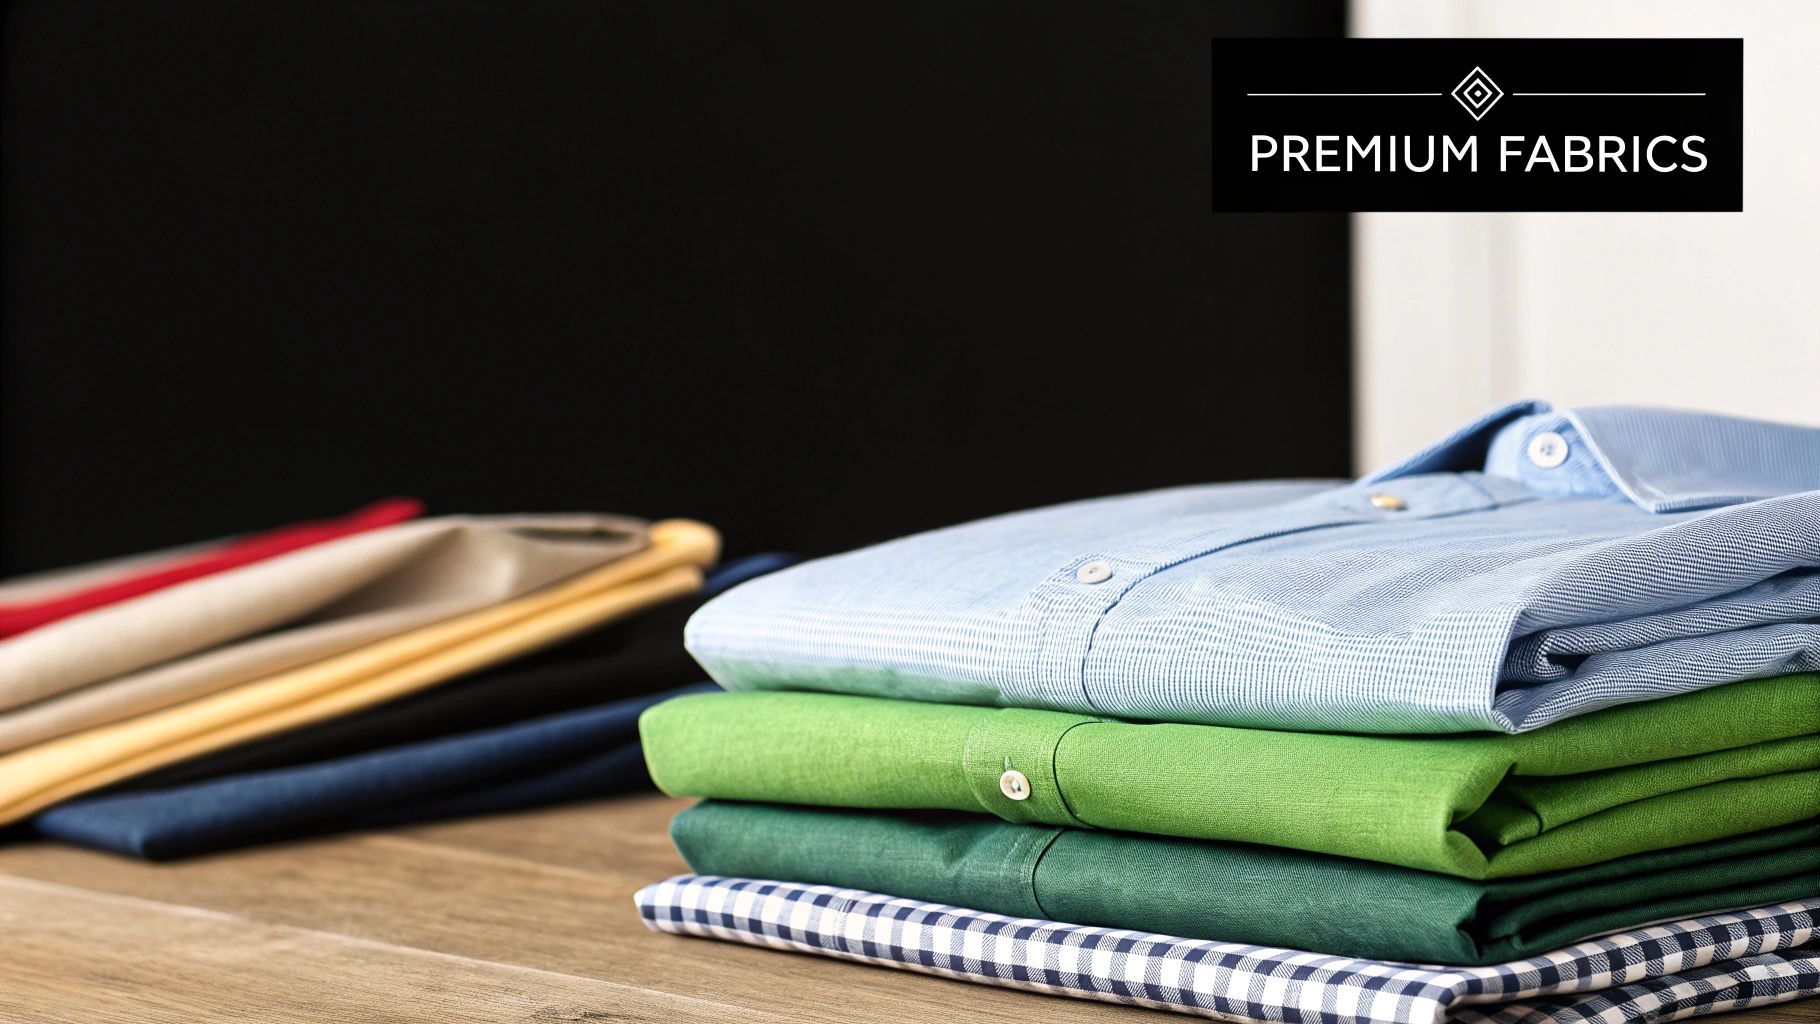
What Kinds of Fabric Can I Actually Use?
This is where DTF really pulls ahead of the pack. The versatility is amazing. While other printing methods can be super picky about materials, DTF transfers work on a huge variety of fabrics.
You'll have great results with:
- 100% Cotton
- 100% Polyester
- Cotton/Poly Blends (50/50, tri-blends, you name it)
- Denim and Canvas
- Fleece, sweatshirts, and other cozy materials
This opens up so many doors. You're not just stuck making t-shirts. You can easily decorate hoodies, tote bags, hats, and even jackets. For comparison, a method like sublimation requires high-polyester, light-colored garments. DTF couldn't care less—it looks just as vibrant on a black cotton hoodie as it does on a white poly-blend tee.
Here's the simple takeaway: If you can safely press the fabric with heat, you can almost certainly apply a DTF transfer to it. This lets your creativity run wild way beyond the basic t-shirt.
How Is This Different from a Store-Bought Iron-On?
It's a night-and-day difference in almost every way: quality, durability, and how it feels to the touch.
Those iron-on transfers you grab at a craft store are usually just a sheet of vinyl or coated paper that sits on top of the shirt. You use a household iron, which gives you uneven heat and pressure, leading to a weak bond. The result is almost always a stiff, plasticky design that starts to crack or peel after just a handful of trips through the laundry.
A professional custom heat transfer for shirts is in a completely different league. It's produced with commercial-grade equipment, specialized inks, and a unique adhesive powder engineered for one thing: longevity. Applying it with a heat press guarantees the exact temperature and pressure needed to fuse the design into the fabric. The final product is soft, flexible, and feels like it's part of the garment—not like a sticker someone just stuck on top.
Ready to create shirts with professional quality and unbeatable durability? Raccoon Transfers offers premium, easy-to-use custom DTF transfers with next-day shipping. Start your order today and bring your designs to life.