
Mastering Your DTF Printing Shirt Guide
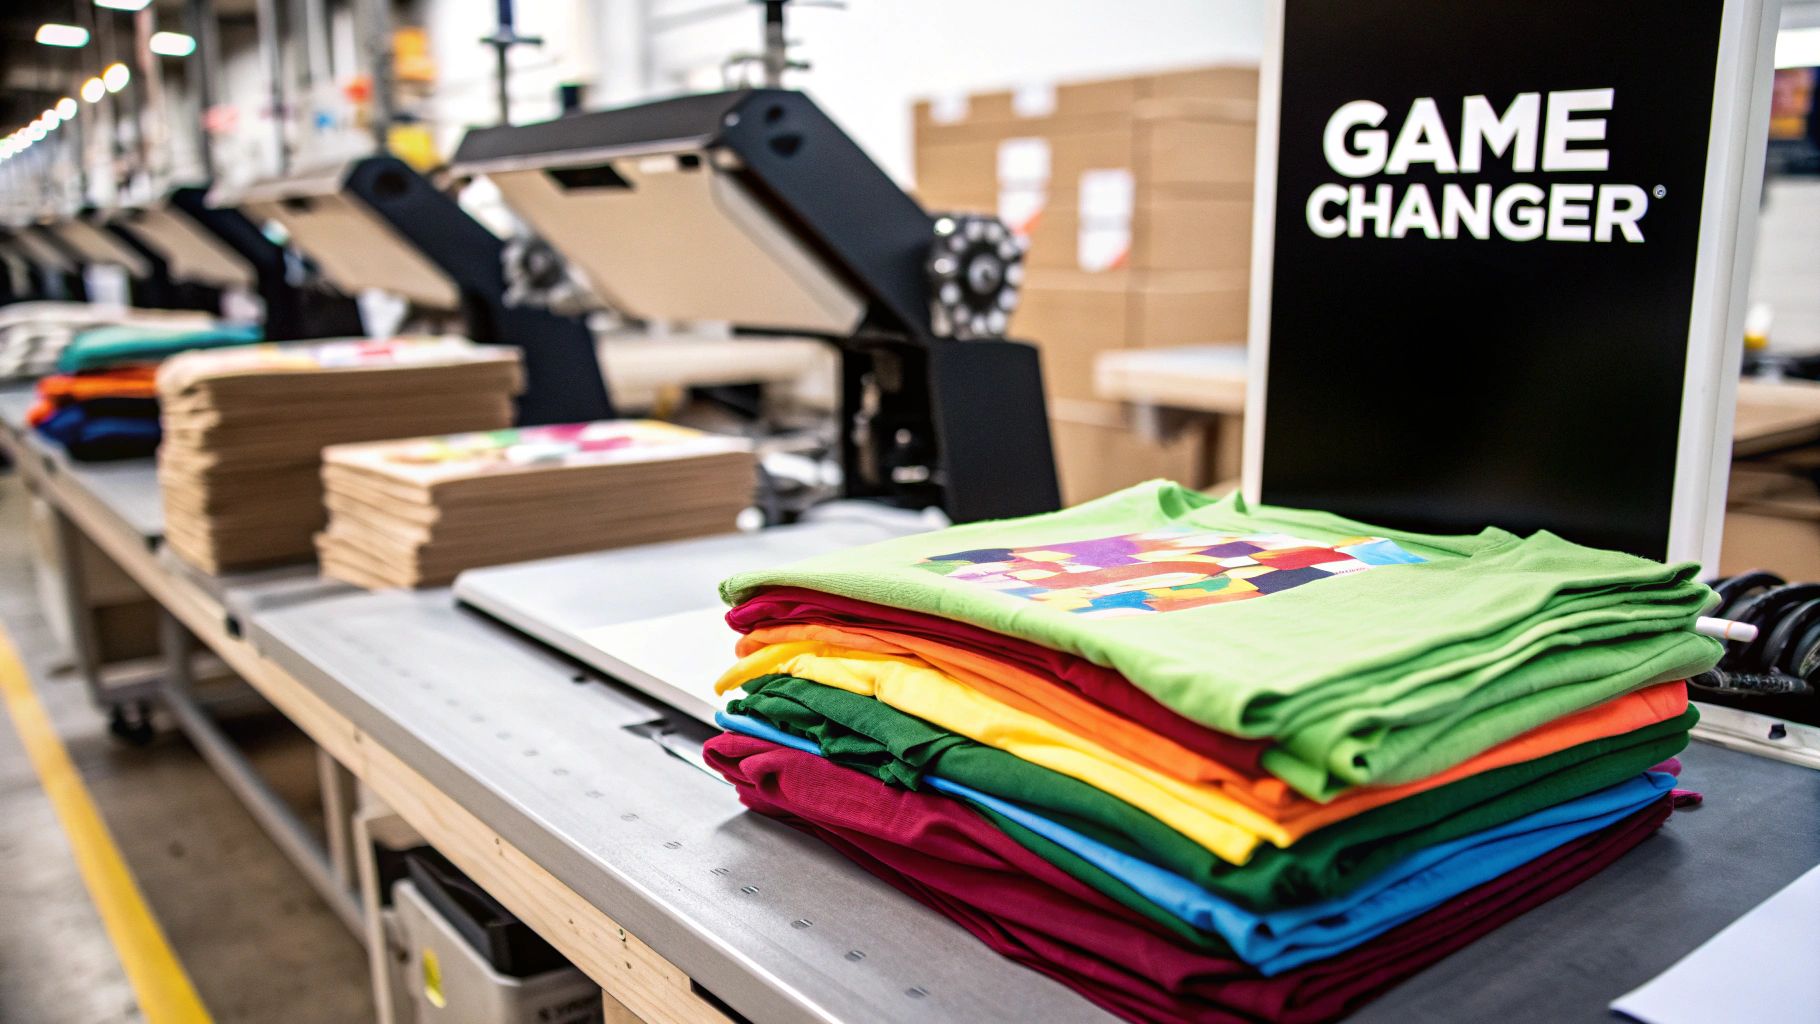
Direct to Film, or DTF, is a fantastic way to create custom apparel. It’s a two-step process: we print your design onto a special film, and then you use a heat press to transfer that design right onto the garment. The result is a vibrant, full-color print that’s surprisingly soft, incredibly durable, and works on just about any fabric you can throw at it—cotton, polyester, blends, you name it.
Why DTF Is Such a Big Deal for Custom Apparel
If you've ever tried to make custom shirts, you've probably run into the classic frustrations. Screen printing, for example, gets expensive fast. Every single color adds another screen and another setup fee, which makes small runs with lots of colors a total non-starter. Then you have heat transfer vinyl (HTV), which is great for simple stuff, but weeding intricate designs is a nightmare, and the final product can feel thick and plastic-y.
This is exactly where DTF printing comes in and changes the game. It’s a modern solution that delivers top-tier quality without the old-school headaches. You get photo-realistic, full-color prints without paying for each color or spending hours weeding tiny pieces of vinyl. This means creating a complex dtf printing shirt is just as straightforward as pressing a simple, one-color logo.
The Core Advantages of DTF
The real magic of DTF lies in a few key benefits that make a huge difference for creators and small businesses. For starters, the ability to press on almost any fabric type or color is a massive win. You can use the exact same transfer for a black 100% cotton tee, a white polyester performance shirt, and a colored poly-blend hoodie, and get the same great results every time.
But the versatility doesn't stop there. The feel and durability are what really set it apart.
- Soft Hand Feel: Unlike vinyl, which can feel like a heavy sticker on the shirt, a well-pressed DTF transfer is thin, flexible, and meshes with the fabric for a super comfortable feel.
- Impressive Durability: These transfers are tough. When you follow the care instructions, they can handle dozens of washes without cracking, peeling, or losing their color.
- No Color Limitations: Got gradients? Fine details? A hundred different colors? DTF handles it all, reproducing your digital artwork with stunning accuracy.
This technology is all about empowering you to say "yes" to more jobs. Suddenly, small-batch orders, one-off prototypes, and complex full-color designs are not only possible but profitable. It removes the traditional barriers that used to hold small apparel businesses back.
The market numbers back this up, too. The global Direct to Film printing market was estimated at USD 2,720.0 million in 2024 and is expected to hit USD 3,920.0 million by 2030. That’s a lot of growth. For entrepreneurs using DTF to break into the custom apparel world, knowing how to scale is key. You might want to explore some high-impact ecommerce growth strategies to help turn your craft into a thriving business.
At the end of the day, DTF isn't just another printing method; it’s a ticket to creative and commercial freedom.
Prepping Your Artwork for Perfect DTF Transfers
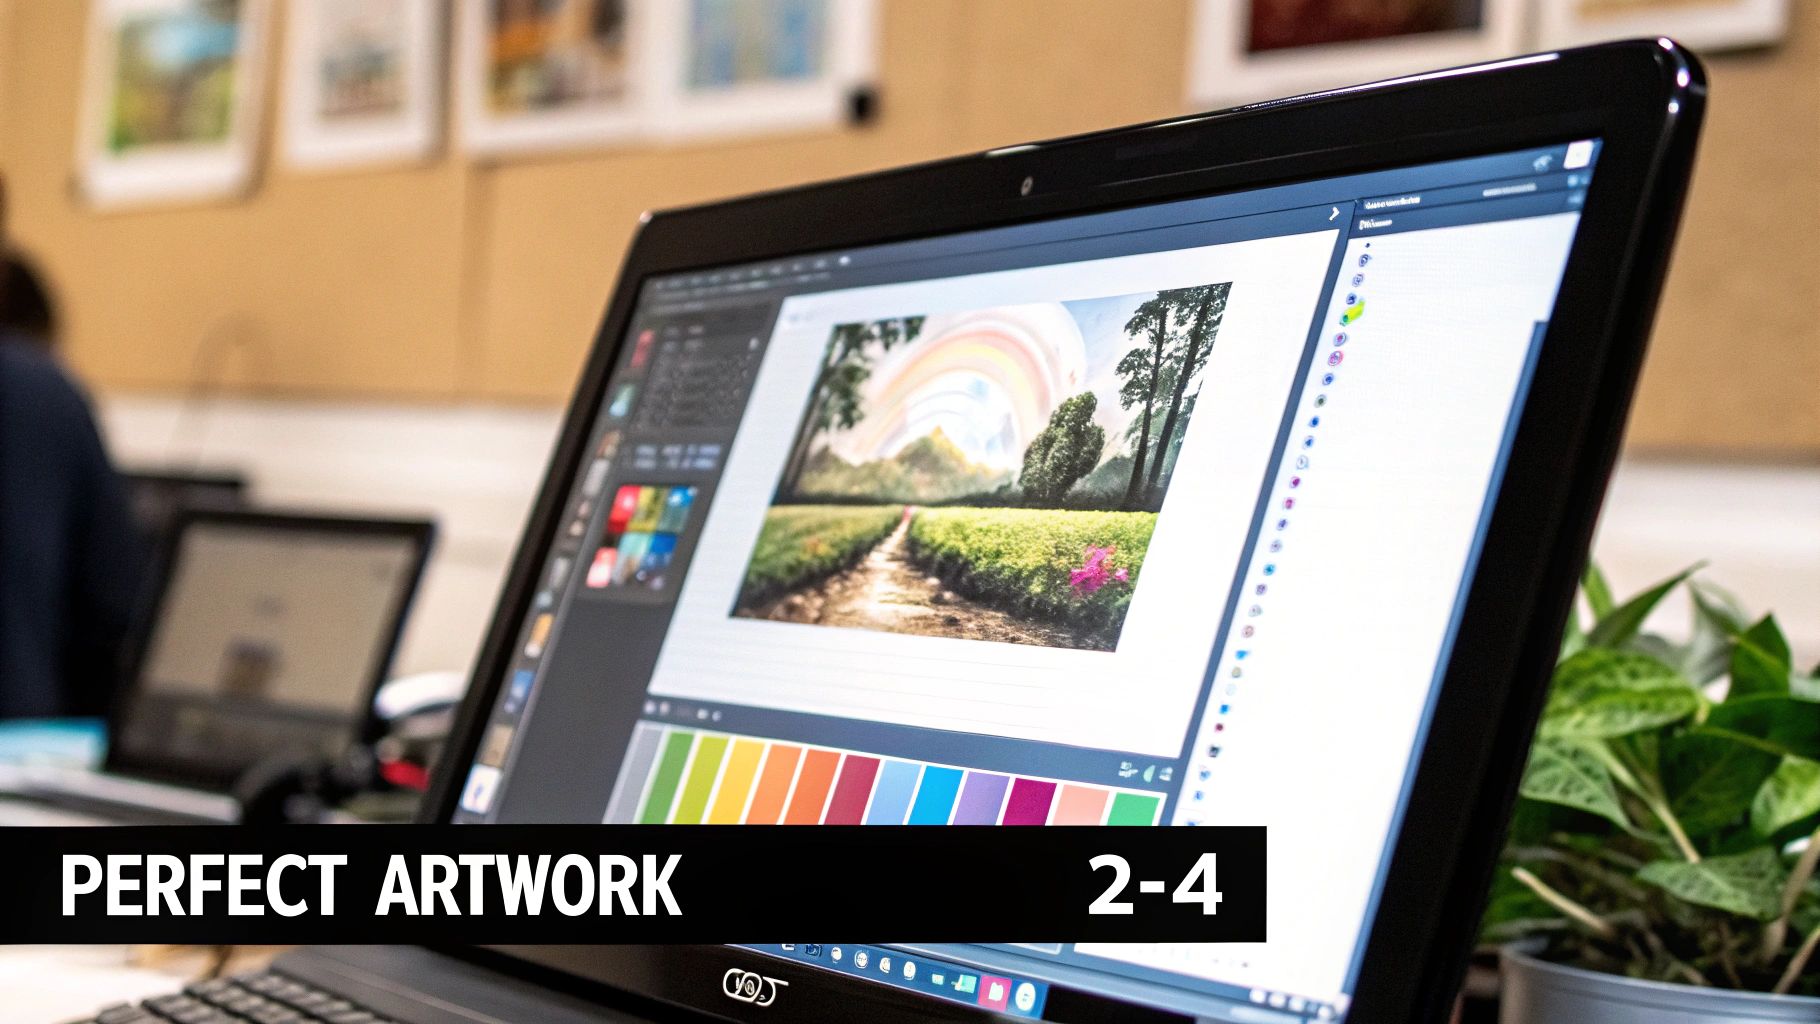
A killer dtf printing shirt doesn't start at the heat press. It begins on your computer with a properly prepped art file. I can't tell you how many times I've seen a great idea fall flat because the digital file wasn't optimized. It’s the fastest way to get a blurry, discolored, or pixelated final print. The old saying "garbage in, garbage out" has never been more true.
Let's walk through what you need to do to get your art file print-ready. Getting this part right is the blueprint for turning that vision on your screen into a crisp, vibrant shirt you'll actually want to wear or sell.
Nail the Technical Specifications
Before you even think about uploading, let’s talk specs. Resolution is absolutely non-negotiable. Your artwork needs to be 300 DPI (dots per inch) at the exact size you want it printed. A low-res image might look passable on your monitor, but it will turn into a fuzzy, pixelated mess on a shirt. There’s no magic button to add detail that was never there in the first place.
Next up is the color mode. Make sure your files are set to the RGB color space. A lot of designers are used to CMYK for traditional print, but our DTF printers are specifically calibrated for RGB. This ensures the colors you see on screen are what you get on the film. If you send a CMYK file, you're rolling the dice on color shifts, and nobody wants that surprise.
Finally, your design’s background must be 100% transparent. Don't leave a white or colored box behind your art unless you actually want that box printed on your shirt. Our printers will print every single pixel, so even a faint, leftover background will show up.
Sizing and Gang Sheet Strategy
Getting the size right is what separates an amateur-looking shirt from a professional one. A chest logo that looks great on a small tee will look comically undersized on a 3XL hoodie. Always measure the garment and size your graphic to fit the space. If you're unsure, check out our guide on graphic sizing for t-shirts—it has some solid, real-world tips.
This is also where you can get smart with your ordering by building a gang sheet. A gang sheet is just a large sheet of film where you arrange multiple designs to be printed together. This is the secret to getting the most bang for your buck.
- Mix and Match: Got a few different projects in the works? Throw all the designs onto a single sheet.
- Include Extras: Squeeze in some smaller logos for sleeves, neck tags, or pocket hits.
- Fill the Space: Rotate and nest your artwork as tightly as possible. Minimizing empty film saves you money.
When you build a gang sheet thoughtfully, you’re not just ordering transfers—you’re making a strategic purchase. You can print designs for ten different shirts for the price of one large sheet.
If you're a designer dealing with massive files, learning some quality-preserving image compression techniques can be a real game-changer for your workflow. Taking these extra steps in your artwork prep is what guarantees every dtf printing shirt you make comes out sharp, vibrant, and exactly how you imagined it.
How to Order Your Custom DTF Transfers
Alright, you've prepped your artwork and built your gang sheet. Now for the fun part: placing the order and turning that digital file into a real, press-ready transfer. Getting your order right on the Raccoon Transfers platform is simple, but I’ll walk you through the key choices to make sure you avoid any expensive do-overs.
Think of this as your last chance to check your work before it hits the printers. It's more than just clicking "buy"—it's about locking in the details so the transfers that show up at your door are absolutely perfect.
This quick visual breaks down how straightforward the Raccoon Transfers process is.
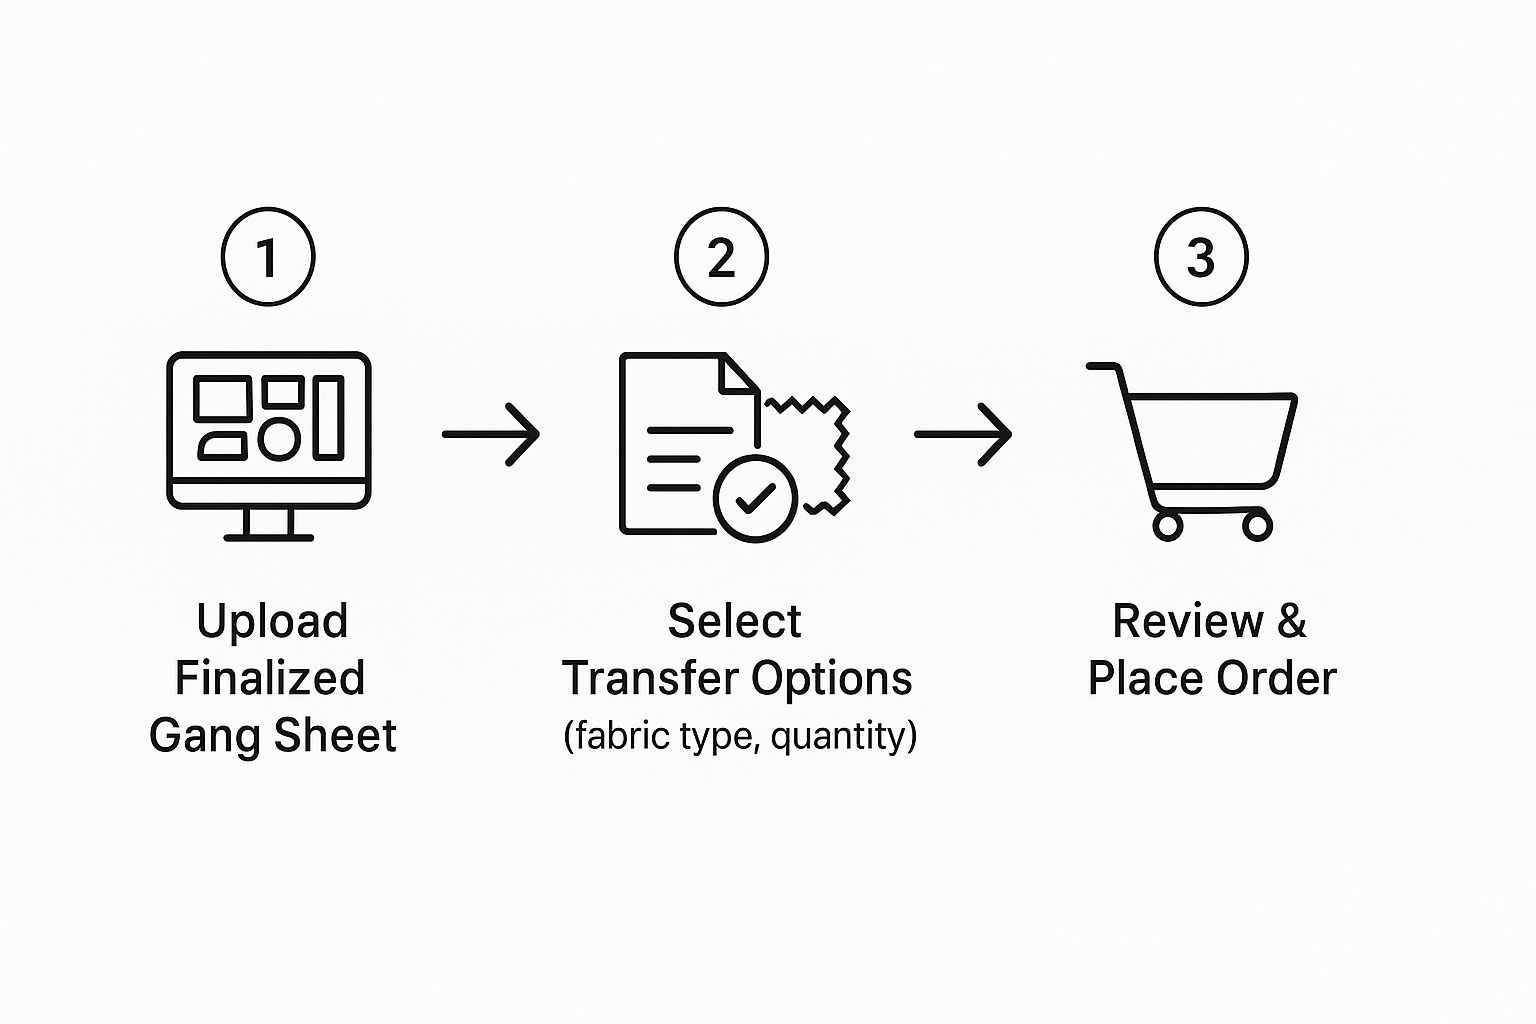
As you can see, once the gang sheet is ready, it’s a direct path from upload to checkout. No unnecessary hoops to jump through.
Uploading and Configuring Your Order
First things first, you'll upload your final gang sheet file. The platform takes standard formats like PNG, PDF, and TIFF, so you're covered. After the upload, you’ll see a preview of your sheet. Take a second to give it a final once-over to confirm everything looks exactly as you intended.
Next, you’ll pick your sheet size and how many you want. This is where the flexibility really shines. You can grab a single 22" x 24" sheet for a one-off project or go big with dozens of 22" x 120" sheets for a full production run. We have no minimums, which is a game-changer for anyone testing new designs without committing to a massive inventory.
Selecting the Right Transfer Options
With the size and quantity locked in, you’ll see a couple of other important choices. These options are what customize the transfer for your specific shirt and the look you're going for.
- Fabric Type Selection: You’ll need to specify what you're printing on—usually "Cotton & Blends" or "Polyester & Synthetics." This isn't just for fun; it tells the production team how much adhesive powder to use. Getting this right is crucial for a solid bond and helps prevent dye migration on tricky fabrics.
- Finish Preference: Your next choice is between a matte or glossy finish. Matte is what you see most often—it's soft, modern, and looks like it's part of the fabric. Glossy gives the design a shinier, almost wet look, which can be a cool stylistic choice for certain graphics.
I can't stress this enough: pay attention to the fabric selection. If you're pressing on 100% polyester, choosing the correct option is what stops the shirt's dye from bleeding into your white ink. It’s a simple click that can save you a world of frustration.
Finally, you'll land on the order summary page. This is your absolute last stop to review everything: the file preview, sheet size, quantity, and all your transfer options. Once you hit confirm, your order is off to production. And with our next-day shipping, those custom transfers will be heading your way before you know it.
Time to Press: Bringing Your DTF Design to Life
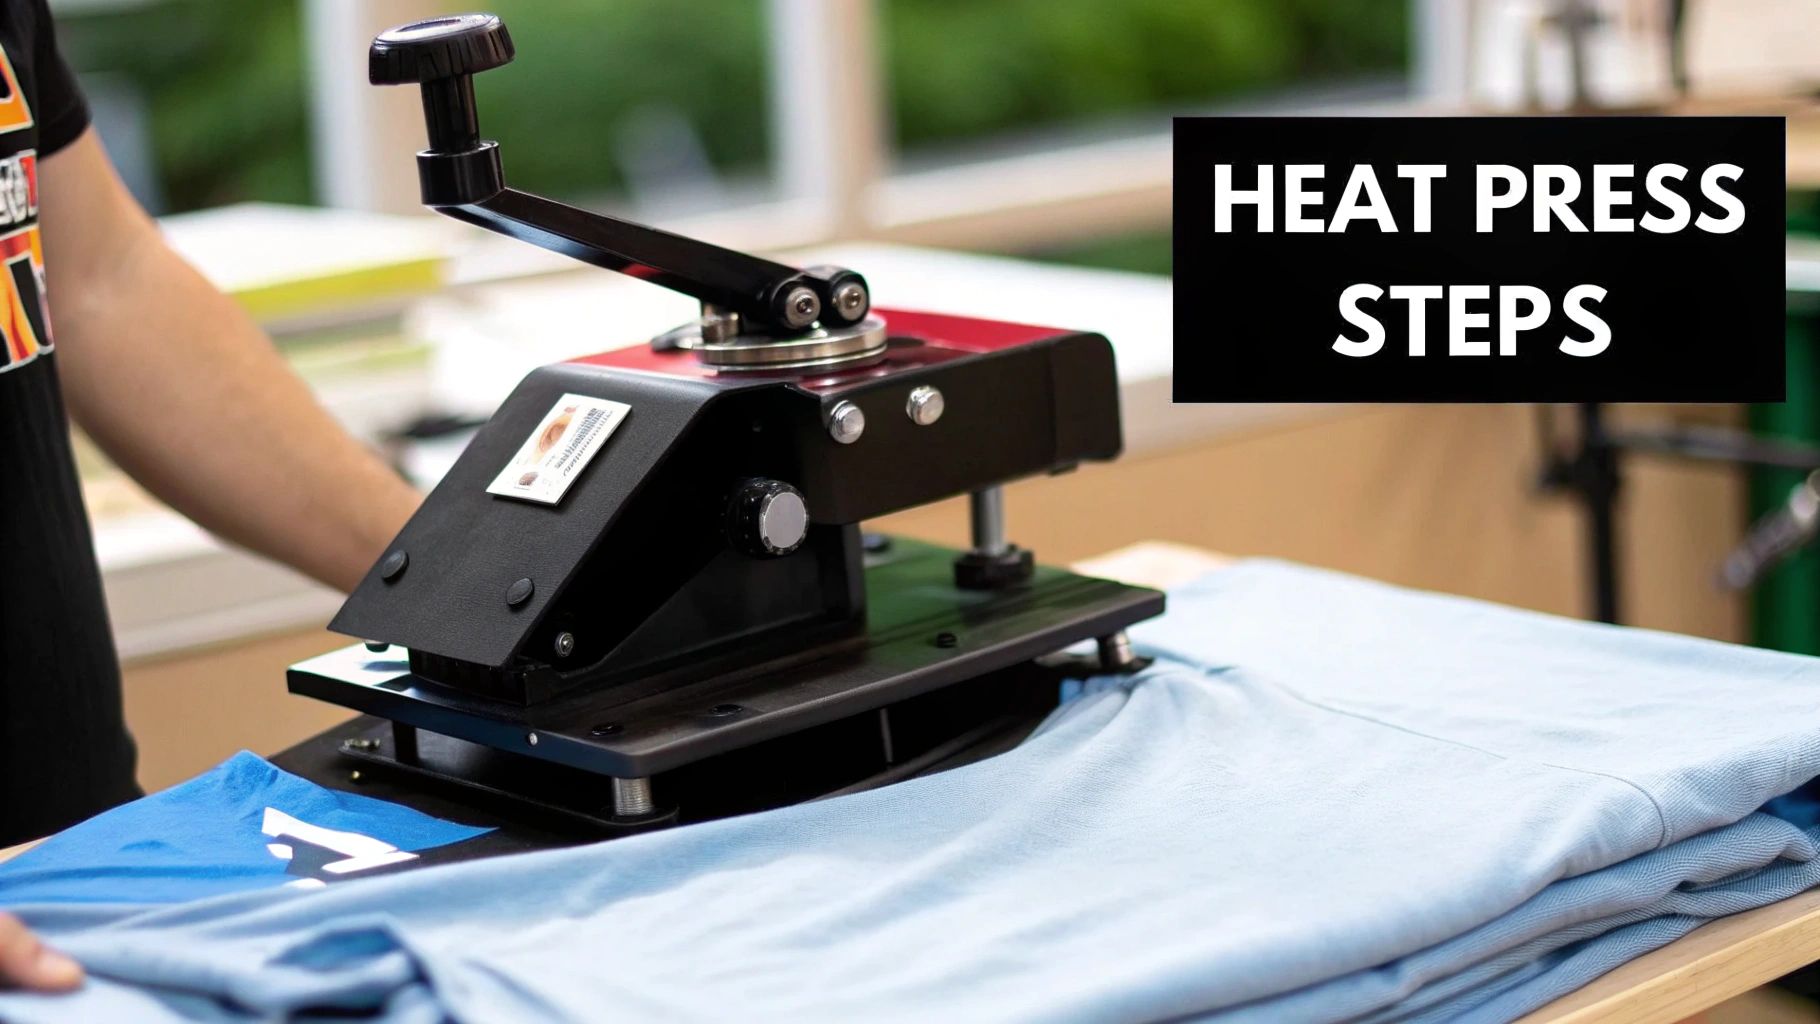
Alright, this is where all the prep work pays off. You’ve got your Raccoon Transfers, you've got your blank garment—now it's time to bring them together. The heat press is where the magic happens, but it’s also where a small mistake can make a big difference.
Don't sweat it, though. The process is actually pretty simple once you get the hang of it. We'll walk through everything from prepping the shirt to that final press that makes your design look like it came straight from a high-end print shop.
Don't Skip the Pre-Press. Ever.
Before you even think about laying down that transfer, you need to pre-press your shirt. Seriously, don’t skip this. It's probably the most common mistake beginners make, and it's so easy to avoid.
A quick 5-7 second press does two critical things: it zaps any lingering moisture out of the fabric and flattens every wrinkle. This gives you a perfectly smooth, dry canvas for your design. Think of it like trying to put a screen protector on a dusty phone screen—it just won't work well. Moisture and wrinkles are the enemy of a good DTF application.
The Two-Press Method: Your Key to a Pro-Grade Finish
The secret to a durable, professional-looking dtf printing shirt is what we call the two-press method. It's not just about pressing it twice; each press has a very specific job.
- First, the Application Press: This is where you actually stick the transfer to the garment. Place your DTF transfer exactly where you want it on the pre-pressed shirt. Now, press it using the recommended time and temperature. This first press melts the adhesive and fuses the ink into the fabric fibers.
- Next, the Cold Peel: After that first press, you need to let it cool down. Completely. This is called a "cold peel," and it's essential. If you try to rip the film off while it’s still hot or even warm, you'll pull the design right off with it. Patience is key here.
- Finally, the Finishing Press: Once you've peeled the film and your design is sitting on the shirt, you’re not done yet. Cover it with a Teflon sheet or parchment paper and press it one last time for about 5-10 seconds. This is the game-changer.
That final press is what separates a homemade-looking shirt from a professional one. It melts the design into the fabric, giving it that super soft, matte finish we're all after. It removes the plasticky shine and ensures your print feels like part of the shirt, not like a sticker sitting on top.
Finding Your Heat Press Sweet Spot
Getting your settings dialed in is absolutely crucial. The right temperature, time, and pressure can change depending on the fabric you’re using. Blasting a delicate tri-blend with the same heat you’d use for heavy cotton is a recipe for a scorched, melted disaster.
For most cotton and polyester blends, a good starting point is 300-320°F (149-160°C) with medium-to-firm pressure. But different fabrics need different love.
Heat Press Settings for Common Fabrics
Here's a quick cheat sheet I use to get started with different materials. Always test on a scrap piece if you're unsure!
| Fabric Type | Temperature (°F/°C) | Press Time (Seconds) | Pressure |
|---|---|---|---|
| 100% Cotton | 300-320°F / 149-160°C | 10-15 | Medium-Firm |
| 50/50 Cotton/Poly Blends | 280-300°F / 138-149°C | 10-12 | Medium |
| Tri-Blends | 260-280°F / 127-138°C | 8-12 | Medium |
| 100% Polyester | 260-280°F / 127-138°C | 8-10 | Light-Medium |
These settings are a solid foundation, but remember that every heat press can have its own quirks.
For a more comprehensive look at all the variables, check out our complete guide to heat press settings for DTF. Getting these numbers right from the start takes all the guesswork out of the equation and sets you up for a perfect press every time.
Aftercare Instructions for Long-Lasting Prints
You've nailed the artwork, placed your order, and pressed the perfect DTF printing shirt. But don't pop the champagne just yet—the job isn't quite done. How you (or your customer) care for that shirt from this moment forward will make all the difference between a design that lasts for years and one that fades after a few trips through the laundry.
Think of proper aftercare as the final polish on a professional job. Handing these simple instructions over to your customers protects the quality of your work and adds a touch of professional care that makes your brand stand out.
The First 24 Hours are Critical
Here’s the single most important rule: wait at least 24 hours before that first wash. No exceptions. This crucial waiting period allows the DTF adhesive and ink to finish curing, creating a super-strong bond with the fabric's fibers.
Washing it too soon is like pulling a cake out of the oven too early. The transfer gets a shock and its grip on the fabric weakens, leaving it susceptible to damage down the road. Just let it sit and fully set. It’s a simple step that pays off big time.
Washing Your DTF Printing Shirt Correctly
When it's finally time for that first wash, a few small tweaks to the routine can dramatically extend the life of your print. The main idea is to be gentle.
- Turn It Inside Out: This is non-negotiable. Turning the shirt inside out shields the print from rubbing against other clothes, which causes friction and abrasion.
- Use Cold Water: Always opt for a cold cycle. Hot water is the enemy; it can soften the transfer's adhesive and slowly strip away the vibrancy of the colors.
- Choose a Mild Detergent: Stay away from harsh detergents, bleach, and especially fabric softeners. They can degrade the ink and adhesive. A simple, mild detergent is all you need.
Honestly, following these washing steps is the best way to prevent cracking and peeling. It’s a low-effort habit that can easily double the life of the print, keeping it looking as sharp as the day you pressed it.
Drying Guidelines for Maximum Durability
Drying is just as critical as washing. The number one rule? Avoid high heat at all costs. It's the fastest way to destroy a beautiful print.
Your best bet is to hang dry or tumble dry on a low-heat setting. The intense heat from a regular dryer cycle can basically re-melt the adhesive, which leads to a cracked, peeling, or warped mess. And please, never iron directly on the print. If the shirt needs ironing, flip it inside out, use a low temperature, and carefully work around the design area.
The demand for custom apparel is exploding—the market is projected to hit USD 18.32 billion by 2034. People want unique gear that's built to last. By mastering and sharing these aftercare steps, you ensure your DTF creations live up to that expectation. For a more detailed breakdown, check out our complete guide on DTF washing instructions.
Answering Your Top DTF Shirt Printing Questions
Even with the best instructions, you're bound to run into a few questions or snags along the way. That's just part of the process. Think of this as your personal troubleshooting guide—I'll walk you through the most common issues we see so you can get things sorted out fast.
Let's dig into the hurdles and curiosities that trip up even seasoned creators.
Can I Just Use My Home Iron Instead of a Heat Press?
This is probably the number one question we get from people just starting out. And while it might be tempting to grab your iron for a one-off project, the short answer is no—not if you want a professional, long-lasting print.
A heat press is engineered for two critical things a home iron just can't deliver: consistent, even temperature and uniform, heavy pressure. An iron has hot spots and applies pressure unevenly, which is a recipe for disaster. The transfer's adhesive won't bond properly, leading to a design that peels or cracks after just a couple of washes. Trust me, for a print that actually lasts, a heat press is a non-negotiable piece of gear.
What's the Real Difference Between DTF and DTG?
This is a big one. Both DTF (Direct to Film) and DTG (Direct to Garment) can give you incredible full-color prints, but how they get there is completely different.
- DTF (Direct to Film): Your design is printed onto a special film, and then you use a heat press to transfer it onto the shirt. The beauty of DTF is its versatility—it works on almost anything. We’re talking cotton, polyester, blends, leather, you name it, and on any color.
- DTG (Direct to Garment): This method uses a big, specialized printer that sprays water-based ink directly onto the fabric, kind of like your desktop paper printer. It’s at its best on 100% cotton and usually needs a chemical pre-treatment, especially on dark fabrics, to make the colors really stand out.
For small shops and creators, DTF opens up a world of possibilities without the steep investment or material limitations of DTG.
The core takeaway here is versatility. With a single DTF transfer, you can knock out a cotton tee, a polyester jersey, and a canvas tote bag in one session. DTG just can't compete with that kind of flexibility.
Why Is My DTF Print Cracking After I Wash It?
Cracking is the ultimate nightmare for any shirt maker. When you see it, it's almost always a sign that something went wrong with the heat press application. If your DTF print is cracking, it usually comes down to one of these three culprits:
- Wrong Temperature: The heat press was either too hot or not hot enough for the fabric you were working with.
- Not Enough Pressure: The pressure was set too light, so the ink never got a chance to properly embed into the fabric’s fibers.
- Skipping the Second Press: That final press after the cold peel is absolutely crucial. It's what cures the ink and locks the design into the garment, giving it that soft feel and bulletproof durability.
Always, always double-check your heat press settings against the material you're using. A little calibration saves a lot of headaches (and ruined shirts).
My White Ink Looks Dull or Gray on the Shirt. What Happened?
If your white ink looks dingy right after pressing, especially on a polyester or poly-blend shirt, you've just met dye migration. This happens when the heat and pressure are too high, causing the dye in the synthetic fabric to "bleed" through and discolor the transfer's ink.
Thankfully, the fix is pretty simple. Just lower your temperature by 10-15°F and ease up on the pressure a bit. It’s always a good practice to run a quick test on a scrap piece of fabric before you commit to pressing the final garment.
Ready to create your own high-quality, long-lasting custom apparel? Raccoon Transfers makes it easy with premium, next-day DTF transfers that are ready to press right out of the box. Start your order today and bring your designs to life.