
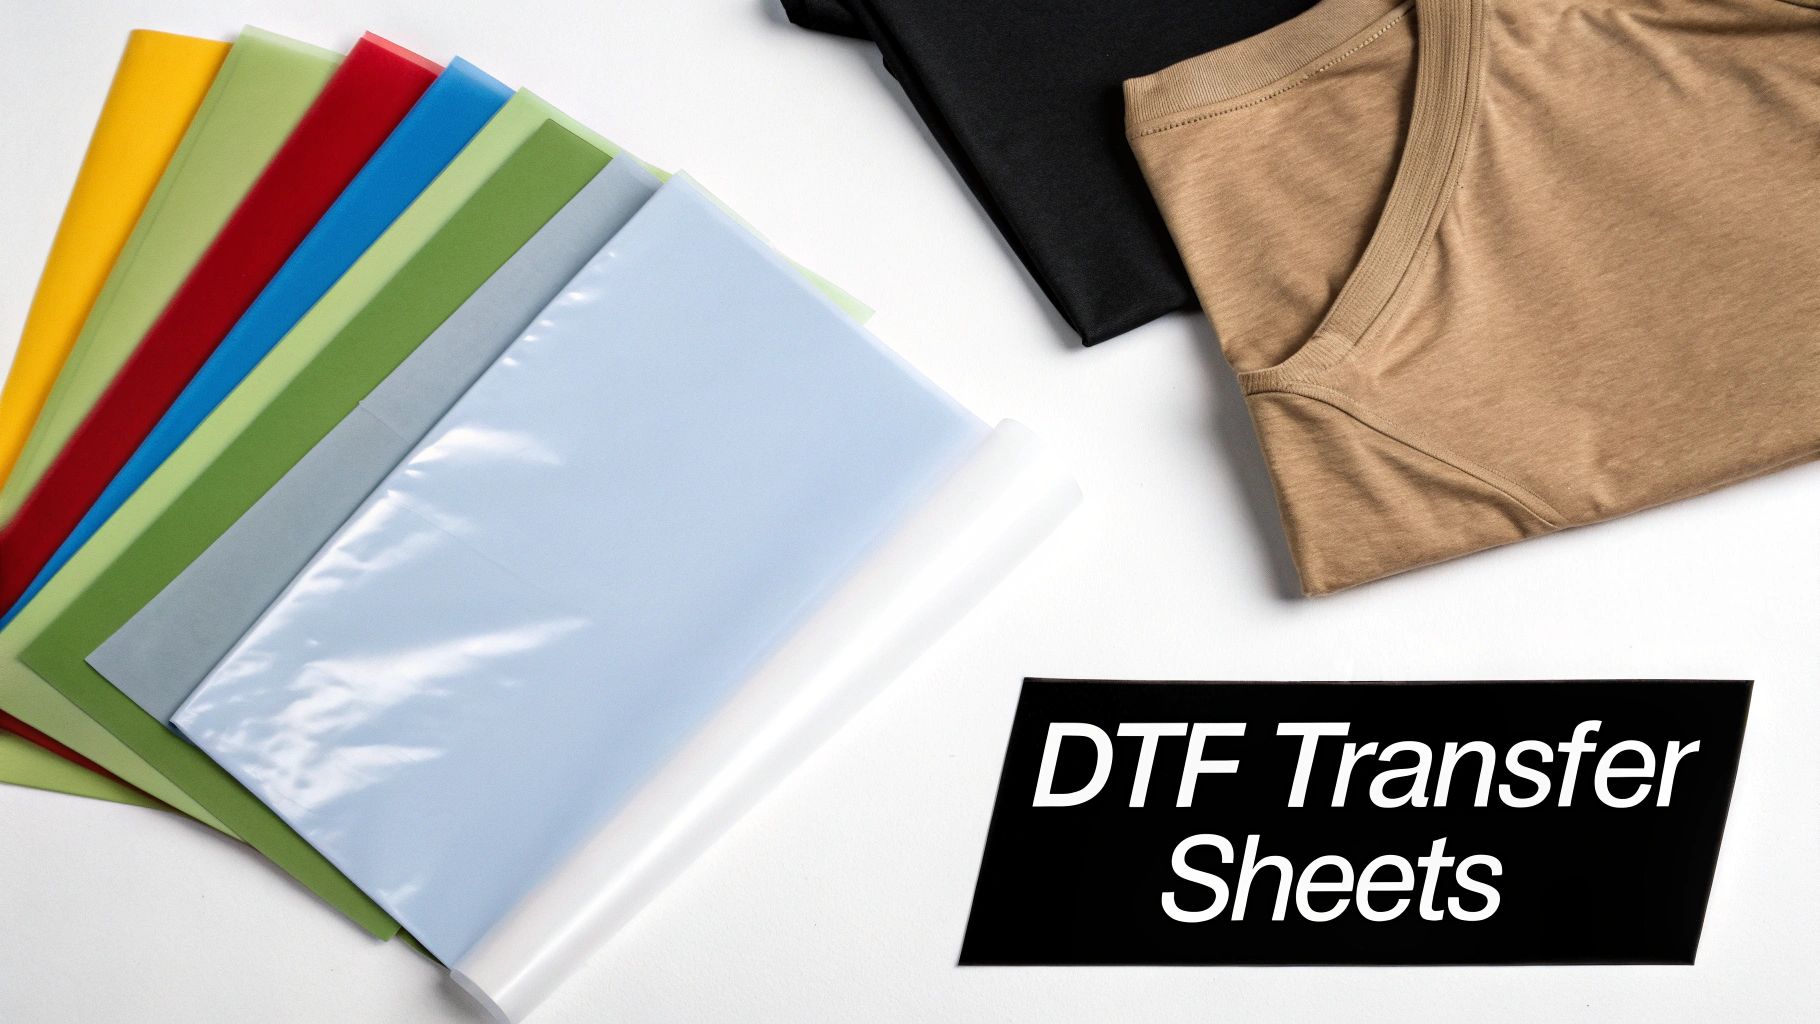
A Complete Guide to DTF Transfer Sheets
DTF transfer sheets are basically the Swiss Army knife of modern apparel printing.So, what exactly are DTF transfer sheets? Think of them as high-quality, ready-to-press designs that let you put vibrant, full-color images onto almost any fabric imaginable. From classic cotton tees to tricky polyester blends, these transfers make it happen without the tedious weeding of vinyl or the messy setup of screen printing.
They're like a professional-grade sticker for your apparel, but one that becomes part of the fabric itself.
Unlocking Creativity with DTF Transfer Sheets
At its heart, Direct to Film (DTF) technology is a game-changer for anyone doing custom printing. It closes the gap between professional-level results and easy, on-demand production. While other methods hit a wall with certain fabrics, DTF transfers stick beautifully to a huge range of materials and even some hard surfaces.
This incredible versatility is why the custom printing world is buzzing. The global DTF printing market was valued at USD 2,720.0 million and is on track to reach a staggering USD 3,920.0 million by 2030. This explosion is being fueled by small businesses, Etsy sellers, and independent creators who finally have a reliable way to produce top-tier, full-color products without a massive upfront investment.
The Raccoon Transfers Advantage
Here at Raccoon Transfers, we've made getting started with DTF as simple as possible. We ship premium, ready-to-press DTF transfer sheets with next-day shipping, so you can get your ideas off the screen and onto a shirt in no time. Our gang sheet builder is a fan favorite—it lets you fit multiple designs onto one sheet, which maximizes your value and drops your cost per print way down.
To give you a better idea of why so many people are making the switch, here’s a quick rundown of the main advantages.
Key Benefits of DTF Transfer Sheets at a Glance
The table below breaks down the primary advantages that make DTF transfer sheets a top choice for custom printing projects, from small hobbyists to large-scale operations.
| Benefit | What It Means for You |
|---|---|
| Unlimited Color & Detail | You can print photorealistic images, complex logos with tiny details, and smooth gradients without losing any clarity. What you see is what you get. |
| Material Freedom | No more worrying about compatibility. Press your designs onto cotton, polyester, blends, leather, nylon—even wood—with confidence. |
| No Weeding Required | This is a huge one. Forget the painstaking process of weeding vinyl. Your design arrives perfectly trimmed and ready to press, saving hours of work. |
| Soft & Durable Finish | The finished print feels incredibly soft and flexible, stretching with the fabric. It holds up beautifully through dozens of washes without cracking or fading. |
By getting rid of the complex, time-consuming steps of older methods, DTF puts the power of professional garment decoration right into your hands.
It’s all about achieving more with less effort. You get to focus on what matters most—your creativity and growing your brand—while the technology handles the heavy lifting.
Ultimately, using DTF transfer sheets means you can stop wrestling with production headaches and start bringing your best ideas to life. If you're ready to get into the nitty-gritty of how it all works, our comprehensive guide on Direct to Film transfers is the perfect next step.
How DTF Transfers Are Created
The magic behind a vibrant, durable DTF transfer is a fascinating mix of precision printing and smart chemistry. It's a multi-step process that takes a digital design file and turns it into a physical, press-ready graphic. Think of it like a specialized assembly line, where each stop adds another crucial layer to build the final product.
It all starts with your artwork. Once a design file is prepped—meaning it has a transparent background and is saved at a high resolution—it's loaded into a purpose-built DTF printer. This isn't your average desktop machine; it's a commercial printer that uses special water-based inks designed to be flexible and tough enough for apparel. It prints the design in reverse directly onto a sheet of PET (polyethylene terephthalate) film.
The Two-Part Ink Process
The way the ink is applied is clever and absolutely critical to the final result. First, the printer lays down all the colors of your design using CMYK (cyan, magenta, yellow, and black) ink. This is the part of the process where every intricate detail and color gradient comes to life on the film.
Right after the color layer is printed, the machine follows up with a layer of bright white ink directly on top of the colors. This white base is arguably the most important part of the print, and it serves two main purposes:
- Color Pop: It acts as an opaque underbase, kind of like a primer on a wall. This ensures your design’s colors stay bright and true, no matter if you're pressing it onto a white t-shirt or a black hoodie.
- Adhesive Foundation: This white ink also creates the surface that the adhesive powder will stick to in the next step.
This two-layer printing technique is the key to DTF's versatility. It's why one transfer can look just as brilliant on dark, light, or brightly colored fabrics.
The white ink layer is the secret hero of the DTF process. It’s what separates a professional, vibrant print from a design that sinks into the fabric and loses its punch.
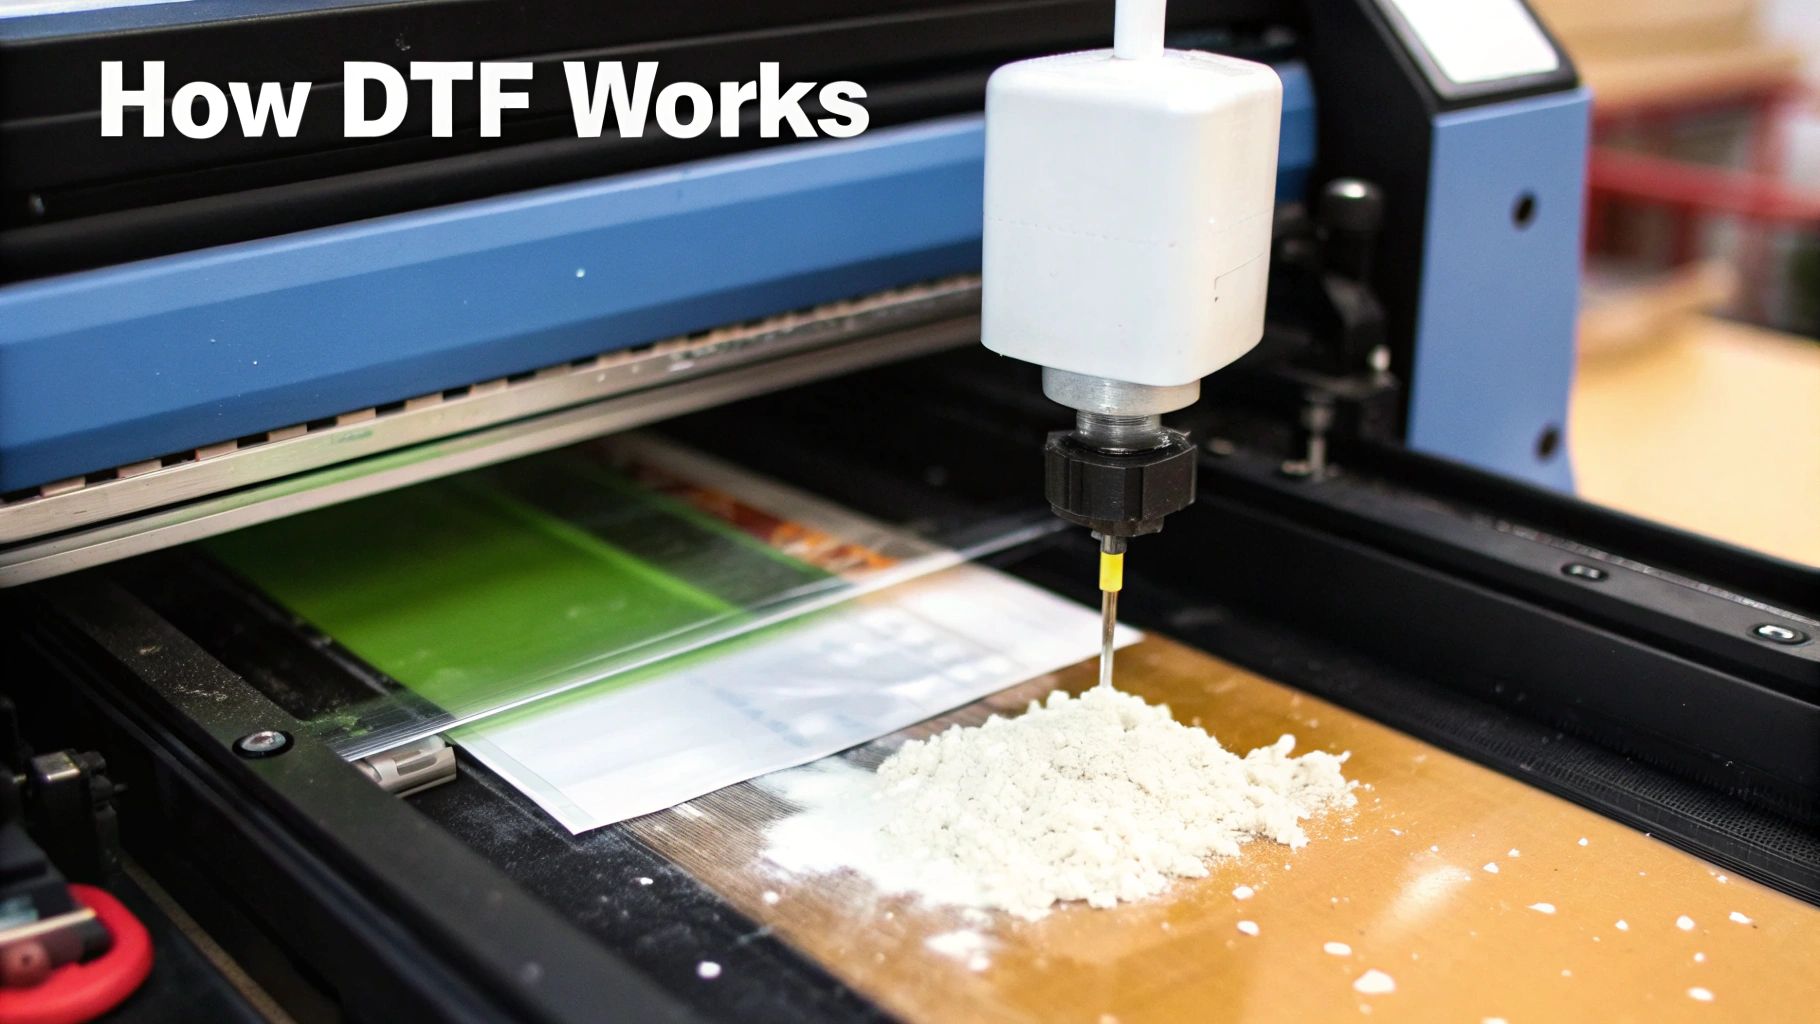
Adding the Adhesive Power
While the ink is still wet on the film, the DTF transfer sheets move on to the next station: the powder application. This is where the "magic dust" comes in. A fine, white thermoplastic polyurethane (TPU) powder is spread evenly across the film. This powder is essentially a hot-melt glue that will later bond the print to the fabric.
The powder only sticks to the wet ink of your design. All the excess is shaken off, leaving a perfect coating of adhesive that mirrors the exact shape of your artwork. This is why you never have to weed DTF transfers—the adhesive is only where the ink is.
Curing for a Perfect Finish
The final step before the transfer is ready for you is curing. The powdered sheet is sent through a curing oven or placed under a heat source that melts the powder without touching the film. This precisely controlled heat transforms the grainy powder into a smooth, rubber-like layer that seals the ink.
Curing is essential for a few reasons:
- It permanently bonds the adhesive to the ink layer.
- It creates a stable, flexible transfer that can be handled, stored, and shipped.
- It fully prepares the graphic for its final journey onto a garment with your heat press.
Once cooled, the DTF transfer sheets are done! They get a final quality check, are trimmed down, and are ready to be sent out. Here at Raccoon Transfers, we have this process down to a science, turning orders around in just hours to get you a vibrant, durable, and perfectly prepped transfer that’s ready to press.
Preparing Your Artwork for Perfect DTF Prints
The final quality of your print is decided long before you ever power on the heat press. It all starts with the digital file. Think of your artwork as the blueprint for your design—if the blueprint is smudged or has fuzzy lines, the final product will, too.
Getting your artwork ready is hands-down the most critical step for making sure your DTF transfer sheets turn out sharp, vibrant, and professional. Nail this part, and you'll save yourself a ton of frustration and wasted materials.
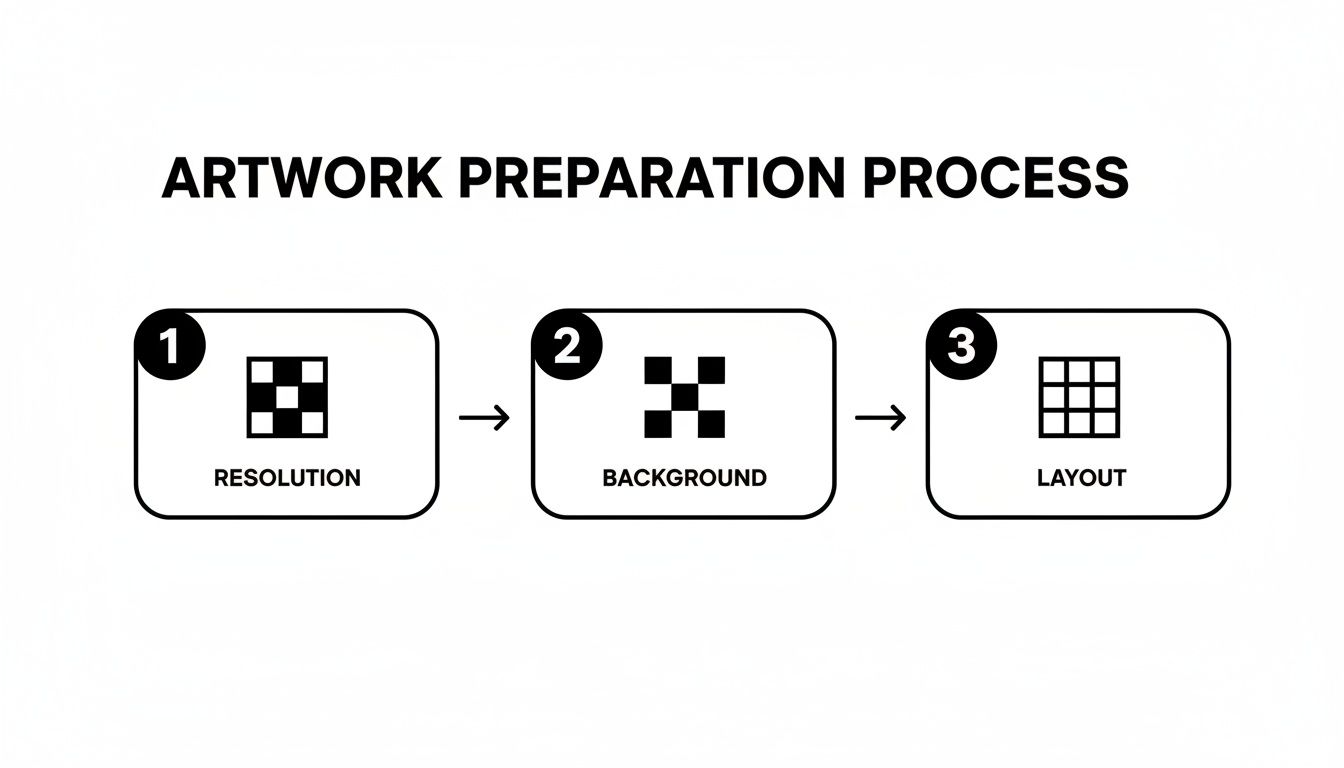
The Foundation: Resolution and File Type
When it comes to a print-ready file, two things matter more than anything else: resolution and format. Getting these wrong is the number one reason we see blurry or muddy prints.
First off, your design needs to be high-resolution, which is measured in DPI (Dots Per Inch). For DTF printing, 300 DPI is the gold standard. If you try to use a file with a lower DPI, like the 72 DPI common for web images, it’s going to look pixelated and fuzzy when printed, no matter how sharp it looks on your monitor.
Second, you absolutely have to save your artwork as a PNG (Portable Network Graphics) file. This is non-negotiable because PNGs support transparent backgrounds. The DTF printer only lays down ink where your design has pixels, so that transparency ensures you get just your design—not a big white or colored box printed around it.
Pro Tip: Whatever you do, don't just take a low-resolution image and try to "upscale" it to 300 DPI in your software. That doesn't magically add detail; it just makes the existing pixels bigger and the whole thing look blurry. Always start your project on a 300 DPI canvas from the get-go.
Avoiding Common Artwork Pitfalls
Even if you get the resolution and file type right, a few sneaky issues can still sabotage your print. Keep an eye out for these common mistakes:
- Semi-Transparent Pixels: Stay away from brushes or effects that create soft, feathered edges. The DTF process needs a clean, hard edge to work correctly. Faded or semi-transparent pixels can cause the adhesive to apply unevenly, which means parts of your design might peel off or disappear in the wash.
- Lines That Are Too Thin: DTF is amazing for fine details, but there is a limit. If lines or bits of text are too skinny, there isn't enough surface area for the adhesive powder to grab onto. A good rule of thumb is to make sure every part of your design is at least 0.018 inches thick. This will give it the strength to last.
- Artwork Sizing Errors: Always build your design at the exact physical size you plan to print it. If you create a 4-inch logo and then try to stretch it to 12 inches when you place your order, you're going to see a major drop in quality. Size your canvas correctly right from the start.
For a deeper dive into creating files that print perfectly every time, check out our guide on how to design your own heat transfers. It’s packed with actionable advice to help you master the process.
Maximizing Value with Gang Sheets
One of the smartest and most cost-effective ways to order DTF transfer sheets is by using a gang sheet. This is simply a large sheet of transfer film where you arrange, or "gang," multiple designs together. Instead of paying for each design one by one, you just pay for the whole sheet, letting you cram in logos, sleeve prints, and full-size graphics all in one go.
This approach is incredibly efficient. Our online gang sheet builder at Raccoon Transfers makes it easy—just upload your different PNG files and arrange them to use every last square inch of film. This kind of strategic ordering can lead to some serious savings, especially for small businesses and creators juggling multiple designs. In fact, using online gang sheet builders can result in cost savings of 20-30% on bulk orders.
This efficiency is a huge reason the DTF market is growing so fast. By making high-quality, durable printing more accessible, DTF transfer sheets slash setup costs by up to 50% compared to screen printing for small batches, opening the door for anyone to create incredible, complex designs.
How to Apply Your DTF Transfer Like a Pro
Getting your hands on a perfectly printed DTF transfer sheet is a great start, but it's only half the job. The real magic happens at the heat press. This is the moment your design becomes a permanent part of the garment, and learning to master this process is what separates an amateur-looking shirt from a professional, durable product.
Think of it like baking a cake. You can have the best ingredients in the world (your transfer and garment), but if your oven temperature, timing, or technique is off, you won't get the result you're after. Let's walk through the recipe for a perfect press.
H3: First Things First: Pre-Press Your Garment
Before you even think about laying down that transfer, you need to pre-press the item. Don't skip this step! Just press the blank garment for 5-10 seconds.
This quick press does two critical things. First, it irons out any wrinkles that could mess with a clean application. More importantly, it zaps any sneaky moisture hiding in the fabric fibers. Moisture is the enemy of a good transfer; it turns into steam under the heat and stops the adhesive from bonding properly, which often leads to peeling after the first wash.
The whole process, from artwork to application, is a chain of events. A great final press depends on solid prep work right from the start.
As you can see, getting the digital file right is the foundation for everything that follows.
H3: Dialing in Your Heat Press Settings
With your garment prepped and ready, it's time for the main event. Carefully place your DTF transfer sheet on the fabric with the design facing down. Now, you need to lock in the right combination of temperature, time, and pressure. Remember, these settings aren't one-size-fits-all—what works for a cotton tee will be different from what a polyester hoodie needs.
Crucial Tip: Always lay a Teflon sheet or a piece of parchment paper over the transfer film before closing your press. This little step is a lifesaver. It protects your heat press from any gunk and helps spread the heat evenly across the design.
For instance, a standard 100% cotton shirt usually needs a temperature around 300-325°F (149-163°C) for 10-15 seconds using medium pressure. But if you're working with a polyester blend, you'll want to drop that temperature to around 275°F (135°C) to avoid scorching the fabric. Getting this wrong can either under-cure the transfer (making it peel) or over-cure it, which can ruin both the print and the garment itself.
To help you get it right every time, we put together this handy quick-reference table.
| Material Type | Temperature Range (°F/°C) | Press Time (Seconds) | Pressure Level |
|---|---|---|---|
| 100% Cotton | 300-325°F / 149-163°C | 10-15 | Medium to Firm |
| 50/50 Cotton-Poly | 280-300°F / 138-149°C | 10-12 | Medium |
| 100% Polyester | 270-285°F / 132-140°C | 8-10 | Medium |
| Tri-Blends | 270-285°F / 132-140°C | 8-10 | Light to Medium |
| Canvas | 300-320°F / 149-160°C | 10-15 | Firm |
This chart is a great starting point, but always consider doing a test press if you're working with a new material. For an even more detailed breakdown, check out our complete guide to DTF heat press settings.
H3: The Peel and the All-Important Second Press
Once the timer beeps, open the press. The next move is peeling the film, and you need to know if you're working with a hot peel or a cold peel transfer. Most Raccoon Transfers are hot peel, so you can (and should) peel the film away right away while it’s still hot. The key is to peel smoothly and at a consistent, low angle.
Want that professional, super-soft finish that lasts? Do a second press. After you've peeled the film off, place your Teflon sheet back over the exposed design and press it again for another 5-7 seconds. This final touch helps meld the ink directly into the fabric fibers, giving it a much softer feel and making it incredibly durable in the wash.
H3: Troubleshooting Common Application Problems
Even seasoned pros run into snags now and then. If you hit a bump, here’s how to troubleshoot it:
- Edges are lifting or peeling up? This is almost always a pressure issue. Your heat press might not have enough pressure, or you could be pressing over a thick collar or seam that's preventing the platen from making even contact.
- Design looks faded or patchy? This points to either the temperature being too low or the press time being too short. Go back and check your settings against the material you're using.
- The transfer won't stick at all? Two likely culprits here. First, you might have forgotten to pre-press the garment, leaving moisture in the fabric. Second, your temperature is way too low to properly activate the adhesive powder.
By following these steps and paying close attention to the details, you’ll be applying DTF transfer sheets with the confidence and consistency of a seasoned expert.
How Does DTF Stack Up Against Other Printing Methods?
Picking the right way to print a design can feel like a tough choice, but it really boils down to what you're trying to create. Is DTF, screen printing, or something else the best fit? Instead of just listing pros and cons, let's walk through a few real-world situations to see where each method really excels—and why DTF often comes out on top as the most versatile modern option.
Let's say you're launching a new t-shirt design for your brand. You only need 15 shirts to start, just to see how they sell. The artwork is a full-color, photorealistic image with lots of fine details and smooth color gradients. This is a textbook case for DTF. Ordering DTF transfer sheets is a no-brainer for small runs like this because you skip the setup fees entirely. With screen printing, you'd be paying for a new screen for every single color in your design.
DTF lets you produce incredibly vibrant, detailed prints in small batches without wrecking your budget. It's perfect for startups, artists, and anyone doing a limited-edition drop.
DTF vs. Screen Printing
Screen printing has been the king of the t-shirt world for decades, and for good reason—it’s an absolute workhorse. It’s unbeatable for massive jobs with simple designs, like printing 500 shirts with a one-color company logo. The more you print, the cheaper each shirt gets.
But the moment your design gets more complex or your order size shrinks, the math starts to favor DTF. Screen printing just wasn't built for photorealistic images or subtle gradients. Every extra color adds another layer of cost and complexity, making it a poor choice for full-color art on a small batch of tees. This is precisely where DTF shines, giving you unlimited colors with no setup cost.
DTF vs. Heat Transfer Vinyl (HTV)
Heat Transfer Vinyl (or HTV) is a favorite among crafters and is fantastic for personalizing things like team jerseys with names and numbers. If you just need a single shirt with a simple, one-color blocky design, HTV is a fast and easy solution.
The biggest headache with HTV, though, is weeding. That’s the painstaking process of manually picking out all the tiny, unwanted bits of vinyl from your design. For anything intricate, it can quickly turn into a nightmare. Plus, when you layer different colors of vinyl, the final design can feel thick, heavy, and stiff. DTF transfer sheets completely solve this. There’s zero weeding, and the final print is a single, soft, flexible layer, no matter how many colors you use.
The core difference comes down to the feel. DTF feels like it’s part of the fabric—soft and pliable. A multi-layered vinyl design can feel like a plastic sticker. For professional-quality apparel, the soft hand of DTF wins every time.
DTF vs. Direct to Garment (DTG)
Direct to Garment (DTG) printing is probably DTF's closest relative. Both methods can create stunning, full-color prints that feel incredibly soft on the shirt. A DTG machine works a lot like your desktop inkjet printer, but it applies the ink right onto the fabric. It’s an amazing choice for one-off prints, especially on 100% cotton shirts.
The catch with DTG is its pickiness about materials. It really only loves pure cotton and can get finicky with polyester, blends, or other synthetics. The process also requires a pre-treatment spray, which can sometimes leave a faint, visible box around the finished design.
This is where DTF transfer sheets really pull ahead. A single DTF transfer can be pressed onto cotton, polyester, nylon, leather, and all sorts of blends with consistently great results. That kind of material freedom makes DTF the ultimate problem-solver for anyone wanting to print on a wide variety of items without having to own multiple machines.
Care Instructions and Troubleshooting Tips
A stunning print deserves to stay that way. After you’ve nailed the perfect press, aftercare is what gives your design a long and vibrant life. It really just comes down to a few simple rules, but they make all the difference between a shirt that looks brand new for years and one that cracks and fades after a few washes.
Protecting your creations is surprisingly simple. The main idea? Be gentle. High heat and harsh friction are the biggest enemies of any custom-printed garment, and that’s especially true for DTF transfer sheets. When you pass these tips along to your customers, you’re not just giving them a shirt; you’re giving them the know-how to keep it looking great, which builds trust and keeps them coming back.
Best Practices for Washing and Drying
To get the most mileage out of a DTF print, you just need to follow these guidelines. Think of it as the official owner's manual for a design that lasts.
- Turn it Inside Out: This is non-negotiable. Always wash the garment inside out to protect the print from rubbing against other clothes or the machine itself.
- Go Cold: Stick with cold water. Hot water can weaken the adhesive and soften the inks over time.
- Use Mild Detergent: Skip the harsh detergents, bleach, and fabric softeners. Those chemicals are way too aggressive and can eat away at the print's integrity.
- Air Dry if Possible: High heat from a dryer is the fastest way to ruin a print. If you have to use a machine, tumble dry on the lowest heat setting. But honestly, hanging it up to air dry is your best bet.
The goal here is simple: treat the design with a bit of care. Think of it like a delicate sweater—a little extra attention goes a long way in keeping the print looking and feeling fantastic.
Troubleshooting Common Print Issues
Even when you do everything right, problems can pop up. Knowing what causes them is half the battle. Here are a few common issues I see all the time and how to fix them.
Why Is My Transfer Cracking?
Nine times out of ten, cracking is caused by one of two things: either it wasn't cured properly during the press, or it got scorched in the dryer later on. If you didn't press it with enough heat or for long enough, the adhesive never fully bonded to the fabric. So, when the fabric stretches, the print can't stretch with it and just breaks apart.
On the flip side, throwing the garment in a high-heat dryer basically bakes the print, making it brittle and fragile. The fix is simple: always double-check your heat press settings and stick to the low-heat drying rule.
Why Does the Color Look Faded?
If a print looks dull right off the press, your white underbase probably wasn't opaque enough. But if it looks great at first and then fades after a few washes, the problem is almost always chemical. Harsh detergents and bleach will literally strip the color right out of the ink.
Another sneaky culprit is over-pressing. Too much heat for too long can cause the ink dyes to "gas out"—a process called sublimation—leaving you with a washed-out look. Sticking to the recommended care instructions and nailing your heat press settings for your specific DTF transfer sheets are the best ways to keep those colors popping.
A Few Common Questions About DTF Transfers
Diving into any new printing method brings up questions. It's only natural. Let's tackle some of the most common ones we hear about DTF transfer sheets so you can get started on your next project feeling confident and ready to go.
What Is a Gang Sheet and How Does It Save Me Money?
Think of a gang sheet as your secret weapon for getting the most value out of every print. It's just a large sheet of DTF film that you fill up with as many different designs as you can fit. Imagine you’re baking cookies—you wouldn't just bake one at a time, right? You'd fill the entire tray. That's exactly what ganging up your designs does.
By arranging multiple logos and graphics onto one sheet, you pay for the total area rather than for each individual sticker. Our online builder at Raccoon Transfers makes this super easy; just upload and place your designs to use every last bit of space. This simple trick can seriously slash your cost per print, which is a game-changer for anyone needing a variety of designs on a tight budget.
Can I Use a Regular Home Iron to Apply DTF Transfers?
I know it's tempting, but please, step away from the home iron. For a professional, long-lasting result, a heat press is non-negotiable. The reason comes down to two things: consistent temperature and even pressure. A heat press delivers both across the entire design, which is what properly melts the adhesive and bonds it to the fabric fibers for good.
A home iron, on the other hand, is all over the place. It has hot spots, cool spots, and you can never apply perfectly even pressure. This is a one-way ticket to a failed transfer that peels off after its first trip through the wash. If you want your work to last and look amazing, a heat press is the only tool for the job.
A heat press is the difference between a product that lasts and one that fails. It delivers the consistent heat and pressure a home iron can't, guaranteeing a permanent bond and a truly professional finish.
How Durable Are DTF Transfers Compared to Screen Printing?
This is a big one, and the answer might surprise you. High-quality DTF transfer sheets are incredibly durable, often rivaling or even outperforming traditional screen printing. When you apply them correctly with a heat press, our DTF prints are tested to hold up through dozens and dozens of wash cycles without a hint of cracking, peeling, or fading.
The magic is in how the ink fuses directly with the fabric, creating a finish that's not only tough but also flexible enough to stretch right along with the garment. This elasticity helps prevent the cracking you sometimes see with thick layers of screen print ink, and it feels a whole lot softer to the touch.
Ready to see for yourself how easy it is to create vibrant, durable custom gear? Build your first gang sheet with Raccoon Transfers and feel the difference. Design your custom DTF transfer sheets now