
Heat Transfer Sublimation Printing: Your Guide to Vibrant, Lasting Designs
Ever seen a t-shirt with a design so vibrant and soft you can't even feel the ink? That’s the work of heat transfer sublimation printing, a process where the design literally becomes part of the fabric, meaning it will never crack, peel, or fade away.
The Magic of Infusing Color
Sublimation is a truly unique type of fabric printing technology. Unlike screen printing, which lays a layer of ink on top of the material, sublimation embeds the color directly into the fibers. The best way to think about it is like a tattoo for your t-shirt or mug—the ink becomes one with the item, creating a seamless design.
The science behind it is pretty cool. It all starts with printing a design onto special transfer paper using sublimation ink. Then, using a heat press, that solid ink is heated until it bypasses the liquid phase entirely and turns straight into a gas.
This gas then opens up the pores of polyester or polymer-coated items and seeps inside. As it cools, the gas solidifies, and the ink is permanently trapped within the material's fibers. The result is a stunning, high-definition image that can withstand countless washes without losing its punch.
Why Is Sublimation So Popular?
People love sublimation for two main reasons: incredible quality and amazing versatility. Since the dye is infused right into the material, the final print is exceptionally durable, and the fabric keeps its original soft feel. It’s the go-to choice for items that need to stand up to a lot of wear and tear.
Sublimation printing creates a permanent, full-color image that is exceptionally durable. The prints will not crack, fade, or peel from the substrate under normal conditions, ensuring the fabric can be washed without compromising image quality.
This technique unlocks endless creative opportunities for everyone, from small businesses to at-home crafters. It's the perfect method for a huge range of custom products, including:
- Vibrant Apparel: Think all-over prints on sportswear, team jerseys, and bold fashion items.
- Personalized Drinkware: Custom mugs, tumblers, and water bottles with photo-quality designs.
- Promotional Goods: Eye-catching mousepads, phone cases, and keychains that make a brand pop.
- Unique Home Decor: Photo panels, coasters, and pillowcases that bring a personal touch to any space.
It's no surprise that the global market for dye sublimation is booming, largely thanks to the growing demand for personalized products. Valued at roughly USD 14.9 billion, the market is on track to hit USD 28 billion by 2030, with an impressive annual growth rate of 11.3%. This surge is powered by e-commerce shops and small entrepreneurs who rely on sublimation to create high-quality, long-lasting custom goods.
How Sublimation Printing Works Step by Step
Think of sublimation printing like a high-tech recipe. Once you get the basic steps down, you can create an endless variety of incredible custom products. The whole journey, from a digital idea on your screen to a finished item in your hand, is a precise dance between design, the right materials, and the magic of heat.
This process turns solid dye into a gas that becomes one with your product, creating a permanent, super-vibrant finish. Let's walk through each stage of this cool technique so you can nail professional results every single time.
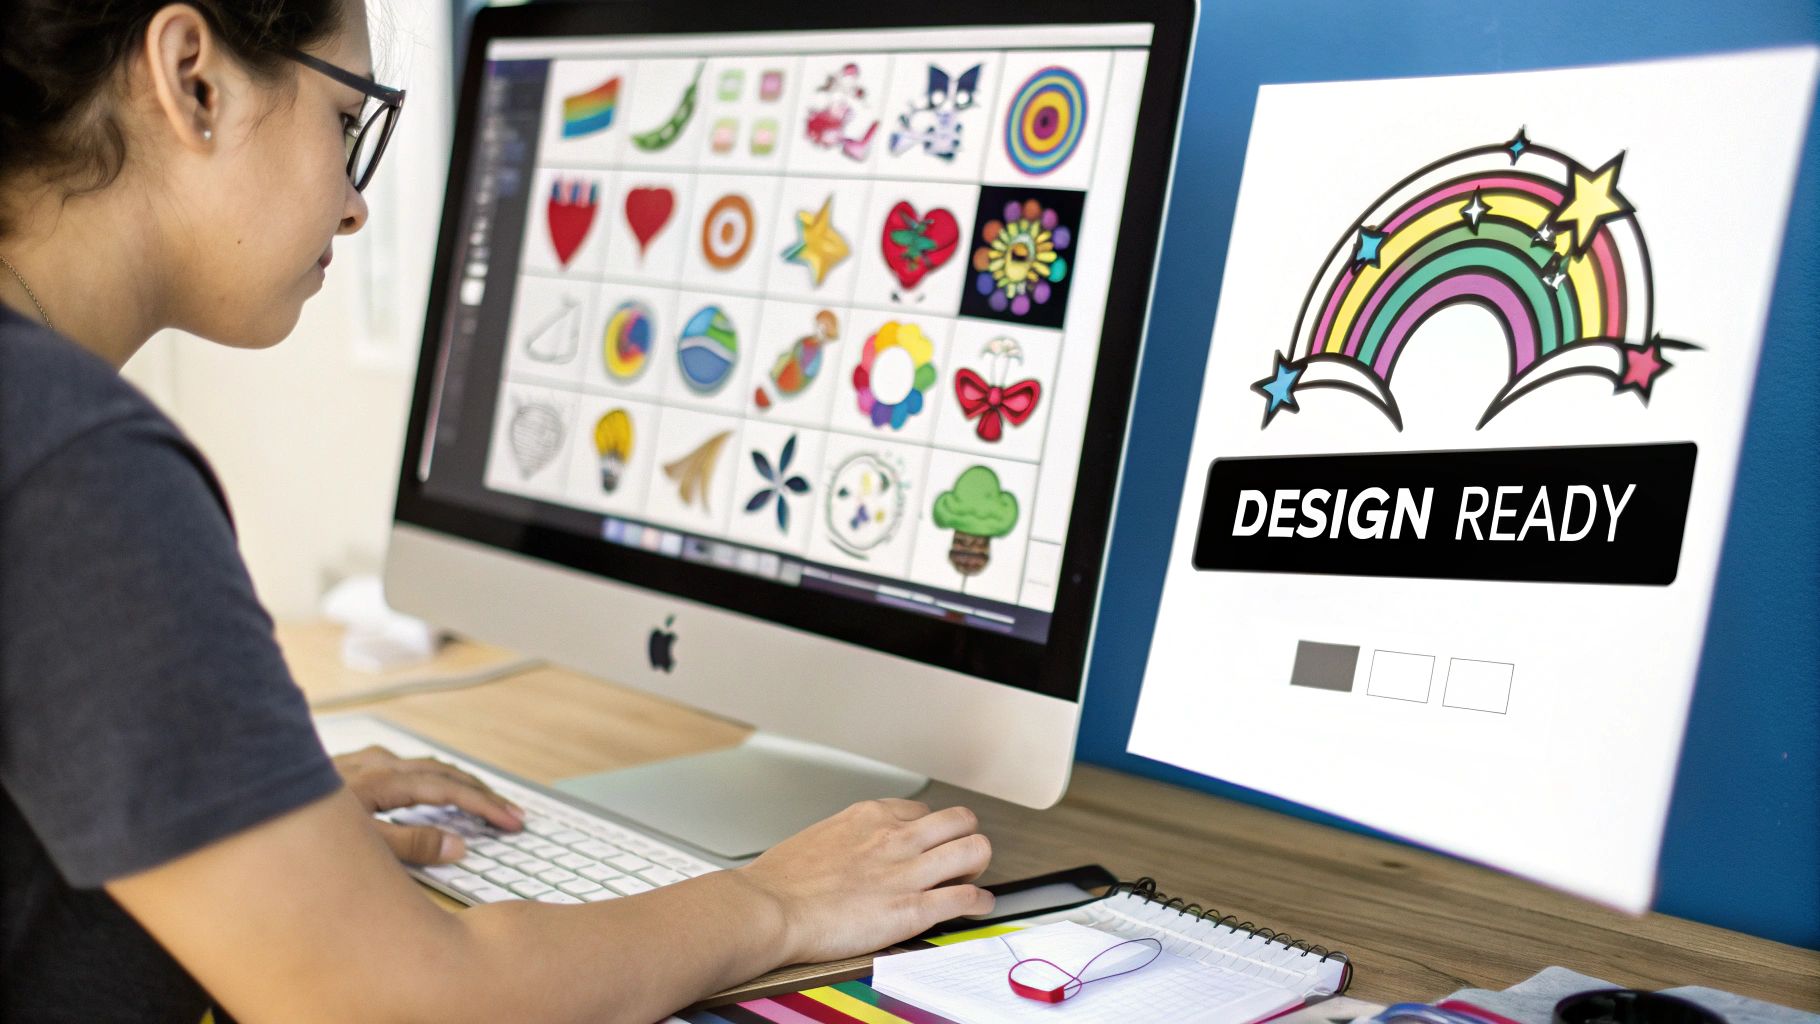
Step 1: Prepare Your Digital Design
It all starts with your art. Whether it's a custom illustration, a photo, or just some text, getting it ready for sublimation is the most important first step. The quality of your digital file directly dictates the quality of your final print—no shortcuts here!
Your design needs to be high-resolution, and the industry standard is 300 DPI (dots per inch). This ensures your final image is crisp and clear, not a blurry, pixelated mess. You can use professional software like Adobe Photoshop or more accessible tools like Canva to get your artwork sized perfectly for the item you're decorating.
Crucial Pro Tip: You must mirror your image before printing it. The design is printed on paper and then placed face-down onto the product, so if you don't flip it, your text and images will come out backward. This is probably the most common (and frustrating) mistake beginners make.
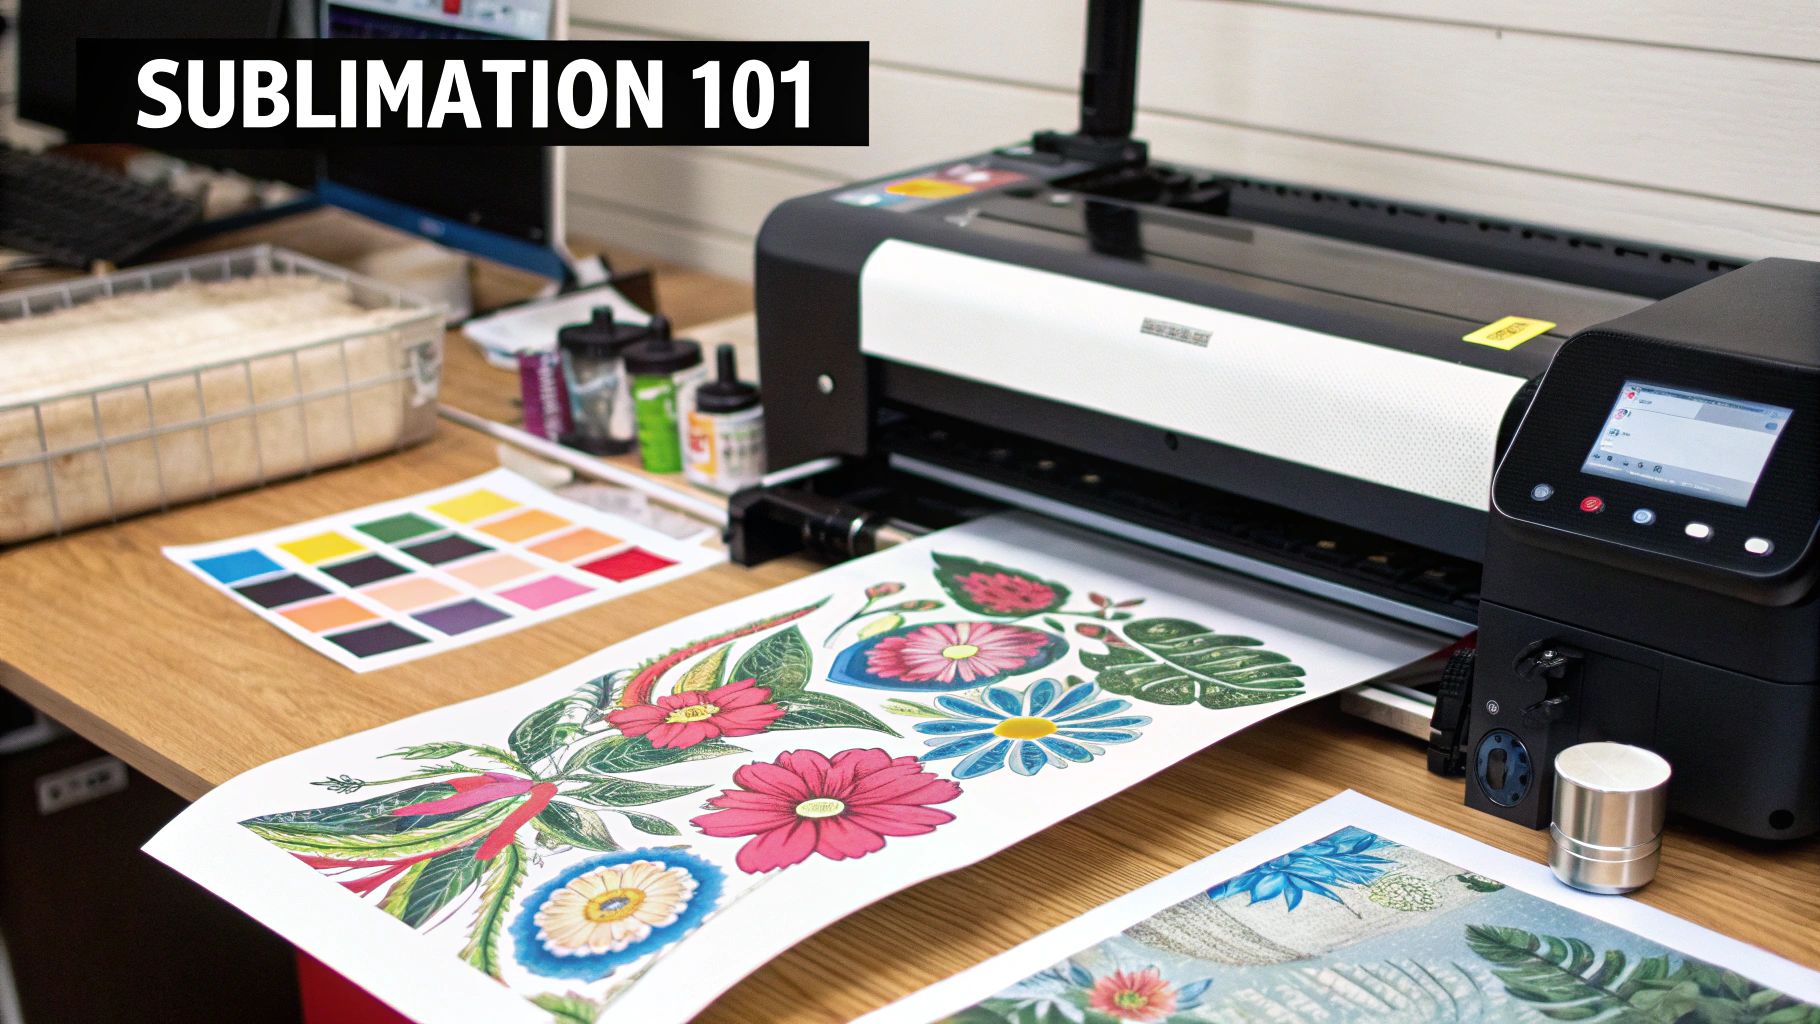
Step 2: Print on Specialized Sublimation Paper
Got your design ready to go? Great. Now it's time to print, but you can't use your everyday office printer for this. You'll need a dedicated sublimation printer filled with special sublimation inks. These inks are formulated to do something amazing: turn from a solid directly into a gas when heated.
The design gets printed onto special sublimation transfer paper, which is engineered to release the ink under heat. Don't be alarmed if the colors on the paper look dull or washed out when it comes out of the printer—that’s totally normal. The real, eye-popping colors only come to life during the heat press stage. If you're curious to learn more about how this paper differs from others, you can read our guide on heat transfer paper printing.
The image below gives you a quick visual rundown of the key stages.
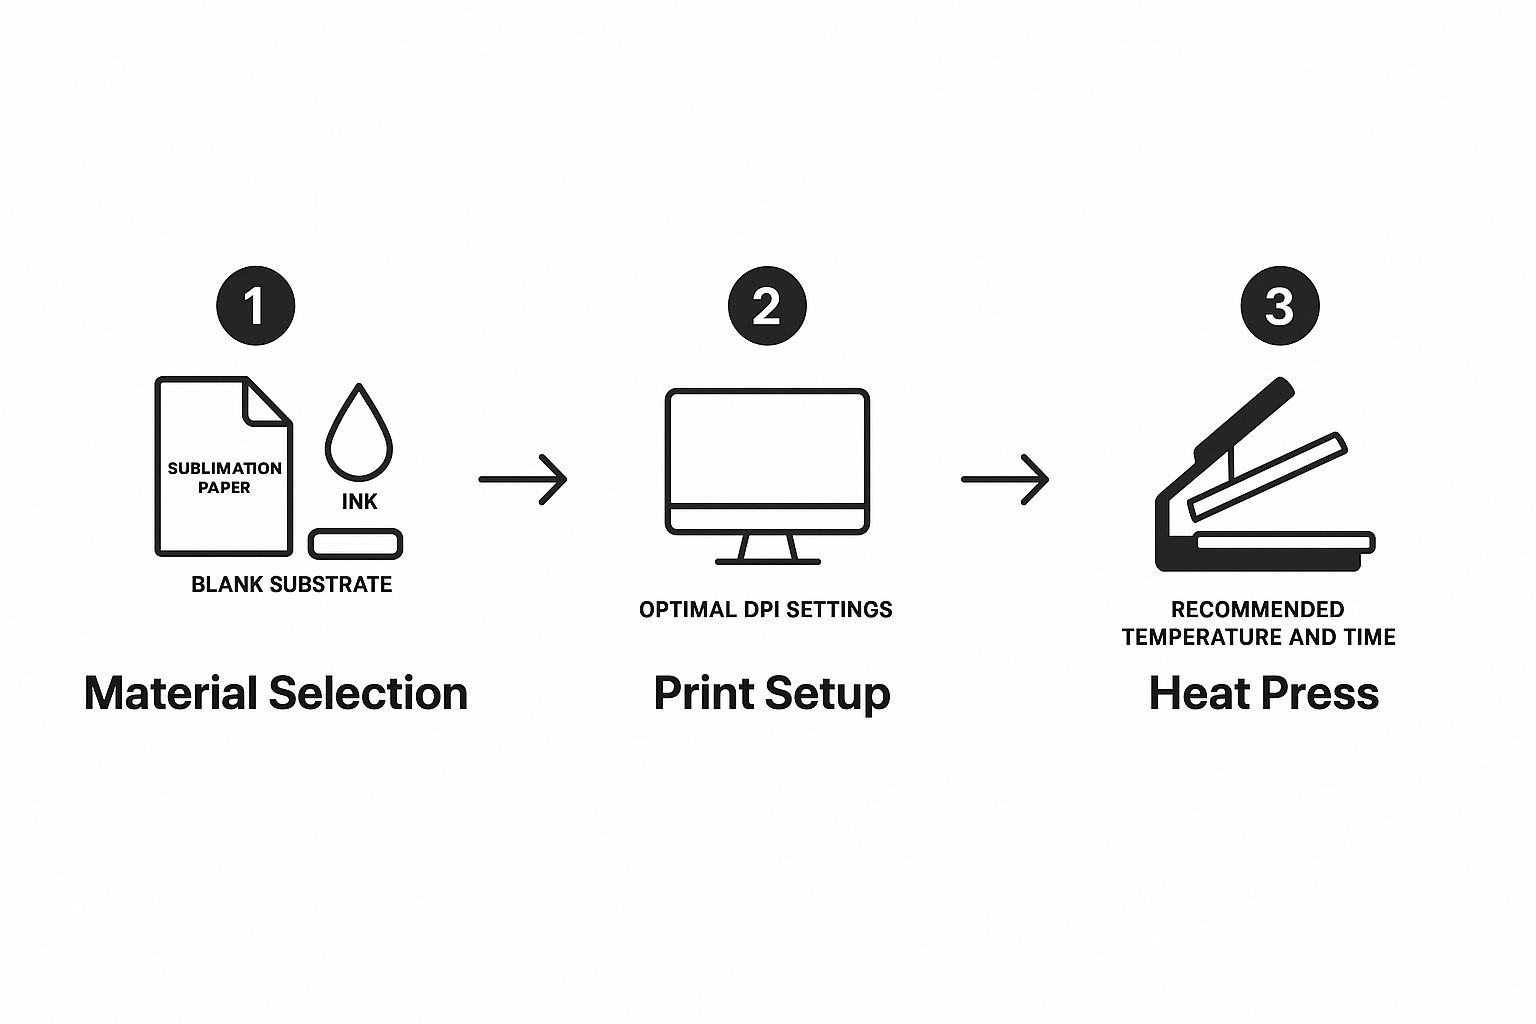
As you can see, getting the materials, print settings, and heat press parameters right is the key to a perfect transfer.
Step 3: Secure the Transfer and Apply Heat
This is where the real transformation happens. First, make sure your blank item (the "substrate") is perfectly clean. Any dust or lint can turn into permanent blue specks on your final product, so a quick once-over with a lint roller is a great habit to get into.
Next, carefully place your printed paper onto the item, with the ink-side facing down. Use heat-resistant tape to secure it firmly. This is a non-negotiable step! If the paper shifts even a millimeter during pressing, you'll get a blurry, "ghosted" image.
Now, it's time for the heat press. The science here is simple but precise: the press heats the ink on the paper to around 400°F (about 200°C). At this temperature, the solid dye turns into a gas and permeates the polyester fibers or polymer coating of your item, becoming a permanent part of it.
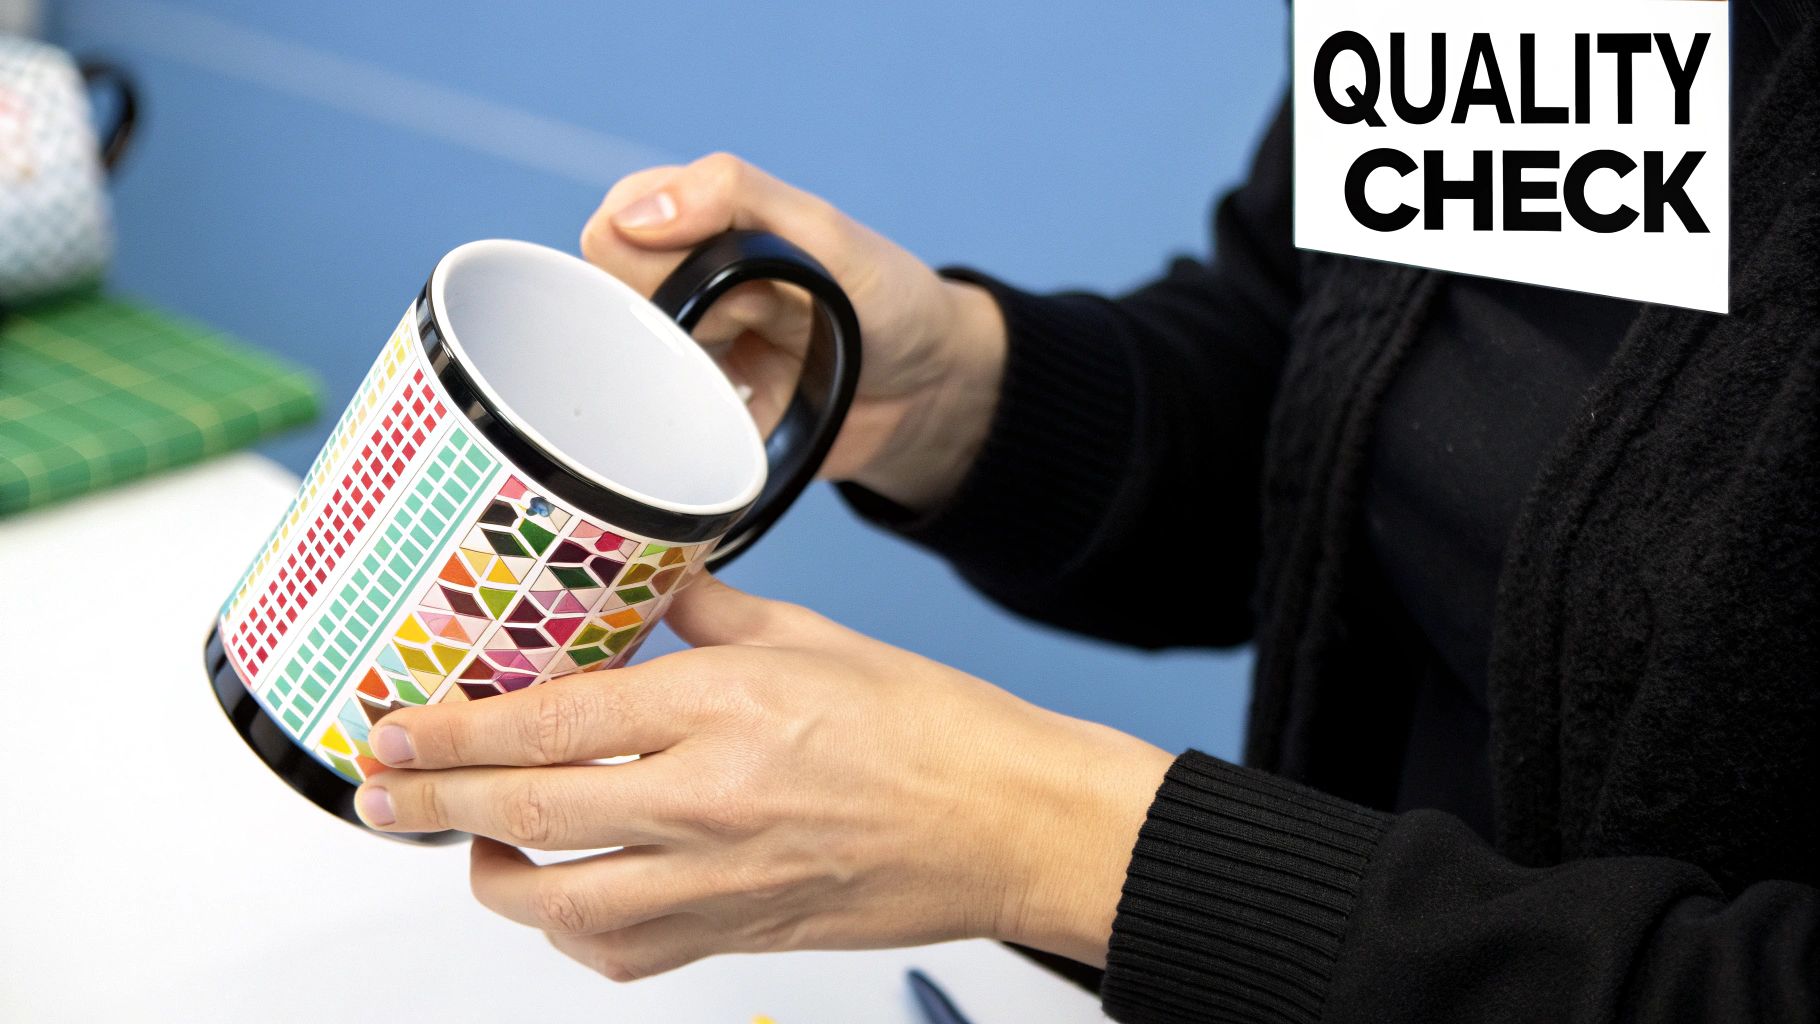
Step 4: The Big Reveal
This is easily the most satisfying part. When the timer on your heat press beeps, carefully open it up. Remember to wear heat-protective gloves—that item is seriously hot!
Move the item to a heat-safe surface and, in one smooth motion, peel away the transfer paper.
What you're left with is your design, now brilliantly vibrant and permanently fused into the surface. The dull print on the paper has been transformed into a stunning, high-definition image that you can't feel with your fingers and that won't crack, peel, or fade. It's a simple, powerful process that's at the heart of every great sublimation project.
Your Essential Sublimation Printing Toolkit
Getting into sublimation printing is a bit like setting up a professional kitchen—having the right tools from the start makes all the difference. The right gear is what separates a frustrating hobby from a thriving business that produces flawless, vibrant products.
This guide will walk you through the four non-negotiable pieces of equipment you'll need for heat transfer sublimation printing. We’ll cover what to look for in a printer, why the right inks matter, what makes sublimation paper special, and how a heat press brings it all together.
1. Dedicated Sublimation Printer
First up is the printer, and it’s important to know that you can't just grab any old office printer. A sublimation printer is specifically built (or converted) to work with the unique dye-based inks that turn into a gas under heat.
You essentially have two paths you can go down:
- Purpose-Built Printers: Think of brands like Sawgrass or the Epson F-series. These are ready to go right out of the box and come with the proper software, support, and a warranty. They’re a fantastic, reliable choice if you want a plug-and-play solution without the guesswork.
- Converted Inkjet Printers: This is the more DIY, budget-friendly option. You can take a compatible inkjet printer, like some Epson EcoTank models, and fill it with sublimation ink from day one. Just remember: once you put regular ink in, there’s no going back. The system will be contaminated.
Feeling a bit overwhelmed by the choices? We've got you covered. Take a look at our detailed breakdown of the best printers for sublimation and heat transfer to help you decide.
2. High-Fidelity Sublimation Inks
Sublimation inks are the magic ingredient in this whole process. They're not like the ink in your pen; these are special dyes that, when heated, bypass the liquid state and go straight to a gas. This gas then permanently fuses with polyester fibers, creating those stunning, fade-proof designs.
The quality of your ink has a direct impact on how your final product looks. Skimping here can lead to dull colors and inaccurate results. To really nail those vibrant designs, a solid understanding of color theory for designers is a huge advantage.
3. Quality Sublimation Transfer Paper
Next, you'll need sublimation paper. This isn't just regular copy paper; it’s your design's temporary home. It has a special coating that holds the ink on its surface instead of letting it soak in.
When you apply heat, this special coating is designed to release up to 98% of the ink onto your product. Try using standard paper, and you’ll just get a blurry, faded mess. Always invest in good sublimation paper for sharp, professional-quality transfers.
4. A Reliable Heat Press
The heat press is where the real magic happens. This machine delivers the precise trifecta of heat, pressure, and time needed to kickstart the sublimation reaction. Consistency here is everything.
A quality heat press is an investment in consistency. It ensures every part of your design receives the exact same heat and pressure, eliminating frustrating issues like faded spots, ghosting, or uneven transfers that can ruin your products and waste supplies.
Heat presses come in a few different styles, each suited for different jobs:
- Clamshell Press: A great, space-saving option for flat items like t-shirts, coasters, and mousepads.
- Swing-Away Press: This design gives you a clear, open workspace, making it easier to position your items and reducing the risk of accidental burns.
- Mug or Tumbler Press: As the name suggests, this is a specialized press built specifically for wrapping around mugs, tumblers, and other drinkware.
Picking the right equipment from the start can feel like a big decision. This table should help you compare your options whether you're just starting out or ready to scale up.
Sublimation Equipment Buyer's Guide
| Equipment | Beginner Recommendation | Professional Recommendation | Key Feature to Look For |
|---|---|---|---|
| Printer | Converted Epson EcoTank | Sawgrass SG500/SG1000 or Epson F-Series | Color accuracy, print size capability, and included software/support. |
| Inks | Reputable third-party inks | Manufacturer-brand inks (e.g., Sawgrass SubliJet) | ICC profiles for color management and anti-clogging formulation. |
| Paper | A-SUB or Koala brand | TexPrint or other premium brands | High ink-release percentage (95%+) and fast-drying coating. |
| Heat Press | Clamshell press (e.g., HTVRONT Auto Heat Press) | Swing-away or auto-open press (e.g., Hotronix) | Even heat distribution across the platen and accurate temperature/time controls. |
No matter which tools you choose, you're building a system that needs to work together seamlessly. Investing in quality from the get-go saves a lot of time, money, and frustration down the line.
Finding the Right Materials for Your Projects
The real magic of sublimation printing happens at a molecular level, and it all comes down to the connection between the ink and the material you're printing on. This isn't like screen printing or vinyl where you can slap a design on almost anything. Sublimation is picky. If you want those stunning, permanent, photo-quality prints, you have to use items made specifically for the job.
Think of it like this: the sublimation ink is a special dye, and it needs a specific type of fiber to grab onto. That magic fiber is polyester. For hard goods like mugs or keychains, the item needs a special polymer coating that essentially acts like a layer of polyester. When you apply heat, the pores of the polyester or polymer coating open up, the ink turns into a gas and floats inside, and as it cools, the pores close, trapping the ink for good. It becomes part of the material itself.
Why Polyester is Non-Negotiable
So, what happens if you ignore this rule? It's a common and costly mistake for beginners. If you try to sublimate on a 100% cotton t-shirt, you'll be deeply disappointed. The design might transfer a little, but it will look faint and washed out from the get-go. After one trip through the laundry, it'll be almost completely gone.
The ink simply has nothing to bond with in natural fibers like cotton or linen. It’s just sitting on the surface, ready to be washed away. Getting this one principle right from the start will save you a ton of time, money, and frustration.
The golden rule of sublimation is simple: For a vibrant, permanent design, your material must be 100% polyester for fabrics or have a special polymer coating for hard surfaces. There’s no cheating this chemical process.
So, What Can You Actually Make?
The good news is that you're not limited to just one or two types of products. The industry for sublimation-ready "blanks" is huge and always expanding. Manufacturers put that special polymer coating on an incredible range of items, giving you a massive catalog to build a business or hobby around.
You can create a whole line of products using both fabrics and hard goods.
Here are some of the most popular items people sublimate:
-
Soft Goods (Apparel and Textiles):
- Athletic jerseys and performance wear (these are almost always 100% polyester).
- T-shirts with a soft, cotton-like feel.
- Fleece blankets and plush pillowcases.
- Tote bags and drawstring backpacks.
-
Hard Surfaces (Coated Items):
- Classic ceramic coffee mugs and insulated travel tumblers.
- High-gloss photo panels (made from aluminum or wood).
- Custom keychains, luggage tags, and pet ID tags.
- Mousepads, coasters, and phone cases.
A Quick Word on Blended Fabrics
While 100% polyester gives you the most punchy, vibrant colors, you can get a really cool "vintage" or "retro" look by printing on poly-blends. For example, a shirt made of 65% polyester and 35% cotton will accept the sublimation ink, but with a twist.
The ink will only bond to the polyester fibers, completely ignoring the cotton. This creates a slightly faded, heathered appearance right out of the press. This look is actually quite popular, but you have to know that's what you're going to get. The lower the polyester count, the more faded the print will be. As a rule of thumb, I wouldn't recommend going below a 50% polyester blend for anything you plan to sell, as the image quality and durability really start to drop off.
Sublimation Compared To Other Printing Methods
Choosing the right way to print a design can be a real head-scratcher. Every method has its own strengths and weaknesses, and what works perfectly for one project might be all wrong for another.
To really get a handle on it, let's put heat transfer sublimation printing side-by-side with the other big players in the game: Heat Transfer Vinyl (HTV), screen printing, and Direct-to-Garment (DTG). We'll look at the things that actually matter—how the print feels, how long it lasts, how bright the colors are, and what materials you can use. This isn't about finding the "best" method, but about finding the best fit for your specific needs.
For a wider overview of what's out there, you can explore various fabric printing techniques in our detailed guide.
Sublimation vs. Heat Transfer Vinyl (HTV)
You've definitely seen HTV in action—it's what's used for the names and numbers on the back of sports jerseys. You cut your design out of a sheet of colored vinyl and then use a heat press to stick it onto the garment. It's simple, effective, and perfect for bold, single-color graphics.
Sublimation is a completely different animal. Instead of adding a layer on top of the fabric, it turns solid ink into a gas that permanently dyes the fibers themselves. This means the finished print has absolutely zero feel, or what we call "hand." Run your hand over it, and you won't feel a thing. The design is literally in the shirt, not on it, so the fabric stays just as soft and breathable as it was before.
The real difference is in the finish. HTV sits on top of the fabric like a high-quality sticker. Sublimation becomes part of the fabric, leaving a print you can't feel at all.
Sublimation vs. Screen Printing
Screen printing is the old-school workhorse of the apparel industry. It involves pushing ink through a mesh stencil (a "screen") onto the fabric. Once the screens are made, you can crank out hundreds of shirts quickly and cheaply, making it the king of high-volume orders. The inks are thick and vibrant, so it works beautifully on both light and dark fabrics, including 100% cotton.
The catch? Each color in your design needs its own separate screen. For a simple two-color logo, that’s fine. But for a photograph with millions of shades? It’s just not practical. The setup costs and time involved would be enormous. That's precisely where sublimation steps in. It prints every color at once, making it ideal for those one-off custom jobs or incredibly detailed, photorealistic designs that screen printing just can't handle efficiently.
Sublimation vs. Direct-to-Garment (DTG)
Think of Direct-to-Garment printing as a specialized inkjet printer for t-shirts. It sprays water-based ink directly onto the clothing, which then soaks into the fibers. DTG is famous for its ability to produce stunningly detailed, full-color images on cotton fabrics. It's especially great for dark shirts because it can lay down a white base layer first to make the colors pop.
The main fork in the road here is material. Sublimation is the expert for polyester and polymer-coated items. DTG is the champion of cotton. Durability is the other big differentiator. A sublimated print is permanent—the dye is locked into the synthetic fibers and will never fade, crack, or peel. DTG prints are solid, but because they're bonded to natural fibers, they can fade slightly over dozens of washes as the cotton itself wears down.
Printing Technology Feature Comparison
Picking the right method can feel complex, so this table breaks it all down. It's a quick cheat sheet to see how sublimation stacks up against the competition on the factors that matter most for custom apparel and products.
| Feature | Sublimation Printing | Screen Printing | Heat Transfer Vinyl (HTV) | Direct-to-Garment (DTG) |
|---|---|---|---|---|
| Best For | Full-color, photo-quality prints on polyester fabrics and coated hard goods. | Large batches of simple, bold designs (1-4 colors) on almost any fabric. | Names, numbers, and simple graphics on small orders of various fabrics. | Detailed, multi-color designs on cotton garments, especially dark ones. |
| Feel of Print | Zero feel; ink is infused into the fabric, maintaining original softness. | A tangible layer of ink on the fabric's surface, which can be thick. | A distinct, smooth, plastic-like layer sitting on top of the fabric. | A very soft feel, as the ink soaks into the fabric fibers. |
| Durability | Extremely high; print will not crack, peel, or fade and outlasts the garment. | Very high; prints are durable and can last for years with proper care. | Good, but can crack or peel over time with repeated washing and stretching. | Good, but may show some fading over time with frequent washing. |
| Material | Requires polyester or polymer-coated surfaces; best on light colors. | Versatile; works on cotton, blends, polyester, and more. Works on any color. | Very versatile; can be applied to cotton, polyester, blends, and leather. | Best on 100% cotton but can work on high-cotton blends. Works on any color. |
Ultimately, there's no single "winner." The best printing technology is the one that perfectly aligns with your specific material, design complexity, order volume, and desired final look and feel.
Your Top Sublimation Printing Questions, Answered
Once you start exploring sublimation, you'll quickly realize it's a bit of a science. The rules are pretty specific, and getting a handle on them early on is the best way to avoid wasting time, ink, and blank products. I've heard just about every question in the book, so let's walk through some of the most common ones that trip people up.
We'll clear up the confusion around everything from printers to faded designs. My goal is to get you past the learning curve and on your way to making things you're proud of.
Can I Just Use My Regular Inkjet Printer for Sublimation?
This is easily the #1 question beginners ask, and the answer is a firm "no"—at least, not in the way you'd hope. You can't just put sublimation ink into a printer that has already been used with regular ink. The chemistry is completely different, and once standard ink runs through the system, it's contaminated for good.
However, you can convert certain types of brand-new inkjet printers. The key is that they must use a Piezo printhead, which is why you see brands like Epson mentioned so often. The printer has to be fresh out of the box, having never touched a drop of regular ink.
If you go this route, you'll need a specific setup:
- A compatible, completely new inkjet printer.
- A full set of quality sublimation inks (not the ones that came with the printer).
- Specialized sublimation transfer paper.
- An ICC profile to make sure the colors you print match what you see on your monitor.
Why Do My Sublimation Prints Look Faded or Blurry?
There's nothing more defeating than pulling your item from the press and seeing a faded, blurry mess. But don't worry, this is almost always a simple fix. The culprit is nearly always a problem with the "big three" of heat pressing: time, temperature, or pressure.
If your design looks washed out or faded, it's a classic sign that your temperature was too low or you didn't press it for long enough. The ink never got hot enough to fully vaporize and bond with the material, leading to a weak transfer.
On the flip side, a blurry design or one with "ghosting" (a faint double image) usually points to too much heat or time. The ink essentially "bled" outside the lines as it transferred.
Uneven pressure is the silent killer of a great print. If your heat press isn't clamping down consistently across the entire surface, you'll end up with blotchy, uneven colors. Some spots will look great, while others will be faded. Always start with the recommended settings for your specific blank and adjust from there.
Can I Sublimate on Black or Dark-Colored Shirts?
Unfortunately, standard sublimation just doesn't work on dark fabrics. The process uses transparent dyes that sink into the polyester fibers. Imagine trying to use a yellow highlighter on a black piece of paper—the color just gets lost.
Because the ink becomes part of the fabric, the fabric's own color is the foundation. That’s why white or very light-colored polyester materials give you those stunning, vibrant results you're looking for.
Now, there are some clever workarounds if you're determined to get a design on a dark garment. They all involve putting down a white layer first using special materials like:
- Sublimation-friendly glitter heat transfer vinyl (HTV).
- Printable HTV designed for sublimation, such as Siser's EasySubli.
With these methods, you sublimate onto the vinyl itself, then press the vinyl onto the shirt. It gets the job done, but keep in mind you're adding a layer on top of the fabric, so it won't have that classic no-feel sublimation finish.
What Is "Ghosting" in Sublimation and How Do I Stop It?
Ghosting is that maddeningly fuzzy shadow or faint second image you sometimes see right next to your design. It's caused by the transfer paper shifting—even just a millimeter—while the item is still hot and the ink is actively turning to gas. This can happen right as you open the press or as you're lifting the paper off.
The fix is simple: make sure that paper doesn't move. At all.
Here’s how to prevent ghosting for good:
- Use Heat-Resistant Tape: This is your best friend. Always tape your sublimation paper down securely on at least two sides. For round items like tumblers, getting a clean, tight seam is everything.
- Open the Press Slowly: Don't pop the press open aggressively. A sudden rush of air can lift the paper and cause it to shift. Open it with a smooth, controlled motion.
- Peel with Confidence: Let the item cool for just a moment, then peel the paper back in one quick, fluid motion. If you hesitate or peel too slowly, you risk the paper shifting and smudging the hot ink.
Getting a feel for the "why" behind these rules is the fastest way to get past the trial-and-error phase. Once you understand the process, you'll be able to troubleshoot any issue and start producing consistently beautiful, professional-quality products.
At Raccoon Transfers, we specialize in providing high-quality, easy-to-use DTF transfers that bring your creative visions to life on any fabric. Explore our services and start creating today.