
How to Start a Tshirt Business From Home A Practical Guide
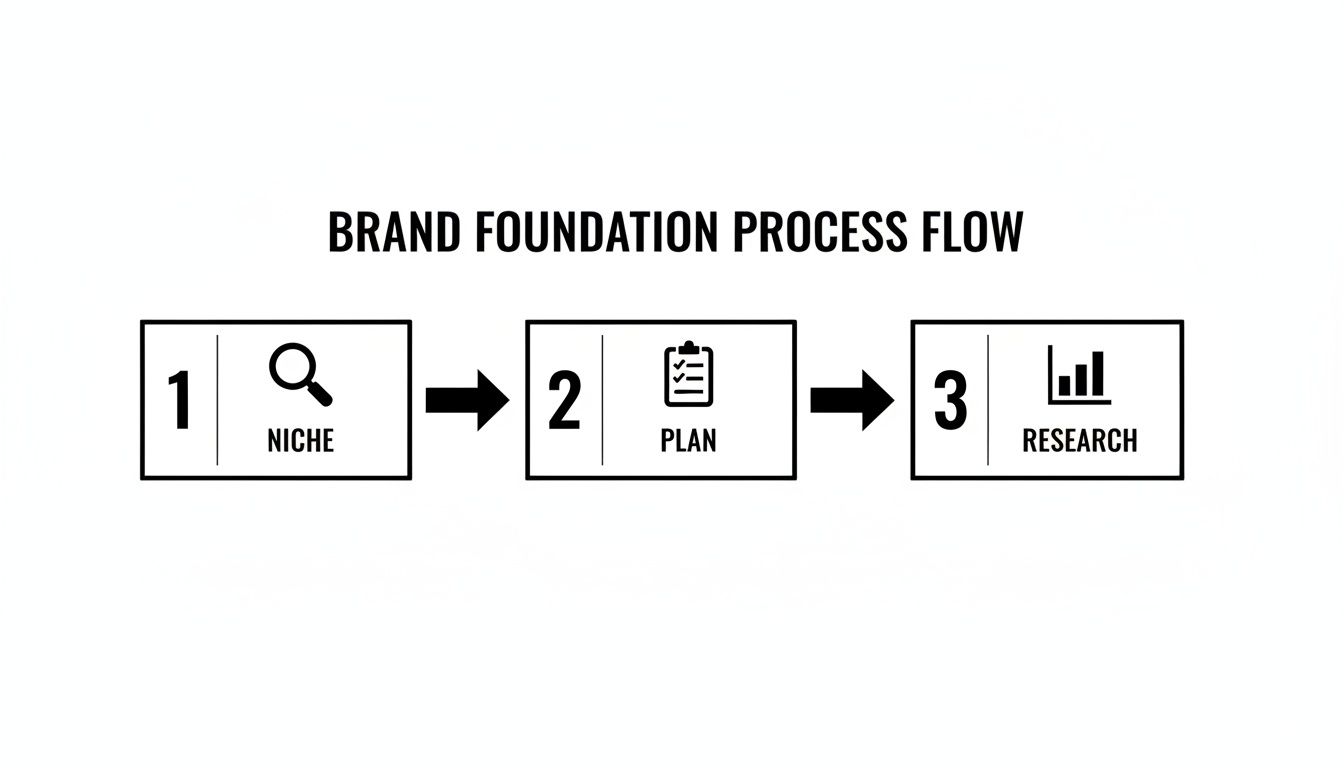
Starting a t-shirt business from your own home really boils down to three things: finding a profitable niche, drafting a simple game plan, and locking down a high-quality way to produce your shirts. Thanks to modern tools like DTF transfers, you can completely sidestep the huge upfront costs of equipment and build a legit brand right from your kitchen table.
Building Your T-Shirt Brand Foundation
Before you ever press a single shirt, the most important work you'll do is sketching out your vision. A killer t-shirt brand isn't just about slapping cool designs on fabric; it's a real business, and like any real business, it needs a solid foundation. Skipping this part is a rookie mistake that can sink you before you even start.
The custom apparel market is absolutely booming. We're talking about a global market valued at $9 billion that's expected to rocket to $13.55 billion by 2029—that’s a growth rate of 10.8% every year. This massive demand comes from everywhere, from corporate branding to the unstoppable athleisure trend, creating a huge runway for new entrepreneurs.
With so much opportunity comes a lot of noise. This is where your brand strategy becomes your secret weapon. Your goal isn't to sell generic shirts to everyone. It's to build a brand that a specific group of people truly connects with.
Finding Your Profitable Niche
A niche is way more than just a topic; it's a community. It’s a group of people who share the same passions, inside jokes, or identities. A vague idea like "funny t-shirts" is a dead end because it’s incredibly crowded. A strong niche, on the other hand, is specific and often overlooked.
Let's drill down.
- Broad Idea: T-shirts for pet lovers. (Too big.)
- Niche: T-shirts for Corgi owners. (Getting warmer.)
- Micro-Niche: T-shirts that celebrate the hilariously stubborn personality of Corgis. (Now we're talking!)
Getting this specific makes everything easier. You can create designs that feel genuine, and you know exactly where to find the people who will instantly get it. Think about the communities you're already in—your hobbies, your profession, your city. Your own insider knowledge is a huge advantage.
Crafting a Simple Business Plan
Look, a business plan doesn't need to be a 50-page thesis you'd submit for an MBA. For a home t-shirt business, a simple one-page plan is perfect. Think of it as your North Star, the document you'll glance at to make sure you're still heading in the right direction.
Your initial business plan should be a living document, not carved in stone. Its job is to give you clarity and force you to answer the tough questions before you start spending money.
Just focus on answering these core questions:
- What's my brand's mission? What are you about, besides just selling shirts? (e.g., "To create witty, high-quality apparel for rock climbing enthusiasts.")
- Who am I selling to? Get specific. Describe your ideal customer—their age, what they love, and where they hang out online.
- What makes my brand different? This is your unique selling proposition (USP). Is it your distinct art style? The buttery-soft feel of your shirts? Your brand's voice? A great starting point is looking at powerful brand positioning statement examples to see how others define what sets them apart.
- What are my financial goals? Keep it simple. How many shirts do you need to sell each month to make a profit? What's your target profit margin on each shirt?
Choosing Your Business Model: POD vs. Self-Fulfillment
One of the biggest decisions you'll make early on is how you'll actually get your shirts into customers' hands. You've got two main paths: using a print-on-demand (POD) service or buying your own equipment to handle everything yourself. Neither is inherently better—it all depends on your budget, time, and goals.
Here’s a quick breakdown to help you decide.
Business Model Comparison: Print-on-Demand vs Self-Fulfillment
| Feature | Print-on-Demand (Using a service like Raccoon Transfers) | Self-Fulfillment (Buying your own equipment) |
|---|---|---|
| Upfront Cost | Very low. No need to buy a heat press or inventory. You only pay when you make a sale. | High. A good heat press, printer, and initial supplies can cost $3,000+. |
| Profit Margins | Lower per item. The service provider takes a cut for production and handling. | Higher per item. You control costs, leading to better long-term margins. |
| Inventory Risk | Zero. No risk of getting stuck with unsold shirts or designs that don't hit. | High. You have to pre-buy blank apparel and transfers. |
| Control Over Quality | Good. Reputable suppliers offer high-quality prints and consistent results. | Total control. You oversee every single detail from press to package. |
| Time Commitment | Minimal. Your main focus is on design and marketing, not production. | Significant. You're responsible for printing, packing, and shipping. |
| Best For... | Beginners, artists wanting to test ideas, or anyone prioritizing low risk and speed. | Established brands, high-volume sellers, and those who want max control. |
For most people starting out, using a print-on-demand service for DTF transfers is the smartest way to begin. It lets you test the waters without a huge financial gamble. You can always bring production in-house later as your brand grows and you have a better handle on your sales volume.
Validating Your Ideas Before You Invest
The final—and maybe most important—step of building your foundation is good old-fashioned market research. Do not go out and buy a hundred blank shirts or a huge order of transfers based on a gut feeling. You need proof that people actually want to buy what you're selling.
It's easier than you think. Post your mockup designs in relevant Facebook groups or on a subreddit for your niche and ask for honest feedback. Run a quick poll on your Instagram stories. Pay attention to which designs get the most likes, comments, and DMs.
This early data is gold, and it costs you nothing but a little bit of time. Once you have a clear vision and designs you know people are excited about, you’re ready to tackle the tactical side of your business, which includes developing winning marketing strategies for your clothing brand.
Choosing Your Production Method and Supplies
Alright, let's get to the heart of it: turning those cool ideas into actual, wearable t-shirts. How you decide to make your shirts is one of the most critical decisions you'll make, impacting everything from your startup cash to how you spend your days.
Sure, old-school methods like screen printing exist, but they’re often a non-starter for a home setup. Think bulky equipment, messy inks, and the pressure to print huge batches. Thankfully, modern tech gives you much better, more flexible options.
Before you press a single shirt, though, your brand's foundation needs to be solid. The work you did earlier—finding your niche, making a plan, and doing your research—is what makes this next part work.
When you know exactly who you're selling to, you can make production choices that actually serve your market and your business model.
Why Direct-To-Film Transfers Are a Game-Changer for Home Businesses
If there's one method that has totally changed the game for small, home-based brands, it's Direct-to-Film (DTF). The process is straightforward: your design is printed onto a special film, and you use a heat press to apply it to the shirt. It's simple, clean, and the results are incredible.
Here’s why so many startups are leaning into DTF:
- Works on Almost Anything: Seriously. 100% cotton, polyester blends, synthetics—DTF handles them all. The colors stay bright and bold across different materials, giving you a ton of creative freedom.
- Feels and Lasts Like a Premium Product: DTF prints are soft and flexible, not thick and plasticky. They hold up amazingly well to washing without cracking or fading. That's how you get happy, repeat customers.
- Print What You Need, When You Need It: Forget about boxes of unsold shirts gathering dust. With DTF, you can order transfers one at a time if you want. This on-demand approach means you never have to guess which designs will be a hit.
By using a transfer partner like Raccoon Transfers, you sidestep the need to buy your own multi-thousand-dollar printer. That frees up your budget for what really matters early on: killer designs and smart marketing. If you want to dive deeper into the pros and cons of different methods, check out our guide on printing methods for t-shirts.
Sourcing Your Blank T-Shirts
Your design could be a masterpiece, but if you print it on a cheap, scratchy t-shirt, you've already lost. The blank garment is half the product. Finding a go-to source for quality blanks that match your brand's vibe and price point is non-negotiable.
Here’s a quick rundown of what you’ll be looking at.
| Material Type | Feel & Best Use | Considerations |
|---|---|---|
| 100% Cotton | Soft, breathable, and a classic choice. Great for everyday wear. | Can be prone to shrinking if not pre-shrunk. Look for ringspun for extra softness. |
| Polyester Blends | Durable, moisture-wicking, and less prone to wrinkling. Ideal for athleisure. | Can sometimes feel less breathable than pure cotton. A 50/50 blend offers balance. |
| Tri-Blends | A mix of cotton, polyester, and rayon. The softest, most premium feel. | Typically the most expensive option, but offers superior comfort and drape. |
My advice? Don't just order blindly from a website. Get sample packs from a few different wholesale suppliers. Feel the fabric, run them through the wash, and press one of your DTF transfers on them. See how it all comes together before you commit to buying in bulk.
Setting Up an Efficient Home Workspace
You don’t need a factory. A dedicated corner of a spare room, your garage, or even a section of the living room can be your entire production hub. The key isn't space; it's organization.
At a minimum, you’ll need four things:
- A Sturdy Table or Workbench: This is for your heat press. Make sure it's at a comfortable working height—your back will thank you.
- Heat Press: A 15x15 inch clamshell or swing-away press is the perfect starting point. It’s a worthwhile investment that delivers far more consistent and professional results than an iron ever could.
- Organized Storage: Use clear bins or simple shelves to keep your blank shirts sorted by size and color. Your DTF transfers should be kept flat, maybe in folders or shallow drawers, to keep them pristine.
- A Packing Station: Keep everything you need for shipping in one spot. Poly mailers, your shipping scale, label printer, and any extras like thank you cards should be within arm's reach.
The secret to a smooth workflow is organization. A cluttered space leads to mistakes and wasted time. By creating designated zones for pressing, folding, and packing, you can fulfill orders quickly and accurately.
The data backs this up. The direct-to-garment market is growing at a 4.4% CAGR, but DTF offers even more flexibility, letting you print on almost anything. You could easily sell a t-shirt for $25 that costs you around $10 to make, leaving a solid profit. And with personalized orders averaging $34.57 because 62% of shoppers want unique items, the upside is huge. Using a service like Raccoon Transfers for UV-DTF also lets you easily expand into hard goods like mugs and phone cases for schools or local events, opening up entirely new revenue streams.
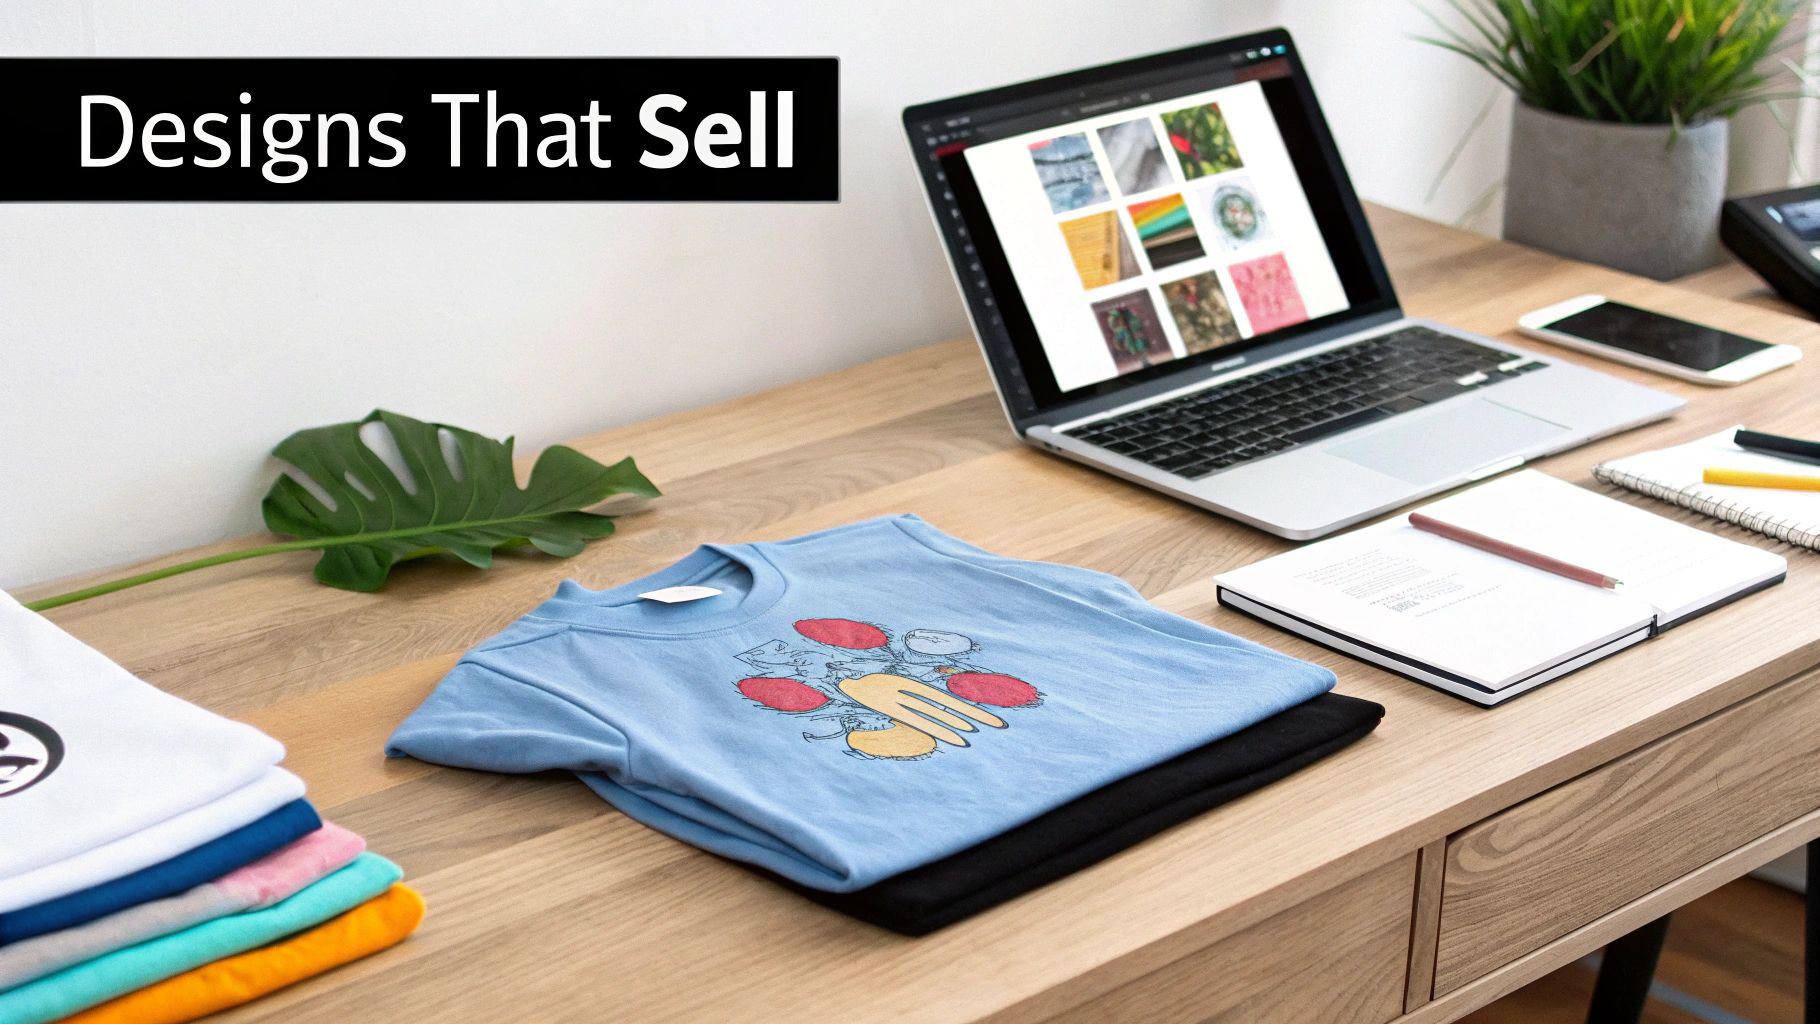
Creating Designs That Actually Sell
Let's be blunt: the most perfectly printed t-shirt in the world won't sell if the design is a dud. Your artwork is everything. It's what grabs attention, connects with a buyer, and ultimately makes the sale. And the opportunity is huge—graphic tees account for a staggering 57% of the total t-shirt market revenue. This proves people are actively looking for unique, eye-catching designs.
Figuring out how to get those designs is one of the first, most important hurdles to clear.
But don't panic if you're not a seasoned graphic artist. Some of the most successful shirts I've seen are just clever text or simple, clean graphics. The secret isn't artistic genius; it's creating something that truly speaks to your specific audience.
Sourcing Your Artwork
So, where do these amazing designs come from? You've got three main options, and the best one for you really depends on your skills, budget, and how hands-on you want to be.
- DIY Design: If you've got a creative streak, designing your own art is the most direct and budget-friendly path. You don't need a fancy degree, either. Tools like Canva Pro are surprisingly robust for creating print-ready files. For those who want to go pro, Adobe Illustrator is still the king for vector art.
- Hire a Freelancer: This is a great middle-of-the-road option. You can find incredibly talented artists on platforms like Upwork or Dribbble who can turn your rough idea into a polished, professional design. You get a completely unique piece of art without the long-term commitment of hiring an employee.
- License Pre-Made Designs: Want to move fast? Marketplaces like Creative Market are treasure troves of high-quality graphics ready for commercial use. Just buy the license, and you're good to go. The only catch is that other people can buy and use the same designs, so it might not be entirely exclusive to your brand.
My Two Cents: If you hire a freelancer, give them a detailed creative brief. Don't just say "make me something cool." Show them examples of styles you like, describe your target customer, and explain your brand's personality. The clearer you are upfront, the faster you'll get a design you absolutely love.
Preparing Your Files for Flawless Printing
Okay, you’ve got a killer design. Now you have to make sure it prints perfectly. Submitting a file in the wrong format is a rookie mistake that leads to blurry, amateur-looking shirts. Getting this right is non-negotiable.
For DTF transfers, the gold standard is a 300 DPI PNG file with a transparent background.
Let’s quickly unpack what that means:
- 300 DPI (Dots Per Inch): This is all about resolution. A 300 DPI file ensures your final print is crisp and sharp, not a pixelated mess.
- PNG File: This file type is key because it supports transparency.
- Transparent Background: This is absolutely critical. If your design has a white box around it in the file, that white box will be printed onto your shirt. A transparent background ensures only your actual design gets transferred.
Always, always double-check these specs before uploading your art to a print service like Raccoon Transfers. A few seconds of review can save you the time, money, and frustration of a botched order.
The Power of the Gang Sheet
Want a pro tip that will immediately boost your profit margins? Learn to love the gang sheet.
Instead of ordering one transfer for each individual design, a gang sheet lets you arrange multiple designs—even different ones—onto a single large transfer sheet. You pay for the sheet, not for each design on it.
For example, say you have a big design for the front of a shirt, a small logo for the pocket, and another graphic for the sleeve. You could place all three on a single 22x60 inch sheet. This is a game-changer. Your cost-per-print plummets. It’s an essential move for anyone serious about making real money from a home-based business.
Getting Your T-Shirt Pricing Right
Let's be honest: figuring out what to charge is one of the most nerve-wracking parts of starting a t-shirt business. If you price too high, you worry no one will buy. But price too low, and you'll quickly find you’re just running a very expensive hobby.
The goal isn't to guess. It's to find that perfect sweet spot where your customers feel they're getting great value, and you're actually building a real, sustainable business.
First, Nail Down Your True Cost Per Shirt
Before you can even think about profit, you need to know exactly how much it costs to create and ship one single t-shirt. This is your Cost of Goods Sold (COGS), and it's the bedrock of your entire pricing strategy. Don't eyeball this—track every single penny.
Your COGS is way more than just the blank tee. It’s every little thing that goes into getting that finished shirt into your customer's hands. Forgetting these small costs is a classic rookie mistake that can silently drain your profits.
Here’s a real-world breakdown of what goes into one shirt:
- The Blank Tee: You're not using flimsy, cheap shirts. A quality, soft-style blank from a good wholesaler will run you about $4.50.
- The DTF Transfer: This is where you can be smart. By ordering your designs on a gang sheet, you can get the cost for a nice 10x12 inch chest graphic down to around $2.00 per print.
- Shipping Supplies: All the little things add up. Think poly mailer ($0.25), a branded thank you card ($0.15), and the shipping label sticker ($0.05).
- Platform & Payment Fees: Selling on a platform like Etsy or Shopify? They take a cut. A good rule of thumb is to budget about 10% of your sale price for fees. If your shirt sells for $28, that's $2.80.
- Your Labor: Pay yourself! Seriously. Your time pressing, folding, and packing is valuable. Let's add $1.00 per shirt to start.
Let’s add it all up: $4.50 + $2.00 + $0.25 + $0.15 + $0.05 + $2.80 + $1.00 = $10.75 Total COGS.
Boom. That’s your magic number. For a deeper dive into this, our guide on how to price custom shirts breaks it down even further.
Setting Your Retail Price for Healthy Margins
Now that you have your COGS, you can set a retail price that actually makes you money. For a home-based business, a 40-60% profit margin is a great target. It leaves you enough room to run ads, offer sales, and reinvest in new designs.
A simple, tried-and-true method is Cost-Plus Pricing. You just take your COGS and multiply it by a set markup. A 2.5x to 3x markup is a fantastic place to start.
Let's use our example from above:
- Your COGS: $10.75
- Retail Price (2.5x markup): $10.75 x 2.5 = $26.87 (Let's round that to a clean $27)
- Retail Price (3x markup): $10.75 x 3 = $32.25 (Or maybe $32)
A price between $27 and $32 is perfectly reasonable for a unique, high-quality shirt. Better yet, it nets you a profit of over $16 on every single sale before you even spend a dime on marketing.
How to Offer Discounts Without Losing Your Shirt
Everyone loves a sale, but you can’t just throw out discounts without a plan. Knowing your COGS gives you the power to make smart decisions.
Thinking about offering free shipping on orders over $50? Now you know that an order with two shirts costs you about $21.50 to produce. That leaves you plenty of margin to eat the $5 shipping fee and still walk away with a fantastic profit.
This is the data-driven approach that separates thriving shops from the ones that fizzle out. The print-on-demand world is exploding, with projections showing 23.3% annual growth through 2033. And while general e-commerce conversion rates are around 1.7%, customers are willing to pay for unique items—the average order for personalized goods is $34.57, according to some apparel industry statistics on goodink.com.
By keeping your costs low with smart moves—like using Raccoon’s gang sheets—you protect your margins and build a business that can last.
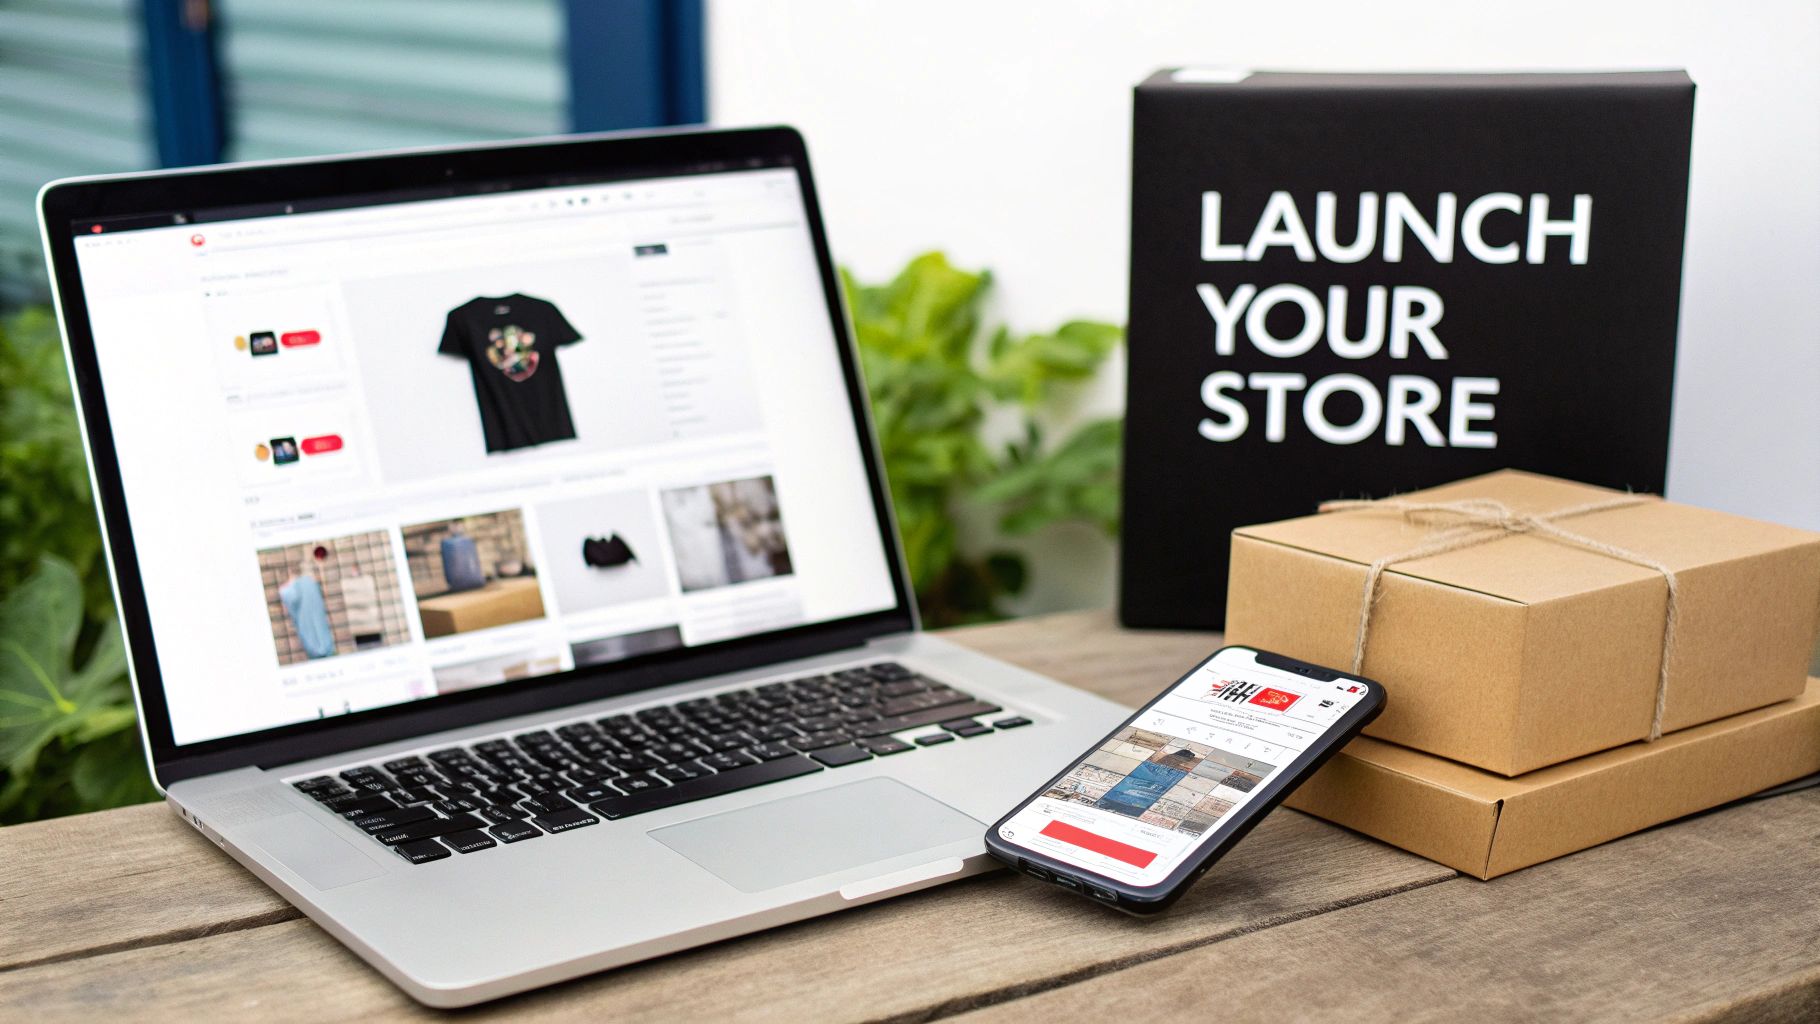
Getting Your Shop Online and In Front of Customers
You've got your designs locked in and your pricing makes sense. It's time for the exciting part: opening your digital doors to the world. This is where your brand finally goes live, but first, you have to decide where to set up shop.
This is a bigger decision than it seems. The platform you choose will influence how your brand grows, how customers interact with you, and what your long-term potential looks like. Really, you have two solid but very different paths you can take.
Marketplace vs. Your Own Store
The first major fork in the road is deciding between jumping into a huge, existing marketplace or carving out your own corner of the internet with a dedicated website.
- Marketplaces (like Etsy): Think of this as setting up a booth in a massive, buzzing farmers market. Etsy already has millions of people walking through its digital aisles, actively looking for unique stuff just like yours. That instant traffic is a huge leg up for a new brand. The trade-off? You're one booth among thousands, all competing for attention.
- Your Own Store (like Shopify): This is the equivalent of building your own standalone boutique on Main Street. You have total control over the paint color, the music, the customer experience—everything. You won't get any "passersby" traffic from the platform itself, but you're building a real asset that is 100% yours.
A killer strategy I've seen work time and again is to do both. Use Etsy as your proving ground to get in front of its massive audience and see which designs pop. At the same time, build your Shopify store as the ultimate destination for your brand.
Crafting Product Listings That Actually Convert
It doesn't matter where you sell; your product listings are your silent salespeople. A great listing doesn't just show a shirt—it tells a story and gives the buyer the confidence to click "Add to Cart."
To do this effectively, you need two things: fantastic visuals and persuasive descriptions.
Create High-Quality Product Photos
Don't worry, you don't need a fancy photo studio. In fact, high-quality mockups are the industry standard and work incredibly well.
- Use Realistic Mockups: Look into services like Placeit or grab some professional Photoshop templates. These let you put your design on a high-resolution photo of a model, helping customers immediately see how the shirt might look on them.
- Show Some Variety: Don't just show one picture. Display the design on a few different shirt colors. It's also a great idea to have a close-up shot that really shows off the detail in your artwork.
- Always Include a Size Chart: This is non-negotiable. Grab the official size chart from your blank apparel supplier and put it right in your photo gallery. This one small step will save you countless headaches and dramatically cut down on returns.
Write Descriptions That Sell
This is your chance to talk directly to your customer. Skip the dry, boring specs. Instead of saying, "This is a 100% cotton t-shirt with a vintage design," try to paint a picture:
"Channel that perfect retro vibe with our ultra-soft vintage-inspired tee. Made from 100% ringspun cotton, it's designed to feel like your favorite, perfectly worn-in shirt from day one."
See the difference? You're selling an experience, not just a piece of fabric.
How to Get Your First Sales (Without a Big Ad Budget)
Okay, your store is live. Now what? Your focus pivots to marketing. The good news is that you don't need to pour thousands into ads right out of the gate. Your initial push should be organic, targeted, and scrappy.
Here are a few tactics that actually work:
- Get Active on Social Media: For any apparel brand, platforms like Instagram and TikTok are pure gold. Post your best mockups, sure, but also share behind-the-scenes clips of you pressing a shirt. Run polls asking your followers which design to drop next. The key is to engage with your community—don't just post and ghost.
- Master the Basics of SEO: Search Engine Optimization isn't just a Google thing; it's absolutely vital on Etsy and Shopify. You have to think like your customer. What words are they typing into that search bar? If you sell a shirt with a sassy Corgi on it, your title can't just be "Funny Dog Shirt." Get specific: "Funny Corgi T-Shirt, Stubborn Corgi Mom Gift, Dog Lover Graphic Tee." Weave those keywords into your titles, descriptions, and tags.
For a deeper dive into making your products easy to find, this ultimate guide to Ecommerce SEO Marketing is an indispensable resource. It's all about helping the right customers find you without you having to pay for every click.
- Join Niche Communities: Find the Facebook groups, subreddits, and forums where your people hang out. Here’s the critical part: become a real member first. Share your passion, give advice, and just be part of the conversation. Then, when the moment feels right, you can share what you've created. People are way more likely to buy from a fellow enthusiast than from a stranger who just drops a link and runs. This is how you build real trust and get your first true fans.
Got Questions? Let's Clear Up the Common Sticking Points
Even with the best game plan, a few nagging questions can slow you down. Let's tackle the stuff that trips up most people when they're just starting a t-shirt business from home. Getting these answers sorted out will give you the confidence to really get rolling.
How Much Cash Do I Actually Need to Start?
Forget the myth that you need a huge bankroll to get into the t-shirt game. If you're smart about it and use a print-on-demand partner for your transfers, you can realistically get off the ground with $100 to $300.
Seriously, that's it. That initial budget is more than enough to cover the absolute essentials without taking a massive financial risk. With that, you can:
- Grab a handful of blank shirts from different brands to see what you like.
- Order a small batch of DTF transfers to make sure the quality is top-notch.
- Snag a website domain and cover the first month of a basic Etsy or Shopify plan.
- Have a little left over to commission your first few designs or buy some pre-made ones.
This lean approach means you don't have to drop thousands on a heat press or DTF printer right away. More importantly, you won't be stuck with a garage full of shirts that aren't selling.
What's the Deal with the Legal Stuff?
To run a real business (and not just a hobby), you’ll need to make it official. Don't worry, for most people starting at home, this is pretty painless.
You'll generally choose between a Sole Proprietorship or a Limited Liability Company (LLC). A Sole Proprietorship is the quick and easy route—the business is legally tied to you. An LLC, on the other hand, creates a legal wall between your personal finances and your business, which is a very smart move. It protects your personal assets if the business ever runs into trouble.
You’ll also need to check with your local city or county government about a home business permit. And don't forget to register for a sales tax permit in your state. This lets you legally collect sales tax from your customers and send it to the government.
A quick chat with a local small business advisor or using an online legal service can save you a world of headaches later. It’s a small upfront cost for some serious peace of mind.
What Is a Gang Sheet, and Why Should I Care?
Think of a gang sheet as your secret weapon for profitability. It’s one big sheet of transfer film where you can cram, or "gang up," a bunch of different designs to be printed all at once.
Instead of paying for each little design one by one, you pay a single price for the whole sheet. The cost per print plummets. For instance, you could easily fit two big front-of-shirt designs, four smaller pocket logos, and a few sleeve hits all on one 22x60 inch sheet. You pay for the sheet, not the number of designs.
Honestly, using gang sheets is a non-negotiable if you're serious about making real money with your t-shirt business.
How Do I Actually Ship Orders from My House?
Getting a small, dedicated shipping station set up will make your life so much easier. All you really need to start are some poly mailers in a couple of sizes, a cheap digital shipping scale (for accurate weights!), and a thermal label printer. Trust me, a thermal printer will save you a fortune on ink.
Once an order hits your inbox, the process is simple:
- Press the DTF transfer onto your blank tee.
- Fold it up nicely and slide it into a mailer.
- Weigh the package and buy your postage right from your Shopify or Etsy dashboard. You can also use a service like Pirate Ship to get discounted rates.
- Print the label, stick it on, and either schedule a pickup with your mail carrier or just drop it off.
Having an organized spot for this transforms shipping from a total drag into a smooth, simple part of your daily routine.
Ready to turn your creative ideas into a profitable business? With Raccoon Transfers, you get vibrant, durable DTF prints with next-day shipping, making it easy to start and scale your brand from home. Start creating with Raccoon Transfers today!