
Master Your Product Photography Lighting Setup for T-Shirts
Let’s be honest. A bad product photo is the fastest way to kill a sale. You can have the best t-shirts, the most vibrant DTF designs, but if the lighting is off, you're dead in the water. A good product photography lighting setup is about so much more than just making your t-shirt visible; it's about showing off the texture of the fabric, getting the colors just right, and creating a professional shot that builds instant trust.
This guide is your roadmap to getting it right—every single time.
Why Your T-Shirt Photos Aren't Converting
It's a frustrating feeling. You've got a killer t-shirt design, but the photos just look... flat. Lifeless. The difference between an amateur snapshot and a pro-level, sales-driving image almost always boils down to lighting. Bad lighting makes colors look washed out, hides the fine details in the fabric, and casts weird shadows that make your whole brand feel cheap.
Think about it: your customers can't touch or feel the t-shirt online. Your photos have to do all the work. They need to sell the quality of the material and show off how crisp your designs are. This is especially true if you’re using modern printing methods like Direct-to-Film (DTF) transfers. The rich colors and sharp lines of a DTF design look incredibly vibrant, but that vibrancy is completely lost under harsh, uneven light.
The Real Cost of Bad Lighting
Poor lighting isn't just about a "meh" photo; it's actively costing you money. When a potential buyer sees a picture where the t-shirt's colors look wrong or the details are lost in shadows, they start to doubt the quality of the actual product. That hesitation is a massive barrier to making a purchase.
A solid product photography lighting setup is your solution. It tackles the biggest problems head-on:
- Nails the Color Accuracy: Good lighting captures the true color of the t-shirt fabric and the print. This means fewer returns from customers who received something that didn't match the photo.
- Shows Off Texture: Soft, diffused light brings out the weave and feel of the cotton, helping customers imagine what the t-shirt is like to wear.
- Creates Depth and Shape: Placing your lights strategically gives the t-shirt a three-dimensional form, so it doesn't look like a flat, boring cutout.
This isn’t just a hunch; the industry is betting big on quality visuals. In 2024, the market for photography lighting equipment was valued at around USD 5.15 billion and is expected to hit USD 7.80 billion by 2033. That boom shows just how critical professional presentation has become.
Great photography is your first handshake with a customer. It immediately builds trust and signals that you're serious about quality—not just in your t-shirts, but in how you present your entire brand.
Of course, great photos are just one piece of the puzzle. You also need to improve website conversion rates through a great overall user experience. But it all starts with that first impression. Let's dive into the specific gear and techniques you need to make your t-shirts pop.
Building Your T-Shirt Photography Lighting Kit
Choosing the right gear for your lighting setup can feel like navigating a maze. Let's cut through the noise and focus on what truly matters for making t-shirts—especially those with vibrant DTF prints—look absolutely incredible. We’ll break down the essentials, settle the debate between continuous lights and strobes, and show you how to build a kit that gets the job done right.
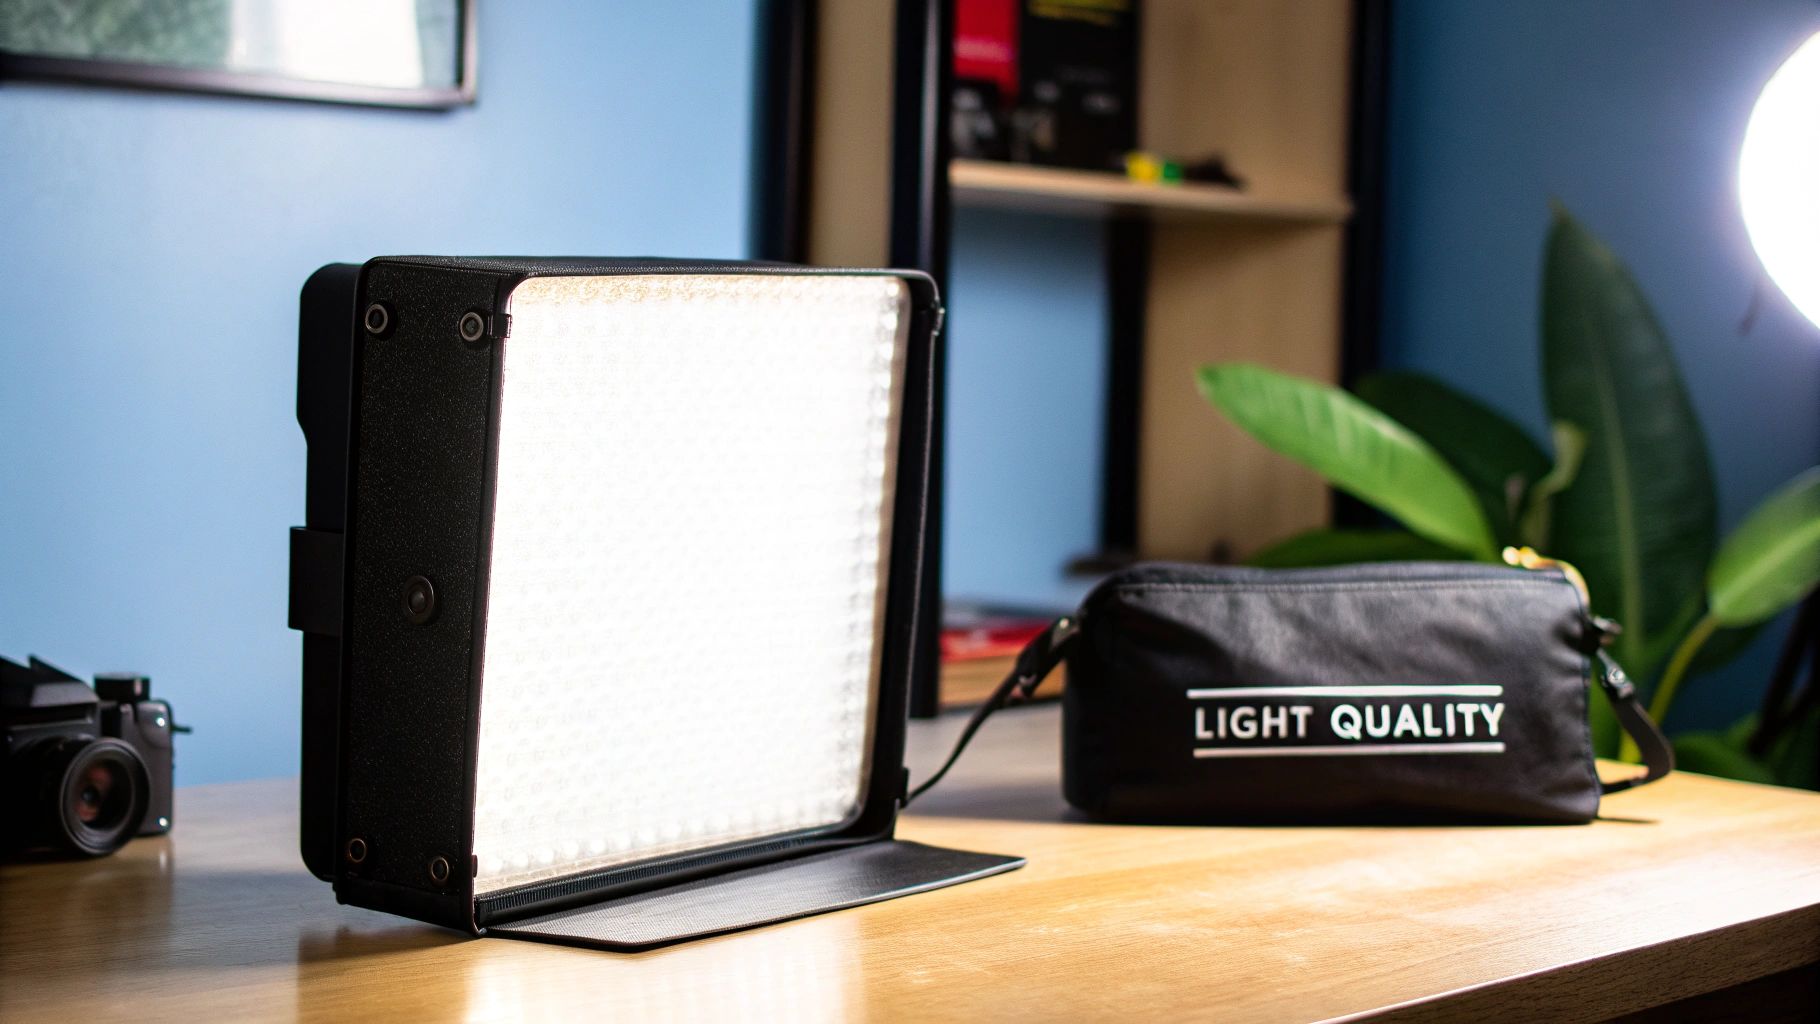
The heart of any modern kit is the light source itself. These days, I almost always point people toward LED continuous lights, especially for smaller studios. They run cool, sip energy, and the best part? Many models let you adjust color temperature on the fly, which is a massive time-saver for getting t-shirt colors just right.
This isn't just a trend; it's a fundamental shift in the industry. LED systems now make up more than 50% of all photography lighting gear sold. That dominance is only growing, with the market projected to hit around USD 4.8 billion by 2030. The reasons are simple: they're efficient, portable, and incredibly versatile.
Continuous Lighting vs. Strobes: What’s Best for T-Shirts?
One of the first big decisions you'll make is whether to go with continuous lights (which stay on) or strobes (which flash). Both can give you stunning shots, but they fit different workflows, particularly when you’re shooting t-shirts.
If you're just starting, continuous LED lights are your best friend. Their biggest advantage is the "what you see is what you get" (WYSIWYG) experience. You can move the light around and instantly see how the highlights and shadows fall on the t-shirt, making adjustments feel natural and intuitive. This immediate feedback flattens the learning curve dramatically.
Strobes, or flashes, are a different beast. They deliver an incredibly powerful burst of light in a fraction of a second. This power does two things brilliantly: it freezes motion, resulting in exceptionally crisp fabric textures, and it can easily overpower any ambient light in your room, giving you total control over the scene.
My Take: Continuous lights are fantastic for learning and are a must-if you plan to shoot video. They make the setup process intuitive. Strobes, however, offer unmatched power to freeze motion and pull out the sharpest possible details in the t-shirt fabric.
For most sellers, especially if you're working in a tight space or on a budget, a quality LED continuous light kit is the more practical and flexible place to start.
Choosing Your Light Source for T-Shirt Photography
Making the right choice between continuous and strobe lighting really comes down to your specific needs, budget, and how you prefer to work. This table breaks down the key differences to help you decide.
| Feature | Continuous Lighting (LED) | Strobe (Flash) Lighting |
|---|---|---|
| Ease of Use | Very beginner-friendly; what you see is what you get (WYSIWYG). | Steeper learning curve; requires test shots to see the result. |
| Power Output | Lower power output, may struggle to overpower bright ambient light. | Extremely high power output, freezes motion and captures crisp detail. |
| Video Capability | Excellent. The go-to choice for creating video content. | Not suitable for video; they only produce a brief flash of light. |
| Heat & Energy | Runs cool and is very energy-efficient. | Can generate heat, especially high-end models; uses power in bursts. |
| Cost | Generally more affordable for a complete starter kit. | Can be more expensive, especially for high-speed sync models. |
| Best For | Beginners, e-commerce stores shooting video, and small studios. | High-volume studios, action shots, and achieving maximum sharpness. |
Ultimately, both paths lead to great photos. Continuous lighting offers a more forgiving and versatile entry point, while strobes are the tool of choice for photographers who need absolute power and control to capture flawless detail.
Essential Light Modifiers You Can't Skip
The light source is just the starting point. Raw, unmodified light from a bulb or LED is harsh, creating hard-edged shadows that make t-shirts look flat and unflattering. Light modifiers are what you use to shape, soften, and control that light. They are the true secret to a professional look.
Here are the absolute must-haves for t-shirt photography:
-
Softboxes: Think of a softbox as a lampshade for your studio light. It's an enclosure with a reflective interior and a white diffusion panel on the front. This design takes a small, harsh light source and turns it into a large, soft, and even one. It’s the key to minimizing wrinkles and making vibrant DTF graphics pop without nasty glare. A simple rule of thumb: the larger the softbox, the softer the light.
-
Reflectors: A reflector is your best friend for controlling light on a budget. It's often just a simple white, silver, or gold surface used to bounce light back into the shadows. By placing a cheap white foam board opposite your main light, you can gently "fill" in the dark side of a t-shirt, revealing more texture and detail without needing a second light.
For product shots, mastering white background for product photography is a critical skill, and it all starts with how you control your light. Proper use of softboxes and reflectors is the foundation for getting that clean, seamless look that online marketplaces love.
Building a Starter Kit vs. a Pro Setup
You don’t need to break the bank to get started. A smart, budget-friendly kit can produce amazing images of your t-shirts. A professional setup simply adds more power, durability, and fine-tuned control for high-volume shoots.
The Budget-Friendly Starter Kit (Under $300)
- Lights: One or two LED panel lights or a single COB (Chip on Board) LED. Look for a bi-color model that lets you adjust color temperature.
- Modifiers: One medium softbox (24-36 inches) and a versatile 5-in-1 collapsible reflector.
- Stands: The basic stands included in most kits will be fine to get you going.
The Advanced Professional Setup (Over $1000)
- Lights: Two or three powerful COB LEDs (like an Aputure 120d or similar) or a solid two-strobe kit with a wireless trigger.
- Modifiers: A large octabox (48 inches or more) for your main light, a strip box for creating highlights, plus various reflectors and flags to block light where you don't want it.
- Stands: Heavy-duty C-stands are a must for stability, especially when using boom arms to position lights perfectly.
In the end, your choice comes down to your budget and your ambition. The good news is that the core principles of shaping light are the same, whether you’re working with a single light or a full-blown studio rig.
Proven Lighting Setups for T-Shirts
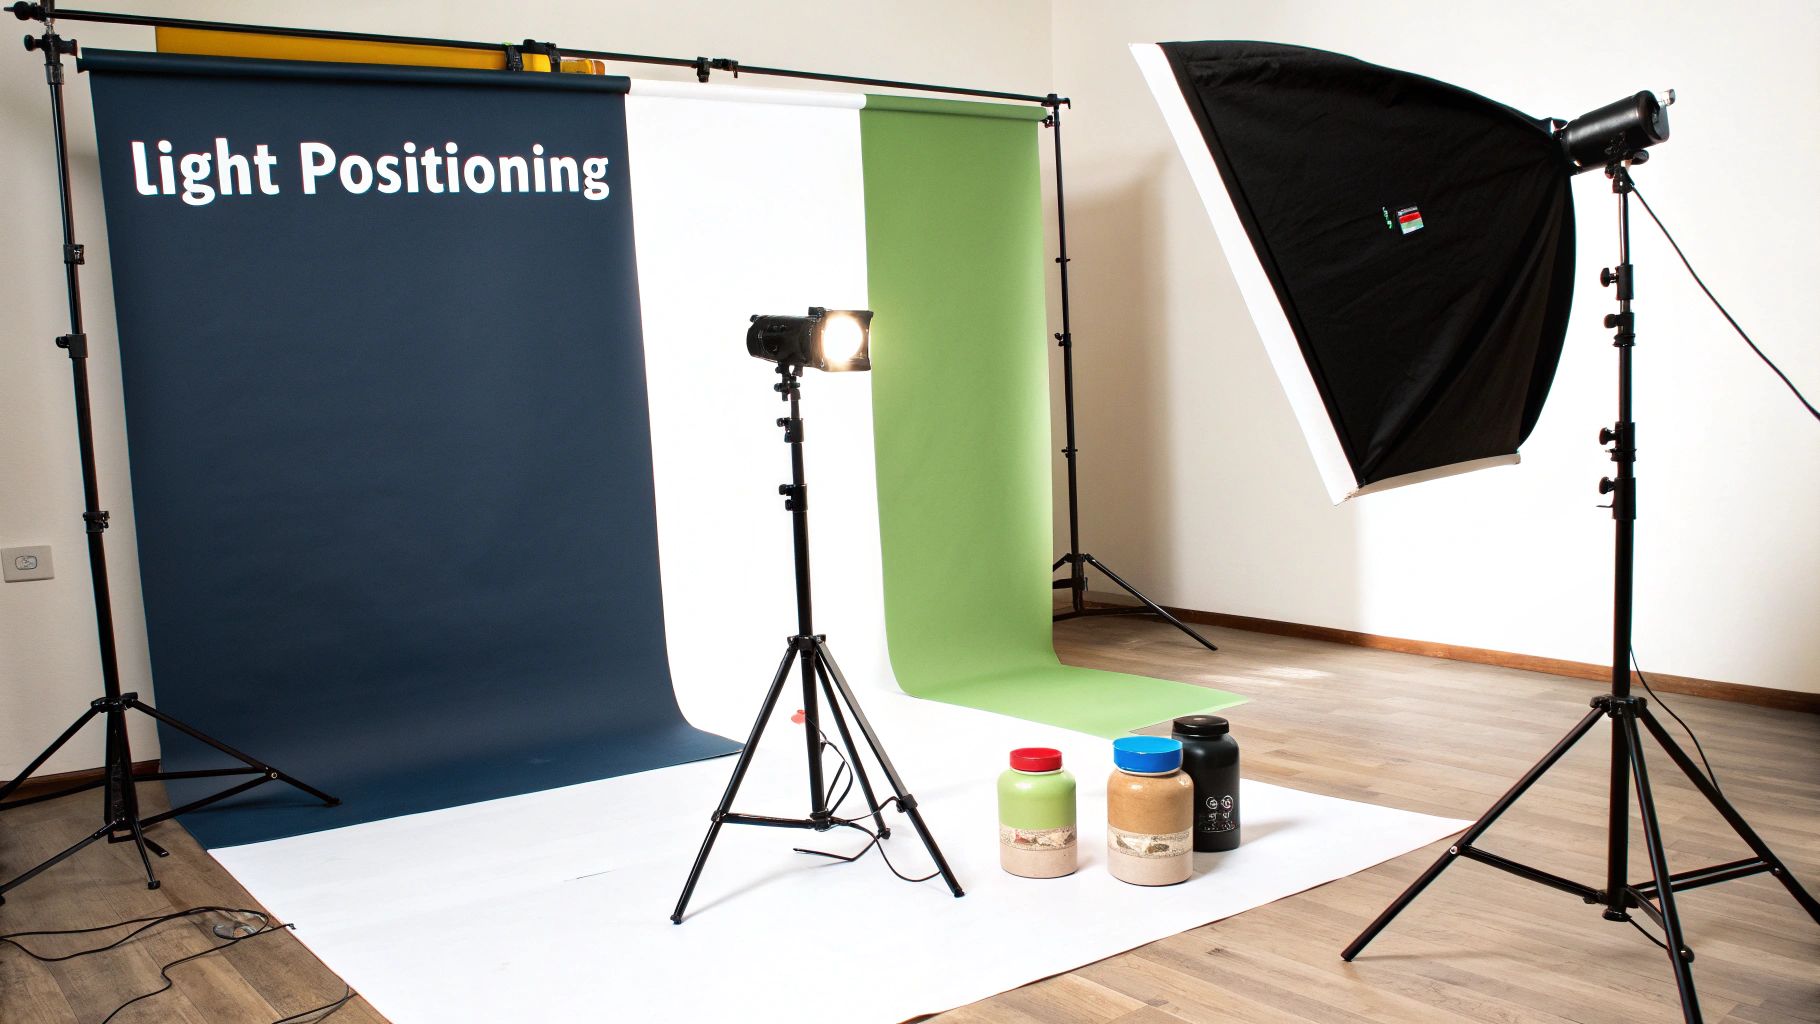
Alright, you've got the gear. Now for the fun part: making your t-shirts look incredible. A professional product photography lighting setup isn't about some secret, complicated formula. It really comes down to understanding how a few key placements can completely transform the look and feel of your apparel.
Let's walk through three of my most reliable setups. These are the workhorses of t-shirt photography, each one designed to make your product—and especially that vibrant DTF transfer—the hero of the shot. We’ll cover everything from a simple, budget-friendly approach to the rig the pros use.
The Versatile One-Light Setup
You don't need a studio packed with expensive gear to get started. I've shot countless professional-grade t-shirt images with just a single light, proving that smart technique always wins over a massive budget. This is the perfect entry point.
The concept is brilliantly simple: you use one main light source (your key light) and a reflector to manage the shadows. This creates a gentle, natural-looking dimension that shows off the fabric's texture without feeling overly staged. It’s a fantastic way to highlight the quality of a garment like a classic heavyweight tee. If you’re shooting something like the popular Gildan Heavy Cotton t-shirt, this setup is a great match for its character.
Here’s the simple recipe for this setup:
- Key Light: Position your main light, fitted with a softbox, at a 45-degree angle to the t-shirt. Have it slightly above the shirt and pointing down. This is the classic angle for creating soft, flattering shadows that give the shirt its shape.
- Reflector: On the opposite side of the shirt, place a white reflector. Honestly, a simple piece of foam board from an art store works perfectly. Its only job is to catch the light from your key light and bounce it back, softening the shadows and bringing out more detail in the fabric.
This setup is my go-to for creating a clean, inviting look that feels authentic and is perfect for brands that want a more natural vibe.
Mastering the Three-Point Lighting Standard
Once you get the hang of things, you'll crave more control. That's where the classic three-point lighting setup comes into play. It’s the industry standard for a reason—it gives you total command over highlights, shadows, and separation, which is how you get that polished, commercial-grade look. I find it’s especially powerful for making DTF designs look incredibly vibrant and almost three-dimensional on a t-shirt.
As the name implies, this setup uses three distinct lights, each with a specific job.
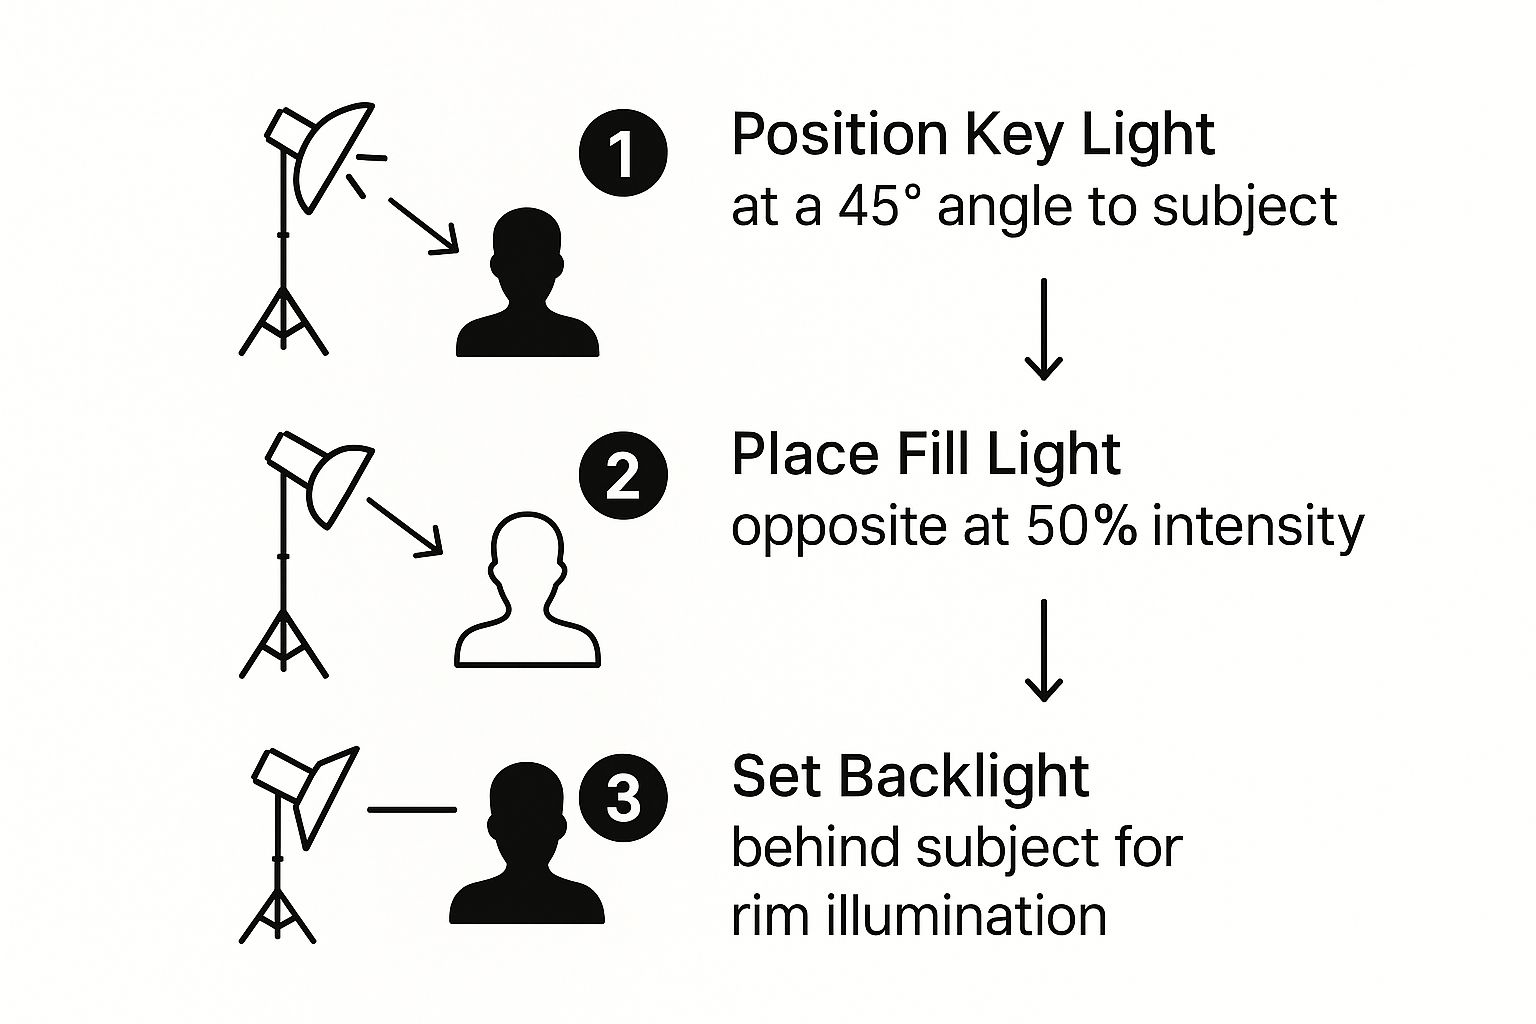
This chart shows how the key, fill, and backlight work in concert to sculpt the t-shirt, creating an image with real depth and clarity.
Let’s break down what each light is doing:
-
Key Light: This is your MVP, just like in the one-light setup. It's the brightest light and is typically placed at a 45-degree angle to establish the main shape and shadows on the t-shirt.
-
Fill Light: Positioned on the opposite side, the fill light's job is to "fill in" the shadows cast by the key light. The trick is to keep some dimension, so you'll want the fill light set to a lower power—usually around 50% of the key light's intensity. This softens shadows without completely wiping them out.
-
Backlight (or Rim Light): This is the secret weapon that makes your t-shirt "pop" off the background. Placed behind the shirt and slightly off to one side, this light creates a subtle, bright outline (a "rim") around the shoulders and sleeves. It’s what gives the product a defined edge and separates it from the backdrop.
The real magic of three-point lighting is in the balance. By playing with the power ratio between your key and fill lights, you can completely change the mood—from a dramatic, high-contrast look to a bright, clean e-commerce shot.
The Flawless Clamshell Lighting Setup
When the goal is an ultra-soft, nearly shadowless image that puts every last detail and color front and center, the clamshell setup is your answer. It gets its name from its shape: two lights are positioned in front of your t-shirt like an open clamshell, bathing it in beautifully even, flattering light.
This technique is exceptional for flat-lay photography or any shot where the graphic is the absolute star. Because the light wraps around the shirt from two frontal angles, it smooths out fabric wrinkles and makes colors look incredibly rich and saturated. This is my personal favorite for showing off intricate DTF prints, as it slashes glare while pushing color vibrancy to the max. DTF designs look especially vibrant under this lighting.
To build a clamshell setup:
- Main Light: Place one softbox above the t-shirt, angled down at about 45 degrees. This is your primary overhead light source.
- Second Light: Place another light (or even a large reflector) below the t-shirt, angled up toward it. This bottom light fills in any shadows from underneath, creating that signature soft, clean, and modern look.
The clamshell arrangement delivers an even illumination that’s perfect for a high-end, polished feel. It does take a bit more space and gear, but the flawless results are often exactly what a premium t-shirt needs. It’s a powerful technique to have in your back pocket.
Lighting Techniques for Vibrant DTF Prints on T-Shirts
Photographing t-shirts with Direct-to-Film (DTF) transfers brings a unique challenge to the studio. These prints are famous for how vibrant their colors are and their sharp detail, but that same pop can create a ton of distracting glare if your lighting is off. The wrong setup can make a premium, soft-touch transfer look like a cheap, shiny sticker.

The trick is to kill the reflections while making the colors sing. Your whole job is to prove the quality of the print by showing off its true texture and color depth. This means moving beyond a simple one-light setup and using techniques that can handle reflective surfaces while still making the t-shirt fabric look great.
The Power of Large, Diffused Light
The single best way to beat glare on a DTF print is to use a massive, soft light source. I mean, think bigger than you probably are right now. A large softbox is good; a huge diffusion panel (often called a scrim) placed between your light and the t-shirt is even better.
When your light source is big compared to the t-shirt, the light just wraps around it. This creates soft, gentle shadows and kills those harsh little hotspots of glare, known as specular highlights.
Position this big, soft light at roughly a 45-degree angle to the shirt. This angle gives enough direction to show the shape and texture of the fabric, but it won't cast long, ugly shadows across your design. The soft light reveals the quality of the print instead of hiding it behind a plastic-like sheen, letting the vibrant DTF colors shine.
If you want to really get into what makes these prints so special, our guide on DTF custom transfers explains the technology behind their vibrancy and durability—the exact qualities your photos need to show.
An Advanced Trick: Cross-Polarization
Sometimes, you need to eliminate every last bit of glare to reveal the truest, most saturated color possible from your DTF print. For that, we pull out an advanced pro technique called cross-polarization. It sounds complicated, but it's not. You’re just using polarizing filters on both your light and your lens to cancel out reflected light.
Think of light waves bouncing off the DTF print in every direction. A polarizing filter is like a bouncer at a club door—it only lets light waves lined up in one direction get through.
Here’s the setup:
- Filter Your Light: First, place a polarizing gel or sheet over your light source. This makes all the light hitting your t-shirt "polarized."
- Filter Your Lens: Next, screw a circular polarizing filter (CPL) onto your camera lens.
- Cross the Streams: Now for the magic. As you look through your camera's viewfinder, rotate the filter on your lens. You will literally watch the reflections on the DTF print vanish right before your eyes.
This is a total game-changer for capturing the true matte finish and rich texture of a quality DTF print. The camera sees the pure ink color without any glare getting in the way, resulting in images that look incredibly deep, vibrant, and high-end.
Nailing Your Camera Settings for DTF on T-Shirts
Your lighting can be perfect, but bad camera settings will ruin the shot every time. When shooting t-shirts with DTF prints, precision is everything. Three settings, in particular, will make or break your final image.
Custom White Balance
Auto White Balance is easily tricked. The colors in your studio or even the color of the t-shirt itself can throw it off, leaving your photos with a weird blue or yellow tint. To guarantee color accuracy, you have to set a custom white balance.
Grab a simple gray card, place it where your t-shirt will be, and take a picture of it. Then, go into your camera's menu and tell it to use that photo as its reference for what "neutral" gray looks like. This ensures your whites are actually white and the vibrant colors in your DTF design are spot-on.
Aperture for Maximum Sharpness
You want every thread of the t-shirt fabric and every crisp line of the transfer to be tack sharp. To do that, you need a smaller aperture to increase your depth of field. For this kind of t-shirt photography, an aperture between f/8 and f/11 is the sweet spot. This range gives you incredible sharpness across the whole shirt without causing diffraction—a phenomenon that can actually soften the image at tiny apertures like f/22.
Low ISO for a Clean Image
Because you have total control over the light in your studio, there's no reason to crank up your camera's sensor sensitivity. Keep your ISO locked at its lowest native setting, which is usually ISO 100 or 200. This gives you the cleanest, most detailed photo possible, completely free of the grainy digital "noise" that high ISOs create. Together, these settings help you prove just how good your t-shirt is before a customer ever touches it.
Dialing In Your Camera and Studio Settings
Getting your lights perfectly placed is a huge step, but it’s only half the story. If your camera isn't set up to properly capture all that beautiful light, your hard work will be for nothing. Think of your camera and your lights as a team—they have to be on the same page. Let's walk through the essential camera settings and how to control your studio environment to nail those professional t-shirt photos every single time.
This all comes down to the exposure triangle: aperture, shutter speed, and ISO. The good news? In a studio, you're in complete control of the light, which makes this much, much easier than shooting outdoors. The goal here is simple: images that are sharp, clean, and color-accurate.
The Foundation: ISO for Clean Images
Let's start with the easiest one, the setting you should "set and forget": ISO. This simply measures your camera sensor's sensitivity to light. While a high ISO can be a lifesaver in dark situations, it comes with a major downside—digital noise. That ugly, grainy texture can instantly make your t-shirt look cheap.
Since you’re using powerful studio lights, you have more than enough light to play with. There is absolutely no reason to crank up the ISO.
Set your camera's ISO to its lowest native setting. For most cameras, that's ISO 100 or ISO 200. This is your ticket to the cleanest, most detailed image possible, ensuring your t-shirt and its vibrant DTF print look absolutely pristine.
Choosing the Right Aperture for T-Shirt Sharpness
Next up is aperture. This setting controls the opening in your lens and, more importantly, your depth of field—how much of the image is in focus. A blurry, "artistic" background is great for portraits, but it's a disaster for e-commerce. Your customers need to see every last detail of the t-shirt.
To get everything sharp from the collar to the hem, you'll want to use a smaller aperture, which means a higher f-number. I've found that a range between f/8 and f/16 is the sweet spot for apparel. This ensures the entire t-shirt and the details of any custom graphic are perfectly sharp. Getting the graphic size right is also a big part of this; a well-proportioned design is much easier to capture clearly. We've got more tips on that in our guide covering graphic size for a t-shirt.
Perfecting Color with a Custom White Balance
If there's one thing that will kill a sale, it's inaccurate color. When a customer's "white" t-shirt arrives looking slightly yellow or blue, you’re practically inviting returns. Your camera’s Auto White Balance tries its best, but it often gets confused by the very lights you've set up.
The only way to guarantee true-to-life color is to set a custom white balance with a gray card. It’s a simple trick that makes a world of difference.
- Pop a neutral gray card into your scene, right where the t-shirt will be.
- Snap a quick photo of just the card, making sure it fills most of the frame.
- Go into your camera’s menu, find the custom white balance option, and tell it to use that photo as its reference.
Boom. Your camera now knows exactly what pure gray looks like under your specific lights, and it will render every other color on your t-shirt with perfect accuracy.
Eliminating Ambient Light and Controlling Your Environment
Finally, it's time to take full control of your shooting space. The only light that should be hitting your t-shirt is the light you've so carefully placed. Stray light from windows, overhead fixtures, or even a computer monitor can contaminate the shot, creating weird color casts and unwanted reflections.
Before you start shooting, kill every other light source in the room. Shut the door, close the blinds, and turn off anything that glows. Your shutter speed becomes your final weapon here. When using strobes, a shutter speed around 1/125s or 1/160s is usually fast enough to overpower any lingering ambient light, ensuring your lighting setup is the one and only star of the show.
This level of control isn't just a niche trick; it's a global standard. North America and Europe have long led the market for professional photography lighting, with Asia-Pacific catching up fast. In 2023, the U.S. market, in particular, saw huge demand for advanced gear, all driven by the universal need for top-tier visuals in e-commerce. You can learn more about the growth of the photography lighting market and see just how big this has become.
Common Questions About T-Shirt Photography Lighting
Even with the best instructions, you'll always run into little snags once you're in the studio trying to get that perfect shot. Let's walk through some of the most common questions that pop up when lighting t-shirts, so you can troubleshoot on the fly and keep your photoshoot moving.
How Do I Get a Pure White Background?
Getting that clean, e-commerce look with a pure white background isn't as simple as just using a white wall or paper. The trick is to light your background and your t-shirt separately.
I usually place one or two lights aimed only at the background. The key is to make them way brighter than the main light on your t-shirt—think about one to two stops brighter. This technique intentionally overexposes the backdrop until your camera sees it as pure, brilliant white. It completely erases any texture, shadows, or grayness.
If you have a light meter, it’s the best way to dial this in. If not, just check your camera’s histogram. You’re looking for a big spike pushed all the way to the right edge.
What Is the Best Way to Deal with Wrinkles?
Wrinkles are the absolute nemesis of clean t-shirt shots. Honestly, the best solution happens long before you start adjusting lights. Always, always steam or iron the shirt right before you put it on the mannequin or lay it flat.
- For Flat Lays: I use double-sided fashion tape or tiny pins on the inside of the shirt to gently pull the fabric smooth against the surface.
- For Mannequins/Models: Make sure the shirt fits well. If it's a little loose, use small clips or clamps on the back to pull the fabric tight for a clean, fitted look from the front.
Lighting can help, too. A huge, soft light source—like a big octabox—will help hide minor wrinkles. The soft light creates such gentle shadows that the wrinkles become much less noticeable.
You have to remember, lighting can only minimize wrinkles, not erase them. 90% of the battle is won with proper prep before you even pick up the camera. A few minutes with a steamer will save you hours of frustrating work in Photoshop.
How Can I Make My DTF Prints Look More Vibrant?
If your DTF prints are looking dull in your photos, the problem is likely a lack of contrast or an issue with color accuracy.
First things first, fix your white balance. Use a gray card to get a custom white balance setting on your camera. This single step can make a massive difference in how true-to-life your colors look.
Once your colors are accurate, try adding a subtle backlight or a rim light. It doesn't have to be powerful. This just adds a little highlight to the edges of the shirt, which separates it from the background and makes the whole product feel more three-dimensional. That little bit of separation helps the DTF design look incredibly vibrant, popping right off the screen.
Ready to bring your t-shirt designs to life with prints that are as vibrant in person as they are in your photos? Raccoon Transfers offers premium DTF transfers that capture every color and detail with stunning clarity. Experience rapid turnarounds and exceptional quality by visiting the Raccoon Transfers website today.