
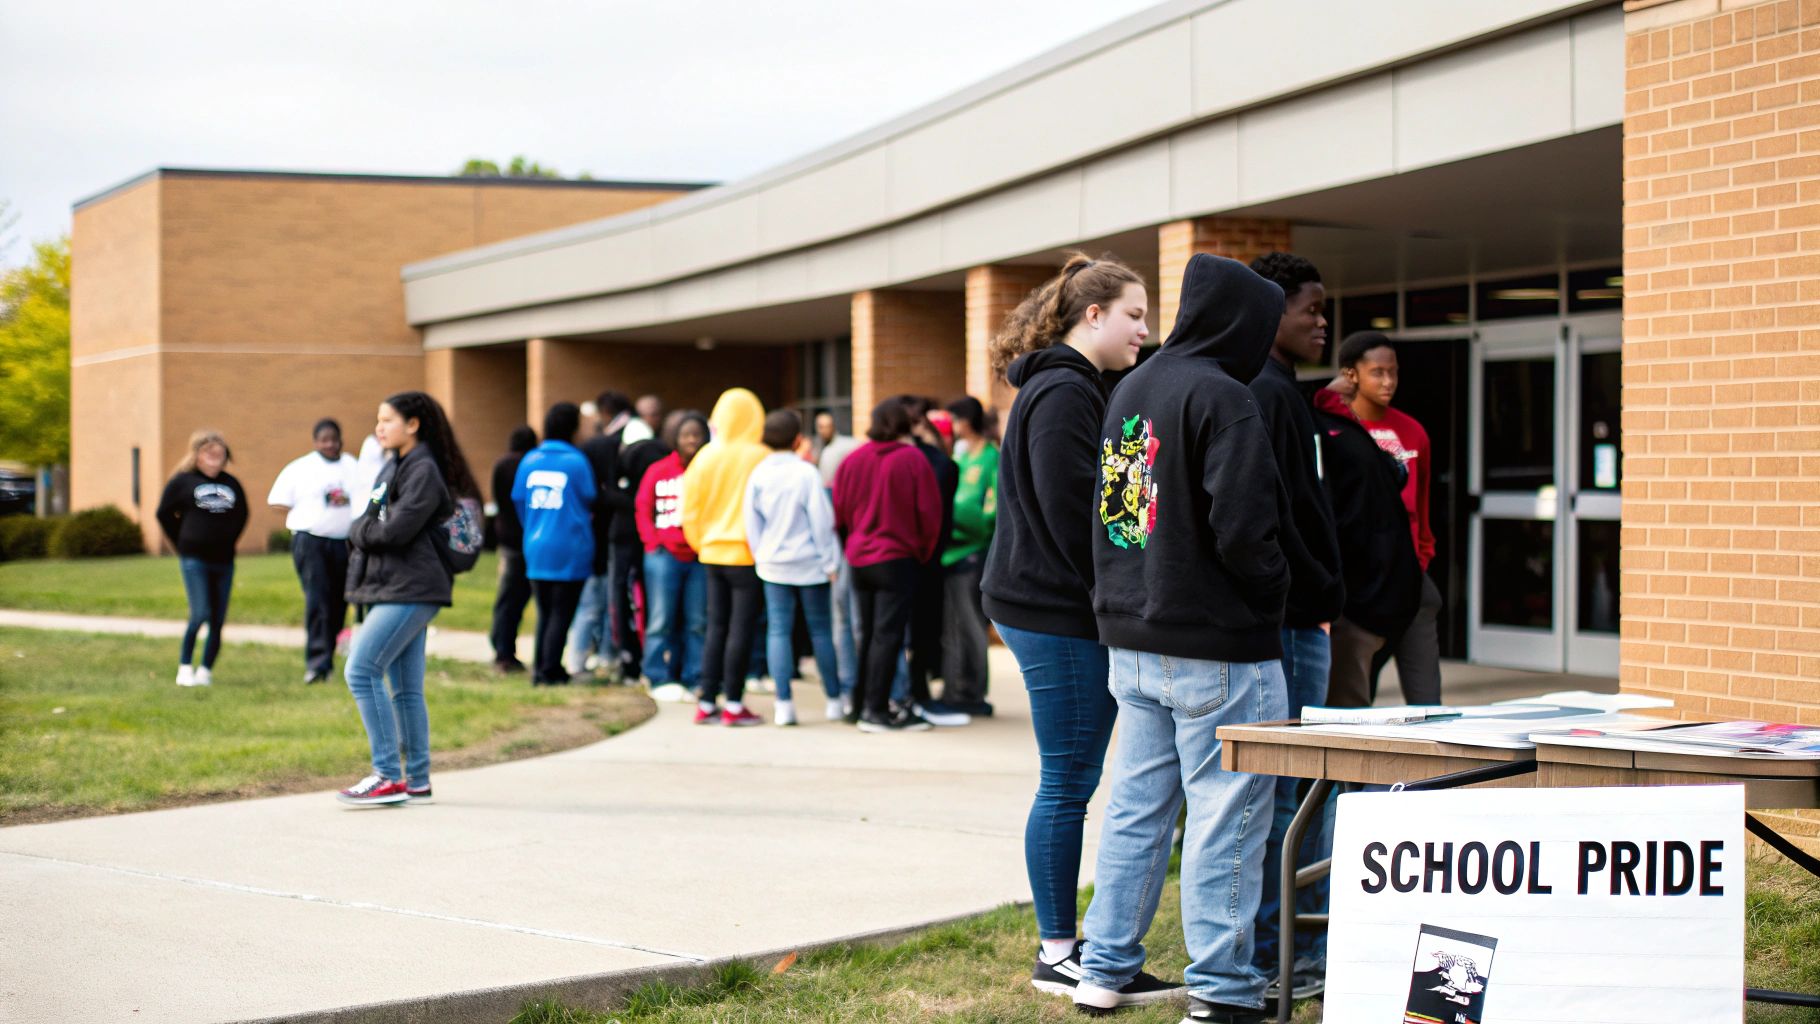
School Spirit Wear Ideas That Spark Pride And Unity
School spirit wear concepts do more than stock wardrobes—they spark pride, fuel fundraising efforts, and turn everyday apparel into cherished keepsakes. When students and staff see their community’s colors, they’re reminded of shared experiences and long-lasting bonds.
Why School Spirit Wear Ideas Matter
Custom apparel becomes the centerpiece of school culture. Rather than just another t-shirt, each design tells a story that students carry with them.
At Lincoln Charter, a run of limited-edition retro hoodies helped underwrite a new art program. Meanwhile, a sprawling district launched a seasonal catalog to boost its sports scholarships fund.
- Strengthens unity with branded gear
- Drives fundraising through exclusive drops
- Creates mementos that outlast graduation
Global spending on school-specific apparel tops tens of billions each year. You can explore the full school-uniform market report on Cognitivemarketresearch school-uniform market report.
Securing Stakeholder Buy-In
Get everyone on board by chatting with student councils, PTA leaders, and faculty sponsors. Frame budget estimates and ROI projections clearly so decision-makers see the value. Early conversations with vendors also help set realistic deadlines.
Next Steps And Vendor Selection
When you’re ready to choose a supplier, here’s what has worked for my teams:
- Estimate group sizes and check each vendor’s minimum order requirements
- Gather at least three detailed quotes, comparing garment quality and pricing
- Schedule sample approvals and design mock-up reviews before final sign-off
Key Takeaway
Well-planned spirit wear programs boost engagement, fund critical projects, and leave a lasting impression.
Costs shift based on fabric choices, print methods, and total quantities. Factor in shipping and sample fees up front to avoid budget surprises. Clear, ongoing communication with your printer is crucial for on-time delivery.
Data from Nonprofits Source shows schools raise over $1.5 billion annually through product fundraisers. Smart spirit wear ideas can capture a slice of that growth.
Next, let’s dive into theme crafting, color coordination, and building designs for smooth DTF transfers.
Create Engaging Themes And Color Palettes
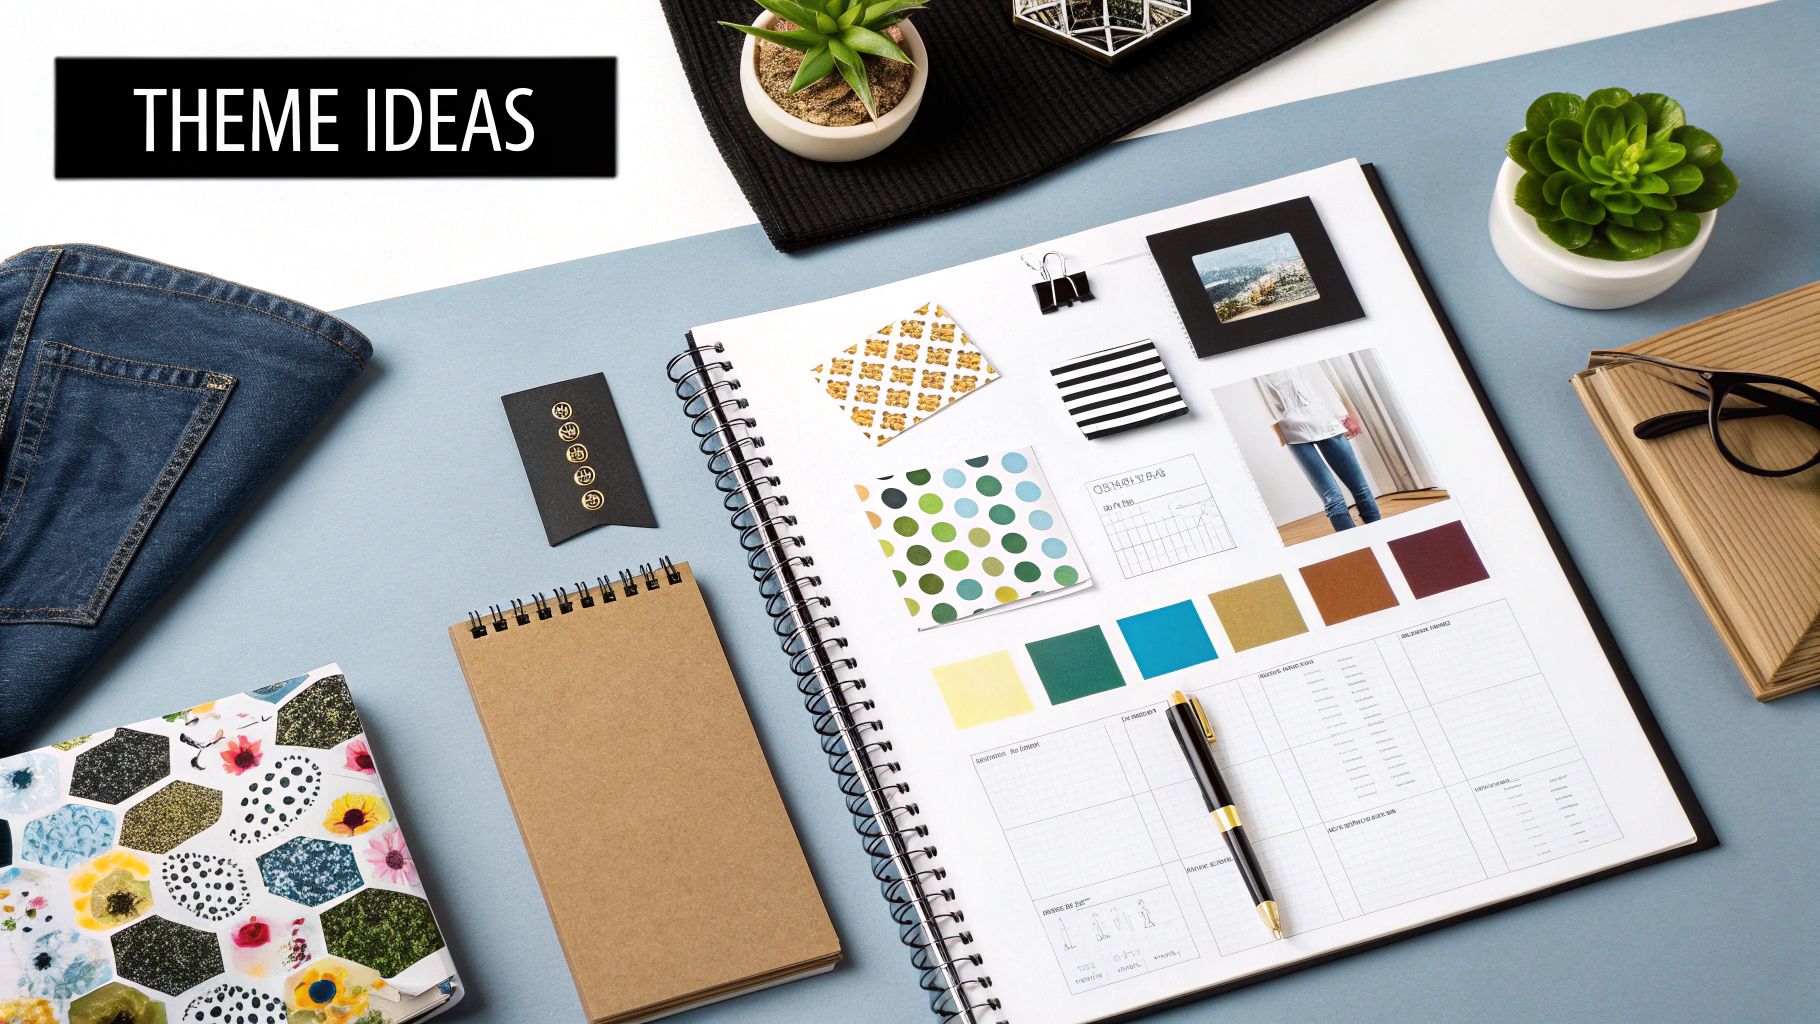
Bringing a new spirit-wear theme to life starts with your school’s DNA. Traditions like homecoming rallies, graduation ceremonies and big games offer a rich backdrop for fresh ideas. Align your designs with mascot traits, core values or signature events to build excitement from the first sketch.
One middle school I worked with invited alumni feedback and landed on a retro sports motif featuring bold color blocks. Students sketched letterman jackets on a whiteboard, locking in that vintage vibe. The result? Hoodies flew off the shelves in two days.
Across town, a high school marching band leaned into neon—lime green paired with electric pink—so their fall show uniforms popped under stadium lights. They printed test runs on navy and black tees, then fine-tuned their hex codes based on director notes. That pre-press check saved headaches down the line.
Brainstorming Themes With Mascot Involvement
- Gather athletes, alumni and staff for a quick creative session
- Lay out mascot sketches, old team photos and type samples on a mood wall
- Toss in event-specific twists like “Winter Blues” for snowy football nights
Watching ideas take shape on a board helps you spot color clashes or off-tone patterns. Once those elements live side by side, refining your palette becomes second nature.
Pull approved hex codes from your style guide or vendor swatch library to stay on brand. Arrange swatches in a grid to test contrast—no one wants faded details on dark fabrics.
Theme Option Comparison
Here’s a quick look at popular spirit-wear themes, ideal seasons and engagement levels based on past school campaigns:
| Theme | Season | Engagement Level |
|---|---|---|
| Retro Sports Motif | Fall | High |
| Neon Band Palette | Fall | Medium-High |
| Homecoming Classic | Late Summer | High |
| Graduation Gold And Royal | Spring | Medium |
Use this table to gauge what resonates with your community before diving into artwork.
Testing Contrast And Readability
Place fabric swatches next to printed samples under real lighting. That way you catch muted hues or glare on shiny blends before heat-press day.
Track contrast with a simple checklist:
- Print on light and dark blanks to compare vibrancy
- Measure ΔE ratios above 4.5:1 for clear legibility
- Note any tweaks—boost saturation or swap in more distinct hues
For instance, black on gold often needs a white underbase when pressed on dark materials. Document each adjustment so the final run is crisp and consistent.
Maintaining Brand Consistency
Creative accents are great, but anchoring every design to your school’s official palette keeps things recognizable. Lock down core hex codes to prevent accidental shifts.
That said, limited-edition details—like metallic foil accents or special stitching—can spark extra interest. We saw a gold foil year mark lift senior-line sales by 18% without breaking the brand mold.
Key Insight
Fresh color twists amplify enthusiasm when you keep brand guardrails in place.
Archive past palettes, set up a hex-code lock in your design files and schedule quick reviews with your marketing or design leads.
With your theme and palette locked in, you’re all set to build gang sheets and move on to garment selection and artwork prep.
Building Mood Boards Digitally
Digital mood boards accelerate feedback loops. Tools like InVision, Canva and Figma let you assemble logos, swatches and photos in minutes.
- Upload mascot art, event graphics and photo snippets for context
- Group assets by season or event to toggle ideas on the fly
- Pin approval notes directly on the board so everyone sees feedback
Once your team signs off, export the reference sheet for your printer—no more endless email back-and-forth.
Now that your color story is set, you’re ready to choose fabrics and draft artwork for DTF transfers. Up next: picking the right garments and getting those designs print-ready.
Choosing Garments And Materials
I vividly recall working with a high school that wanted spirit wear for every occasion—from pep rallies to graduation giveaways. Comfort, durability and print clarity all hinge on fabric choice. After testing dozens of samples, mid-weight tees and crewnecks became our consistent winners.
One charter league I partnered with negotiated bulk rates on mid-weight crewnecks and instantly saved 15% per sweatshirt. That rebate paid for extra designs at senior night.
- Tees: Budget-friendly canvases for crisp logos and DTF transfers.
- Hoodies: Premium feel, large print zones, plus cozy warmth.
- Polos: Sharp, professional look—perfect for staff or VIP events.
- Performance Jerseys: Engineered to wick moisture and keep prints vivid.
Matching each style to the right event and audience prevents costly missteps later on.
Material Weight And Texture
Fabric weight and weave directly affect how well a transfer bonds and lasts. A lightweight cotton tee feels airy but can shift or fade after frequent washes. Conversely, a mid-weight cotton-poly blend offers a sturdy surface that holds up wash after wash.
In one district, swapping 100% cotton for a 50/50 blend boosted print longevity by over 30% without losing softness. Meanwhile, moisture-wicking fabrics keep athletes and cheer squads cool under pressure.
Key Fact Shirts, hoodies and performance kits make up 4 in 5 top-selling spirit wear categories. For more details, check on The Insight Partners.
Texture matters too: smooth jersey knits often yield sharper DTF edges, while textured blends may need slight pressure tweaks on your heat press.
Bulk Pricing Strategies
Nailing your size mix can make or break your reorder. Always plan for gender-inclusive fits and a range from youth XS up to adult 3XL. Survey past sales or run a quick poll to lock in ratios.
Before committing to a big order, sample every fabric type:
- Order blank shirts in each weight and style.
- Test artwork placement and print adhesion on these samples.
- Launder them to check shrinkage and colorfastness.
- Adjust artwork or swap fabrics at the first sign of trouble.
Once samples pass, ask suppliers for tiered discounts at 50, 100 and 250 units. Off-season orders—say, late winter for spring merch—often snag extra savings and faster shipping. Track all quotes and sample feedback in a shared spreadsheet for easy reference.
When you’re ready to source blanks that print beautifully, refer to our guide on best blank t-shirts for printing.
Garment Type Comparison
Use this quick-reference table to weigh cost, ease and seasonal fit when planning your spirit wear lineup.
| Item | Cost per Unit | Customization Ease | Seasonal Use |
|---|---|---|---|
| Tees | $5.00 | High | Spring/Fall |
| Hoodies | $20.00 | Medium | Fall/Winter |
| Polos | $15.00 | High | Year-Round |
| Performance Jerseys | $18.00 | Medium-High | Active Seasons |
With this snapshot in hand, you’ll know where to allocate your budget and when to push each item.
Preparing For Heat Press
Getting pressure, temperature and timing right is non-negotiable. Most mid-weight crewnecks benefit from 320°F at medium pressure for about 15 seconds. Always run a test on scrap fabric first.
Preheat garments for 3–5 seconds to drive out moisture and wrinkles. Position your DTF or heat transfer film, press, then let the piece cool for a full minute before peeling. A cold peel often cuts down on edge lifting.
Keep a simple log of each press setting and outcome—these notes become your go-to recipe for perfect application batch after batch.
Packaging And Presentation
Packaging is your last chance to impress. Branded hang tags with care instructions not only look polished but also help preserve print quality.
Consider eco-friendly additions that double as marketing:
- Themed tissue paper in school colors.
- Custom stickers featuring the mascot or crest.
- Reusable cotton tote bags as bonus giveaways.
- Curated team packs (e.g., sets of five tees in mixed sizes) to simplify coach orders.
One high school I partnered with launched a limited-edition fleece zip-up at homecoming and sold out in hours. Another district tested moisture-wicking field-day tees and earned rave reviews from students and coaches alike.
Thoughtful packaging extends pride beyond the shirt itself. With materials, pricing and presentation locked in, you’re poised for a smooth transition into final design tweaks, promotion and distribution.
Prepare Artwork For DTF Transfers
Once you’ve settled on themes and garment styles, the next step is getting your artwork production-ready for DTF (Direct-to-Film) printing. Proper file setup is what separates a boring, faded print from a crisp, vibrant design that looks great on both dark hoodies and light tees.
In one memorable project, a local theater group used simulated process printing to layer complex gradients on black hoodies, and a high school football team relied on a bold white underbase to make their logos pop against their navy jerseys.
Key File Essentials:
- Vector format for infinite scalability
- CMYK and RGB profiles adjusted for DTF
- Bleed margins (at least 0.125 inches) to avoid cutoffs
Aim for 300 DPI or higher so no detail gets lost. And don’t wait until the last minute—loop your printer in early to catch any hiccups before you lock in production.
Setting Up Your Files
Start by outlining all text and logos as vectors—this ensures your custom fonts don’t turn into unexpected substitutes. Then, match your artboard to the garment’s printable area, adding that 0.125-inch bleed around each edge. A transparent background is your friend when you need clean, edge-to-edge prints.
| Format | Best For |
|---|---|
| AI/EPS | Full scalability & precise colors |
| Universal printer compatibility | |
| PNG (300 DPI) | Fast proofs on light-colored fabrics |
Next, tweak color settings based on fabric color. Dark garments? Switch to RGB with a white underbase layer. Light tees and hoodies? CMYK will usually match your proofs perfectly.
Selecting Ink And Underbase
Picking the right inks and underbase is a game-changer for durability and color brilliance. A sturdy white underbase lifts bright hues on dark shirts, while simulated process mixes primary inks for high-fidelity, multi-color art.
Ink Essentials:
- High-opacity white for underbase
- Rich pigment inks for vivid tones
- Adjustable adhesive powder thickness
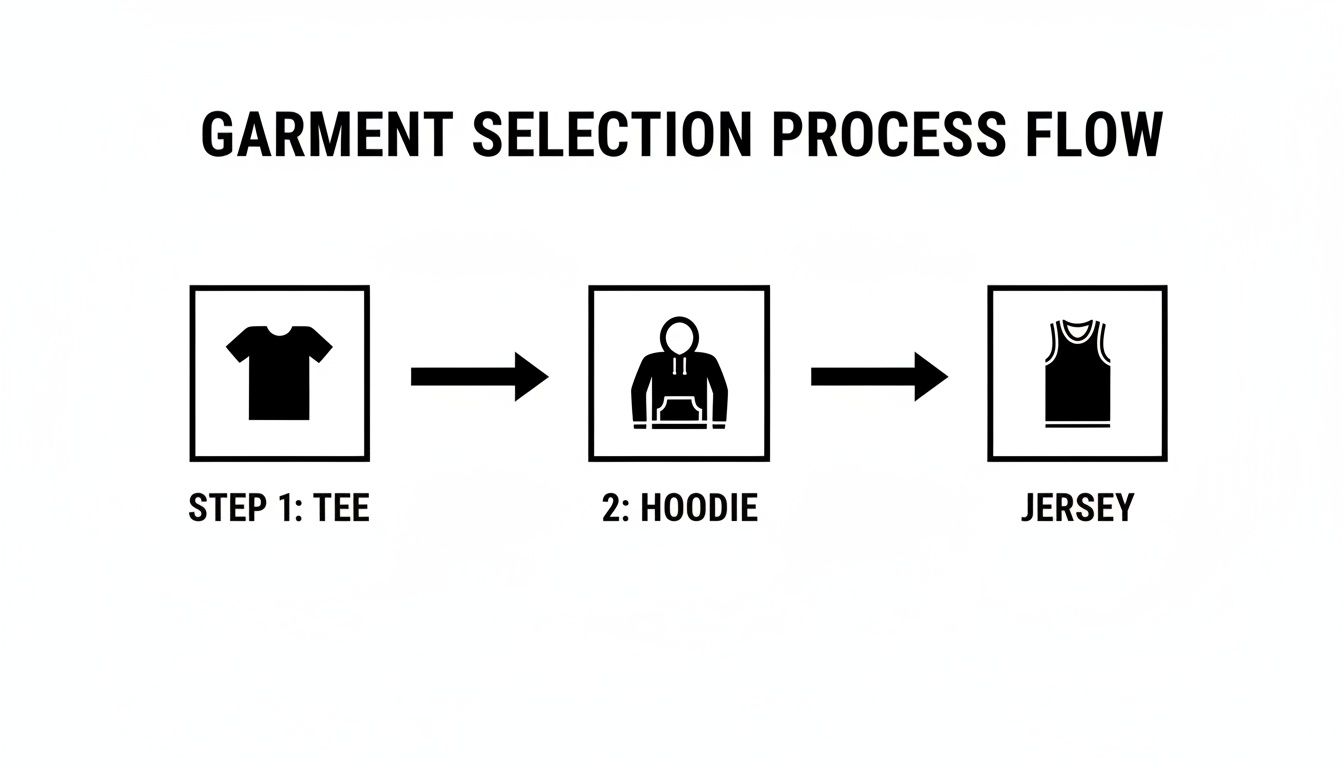
This visual shows how standardizing each stage—from tees to hoodies to jerseys—can cut setup time by 20%.
Batch-exporting designs for gang sheets not only speeds up ordering, it slashes film usage and waste. Group several graphics on one sheet and watch your material costs drop. For tips on ideal sizing, check our guide on graphic size for t-shirts.
Tip
Always press a single test piece before a full run. Small color shifts or registration quirks are easier to fix on a mock-up than on dozens of finished garments.
Test Pressing And Quality Checks
A quick trial on scrap fabric is your safety net. Note every tweak—dwell time, pressure, temperature—to build a reliable recipe for each material. In one case, simply increasing pressure cured lifting edges on polyester blends.
Quality Checklist:
- Preheat garment for 3–5 seconds
- Press at 320°F for 15 seconds
- Wait for a cold peel of the transfer film
Logging these results will help you nail consistency, batch after batch. Often, a tiny adjustment in dwell time solves peeling on stubborn cotton blends.
Naming And Version Control
Keep file names crystal clear to dodge confusion. A solid convention might include project name, color variant, garment type, and date. Stick to underscores instead of spaces for seamless printer compatibility.
Examples:
- Mockup_Final_Tee_0925.ai
- Mascot_Retro_Hoodie_v2.eps
- Band_Gradient_Jersey_202510.png
Collaborating With Your Printer
Touch base with your printer early and often. Share organized PDFs, proofs, and fabric swatches via a shared cloud drive. Quick, scheduled check-ins will catch potential issues before they snowball.
Key Takeaway
Streamlined file management and open dialogue can cut revision cycles by 30%.
Final Artwork Handover
When you’re ready to hand over files, bundle everything your printer needs to hit “go” without a hitch:
- Final layered vector PDF (including the white underbase)
- Color proof and a photo of your fabric swatch
- A one-page spec sheet covering garment type, ink choices, and press settings
- A signed approval confirming all details
This organized handoff guarantees every spirit wear transfer looks sharp, aligns with your vision, and keeps production humming along.
Streamline Ordering And Budgeting
Bulk orders can feel overwhelming until you break down each element.
Splitting items into gang sheets and precise line items saves both time and money.
At one high school, a presale of 200 hoodies locked in funding before any jerseys rolled off the press.
Another district leaned into tiered pricing—$18 at 50 units, $16 at 100, $14 at 200—to clear out excess inventory fast.
These hands-on tweaks keep cash flowing and minimize leftover stock.
Forecast Quantities And Reorder Points
Lean on past sales figures to pinpoint your minimum order quantity (MOQ).
Set up a simple spreadsheet with columns for SKU, MOQ, reorder trigger and lead time. Update it weekly so reorder points shift with real demand.
• Gather three months of sales data to set realistic MOQs
• Highlight your top 20% of sellers and order extra runs for those items
• Factor in lead time plus safety stock when deciding reorder triggers
This approach prevents expensive rush fees and dreaded backorders.
Negotiating Shipping And Costs
Hidden fees often sneak in around pallet handling, fuel surcharges and storage.
Don’t be shy—ask vendors for a full breakdown of all incidental charges.
Tapping off-season windows can shave 10–20% off your base freight rates. One school moved its fall merch order to late summer and scored a 15% rebate.
You can also mix residential and commercial shipments to drive down per-unit costs:
| Units | Price per Unit | Total Cost |
|---|---|---|
| 50 | $18 | $900 |
| 100 | $16 | $1,600 |
| 200 | $14 | $2,800 |
Templates And Checklists
Having ready-made templates speeds approvals and keeps everyone on the same page.
• Gang sheet layouts with clearly defined print zones
• Budget worksheet tracking unit costs, shipping, taxes and fees
• Communication log for quotes, revisions and delivery confirmations
Downloadable spreadsheets and PDF checklists let committees and admins cross items off together.
Check out our guide on pricing custom shirts for deeper insights: How To Price Custom Shirts.
Key Takeaway Bulk planning cuts errors and protects your budget.
Teams of any size can use these strategies to keep inventory lean and costs predictable.
• Small committees should name a single point of contact to accelerate decisions
• Larger administrations can bundle orders across departments to unlock volume discounts
Automated reorder alerts in a shared drive eliminate guesswork—set triggers at 20% of your original MOQ so you never run dry.
Optimize Order Efficiency
Grouping orders by timeline and garment type reduces costly production starts.
Combining DTF transfers for multiple designs on one gang sheet shrinks film waste by 20%.
Adopt clear file-naming conventions so printers match art files to the right blanks. A short reference guide with path examples can cut miscommunications by around 30%.
Smart budgeting and ordering free up funds for special-edition spirit wear drops. When costs are predictable, committees can plan without fear:
• Run group buys in spring to balance end-of-year budgets
• Audit final invoices immediately to catch surprises before month-end
Every dollar saved on logistics goes back into better designs or even scholarship funds.
Whether you oversee a small club or a district-wide program, these budgeting tips have you covered.
Final Thought Keep budgets transparent to maintain trust across stakeholders.
Use these ordering frameworks to streamline your next spirit wear project. With clear budgets and gang sheets in place, your orders will arrive on time and on budget—leaving you free to design gear your community will love.
Apply And Care For Spirit Wear
Getting a crisp, long-lasting print starts with the right application and care. I’ve seen projects falter at this stage, so I always double-check heat press settings and washing instructions before rolling out a batch. These guidelines will save you time—and headaches—when working on DTF transfers.
At Central High, the art team ran a quick test: pressing 200 moisture-wicking jerseys at 300°F for 20 seconds, with a cold peel to lock in the edges. It was a small investment that prevented a full reprint of the entire order. Let’s dive into the details for different fabrics.
- Control your temperature so the ink cures evenly without scorching the garment.
- Adjust pressure to avoid print hollows or lifting at the edges.
- Tweak dwell time when you switch between cotton blends and performance fabrics.
Heat Press Settings Guide
Before you start, give each shirt a 3–5 second preheat at low pressure. This dries out any moisture and ensures a smoother transfer.
| Fabric Type | Temperature | Pressure | Dwell Time |
|---|---|---|---|
| Cotton Blend | 320°F | Medium | 15 seconds |
| Polyester Jersey | 300°F | Light | 20 seconds |
| Performance Mesh | 300°F | Light-Medium | 18 seconds |
From experience, cotton tees often love 320°F at medium pressure. If you’re working with mesh or moisture-wicking fabric, dial down to 300°F and go lighter on pressure. Keep track of any tweaks—it’s your cheat sheet for the next run.
Fabric Specific Adjustments
Every fabric behaves differently. For a 50/50 blend, test a dark scrap first; you’ll catch any surprises without wasting the main batch. When you press moisture-wicking jerseys, log every pressure change in a notebook or spreadsheet. That attention to detail pays off.
- On cotton-rich shirts, too much heat leads to cracking.
- Synthetic blends need lighter pressure to stay in place.
- Always cold-peel dark garments to maintain crisp edges.
Key Takeaway
Tinkering with pressure or time can cut peeling by over 35% on trickier fabrics.
Care And Maintenance Tips
Washing and handling are just as important as pressing. Teach students and staff to turn spirit wear inside out and use a gentle cycle. I’ve found that skipping bleach and softeners makes a world of difference.
• Wash similar colors together on a cold, gentle cycle.
• Avoid bleach and fabric softener to protect the print.
• Fold shirts flat, smoothing the transfer before stacking.
| Cycle Type | Temperature | Spin Speed | Recommended Detergent |
|---|---|---|---|
| Gentle Wash | Cold | Low | Color-safe liquid |
| Regular Wash | Cold | Medium | Mild powder |
| No-Spin Rinse | Cold | None | Eco-friendly pods |
A quick tip: lay each piece flat and smooth it out before folding. It keeps the print edges from curling or cracking.
Launch And Promotion Ideas
Rolling out your spirit wear is more than just shipping boxes. I like to turn it into an event—something students talk about for weeks. A “Press Party” on the weekend invites volunteers to heat-press buddy sets and share tips in real time.
- Film unboxing clips with student reactions—authentic content goes a long way.
- Get the cheer squad or band members to unveil their gear in a short live stream.
- Pack orders assembly-line style; it’s fun and educates everyone on the care steps.
These tactics build excitement and make every piece feel special. When done right, they reinforce proper washing and wearing habits, too.
Thoughtful pressing, smart fabric tweaks, clear wash instructions, and a splashy launch combine to deliver spirit wear that looks sharp and lasts season after season. Use this workflow as your blueprint, and watch your team wear it with pride.
Frequently Asked Questions
Putting together a batch of spirit wear often leads to a few pressing questions: How soft will the shirts feel? Will the print peel after a few washes? How do you dial in the heat press just right? Below, I share real-world fixes and tips that have saved schools and clubs time, money, and headaches.
- Fabric Comfort vs Print Clarity: Cotton blends hit the sweet spot between a cozy hand and vibrant colors.
- Minimum Order Planning: Securing just 20 preorders can cover costs and clear away guesswork.
- Sustainable Options on Budget: Recycled poly tees under $10 that print crisply and wash beautifully.
- Heat Press Guidelines: Exact temperature, pressure, and dwell-time settings for cotton, blends, and synthetics.
Selecting Fabrics For Comfort
Choosing the right base garment sets the tone for both comfort and durability. I once ran a 50/50 cotton-poly crewneck through 30 washes without a single crack in the design.
- 100% Ringspun Cotton: Soft to the touch and holds color brilliantly.
- 50/50 Cotton-Poly: Offers strength, vibrant prints, and gives a bit of stretch.
- Tri-Blends: Great drape, but expect to tinker with press settings to keep edges intact.
Minimum Order Planning
Leftover inventory can be a headache for any small group. A quick pre-sale—or even a simple sign-up sheet—lets you gauge real demand and hit your supplier’s minimums without overbuying.
One booster club I worked with collected 45 hoodie commitments in just two days, nailing the MOQ and covering all production costs up front.
| Units Ordered | Price Each | Example Savings |
|---|---|---|
| 30 | $18 | $2 per shirt |
| 75 | $16 | $2.50 per shirt |
| 150 | $14 | $4 per shirt |
Heat Press Troubleshooting
Getting temperature, pressure, and dwell time right can make or break your run. For most cotton-blends, I settle on 320°F, medium pressure, and a 15-second press with a cold peel.
Always test on a sample blank before your big run—it’s saved me countless reprints.
If you spot lifting edges, add two seconds or a pinch more adhesive powder. And don’t skip a 3–5 second preheat on each blank to banish moisture and wrinkles.
- Preheat each shirt briefly.
- Keep the platen clean to avoid residue marks.
- Adjust dwell time in small increments for fine-tuning.
With these Q&A insights, you’ll move from concept sketches to finished spirit wear without the usual stumbles. Swing by our support hub for detailed heat-press charts, fresh design prompts, and money-saving strategies. We love hearing how your next run turned out—drop us a note!
Get started today with Raccoon Transfers for premium DTF transfers and next-day shipping at no extra cost.